We’ve done a few articles describing the boundaries and considerations for building lists in N5. But while these outlined some general rules around how many models you should have, structuring Combat Groups, thinking about your Lieutenant, etcetera, there is even more we didn’t touch on. This article will seek to cover some of the gaps by guiding players in how to pick the actual models for their lists. We are going to do this not by saying ‘if playing Faction X, units Y & and Z are the best’. That kind of analysis is better saved for faction-specific articles, and it’s also one of the easiest types of knowledge for newer players to come by. Ask the question in any social media community for Infinity, and players of your chosen faction will come forth to give their opinions and advice. Instead, we are going to explain how to choose units through the lens of capability.
What on earth is capability in this context? Very simply, it means considering what you need to accomplish, before making any decisions on the tools you will use to do so. To take an Infinity-specific example, I could decide I want to include the capability to hack enemy models, and break down my options from there, instead of jumping to saying I want to include an Interventor, a Dartok, an Anathematic or any other specific model in my faction. That may sound like a simple change to the order in which you think about things, but on its own it can make a big difference to list building, because you are not pre-deciding on your options. The other part of the puzzle is that considering capability should entail thinking very carefully about your problem set - what exactly are you using this capability against? Asking these questions lets you determine exactly what capabilities you must or should have in your list, and then you analyse the available units on how well they fit those requirements.
One caveat - this approach views list building as part of the game. There are perfectly valid aesthetic and vibes-based reasons for pre-deciding you want to include certain models, and if you’d rather take that as the starting point for building a list, the internet can’t stop you! But this analysis could still show you where to fill in the capability gaps left between your favourite models. Our experience is that even more than units and the details of their lists, players choose their faction based on aesthetics and style. But if you really wanted to choose a faction via this sort of analysis, you absolutely could.
Necessary Capabilities
Infinity is a fairly complex game, but there are some predictable constants to play; everyone is playing the same Mission set, Factions draw on largely the same pool of equipment and skills, and the design and point pricing of units has lots of overlap. So we can say that there are certain capabilities that every list fundamentally needs.
Firepower
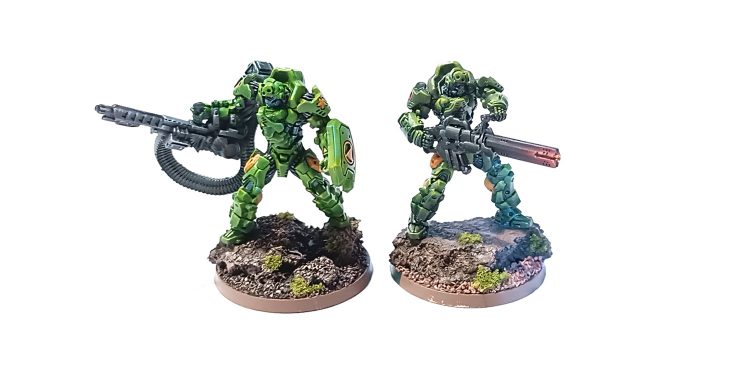
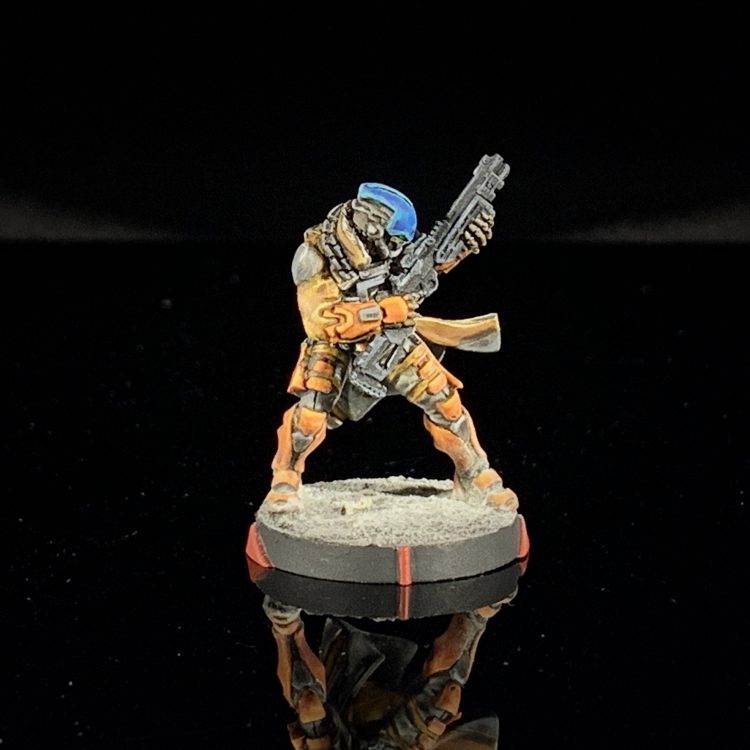
Heavy Infantry and big guns - a classic firepower combo.
What do you need to do?
The most common way to deal damage in Infinity is via BS Attacks, so models with powerful guns, a good BS stat, and gunfighting skills are obviously going to be important. Because of how Face to Face (FtF) rolls work, the Active player needs units which can reliably beat any AROs presented by the Reactive player. Without that capability, they will be pinned down by AROs and unable to move into position for other types of attack, or towards the Objectives. Conversely, having that capability gives the Active player an opportunity to reliably and quickly inflict casualties on their Reactive opponent. Shooting a good gun at an enemy model in an advantageous FtF roll is generally the most efficient way to inflict damage in Infinity.
We also need to consider the shape of the table. Forces will largely start in their Deployment Zones, separated by about 24”. So the range of these powerful shooting models is important. In Infinity’s point structure, long range guns, raw stats and gunfighting skills are some of the most expensive things to have, so models which support your firepower capability tend to consume a big chunk of your points budget.
The presence (or absence) of strong firepower is part of what sets up the table in Infinity. The assumption is that the Active player will have a good chance to beat any single AROs (and they have a great deal of freedom to engage them one by one). So the Reactive player tries to limit the damage by some combination of hiding completely behind terrain, and/or presenting some models which are a huge pain to deal with via direct firepower - see the Defence section below.
If one player lacks the capability to reliably win long range fights, they are giving their opponent a lot of freedom, and they are at risk of being pinned down by enemies that are effective at long range. That can make it so difficult or Order-intensive for their forces to move, that they have little hope of completing Objectives or winning the game.
What makes a model good at Firepower?
First and most obviously, weapons which are effective at long range. Getting the +3 bonus up to 24” is a bare minimum and can be dangerous to rely on, 32” is the standard, and typically players want high Burst values - 4 or more - to preserve an advantage against enemy AROs. Good weapons also have low Probability of Survival (PS) rolls and/or ammunition traits like Armour Piercing, Continuous Damage, that sort of thing. These are important because without them, some opponents can put up relatively cheap and tough defensive models as AROs, and gamble on wasting your Orders bouncing rounds off them to no effect.
Second, firepower models want some edge in skills or equipment that can be leveraged to win FtF rolls against enemy models that are effective at shoot-outs in Reaction. These are usually referred to as ‘gunfighting skills’. Mimetism, BS Attack(-3), Multi-Spectral Visors (especially if supported by smoke grenades elsewhere in your list), Albedo, Surprise Attack, Marksmanship, that sort of thing. Without some of those elements your only tools to seek advantages over the enemy AROs might be position and Burst - those might not be enough, especially if your opponent invested in defensive models that are skilled gunfighters.
Third, many players strongly prioritise at least some resilience for their firepower pieces. This is because in many games, you will engage in important FtF rolls early on with them, to clear away any strong ARO threats. That’s a risk, and resilience is some insurance against a stroke of bad luck. If a Corregidor player is using a TAG as a firepower piece, and the enemy scores a Crit, they can probably try again. If they are using an Intruder (1VITA and ARM3), despite that unit’s excellent gunfighting skills, there’s still the chance of a Crit, and the Intruder can die outright. Different players will approach that risk differently based on their playstyle and the kind of opposition they expect. But that thinking is common with competitive players. If you want to try and win 5 games in a row to take a tournament, you tend to shy away from loading an important part of your plan onto a piece that can fail entirely on a single unlucky roll. Being more resilient also makes a firepower piece more difficult for opponents to scalpel out in their Active turn - beyond simple beefiness, Camouflage or Hidden Deployment are superb for that.
A note on mobility - it’s not a core requirement for firepower pieces, provided other parts of your list can move around. Generally, if the enemy hides away where they can’t be seen without lots of movement, your firepower capability is usually doing its job quite well. But if you have it, that prevents the rare cunning deployment where opposing AROs are screened from your firepower by terrain, but still overmatching your assault pieces and access to objectives. Vehicles are the ultimate example of this in N5. When your firepower can jump 11” and fire in one Order, it’s very difficult for opponents to deploy AROs that keep them out of their ideal positions.
Assault
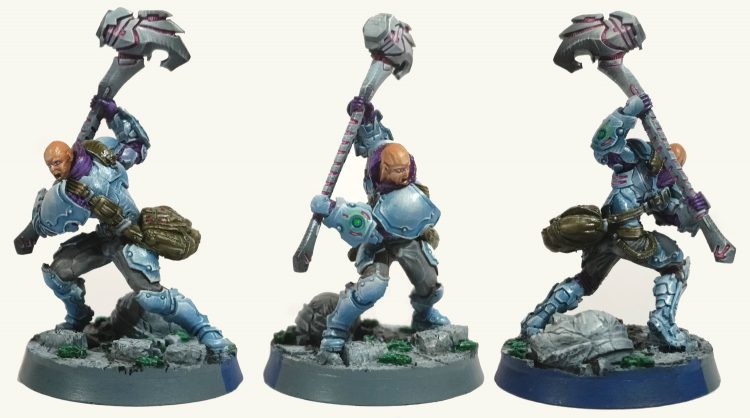
Sometimes assault is a crime, as well as a capability! This is often the case when Ajax (pictured) takes the field. Credit - Musterkrux
What do you need to do?
Because of the dynamics around Firepower, and the presence of plenty of solid, Line of Fire (LoF)-blocking terrain, most models in Infinity will be ‘tucked away’ during Deployment. That is to say they will be behind large pieces of terrain, lying Prone in corners, hanging out in buildings, generally trying to be where they can’t be seen from the enemy half of the table, and often where they can’t be seen by any models that aren’t moving very close to them. This is a consequence of how efficient Firepower is - positioning lots of models where the opponent can draw LoF from a distance in their Active turn is just asking for mass casualties and a probable loss.
This creates a real need for Assault pieces - models that can easily move to where the enemy are hiding, and engage them with close range shooting, or template attacks, or melee combat.
What makes a model good at Assault?
Most quality assault units are hitting two thirds of the classic triangle: mobility, damage output and resilience. For mobility, units that are 6-2 or faster and have some extra skill like Super Jump, or at least Climbing Plus, are nice. For damage, the ideal is not just a way to win FtF rolls within 8”, like a +1B shotgun or high Martial Arts, but a strong template attack to ‘fork’ that with. The game has gone through some weapons inflation since N3. A Burst 1 chain rifle (or equivalents like chain colt or boarding pistol) don’t really cut it as template forks; even single-wound targets can gamble surviving your template, and succeed depressingly often. Good templates are ideally B2 or greater, or at least have Continuous damage, e.g. flamethrowers - non-lethal templates like EM or adhesive ammunition also have a place. Resilience looks like a 2VITA/2STR (or their imitator, No Wound Incapacitation, or the budget offensive version of the imitator, Dogged). Skills like Immunity(ARM) are also very helpful. The point of that resilience is partly so that you don’t drop dead on losing the first unlucky FtF roll - this hurts even more than with firepower models, because you’ve usually invested Orders in moving forward by the point your assault model rolls dice. Even more than that, it is so enemy templates can’t simply trade with you, blunting your attack run.
To those three core qualities, there is a very important tool that assault pieces want - vision control. See the section below, because we consider it a necessary capability in its own right, but short ranged models can be held off at arms length if they don’t have some way to move past long- and medium-range AROs. Those AROs could be suppressed by your firepower capability, but it becomes much simpler to plan if the assault model is carrying its own smoke! Assault models which rely purely on melee skill, without being tough or great at close range shoot-outs, especially, will often need smoke grenades to get into Silhouette contact and do their work.
Defence
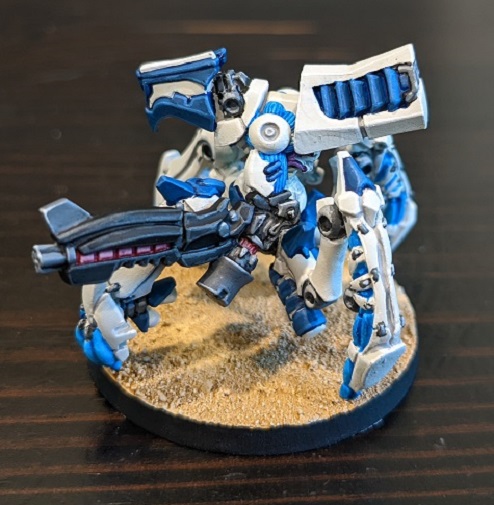
The humble Total Reaction remote, AKA the 'TR bot'. A staple of defence in Infinity lists - now available in N5 thunderbolt flavour!
What do you need to do?
Defence is all about stopping your opponent smashing through your list, and about accessing and completing the Mission Objectives. Over the course of the game, you usually need to worry about those in order - if you take too many casualties early, you probably won’t be able to put up much of a fight in the endgame. The two basic principles of attrition in Infinity are to make your opponent spend as many Orders as possible manoeuvring before they can roll dice against your models, and to make them fight through your most annoying and/or disposable models before they can attack things that are critical to your offensive power or mission.
This means that the models you will rely on for defence are things that have relatively strong AROs, or are relatively tough to kill, for their price. Many strong firepower or assault models are also strong in the Reactive turn - in fact, in the endgame, when you’re just trying to keep the opponent off the objectives with anything left to you, every model in your list is defensive capability to exploit and position. But you can’t use your key firepower or assault tools for defence in the early game; it’s asking your opponent to leverage their Active-turn advantages and kill them, leaving you toothless. You need models that can essentially be posted up to die.
Defensive capability in a list usually means models that are good at wasting the opponent’s Orders, and can be deployed so that they have to be fought through in any initial push, when opposing firepower is in full effect and opposing assault pieces have their full pool of Orders behind them. It can also mean models that are particularly good at covering the midfield, where the Objectives will usually sit. It may mean models that can challenge enemy firepower directly, or pin the opponent back if their firepower has been neutralised.
What makes a model defensively useful?
We intentionally avoided using the word ‘good’ there. Models don’t need to win FtF rolls, or even survive long, to be useful in defence! But first, let’s discuss defence pieces which do want to win fights. Let’s call these ‘hard stop’ AROs. Examples would be elite snipers or missile launchers, usually in a Fireteam. What distinguishes them is exactly what makes strong firepower pieces (see above) minus any requirement for high Burst. These can be strong but are something of a gear check to your opponent. They test the opposing list - are their firepower pieces strong enough to reliably beat your AROs? They also test your opponent’s tactical nous - can they figure out a way to create an advantageous FtF, or will they have to roll the dice against you on a relatively even chance? Because of that gear check element, hard stop defences might be less strong at the higher levels of competition. The best players know how to deal with those tools, and they require a higher level of points/SWC invested. That’s not to say they don’t have value, even skilled opponents will have to take some risk to shoot down a strong ARO piece, or spend more Orders dealing with it safely, e.g. by guided missile plays or vision control, and that can be exploited. This is a broad tactical situation which could fill its own article, so we will just caution newer players, if you do invest in such a model for defence, consider the match up carefully when deploying. It may not be wise to post such a model up with sweeping views over the whole table.
Less of a gamble are cheap models that can trade up with templates, or just die slowly against enemy assault pieces - often called ‘corner guards’. Wounds and ARM, or skills like Dogged, are good, but a really deadly template weapon, for a cheap price, is the hallmark of this sort of model. They let you create a little area where opponents are risking the early end of their attack run trying to get through. Another method of cheap point defence is models with Repeaters (provided you have hackers to operate through them) or Jammers. Yet another is Minelayers which can scatter deployable equipment pre-game. Cheap models which have Camouflage can also be very useful, especially in the midfield, especially if your faction roster makes it hard for opponents to predict what unit is under the marker. They can’t bypass them without leaving a threat of counter-attack behind, and attacking them directly depends on a pass/fail Discover roll which adds another failure point to their attack. Models with any combination of those traits tend to be defensively super useful.
We mentioned Minelayers, and especially for cheap units, the Minelayer skill tends to be worth more than actually carrying mines, because it means the kit is on the table without spending any of your own Orders. But deployable equipment in general is very good defensive capability, especially Perimeter weapons or Drop Bears/Mine Dispensers. Laying a mine next to your Silhouette is very restrictive for models that aren’t also doing an active role attacking or moving to Objectives. Very N2 stuff, so passé! Throwing such equipment a bit further is far easier for creating defensive webs. This is where defence stops being a purely reactive capability, that you ideally deploy into place, and starts being something you plan to spend some of your Orders setting up.
The last options we will mention for defence lean heavily on Camouflage or better yet Hidden Deployment. First, these skills make models very difficult to attack directly in the opening stages of a game (but watch out for enemies with Sensor). Having your key firepower/assault pieces under Camouflage, or a good number of cheap defensive pieces screening them, or both, in an instant recipe for strong defensive capability in a list. Hidden Deployment can also enable ‘ambush’ play, when it’s available on models with strong ranged weapons and ideally some other gunfighting skills (most Hidden models have some level of Mimetism). This gives you a chance at one really advantageous FtF roll, if the opponent moves non-firepower models into sight of your Hidden model(s). The threat of Hidden models also imposes a lot of uncertainty and mental load onto your opponent. Beyond just stressing them out, this may also deter them from taking the fastest, most dangerous route to the objectives or your more vulnerable models.
Objective Scoring
Sometimes a single sneaky Specialist in the right place, like this Guilang, is all you need to swing a game.
What do you need to do?
Almost all Missions have a need for Objectives to be completed via Specialist troopers performing WIP rolls. Obviously this means your lists need to include Specialists - models with the Hacker, Doctor, Paramedic, Engineer, Forward Observer, Chain of Command or Specialist Operative skills. This can’t be overstated, if you do not include this capability you will not be able to score any points! This capability is the simplest to analyse provided you know what Mission(s) your list will be played in, which will be the norm for Infinity tournaments. It doesn’t change much in terms of match-up, terrain set-up or other variables. But it does vary dramatically from Mission to Mission.
One note is that certain Missions have primary Objectives which don’t rely on Specialists, but other tools. E.g. in Corporate Appropriation, you need units with D-charges or anti-materiel close combat attacks (typically Close Combat Weapons (CCWs) with the Double Action or Explosive traits) to achieve one of your primary Objectives. The point is that for analysing this capability, it is vital to read the Mission(s) you are preparing for in advance, and check what units in your roster are able and suitable to achieve the Objectives.
What makes a model a good Specialist?
Not all Specialists are created equal. First there is the obvious WIP stat - the higher your WIP, the better your chance of succeeding on a Scenario Roll, like the roll to activate an Objective. This can be the difference between victory and defeat, especially in ‘hail mary’ type situations where you’ve only 1 Order left to try and flip an Objective, or have to try it while receiving a storm of ARO fire. More often, higher chances of failure mean less efficiency in Order expenditure - if your lists rely on WIP12-13 Specialists, you will spend more Orders re-trying Scenario rolls than a player who takes WIP14-15 Specialists. Do not worry about this too much. Variance in Infinity is high and the 5% nudge for every point of WIP isn’t the end of the world. Most factions don’t have much choice between, say, WIP12 and WIP15 Specialists. It tends to be a point either way, and that difference is less important than the other factors below.
Remember how we said that more reliable WIP would usually mean gains in Order efficiency? That is outweighed by the efficiency of having Specialists who can start near the Objectives. Forward Deployment, Infiltration, Combat Jump, and to a lesser extent Parachutist are all nice skills. As a substitute, models with high mobility, like those with the Super-Jump skill, or just high Movement values, are more efficient. Mobility in general is highly valued in the many Missions which involve moving a Specialist to a point, rolling, and then moving somewhere else. A Marker State like camouflage is always useful because it lets the model safely provoke AROs for at least one Order’s worth of movement before diving at an Objective.
In some missions, resilient or otherwise tricky to attack models are useful for scoring Objectives, when points are awarded for having them in a given zone, or standing next to a given objective, until the end of a Game Round. The tougher your model is, the harder it gets for your opponent to stop you scoring those points. An Anathematic (which has Mimetism-6, good armour and effectively 3 Wounds) is much harder for an opponent to remove from such an Objective than a cheap supporting model. More realistically, any Heavy Infantry (HI) type Specialist is going to have a better chance than a 1-wound model which is only ever a single failed Survival Roll from failure.
The last thing we need to consider when analysing our Specialists is how they fit into the rest of the list and gameplan. You might have a reliable, mobile, tough Specialist, but if the mission is B-Pong (which requires you to run up and hold a beacon in the centre of the table), and that Specialist is part of a Fireteam which wants to hang right back and provide long range fire support, you can’t leverage both to full advantage. Broadly, there are two strategies, first would be moving individual Specialists that don’t cost too much and can accomplish the Objectives efficiently, without disturbing the rest of your list from their roles in killing or warding off the enemy models. The second option would be to move your Specialists with other models (ie in Fireteams) that have a mutual reason to go to the midfield. Typically this would be to deliver models into assault, or to place models around the Objectives that excel in close defence - see that section below.
Vision Control
Don't worry about the gun - the most dangerous weapons this Kum Biker carries are his smoke grenades.
What do you need to do?
This is a concept which a lot of players take time to fully grasp, and it generally comes easier to some factions than others - access to the necessary tools is uneven across different Sectorials in the game. Vision control is about moving around the tablewithout provoking AROs. Some players/lists can get away without this, if their firepower and assault capabilities work well together and defeat the enemy, and/or their specialists can go and do the mission unopposed, because of their own mobility or because of the firepower/assault successes. But vision control opens up your options to get models into positions, or to the objectives, without fighting immediately. That is a big part of your ability to flow around the enemy defence. We mentioned that lacking firepower can see you pinned down by enemy AROs - well, vision control is the get-out-of-jail card for that.
Many a game of Infinity has been won because one player spent a lot of effort covering the objectives with AROs, and the other cut past that efficiently by blocking sight with a smoke grenade.
What makes models good for Vision Control?
The basic options are smoke grenades (which block sight of most models, but not those with Multispectral Visors), eclipse grenades or Discoballers (which block everyone), and White Noise (which blocks only troopers with visors or Marksmanship). The holy grail is to have all of this, but not many factions can do that. Eclipse grenades and Discoballers are universally effective at enabling uncontested movement, but they don’t allow any offensive combos. Smoke and White Noise can inflict a -6 penalty on AROs from screened enemies - if you have a visored/non-visored troop as appropriate to shoot through them, and the ARO piece lacks the Sixth Sense rule. Those offensive combos are essentially bolstering your firepower capability.
The big deal with vision control is to be able to place it reliably enough to set up plays and minimise the chance of wasting multiple Orders. Smoke/eclipse grenades are thrown on a model’s straight PH [typically 13] within 8”. That’s a risk, so a priority at list building is for smoke to be very cheap and plentiful, as with Impetuous/Irregular warband units, or to get bonuses to Burst or Special Dice. Another element is range - smoke grenade launchers deploy their zero-visibility zones out to 24” on straight BS [typically 11-12], and that is massively more flexible. Fireteams are the obvious answer, since units with Burst bonuses and smoke grenades are very rare (and universally good). Discoballers are probably the most reliable way to get a dose of vision control into your list, because even if you can’t get a Special Dice bonus, they can Double Shot (firing both their disposable charges in one volley) and get a +3 bonus at 8-16”. Many players prioritise another model with Baggage if throwing Discoballers is part of their gameplan. Reloading those can be super important, instead of using them in one turn only. Vision control models that deploy or arrive forward are also very valuable - the geometry works very differently when the zero-visibility zones are placed closer to enemy models.
Final Thoughts
Hopefully, considering those capabilities gives you some new ways to analyse the available units and build your lists. As well as using it from the start, e.g. “what does this faction have for firepower?” or “what are my options in-faction for assault?” we also find it useful to double check our lists, and determine their strengths and weaknesses. Part of developing your own playstyle is learning how you like to play the game. You might analyse some of the lists you enjoyed playing and find them strong in assault and firepower, but lacking in defence. If that hasn’t hurt your results so far, it could be a fair trade-off. Equally, you might want to try making a list with different emphases and see how you enjoy using it. Perhaps most importantly, analysing your lists’ strengths and weaknesses can inform how you deploy and play out the game. If your list relies on one TAG as the only Active firepower piece, understanding its importance will keep you aware of the need to protect it until it can do its job.
Looking forward, this capability-centred approach can also be used to examine your faction’s options for more specific or optional areas. Try it for your hacking options, or your options for fighting enemy TAGs, or your options for scoring Classified Objectives.
On that note, we hope to bring you more Infinity content soon on those specialised areas, as well as more Faction Focus articles updated for N5.
Have any questions or feedback? Drop us a note in the comments below or email us at contact@goonhammer.com. Want articles like this linked in your inbox every Monday morning? Sign up for our newsletter. And don't forget that you can support us on Patreon for backer rewards like early video content, Administratum access, an ad-free experience on our website and more.
 Heavy Infantry and big guns - a classic firepower combo.
 Sometimes assault is a crime, as well as a capability! This is often the case when Ajax (pictured) takes the field. Credit - Musterkrux
 The humble Total Reaction remote, AKA the 'TR bot'. A staple of defence in Infinity lists - now available in N5 thunderbolt flavour!
 Sometimes a single sneaky Specialist in the right place, like this Guilang, is all you need to swing a game.
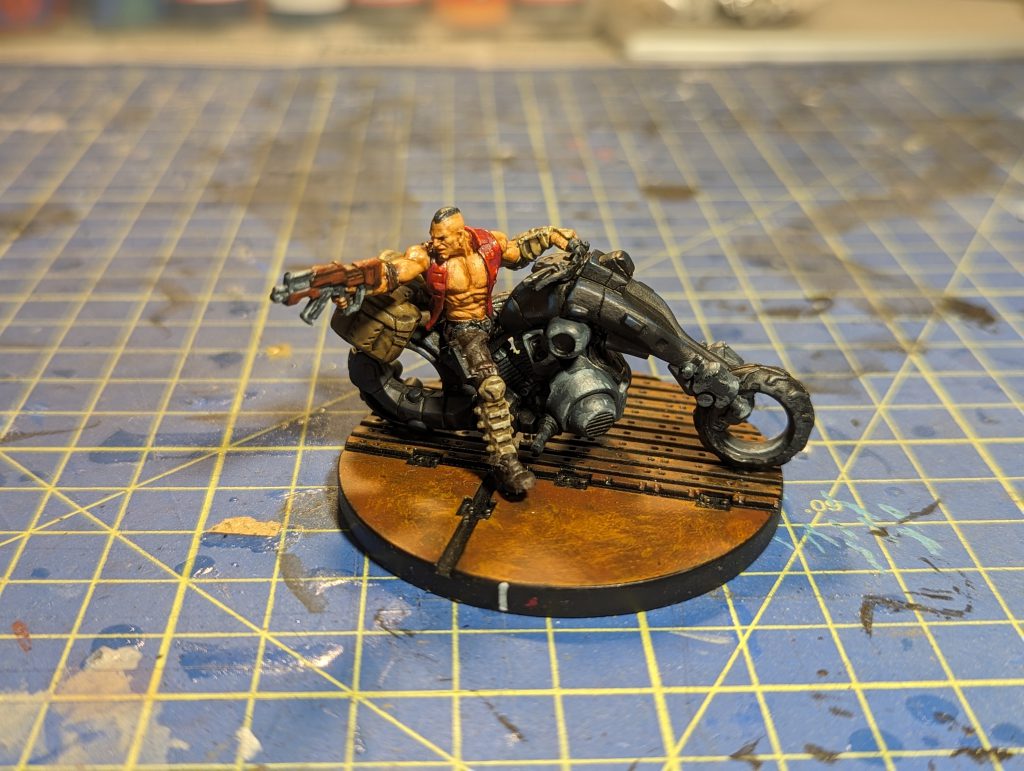 Don't worry about the gun - the most dangerous weapons this Kum Biker carries are his smoke grenades.

 Goonhammer App and Patron Updates: April, 2026
 Kill Team Tournament Report: Engage, Party, Repeat's March Madness 2026
 Goonhammer Reviews: Tribal Conquest