In our How to Paint Everything series we look at how to paint well, everything! We look at different styles and techniques and some of the decisions you can make around heraldry and coloring. In this article, Rockfish is talking about how he painted his Genestealer Cults. We've also added this method to our original article on How to Paint Genestealer Cults, which includes other methods and schemes.
Hey look, I am starting another army, its not like I haven't done this a million times before. Technically I started this one quite a while ago, as I picked up a box of these cultists like a year ago for some reason or another and they have been lurking in my mercifully small backlog since then. Most of the colours for this army were based on happenstance honestly, while I was sure I wanted to have them fit in with my Leviathan Tyranids I wasn't quite sure how.
What ended up happening was that I bought some chipping medium and a box of Vallejo air paints for another project and decided that I could test them on something "simple". With the initial sandy colour figured out, the rest ended up being mostly just seeing how I could get the red and purple of leviathan in there. I think they ended up working pretty well given how its comparatively simple for one of my schemes! With the background out of the way, lets move on to getting paint on models...

After priming black I gave the models a coat of Vallejo Metal Colour (VMC) Duraluminum, followed by two thin coats of Vallejo Chipping Medium thinned down with water. You might be able to get away with one thicker layer but this stuff is weird to apply through a airbrush, so your experience may vary. After that was just about dry, I applied a coat of Vallejo Model Air (VMA) Yellow Brown that I then chipped back in a few ways to get variety:
Once the chipping is where you want, its crucial that you seal thoroughly with varnish, otherwise washes and later paint layers can reactivate the chipping medium. In my case I am using either Vallejo Mecha Matte or Premium Air Matte, and I am not quite sure how other finishes will affect how the the scheme turns since there are a lot of washes involved.
Do note, that while I describe doing this with a airbrush you could probably do it by hand or rattle can, its just that it might take a lot longer.
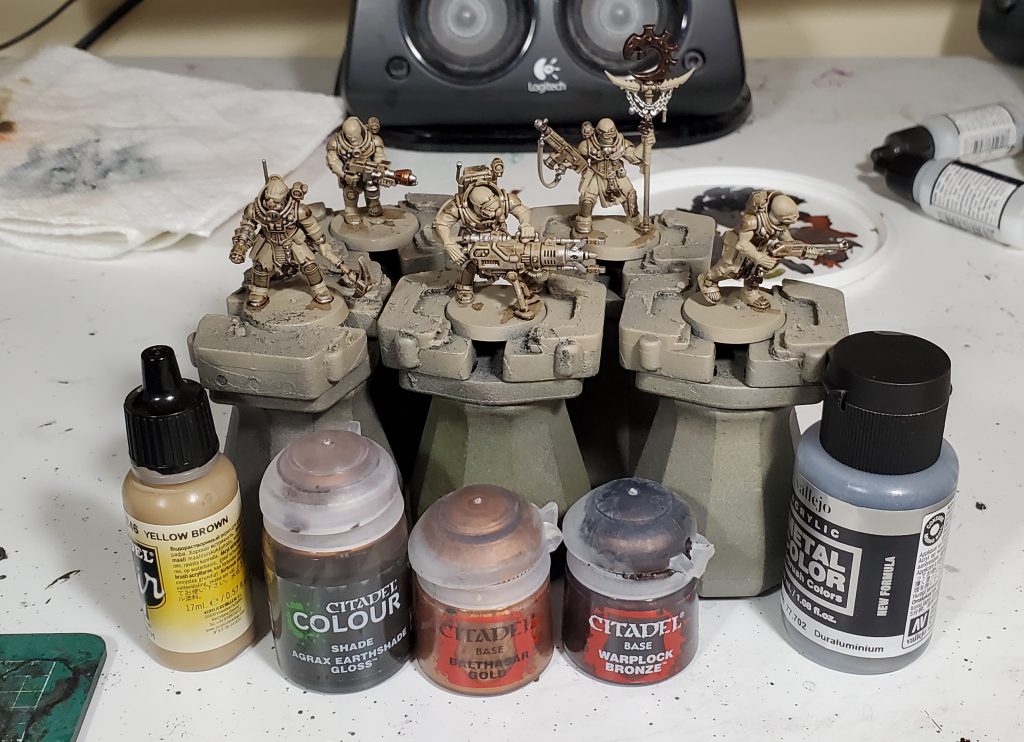
The first thing I did was get all the metals done, this included hitting anything I wanted bare aluminum with the VMC Duraluminum to tie it back to the material under the chipped paint. In this scheme I am using the Warplock on iconography and Balthasar on coppery pieces of equipment.
Next up, I washed the metal and armor panels alike with Agrax Gloss, this will get us the final sandy beige of the main armor and recess shading on the metals. After that dried, I went and cleaned up everything but the metals and armour with VMA Yellow Brown, this is needed becausein the last step you probably had excess chipping or weird textured areas. You could go straight to base coating with conventional colours, but I wanted to save time and I am happy with how contrast looks over the yellow brown.
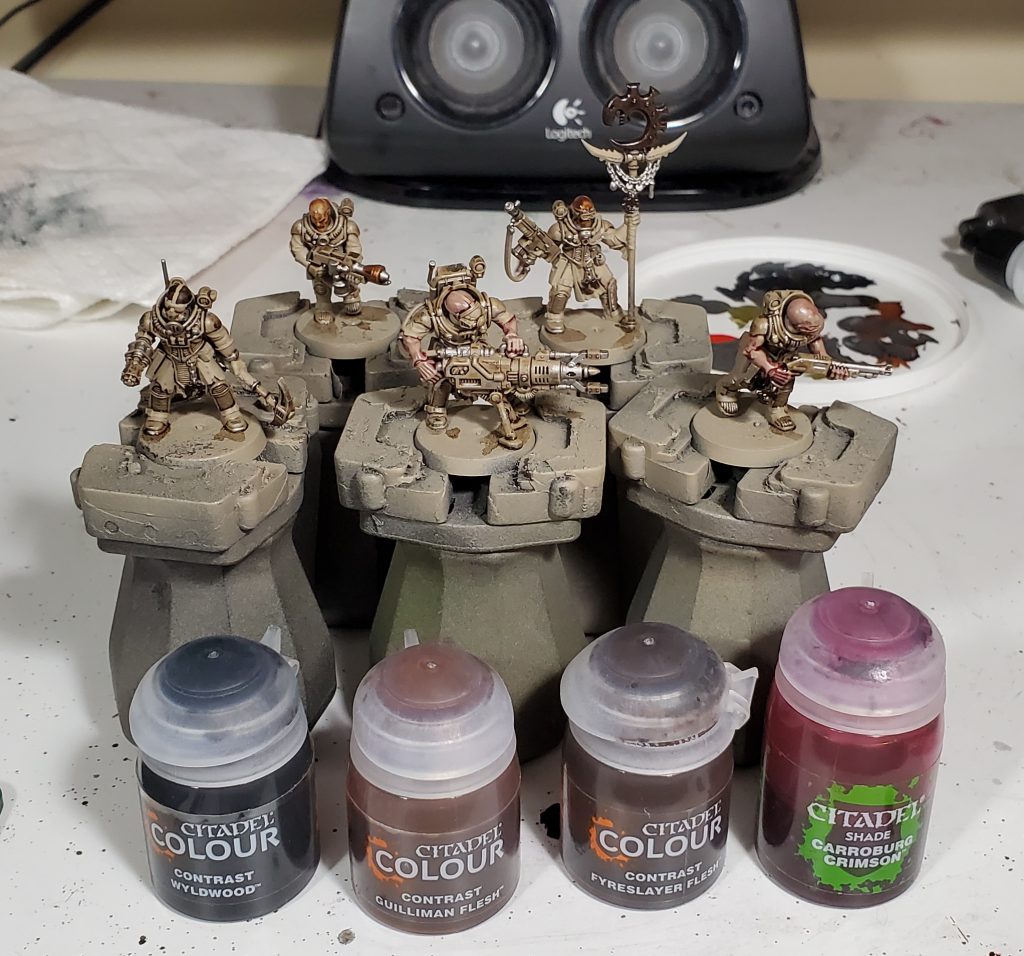
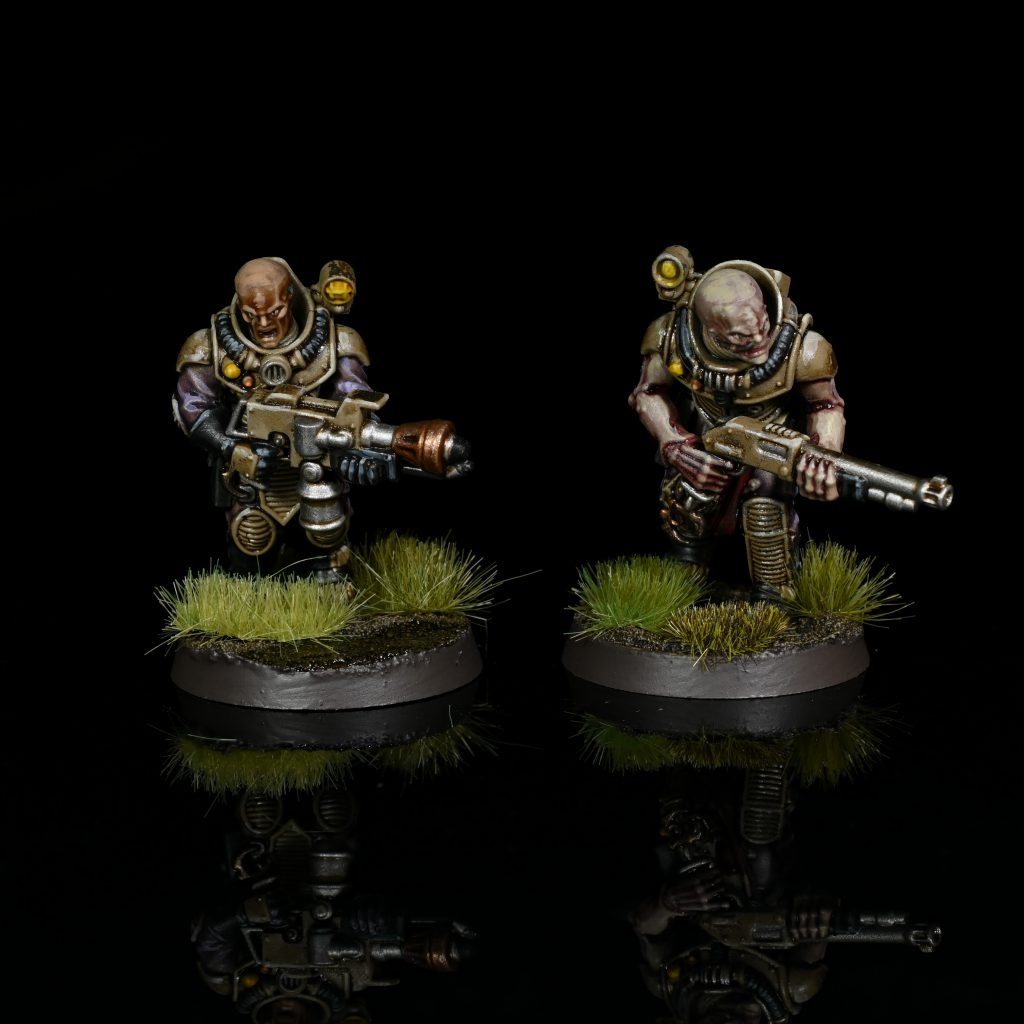
The first round of base coats are for the skin, and this is pretty much what you can see. I used Carroburg on the more evidently Tyranid hybrids and then various flesh contrasts for the more human range skin tones.
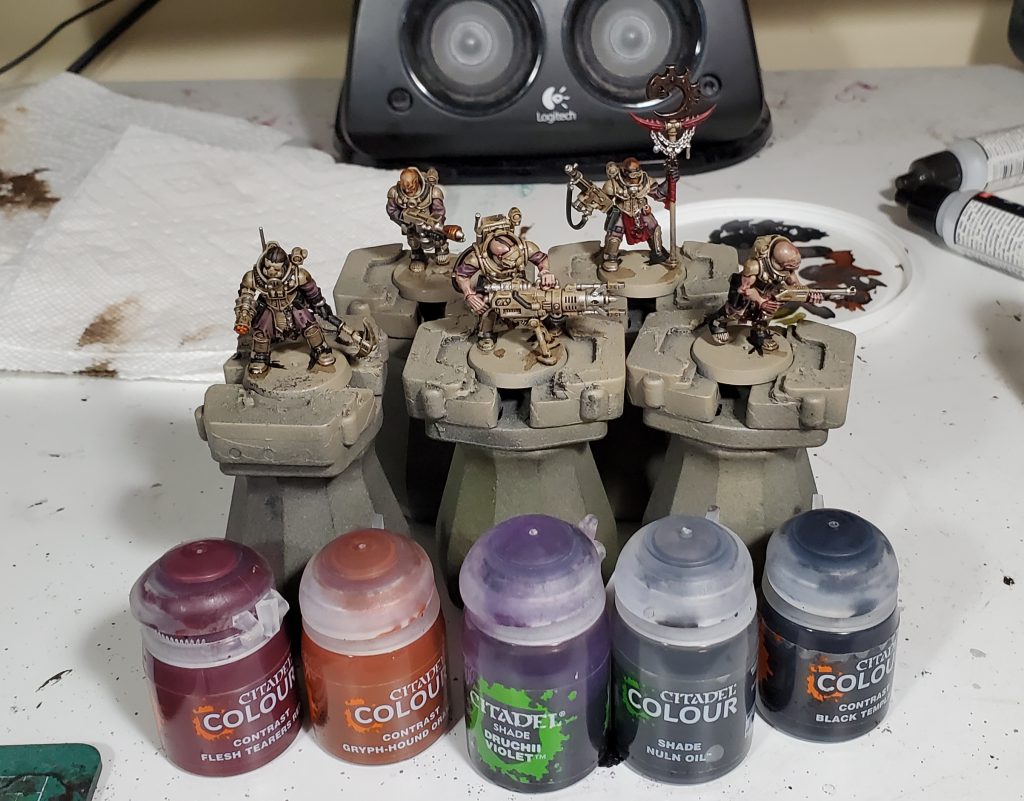
The rest of the base coats are also pretty straight forward:
What might be confusing here is the uniform, where I start with Nuln to darken and desaturate it a bit before Druchii gets colour right.

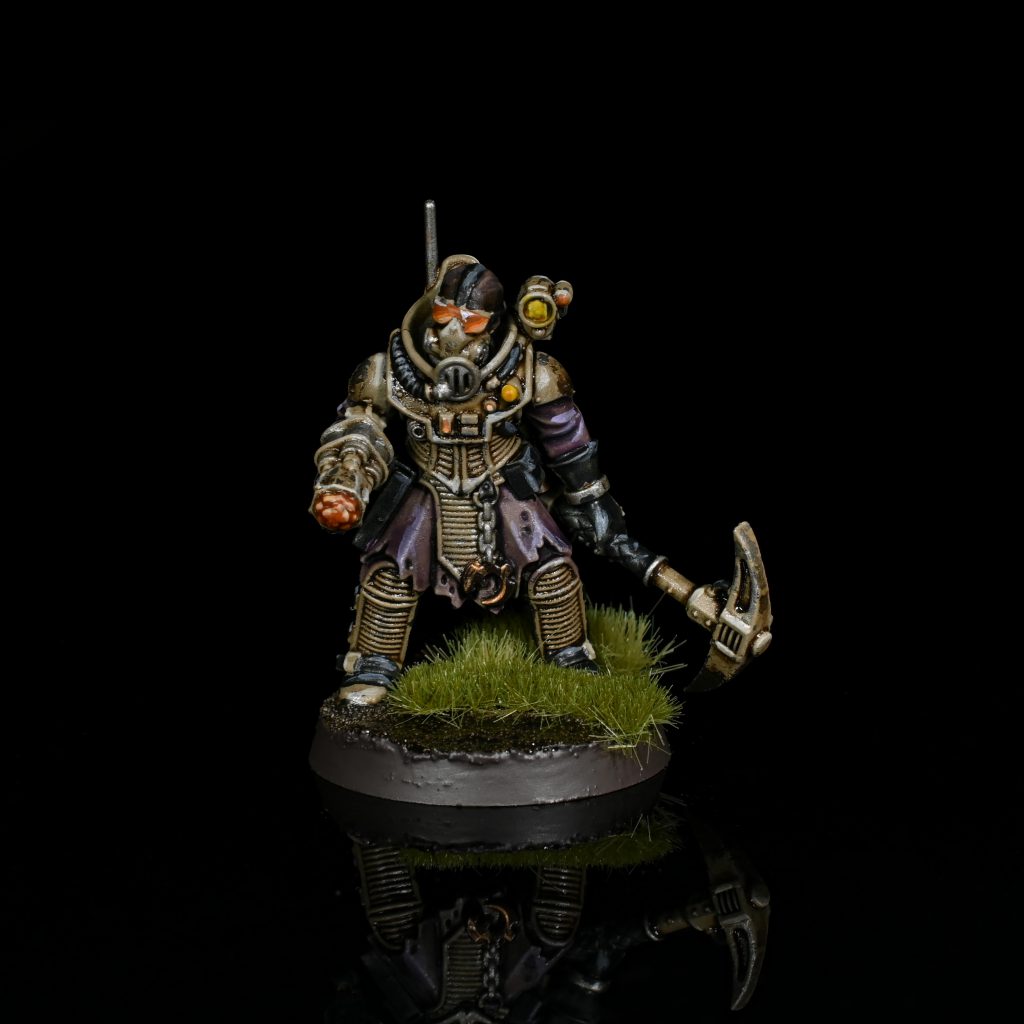
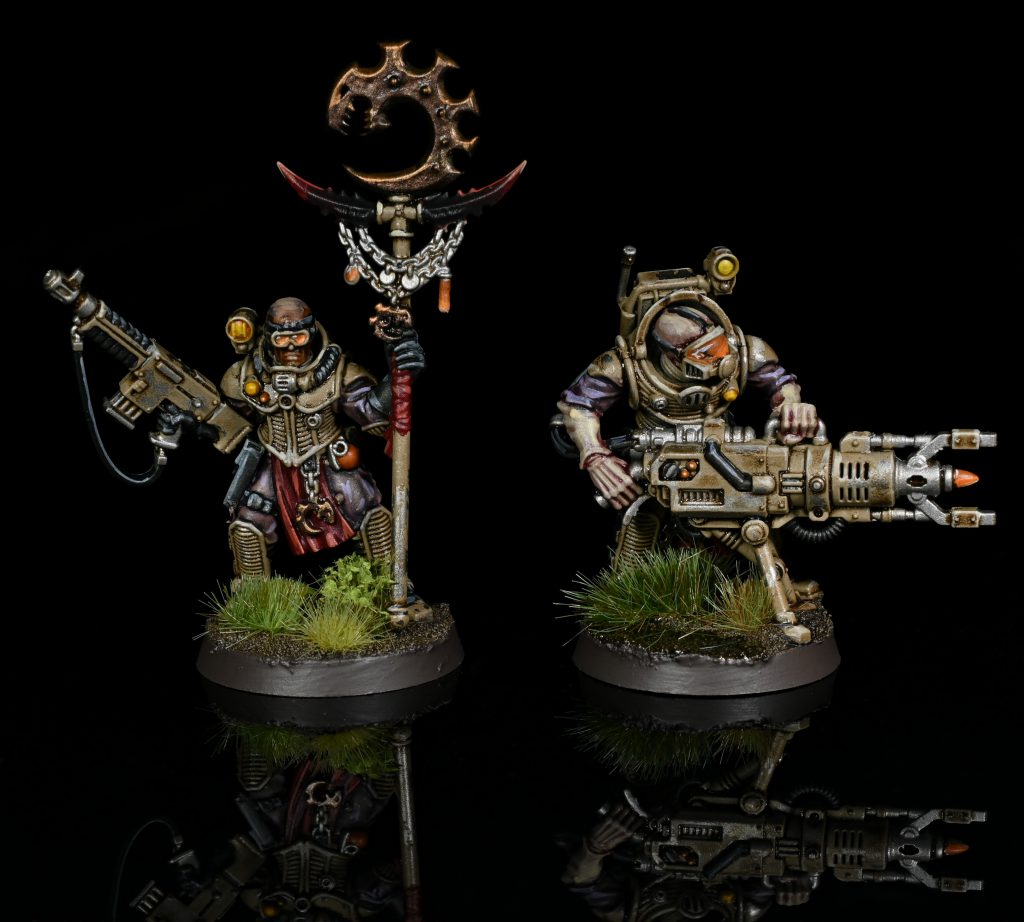
While not a highlight, the first thing I did at this step was to used black templar to tint the base of the claws on the banner, this was in a few steps thinned each time although the first step was probably a bit dense. After that the highlights mostly go where you expect:
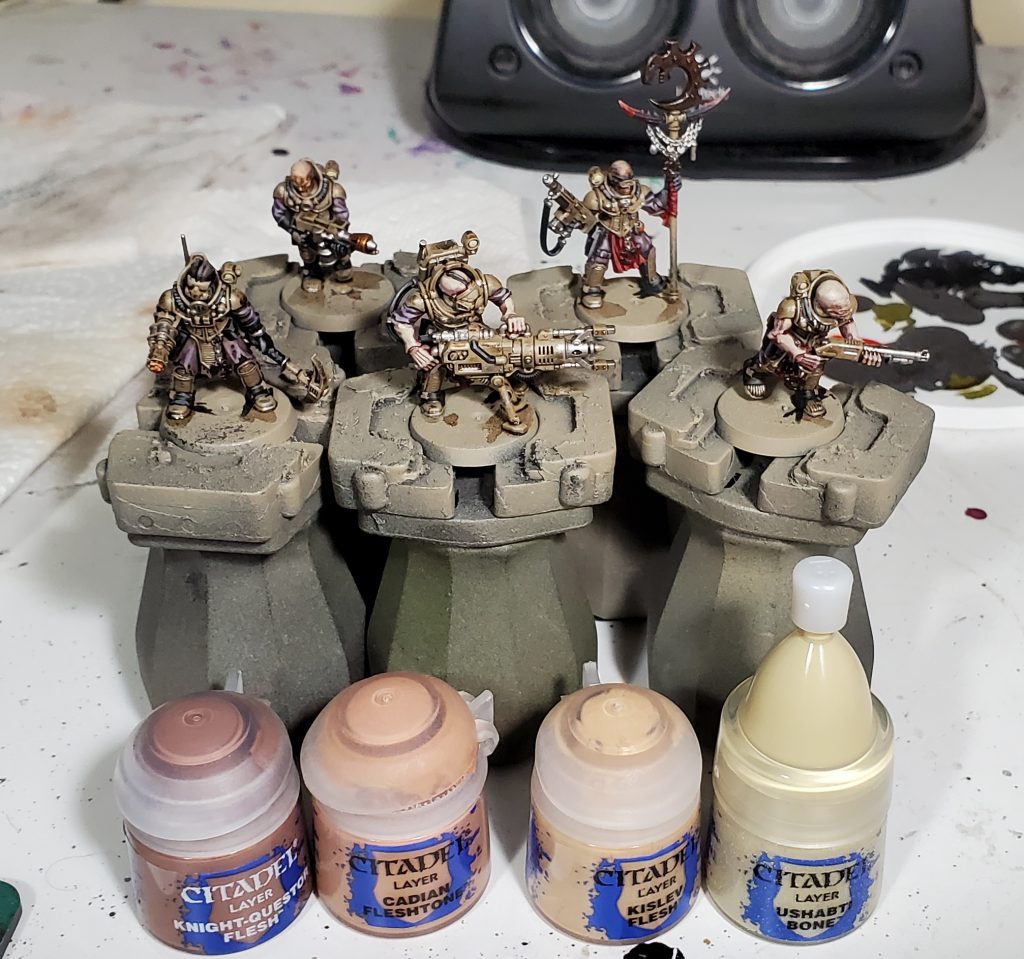
For the human skin highlight the colours are basically just moving left to right from darkest to lightest of this trio of paints. The darker skin is a couple of thin coats of Knight-Questor, then for the last highlight mixing in a touch of Cadian. The medium skin tone started with Cadian followed by mixing in a bit of Kislev for the final highlight of the medium tone. Then I reused that Cadian/Kislev mix for the initial highlight of the lightest tone that was then finished off with kislev.
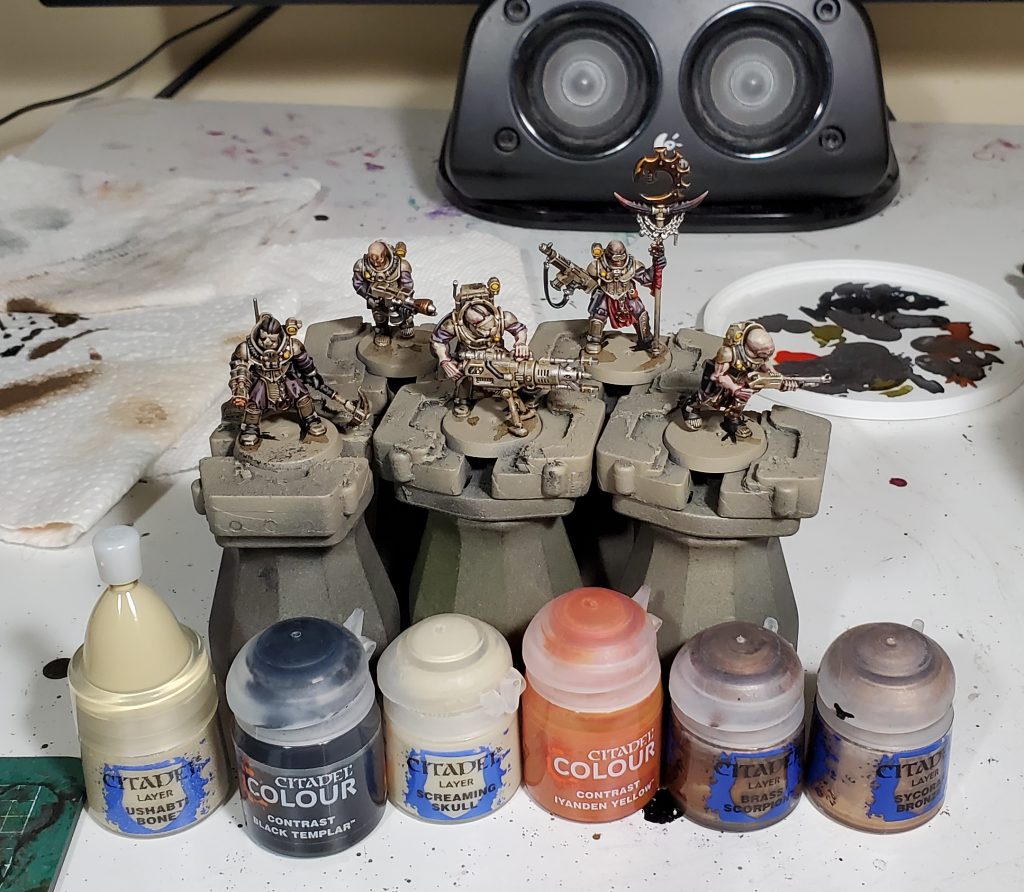
The hybrid skin is a couple of thin coats of Ushabti over the base coat, you can push it a touch further with screaming skull if you want.
We have a few quick hits to start off this step:
Moving on to the armour, it is carefully highlighted Screaming Skull making sure not too cover up too much of the chipping that we worked so hard on. Getting the right balance is somewhat tricky, as it can look incomplete without enough highlights or too clean with a excess.
The lenses are just the most basic approach from our Gemstones tutorial, I am not blending the colours to any real degree just because there are a lot of these to be done in the army.

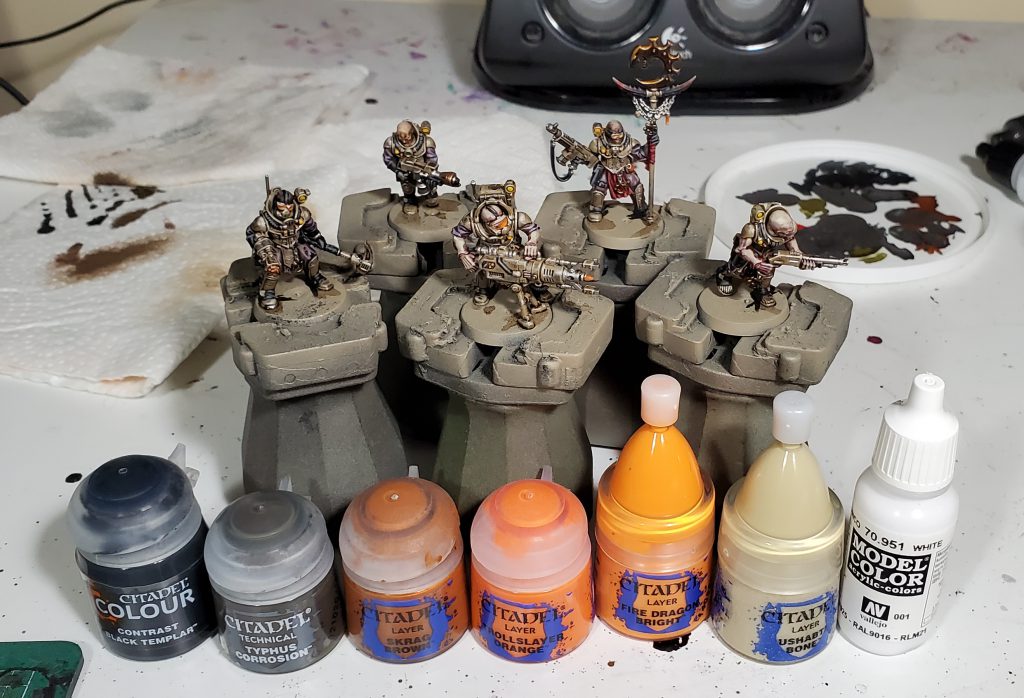
You are aiming for something like this, essentially crescents getting lighter towards one side with a extreme contrast in the other. In this I am using Skrag, Trollslayer, Fire Dragon and Ushabti for the main colours and a extreme reflection of Vallejo Model Colour White. I did use some left over thinned black templar to recess shade the crack on the heavy weapon fellow's visor.
This is just a little optional detail, but the flamer gets a layer of crusty burnt stuff by doing a layer each of Typhus and Black Templar contrast. This kind of thing works well on exhaust stacks too!
The models themselves are just about done now!
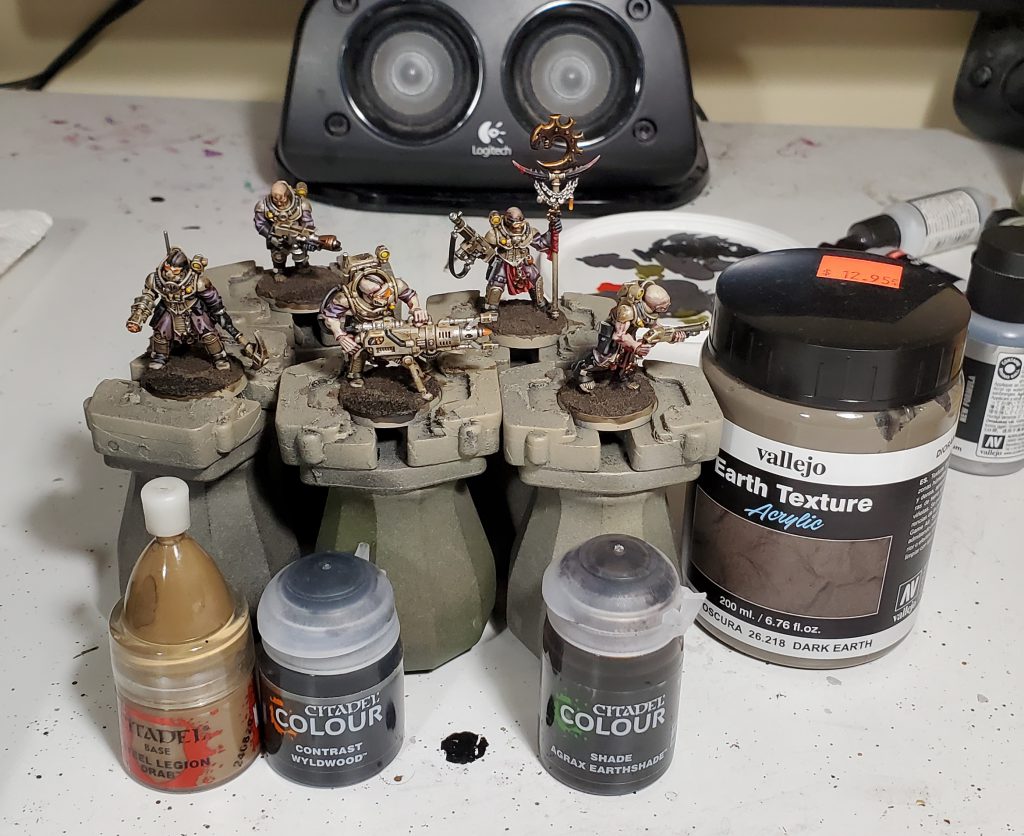
For the bases, I start by hucking a bunch of vallejo dark earth on in a nice thickish coat, for the river/lake I pressed the paste back in a few areas to create lower areas and you can exaggerate this by building a bank up a little bit. Once that dried I put wyldwood on the river/lake and agrax on the rest of the base, then I drybrush everything but the river with steel legion. Then I varnish the models with matte varnish, for this I am pretty happy with either Vallejo Mecha Matte or Premium Air Matte.

To get river/lake looking shiny I just kinda pour some gloss varnish from the bottle on, you will want a paper clip or something to poke any bubbles. The penultimate step is painting the rims with your choice of paint, in this case I used dryad to match my Tyranids. The last model thing the models need is to throw on some tufts, I like using these ones from Gamers Grass:
Then we take some pretty pictures and sit back and be pleased with ourselves!
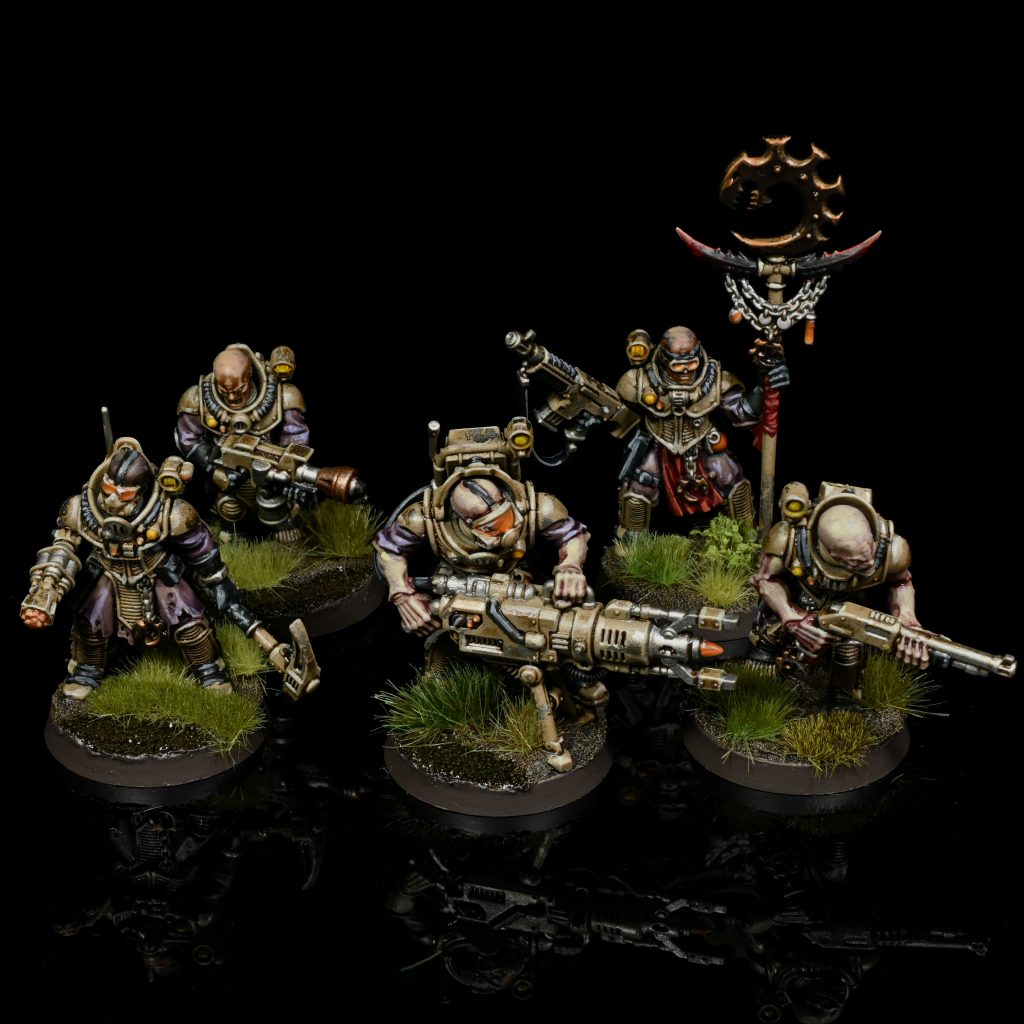
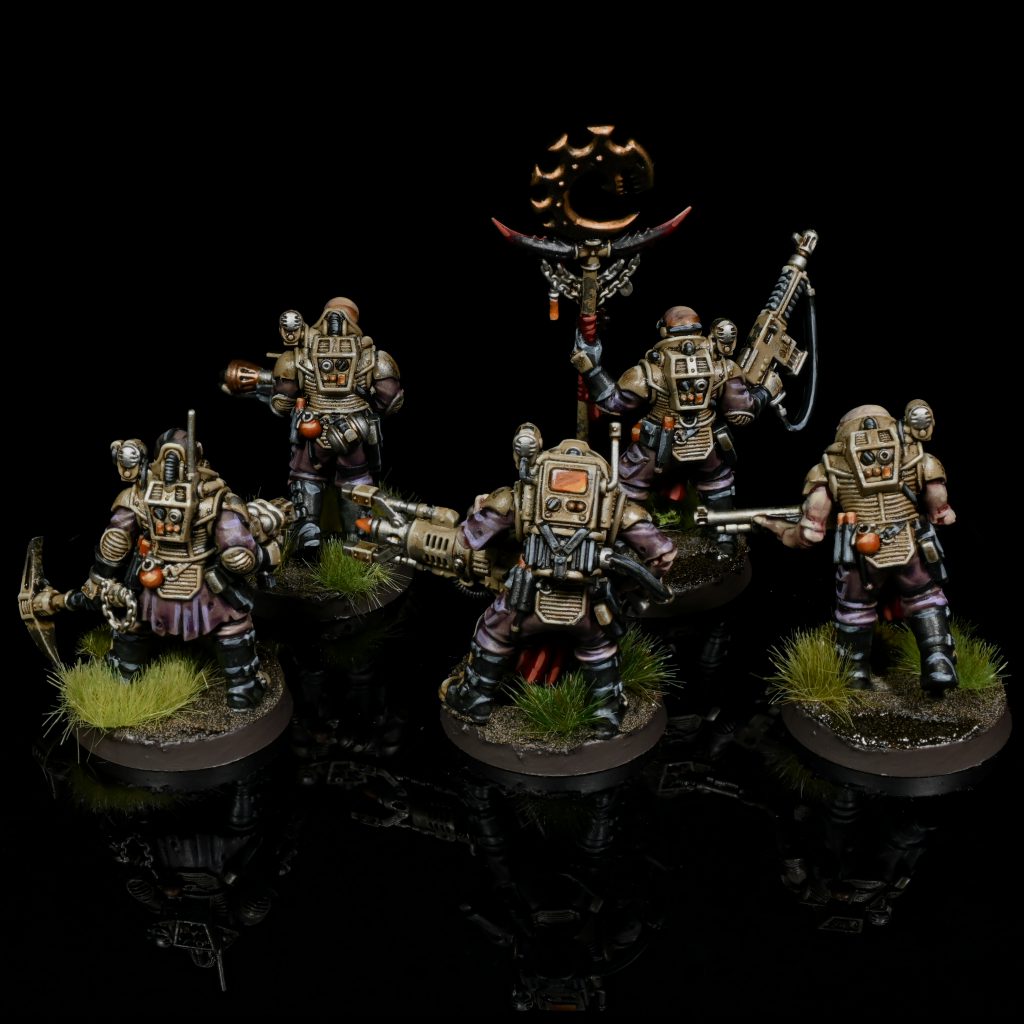
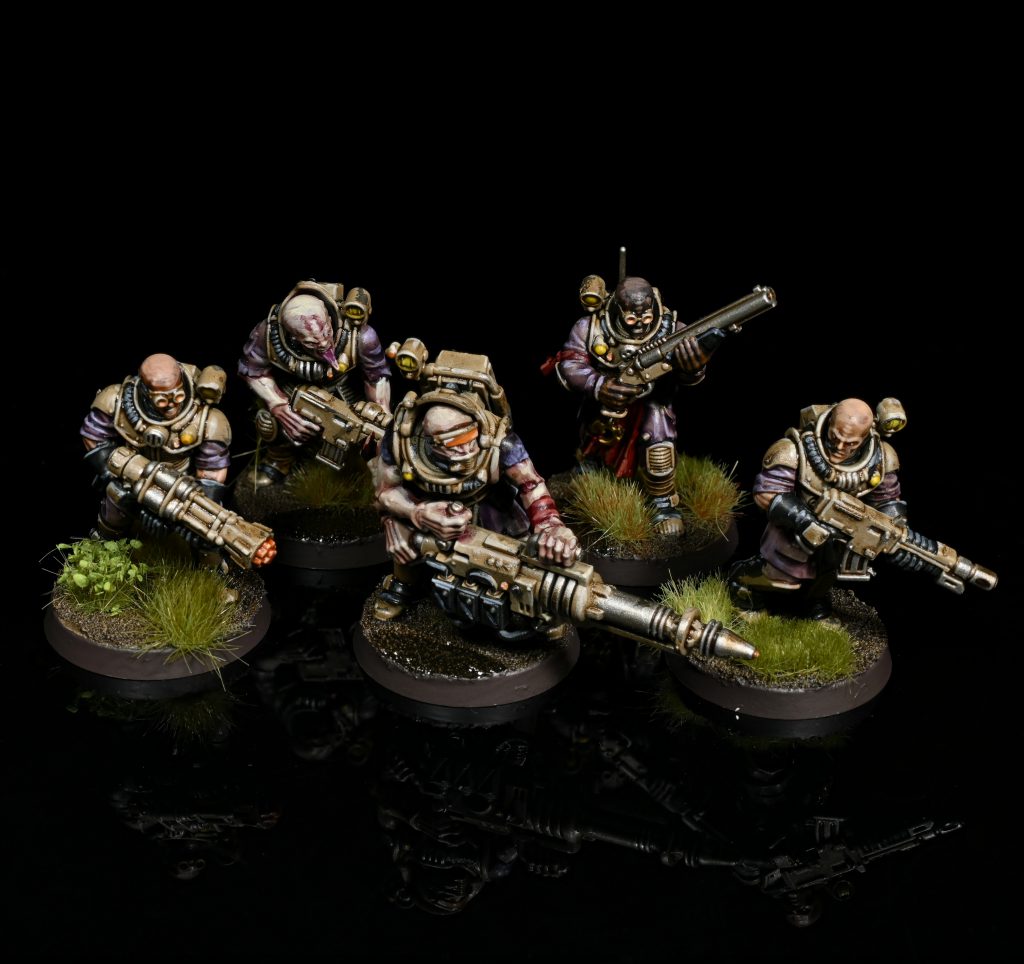
Here's another five I did earlier!
Tags:

Thank you for being a friend.
 Goonhammer App and Patron Updates: April, 2026
 Kill Team Tournament Report: Engage, Party, Repeat's March Madness 2026
 Goonhammer Reviews: Tribal Conquest
Support us on Patreon to get access to our Discord and exclusive App features.
Thank you for being a friend.
Already a Patron? Login with Patreon.
Visit our incredibly official store on RedBubble.
![]()
![]()
Support us on Patreon to get access to our Discord and exclusive App features.
Thank you for being a friend.