Step 1. Basecoats
I primed my examples with
Citadel Wraithbone. This provides a good light primer colour for basecoats, but it also provides our base colour for cotton, wool and white areas on the model.
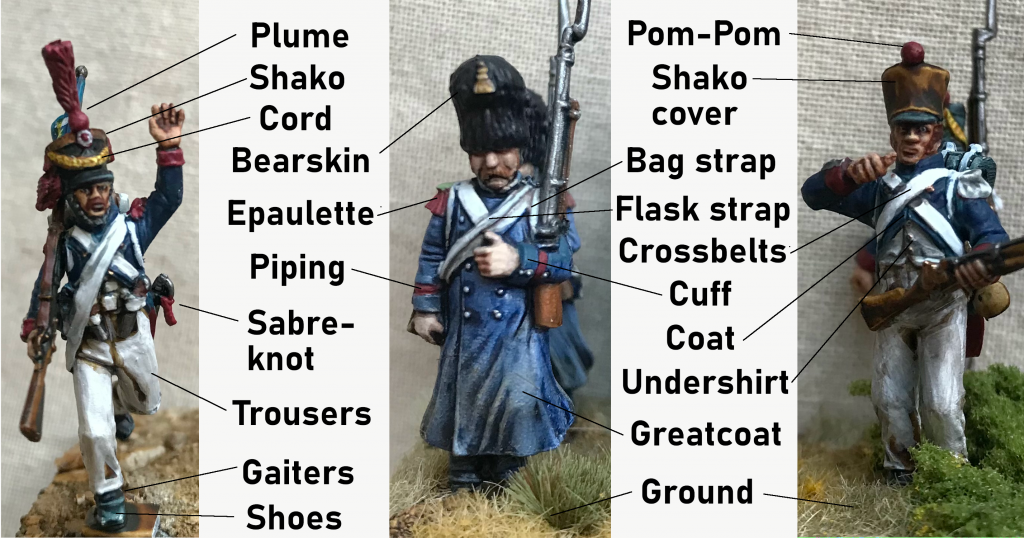
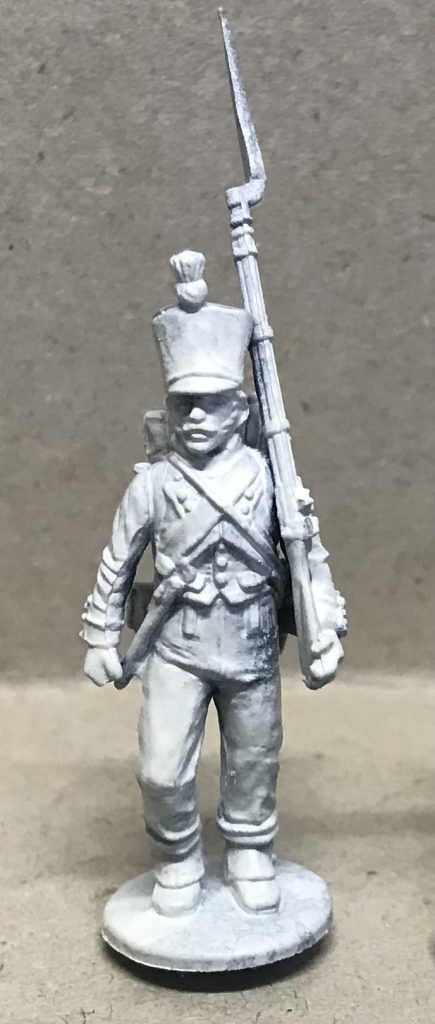 A Well Behaved Line trooper in 1807-1812 Uniform with Shako Cover
Block in the colours starting from the Trousers and then moving on to the jacket. Be careful with painting the jacket - it's overlain by several areas we'll eventually have bright white, so try to be neat otherwise there'll be a lot of clearing up to do.
Jacket (habite, or habite-veste depending on the Uniform) and Pom-Pom - Citadel Stegadon Scale Green
Trousers - Citadel Contrast Aggaros Dunes
Wood (Gun) and Backpack - Citadel Contrast Snakebite Lieather
Shoes - Abaddon Black
Shako, Gun Metal and Cartridge Box - Citadel Black Templar
Cuffs, Turnbacks and Collar - Citadel Word Bearers red
Lapels and straps - Citadel Nuln Oil
 Basecoats blocked in
Using Nuln Oil on the straps helps to give them some definition which will make painting a lot easier, as well as shading the recesses between bag straps and cross belts. It'll also show up any areas of jacket you've missed, so once the Nuln Oil is dry, go back to fill these in with Stegadon Scale Green.
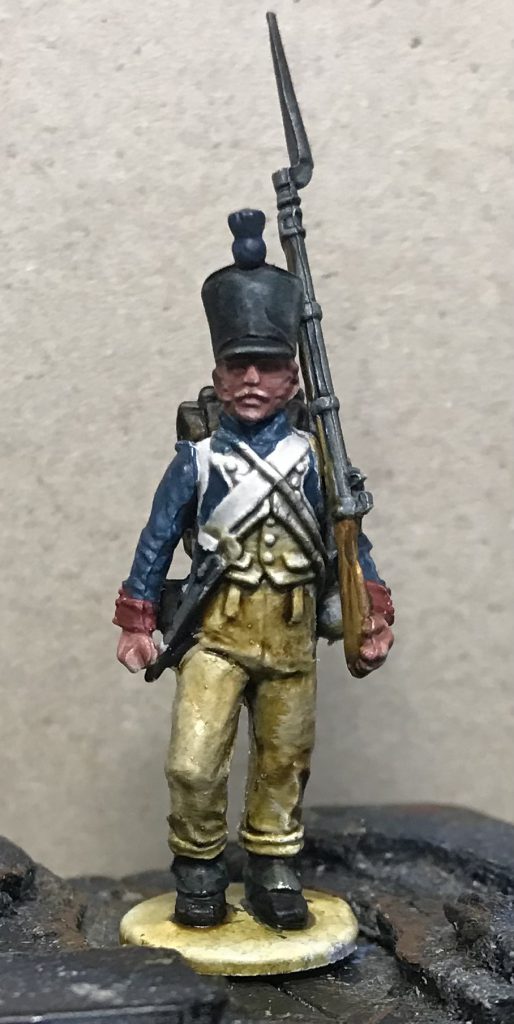
Step 2. Colour
Here we're going to go back to most of the colours we've blocked in in order to make them more intense. If this was a scheme for a smaller army, it'd be all about highlights, but instead this is about making a block look good as a whole, so every colour is saturated, clear and distinct.
Jacket - Contrast Ultramarines Blue
Red areas - Citadel Evil Suns Scarlet
Lapels, Bag Straps and Cross Belts - highlight with Citadel White Scar
Trousers - highlight (messy!) with Citadel Wraithbone
Pom-Pom - citadel Ahriman blue
Gun metal - Citadel Boltgun Metal
Don't worry about highlighting the Red areas, just layer on with Evil Suns Scarlet. When applying the white be careful to let the gaps between lapel, strap and cross belt keep some of the shade applied with the Nuln Oil. Otherwise they'll end up a mass of flat white - if this does happen, just apply some watered down Nuln Oil, because that generally fixes all hobby ills.
Using the Contrast Blue is an interesting one - it's lighter than the basecoat, so it doesn't provide shade, but it's not light enough to pool in the recesses and produce weird reverse-highlights. Instead, it's blue enough and transparent enough to just really up the intensity of the blue, and the jacket has gone from dark and faded to a deep and striking blue.
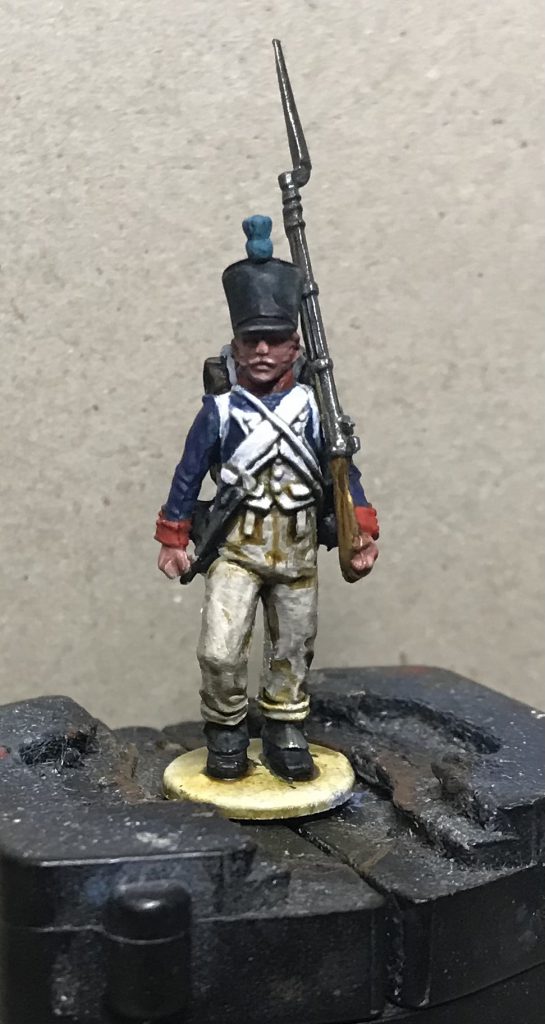
Step 3. Colour detail and Skin
Time to add the same level of colour depth and detail to smaller areas of colour. This is where neatness really starts to come in handy, so while this is still a quick scheme, take your time over this one, particularly with the roll straps on top of the bag. You can actually see in the picture I took of this stage "complete" that I had to go back and fill in one of the straps later - it's things like this that really take the wind out of your sails when batch painting.
Red areas - wash with 1:1 Fyreslayer flesh and water
Skin - light highlight with Army Painter Barbarian Flesh
Bayonet Scabbard - Black Templar Contrast
Roll Straps - White scar
Turnbacks - Fill in Wraithbone then white*
At this point for some reason I also did the buttons on the lapels and undershirt and the facial hair - straight black for those!
*I've added this step because I hate painting turnback piping - doing things this way makes a crisp red piping a lot easier.
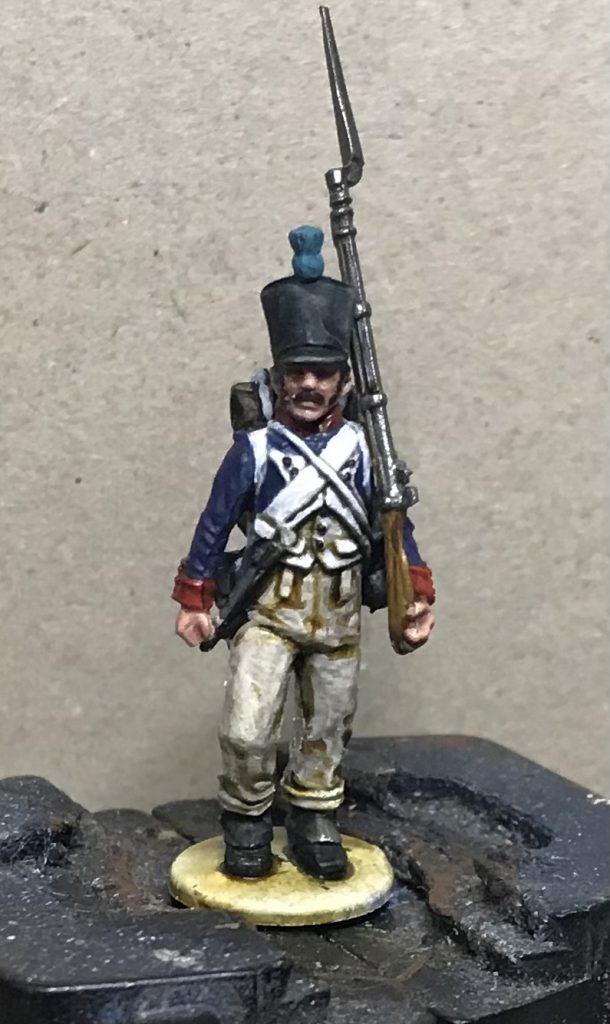
Step 4. Fine detail
If you're batch painting a large batallion, you could finish here and en masse I'd be happy with the result. If you want to go one step further, there's some smaller highlights and details to do that will make your French really stand out. For the Metal, Red and Pom-Pom highlights, just apply a little paint to the raised areas.
Backpack - Wraithbone, Nuln Oil and White Scar
Metal Highlights - Stormhost Silver
Red Highlight - Evil Suns Scarlet
Pom Pom - Hoeth Blue
The backpack is a little more complicated. French backpacks came in all sorts of shades, but I tend to do mine as classic "brown and white spotted cow". Blotch on some Wraithbone, then once it's dry add Nuln Oil followed by flecks of white as a final highlight 0 it's quick, simple and says "yep, this is cow alright".
Loading...
Step 5. Final Touches
If you really want to get every detail painted, there's a final step here. Most of it is the piping. Piping is the bane of the Napoleonics painter - depending on the uniform it could be inches of very fine piping around cuffs, buttons, flaps, lapels and collar. I tend to skip collar piping (because it's a pain in the arse), and focus on the lapels. To get the piping to stand out, paint it with a very fine line of White Scar followed by the piping colour - in this case Evil Suns Scarlet again.
Most buttons can be painted with a little Black and then Silver. The buttons on the cuffs require a little more attention - filling in the button cuff area with Stegadon scale green carefully to leave the cuff piping red, then dotting the buttons with Stormhost Silver.
Eyes - Wraithbone followed by Black
Piping - White Scar followed by Evil Suns Scarlet
Cuffs - fill in with Stegadon Scale Green
Buttons - dot with Stormhost Silver or Fulgurite Copper
Loading...
With that, you're done!

 If you're playing Napoleonics, you probably want to be painting some French. Of all the combatant nations, they're the one that defines the period - Napoleon's succession of triumphs, follies, victories and shattering defeats were all played out by the soldiers of the Grand Armee.
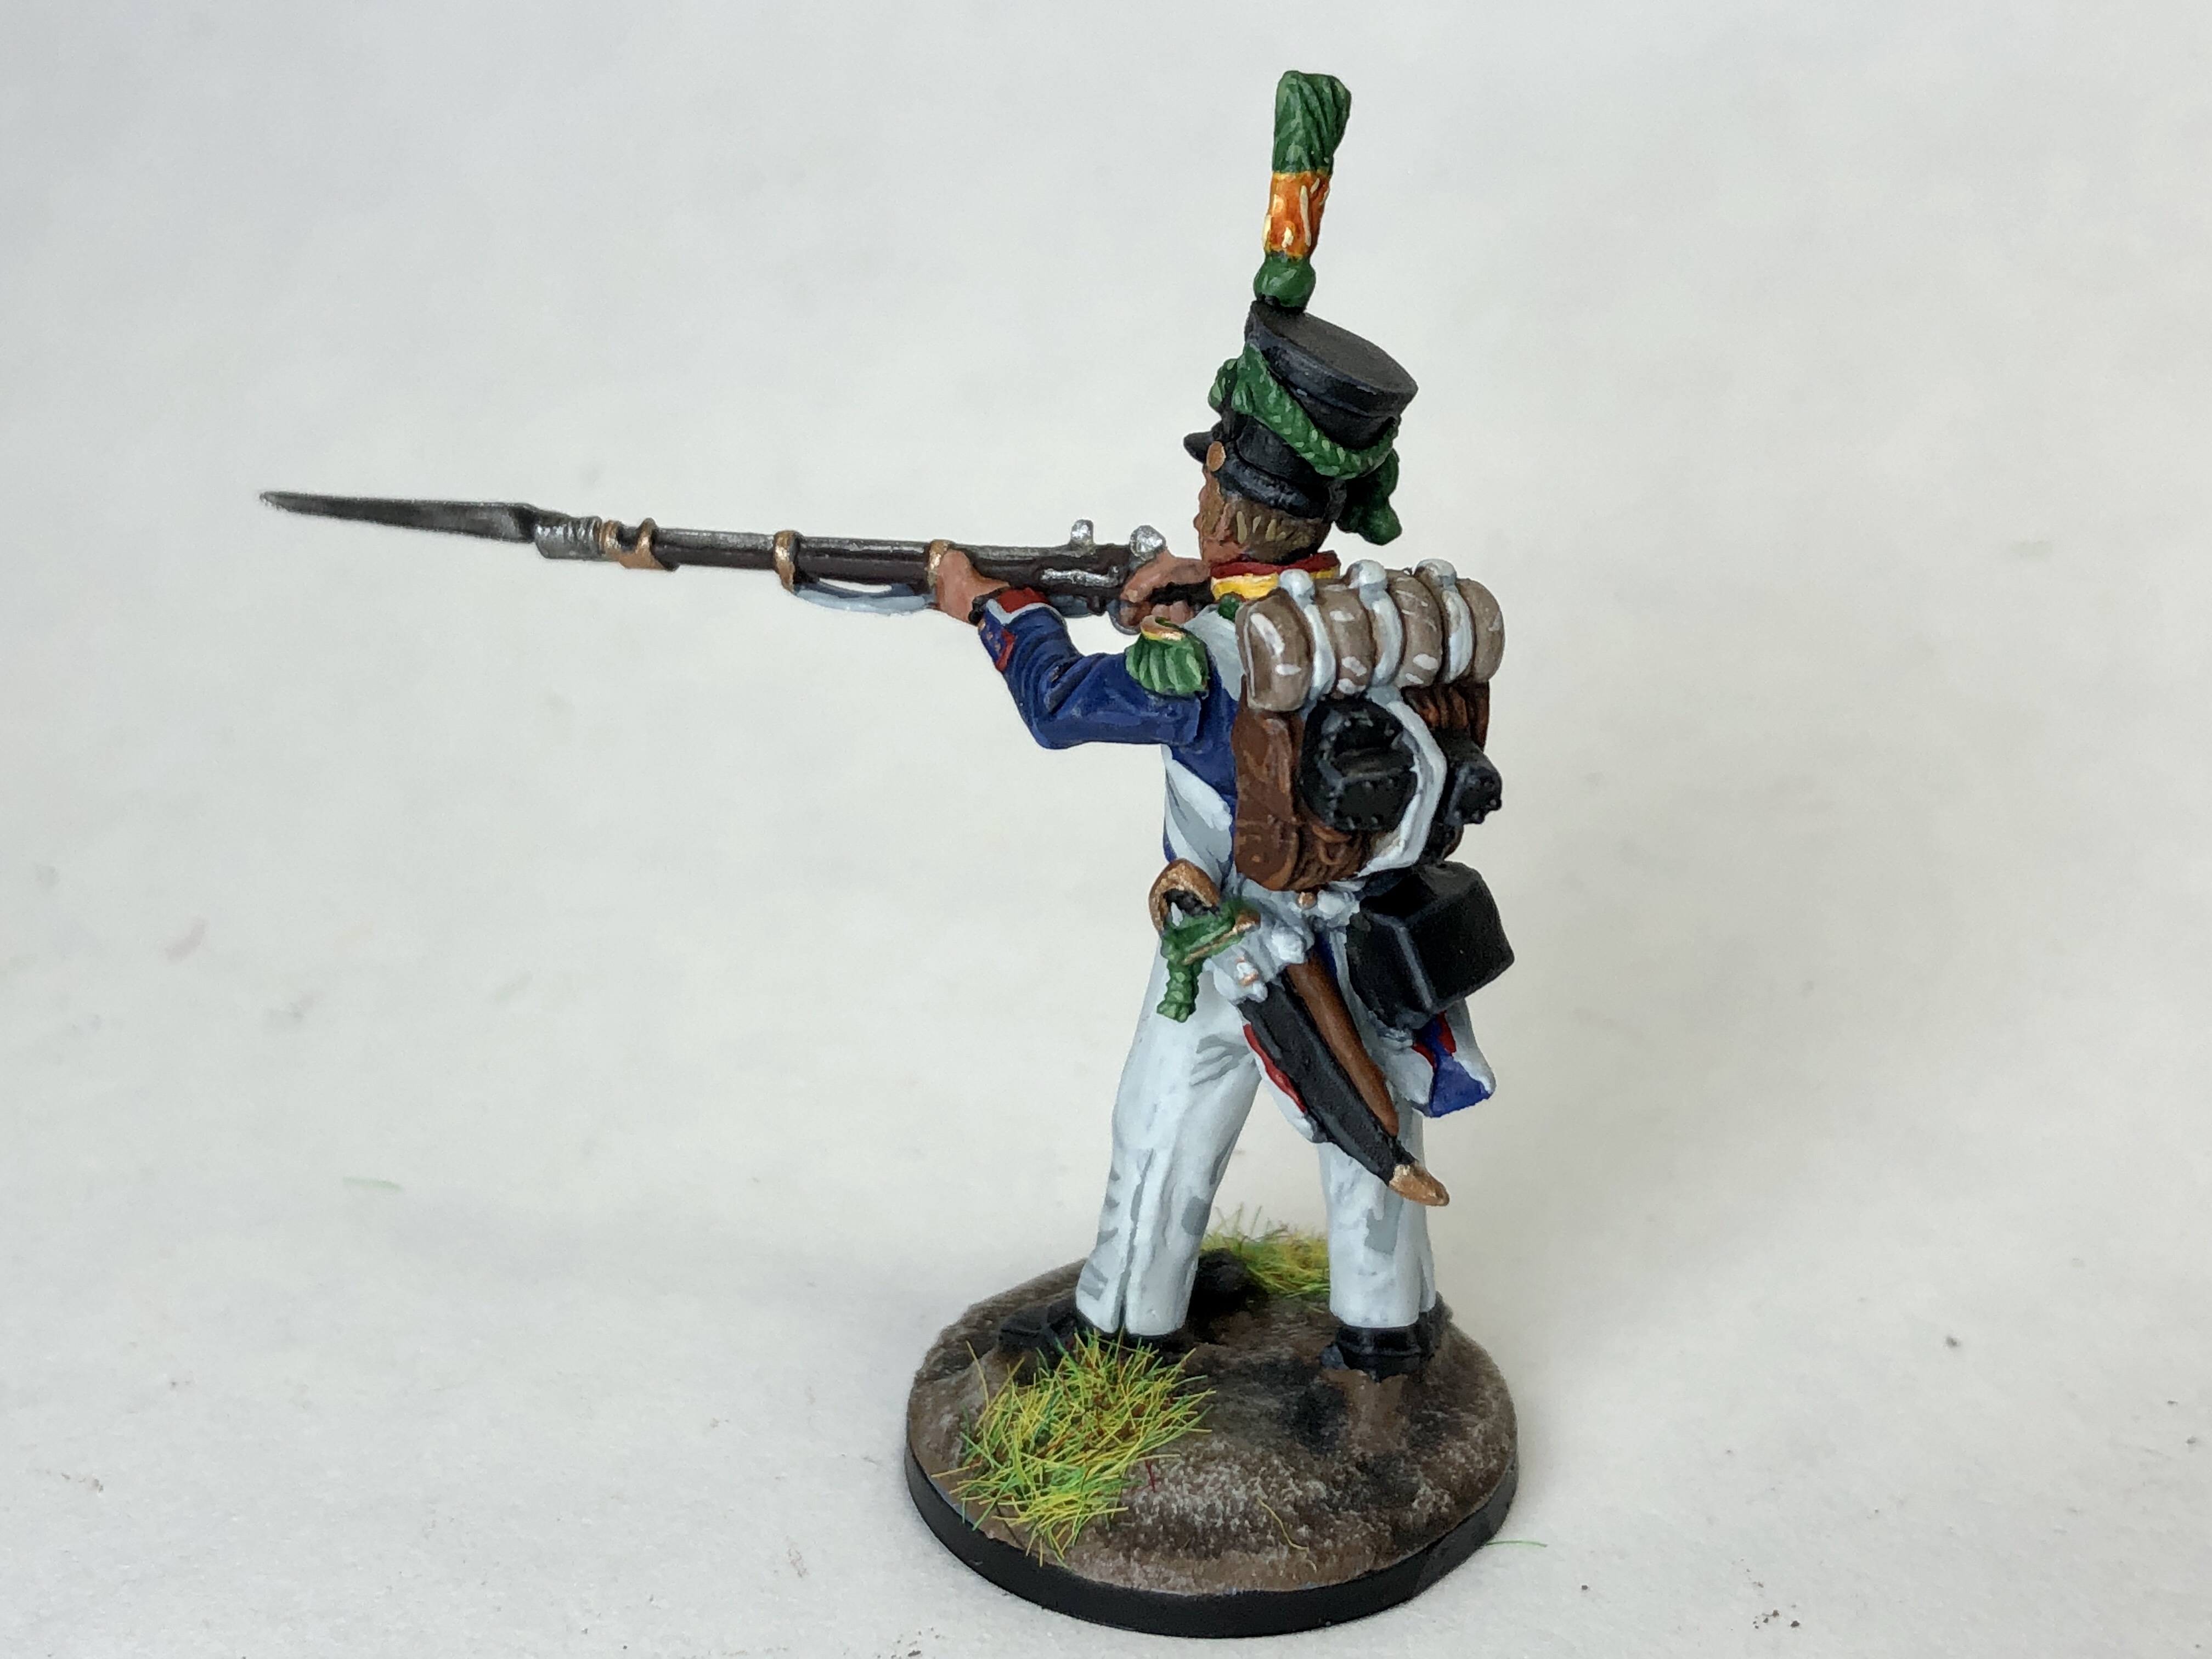
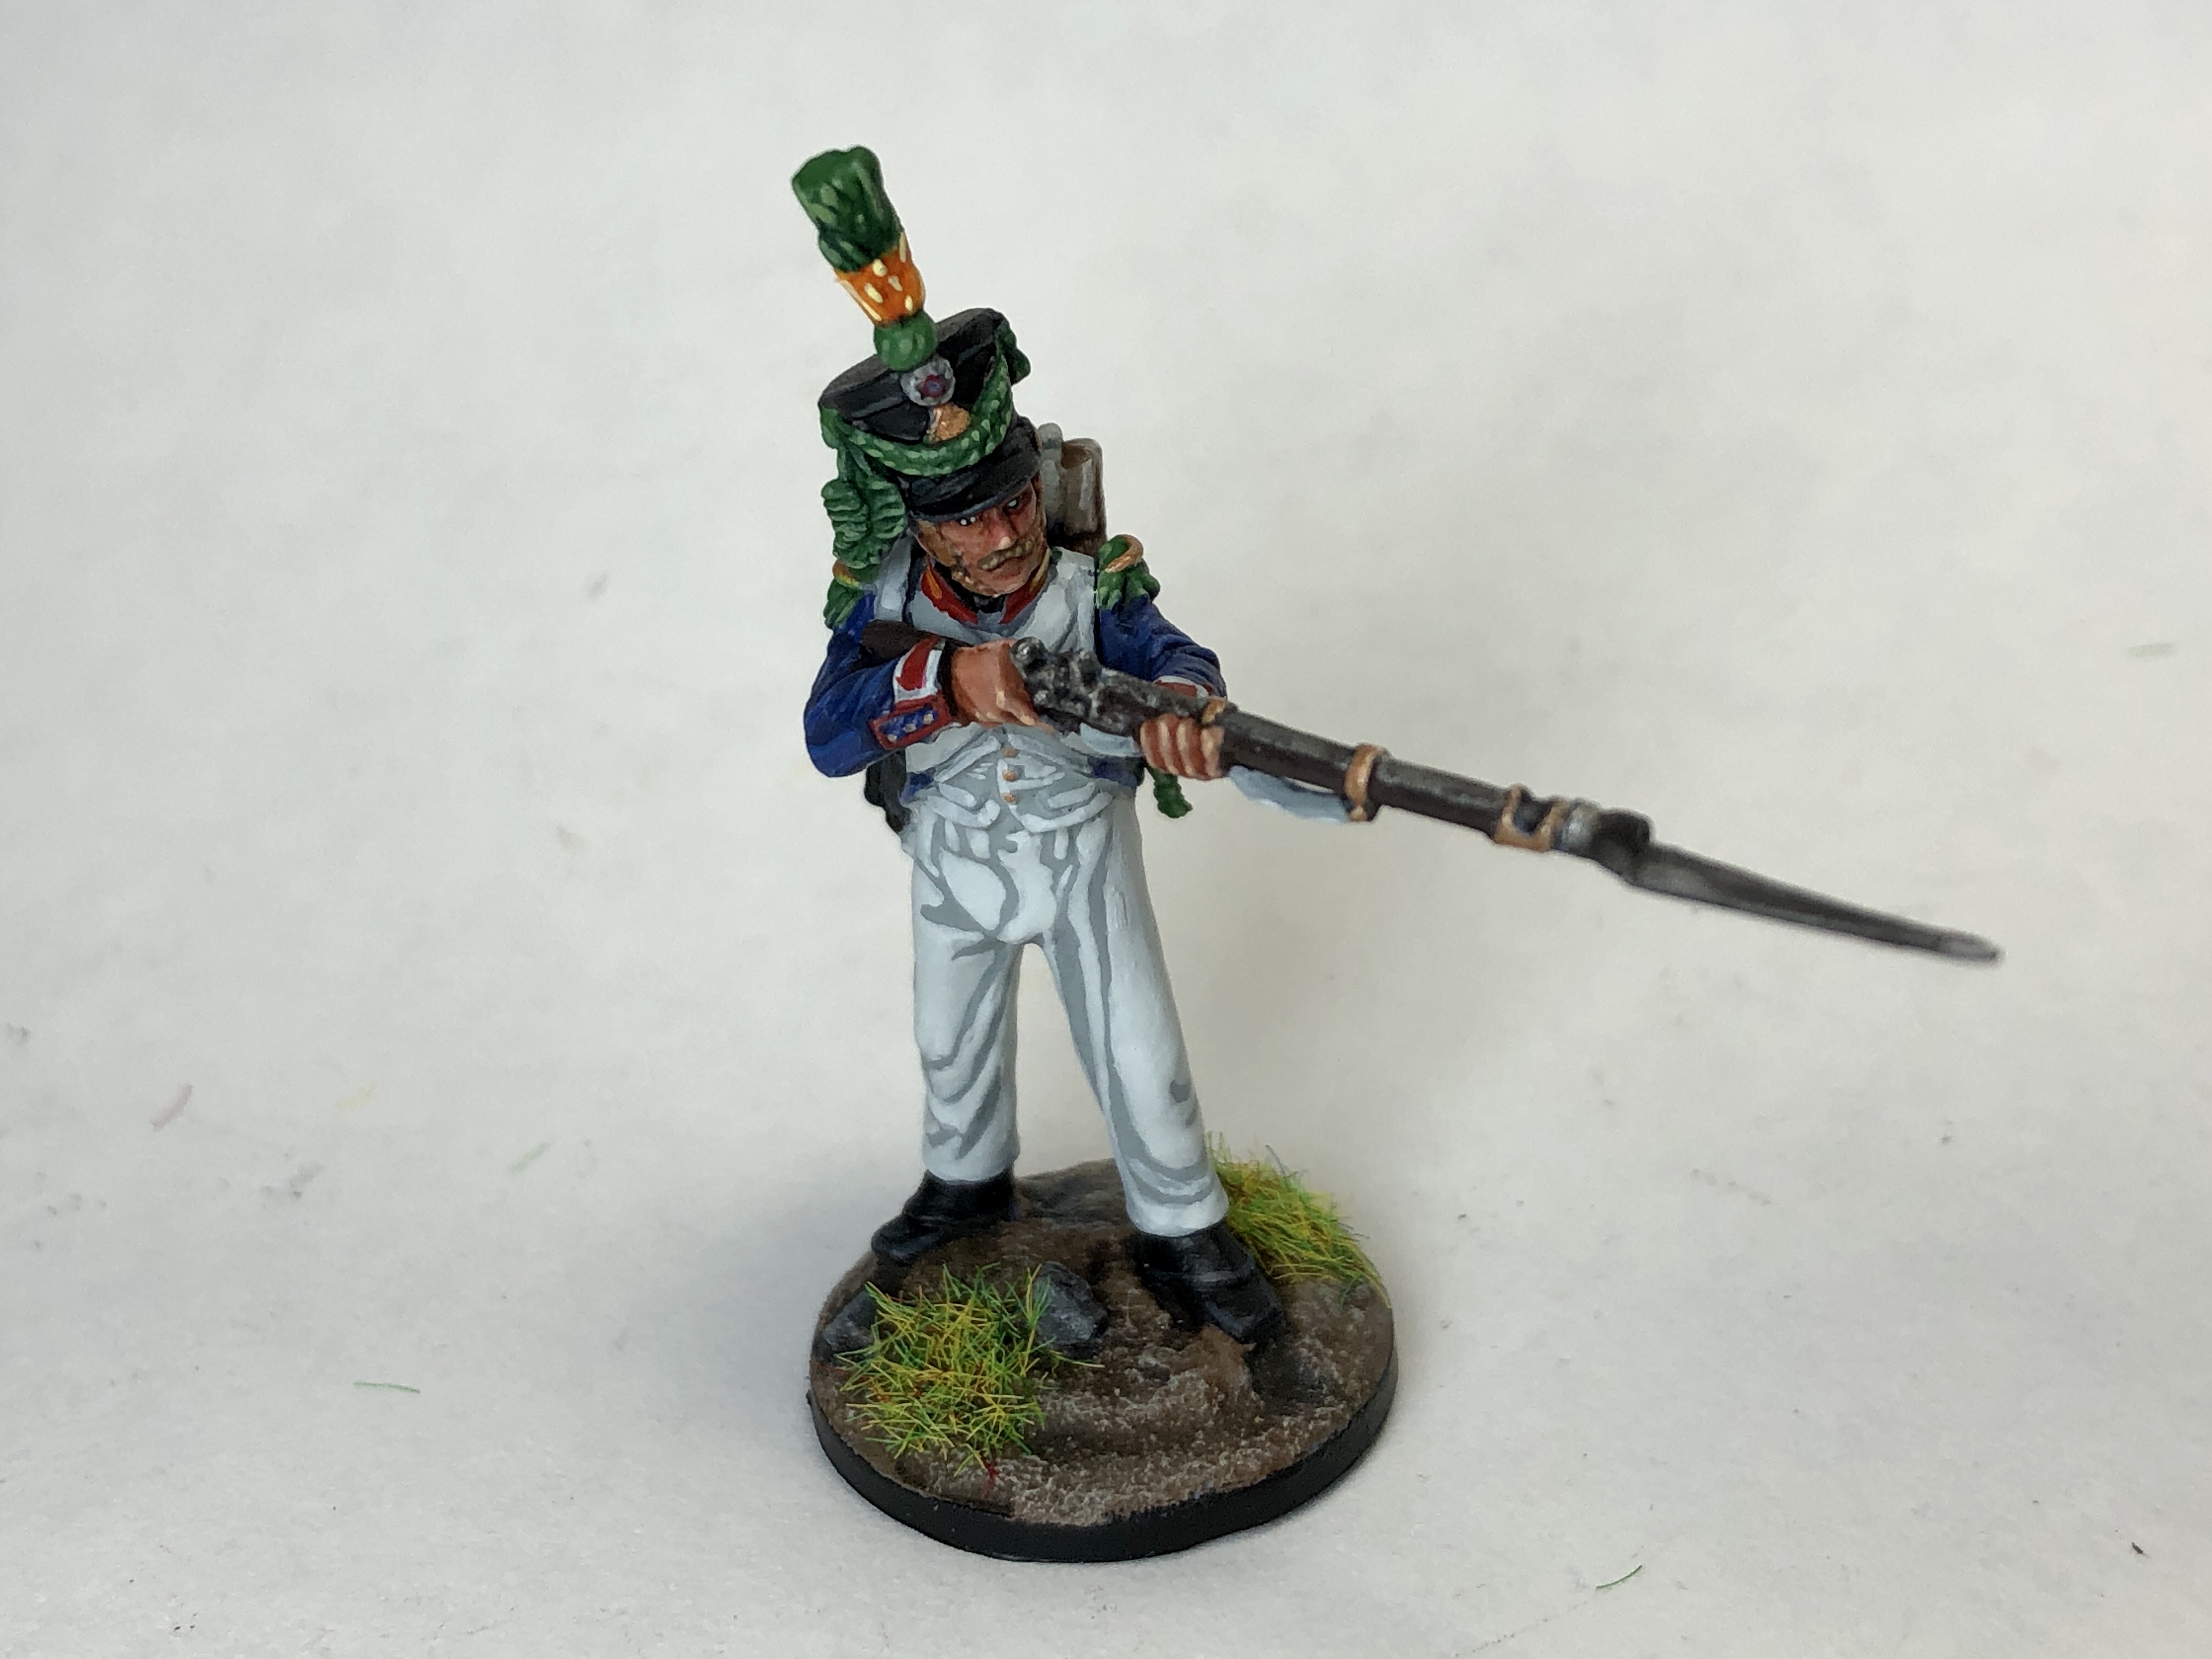 French Voltiguer. Credit: SRM
 French Voltiguer. Credit: SRM

 Goonhammer App and Patron Updates: April, 2026
 Kill Team Tournament Report: Engage, Party, Repeat's March Madness 2026
 Goonhammer Reviews: Tribal Conquest