Hey everybody! In today's How to Paint Everything: Marvel Crisis Protocol I am going to go over how I painted the new Ronin miniature from the Echo, Tigra and Ronin character pack.
Who is Ronin? Ronin is originally an alter ego of his box mate Maya Lopez, when she is introduced as Ronin in New Avengers #11. Clint Barton is resurrected in the aftermath of the House of M event, having died previously when Wanda Maximoff goes insane and manifests a Kree invasion above New York. Afterwards, he joins the New Avengers and suits up as Ronin to help them rescue Maya. She then passes the mantle of Ronin to Clint, which he uses throughout the events of Secret Invasion and Dark Reign.
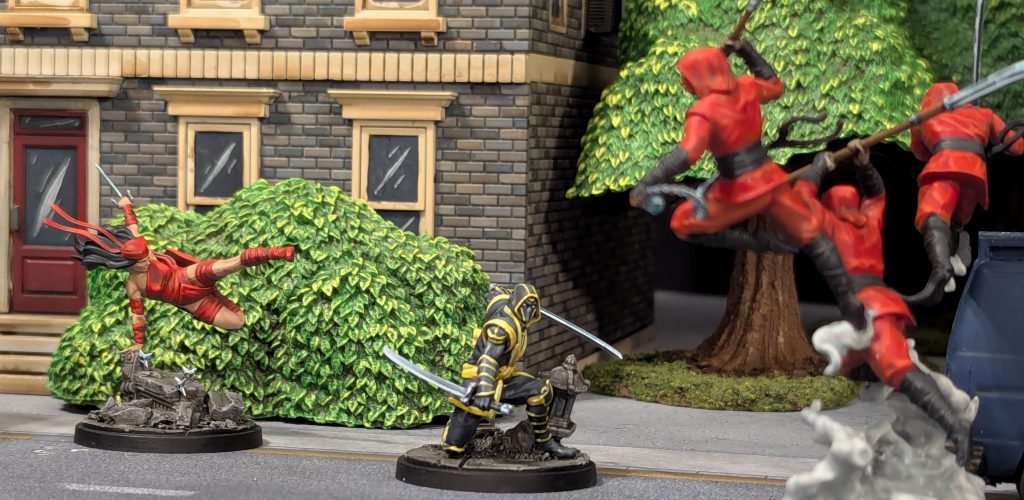
Ronin's suit is predominantly black with yellow trim and accents. Its a mix of fabric and leather, but I'm going to paint both of these types of material with the same exact colors, letting the yellow trim and some changes to my highlights do the work on the armor pieces.
So let's get to it, as always you'll find a handy chart featuring all of the colors I used in my paint job. Feel free to subsistute colors to something similar if you don't have a specific brand or color.
 credit: Brushwizard
Black Suit
Basecoat - Vallejo Model Color Black: Citadel Dark Reaper
Shadows - Vallejo Model Color Black
Layer - Basecoat Mix: Citadel Dark Reaper
Layer - Citadel Dark Reaper
Highlight - Citadel Dark Reaper: AK Interactive Ice Yellow
Wash - Citadel Nuln Oil
To begin, I mixed Black and Dark Reaper into each other to make a slightly darker version of Dark Reaper. I don't want to go too dark, because I want to use Black in the recesses to reinforce some shadows. Having an off-black basecoat gives us more options later too. Once I'm happy with the basecoat, I painted black into the shadows to deepen them a bit before moving on. I returned to my original mix and added a bit more Dark Reaper to it and then began highlighting any areas that would catch light and folds in fabric. The next layer did the same, only this time using straight Dark Reaper instead. Finally, I mixed Ice Yellow into Dark Reaper to brighten it up and gave edges, tops of folds and anywhere else that needed it, a final highlight. To finish it off, I washed it all with Nuln Oil to darken the colors a bit and tie it all together.
Yellow Trim
Basecoat - Citadel XV-88
Layer - Citadel Flash Gitz Yellow
Highlight - Army Painter Warped Yellow
Highlight - Army Painter Warped Yellow: AK Interactive White
Since yellow has such coverage issues, I started with a basecoat of XV-88 to cover up any black that strayed onto the trim. I then recoated it all with Flash Gitz Yellow. It was then given a highlight of Warped Yellow and another highlight of Warped Yellow mixed with White.
The highlights work a bit different on the sash than the armor trim. On the sash, I'm trying to aim for a softer highlight to make it feel more like fabric. On the armor trim I want a starker contrast and am aiming for solid blocks of color to make the trim shine a bit more.
Sword Blades
Basecoat - Vallejo Model Color Black
Layer - Vallejo Model Color Black: AK Interactive French Blue
Layer - AK Interactive French Blue
Highlight - AK Interactive French Blue: AK Interactive Pastel Green
Edge Highlight - AK Interactive Pastel Green
Edge Highlight - AK Interactive White
I wanted the blades to be a bit darker than I usually paint sword blades, so I started with a basecoat of Black. The first layer was then painted on using a mix of Black and French Blue, leaving some of the black visible. Another layer was added of straight French Blue. I highlighted the brightest section of the blade with a mix of French Blue and Pastel Green. The edges where highlighted with Pastel Green and White.
Sword Hilts
Basecoat - Vallejo Model Color Black
Highlight - AK Interactive French Blue
Highlight - AK Interactive White
To keep the dark motif of the model, I painted the Hilts and Handguards Black. They were then given simple highlights of French Blue and White.
Lantern Glass
Basecoat - Citadel Dark Reaper
Layer - Citadel Dark Reaper: Citadel Adminstratum Grey
Highlight - Previous Mix: AK Interactive White
Wash - Nuln Oil
I didn't want the lantern to be lit, so I painted it as if the light was off and it was plain glass. I started with a basecoat of Dark Reaper and then added a layer of Administratum Grey and Dark Reaper mixed together. It was given a quick highlight of using this mix plus a bit of White to brighten it up. Then all of the glass was washed with Nuln Oil (during the next section).
Concrete Basing
Basecoat - Citadel Stormvermin Fur
Stipple - Citadel Adminstratum Grey
Stipple - Citadel Ulthuan Grey
Wash - Citadel Nuln Oil
As usual, Ronin's base was painted Stormvermin Fur. It was then stippled with Administratum Grey and Ulthuan Grey, using an old brush to give it random patterning. Finally, the whole thing was given a wash of Nuln Oil, including the glass that was painted on the lantern.
 credit: Brushwizard
With that, Ronin is all set for games now. I am super stoked to have him in Marvel Crisis Protocol now, I've dreamt of a New Avengers themed team for a long time and needed Ronin and Echo to finish it out. Now all I need is Sentry to arrive to round it out.
A big thanks to Atomic Mass Games for sending these new boxes for this tutorial, I very much appreciate it! Have you picked up the new Echo, Ronin and Tigra character pack? Let us know in the comments, which of the new characters is your favorite. Hit me up on social media too, you can find me on
Bluesky, and
Instagram. Also, if you're on the Goonhammer Discord server, be sure to hop into the Marvel Crisis Protocol channel and join the conversation.
Have any questions or feedback? Drop us a note in the comments below or email us at contact@goonhammer.com. Want articles like this linked in your inbox every Monday morning? Sign up for our newsletter. And don't forget that you can support us on Patreon for backer rewards like early video content, Administratum access, an ad-free experience on our website, and subscriber-only content covering competitive Warhammer 40K!Thank you for being a friend.


 Goonhammer App and Patron Updates: April, 2026
 Kill Team Tournament Report: Engage, Party, Repeat's March Madness 2026
 Goonhammer Reviews: Tribal Conquest