ZIVth has probably told you a whole lot of stuff about the specifics of melanin and the biology of skin. I don’t know all that much about those things. I did, however, take some serious art classes and really enjoyed portraiture, so I had some experience with portraying skin, and mixing colors, as well as some of the theory about how light interacts with your skin.
Painting skin is great. As long as you stick to some basic principles in painting your skin, even if you don’t get the exact effect you were looking for, you’ll end up with something that looks like a believable skin tone, and inconsistent skin tones across the models in your army actually enhances the army, rather than detracting from its appearance. Skin is a great way to play around and add variety in your army without breaking it up as a cohesive force. I also think I’m not being particularly radical in saying that representing some diversity on the tabletop is an objective good for the hobby.
With those things in mind, rather than presenting a specific recipe for a specific skin tone, I want to give you a tool-kit that will give you the footing to experiment and play around on your own to achieve a variety of effects and interesting skin colors.
What’s in Cadian Fleshtone anyways?
It’s hard to really dig into painting and mixing colors for skin without first taking a look at what is in your ubiquitous “Flesh Tone” paint of choice. If you look at a traditional artist-oriented paint line, you won’t always find a ‘Flesh Tone’ Paint. That’s because there isn’t really a flesh-colored rock or substance they can grind up and put into a paint medium, and traditional artists typically use a lot fewer pre-mixed colors than someone trying to quickly paint a consistent army.
To get a flesh color in traditional art, you mix colors. The four components of that are generally White, Yellow Ochre, Red, and Brown of some description. If you take a look at Game Workshop’s
flesh category you will see that pretty much every paint that isn’t intended for Orks or weird sea elves is a mix of those four colors.
Ungor and
Kislev Flesh skew more towards yellow ochre, while
Bugman’s Glow skews more red and brown. This even extends to darker skin tones. A very dark skin tone will hew very close to raw umber or burnt umber, with very little of the others mixed in.
 Left: P3 Khardic Flesh Mixed with Brick Red for Basecoat, White mixed in to highlight. P3 Flesh Wash in select recesses.
Right: P3 Khardic Flesh, mixed with white for highlights. Flesh Wash in select recesses.
Credit: Evan "Felime" Siefring
I say lighter skin tones because with darker skin, it tends to work better to start with the brown color. If you start with brown and highlight up by mixing in
Cadian Fleshtone, you’ll get a nice light-ish warm brown tone. You can also use white to mix in as a highlight. I would not recommend using red or yellow alone as highlights. Red is a strong color and will make things red if used alone, and not much yellow works its way into highlights because most ambient light has a cold, whitish hue, which we’ll go into more detail on later.
 Left: VMC Leather Brown, mixed with VMC Flat Earth, highlighting up to pure Flat Earth.
Right: VMC Flat Earth, mixed with White to highlight.
Credit: Evan "Felime" Siefring
There’s still a ton of variables. You can highlight with different colors and shades within this general framework, play with the ranges you go to, but as long as you stick to those four colors and don’t skew too far in any direction apart from brown, you’ll end up with something that looks fairly convincing.
Breaking the rules
So, in the last section I went over the basics of mixing a skin tone. Four colors. Simple, right? Now I’m going to tell you how to break them. Just using four colors, and their derivative, ‘Flesh Tone’, will not get you the full range of human skin colors. Different skin has different hues and saturations. People are varied.
For a basic example, consider a less extreme example of the weird sea elf colors in Games Workshop’s color range. By taking a touch of grey and mixing it into your flesh tone, then highlighting up from there using flesh tone (or even white, depending on the look you want to achieve), you will get a skin tone that is much more desaturated than one that has more red/orange tones in it.
 P3 Kislev Flesh mixed with small amounts of VMA Sea Grey basecoat, mixed with white to highlight.
Credit: Evan "Felime" Siefring
You can then push that further and get a more pallid look, verging on your sea elf colors. Playing at the very edge of what looks reasonable can be a great way to sell something as inhuman. With my Custodes skin, I tend to push towards grey from a flesh tone base, to really push that these are massively genetically altered giant men in golden armor, and you can use a similar effect to emphasize the otherness of eldar or elves.
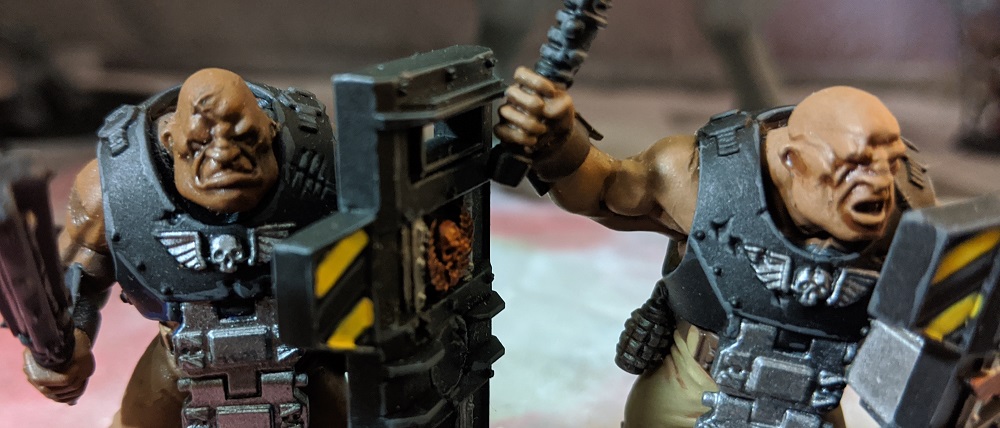
 Identical to the Bullgryn above, but with more grey(this one may have been VMA Panzer Dark Grey instead, but the exact colors matter fairly little.) Diluted Nuln Oil wash in recesses.
Credit: Evan "Felime" Siefring
With something like zombies, you can push the envelope very far. You can use pretty much any color. Green, Purple, Blue. Any color mixed with flesh tone, and then highlighting up with increasing quantities of a light flesh tone added will look great on a zombie. Just don’t push them too far or they will just read as whatever color you tinted with instead of as oddly colored flesh.
If you’re keeping things grounded, a general rule of thumb is to think that, if you removed all of the colors but your accent color and the brown in the mix, would the color still read as brown? This means you can mix in a tiny bit with your lighter skin tones, while as you get darker (and thus have more brown), you can get away with adding a lot more color into the mix. For example, I love the tone I get mixing purple into brown to almost reach a plum color, while if you put any noticeable hint of purple into a very pale skin tone, it would look quite odd.
 Really Pushing the envelope. All three of these skin tones use VMC Flat Earth as a base.
Left: VMC Flat Earth mixed with VMA Medium Olive, highlighting to pure Flat Earth. Watered down Nuln Oil to emphasize scars and brand.
Middle: VMC Flat Earth mixed with VGC Hexed Lichen, Highlighted up to almost pure Flat Earth. Touch of Nuln Oil in extreme recesses (spine of lower back, under pectorals) to increase contrast.
Right: VMC Flat Earth mixed with VMC Black, highlighted to almost pure flat earth, with pure Flat Earth used to pick out details like scars.
Credit: Evan "Felime" Siefring
Some Light Reading
Earlier, I promised to talk about how light is typically a white color and what this means for skin. Now is the time, and I will try to make it as understandable as possible (and I am sure my understanding is grossly simplified to start with.) The light making up what you see when you look at skin is actually made up of light that come from three different things occurring on and inside the skin. You don’t need to worry about this too much unless you’re doing Golden Daemon level work, but a basic understanding can help inform your color choices when working with skin.
The first is light that is bounced off of the skin retaining the color of the source light. In typical conditions (outside, under a blue sky) this is a slightly cool (tinged with blue) white color. Typically, when you’re taking flesh tone and mixing in white to highlight, this is what you’re approximating. On the surfaces where light is shining directly, you get more white showing through.
The second is light that hits the skin and bounces off, taking on the color of the actual surface of the skin. This is somewhat self explanatory, and the most similar to painting non skin-based objects.
The third is light that goes through the skin, bouncing around inside the body, and emerges back out, taking on a color that is a mix of the skin color, along with the blood and flesh beneath. When you see flushed cheeks or red on the tip of someone’s nose, their skin color isn’t actually changing, just the color of what’s beneath as more blood is present in the area. This is what a red tinged flesh wash like Reikland Fleshshade is trying to approximate.
There are two main takeaways here. The first is that (as a very basic approximation, depending on individual) the darker the skin, the less light is transmitted through to bounce around inside and come out, making the reflected light more dominant. That means that you can mix more environmental colors in the highlights on a dark skinned model. If you’re portraying a typical outdoors scene under a blue sky, this will be blue-white. The second takeaway is that if you’re doing OSL, skin will actually take on less of the light shone on it than its surroundings, with light and ruddy skin reflecting the least directly, and very dark black-brown skin tones reflecting the most. This is less useful for your average painter such as myself, but something to think about when you are trying to really push things to the next level.
In Practice
So, I’ve talked about a lot of theory and paint mixing. I don’t typically mix up my own flesh tones in painting. Hell, I’m not as good a painter, nor do I spend as much time on individual models as my co-authors. If you’re looking for display models or to win painting awards, go listen to them. If you’re looking for a flexible technique that will do some pretty nice skin for high tabletop level models, then I may have something useful to impart.
When I paint skin, typically I will pick out two colors. They should be far enough apart that you can get a decent amount of contrast using just them. For example, for a Caucasian skin tone, P3 Khardic flesh and VMA Sand (Ivory). One of my favorite recipes for dark skin is VGC Hexed Lichen and VMC Flat Earth. (VMC Flat Earth is one of my staples and one of 4 paints I keep a spare bottle of on hand)
 Left: P3 Khardic Flesh Mixed with small amounts of VMA Sand(Ivory) for highlights.
Right: VMC Pale Flesh washed with GW Guilliman Flesh Contrast, diluted with Lahmian Medium.
Credit: Evan "Felime" Siefring
I put down a solid basecoat of the color I want the shadows to be. On anything bigger than a face, you will definitely need two thin coats. On a face you may be able to get away with one, but probably not. This shadow color doesn’t need to be either one of your paint colors. For a darker caucasian color, I might go with a basecoat of pure Khardic Flesh. For a lighter color, the base coat might have a pretty significant portion of Sand in it. The same two paints can do a variety of shades.
I then highlight up, mixing in more and more of the lighter color as I go. I typically do two stages of highlighting. A base coat, a highlight that picks out everything but the recesses, and a final highlight focusing more on the edges and upper portions of all the shapes.
For a last step, I take a step back, and adjust, generally with washes. A lot of time you won’t have quite as much definition in some spots as you’d like. This might mean dropping a recess shade into the model’s eyes or under certain muscles, or a slight glaze, or further highlights in places. A little work with glazes, diluted contrast paints, or recess shades can do a lot to really make a face or skin pop. Subtler faces tend to respond especially well to washes and glazes, and without them it can be very hard to make them look right without putting down excessive numbers of layers. I tend to this on a very ad-hoc basis, and the other two methods detailed here have a lot of great information on how to do that.
Now, I hope I've armed you with a flexible technique and the knowledge that you can do a great deal when it comes to skin with a small selection of paints, many of which you probably already own, in not too much time. Now, I leave you in the very capable hands of Lupe for something completely different.
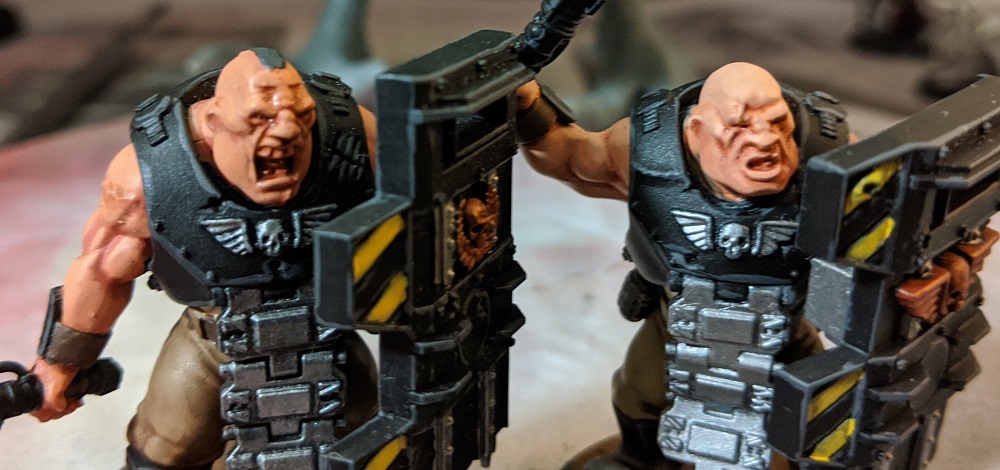
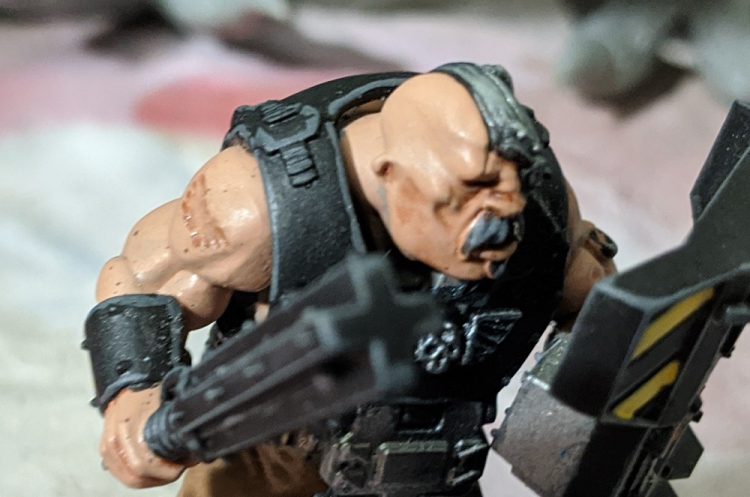
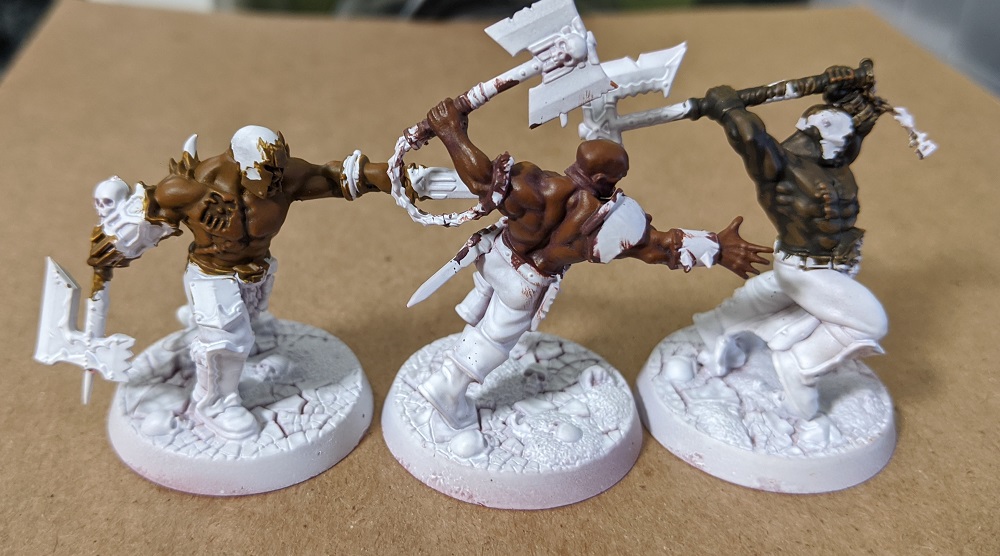
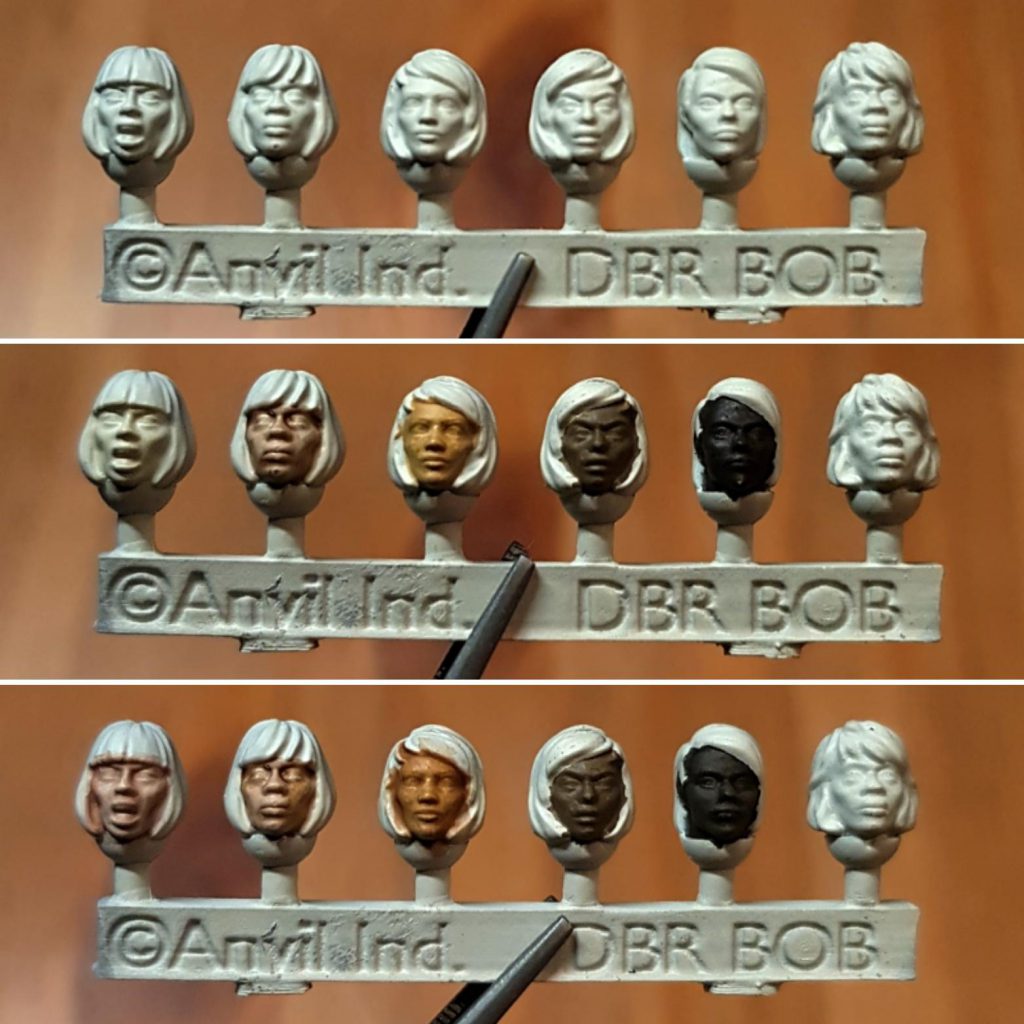
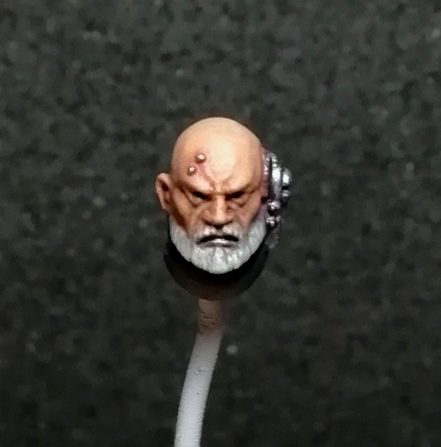
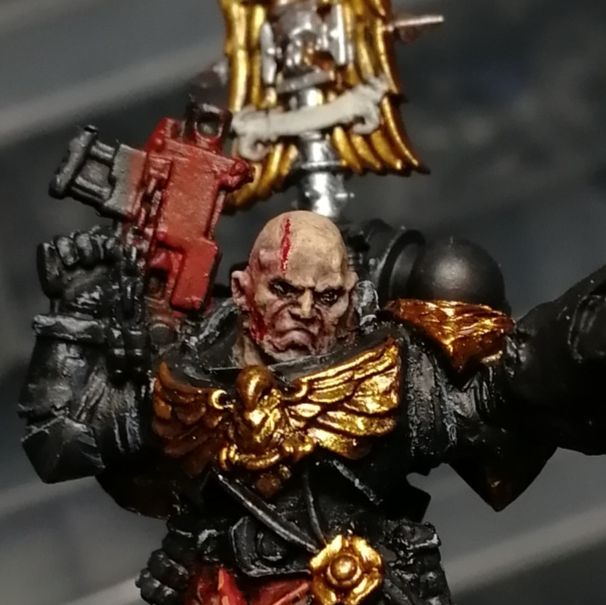
 Credit: Robert "TheChirurgeon" Jones

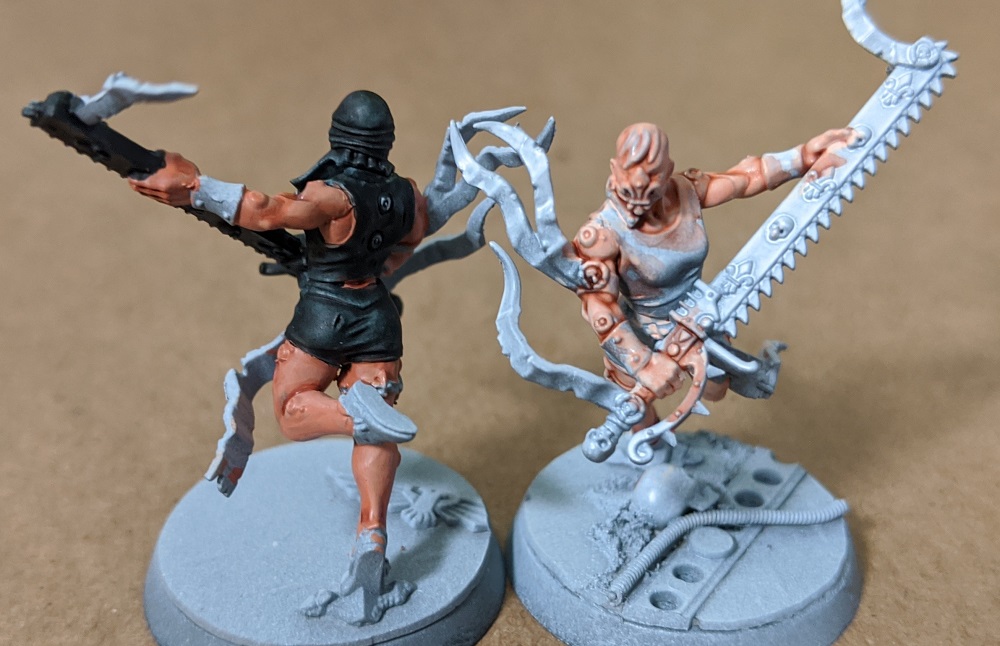
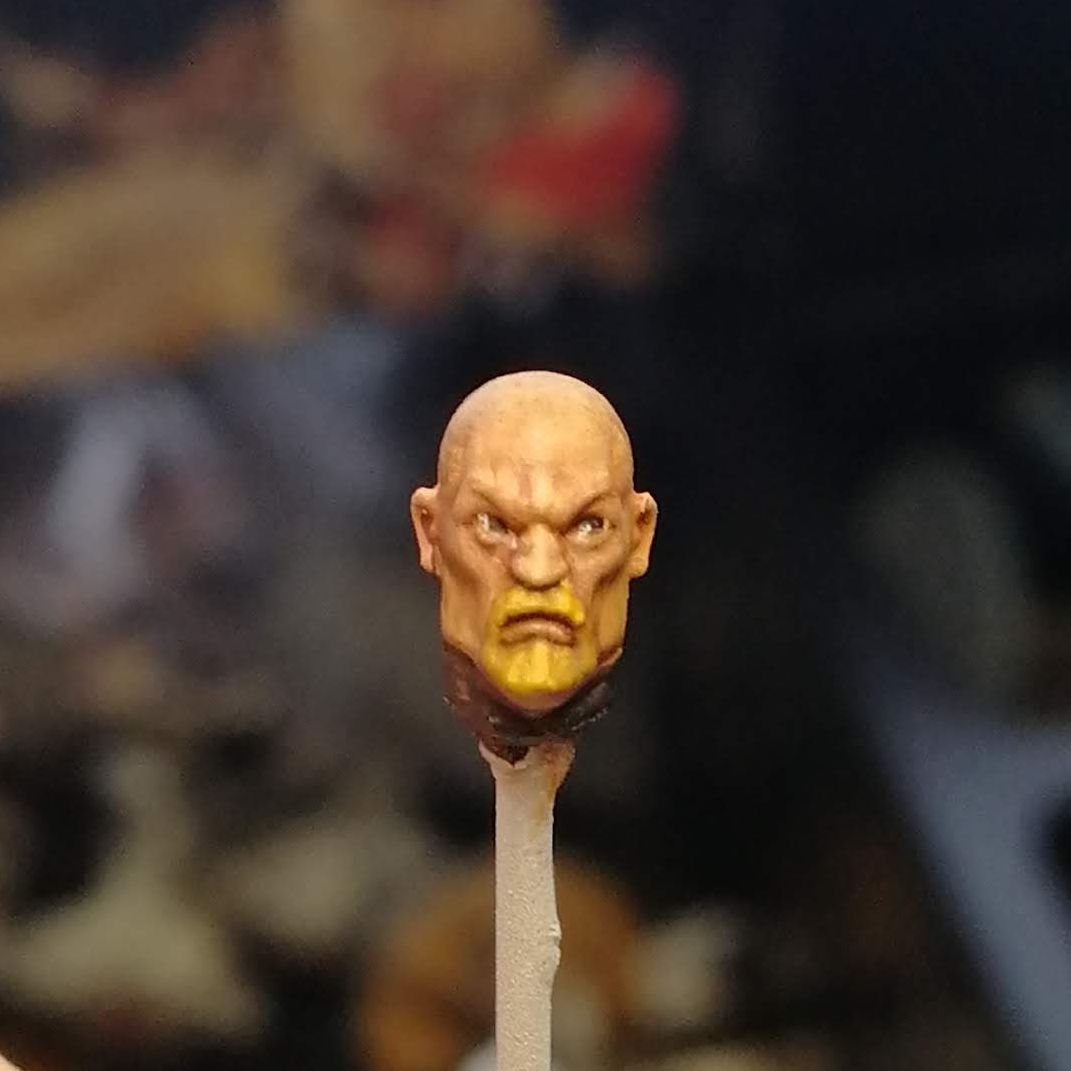
 Credit: ZIVth
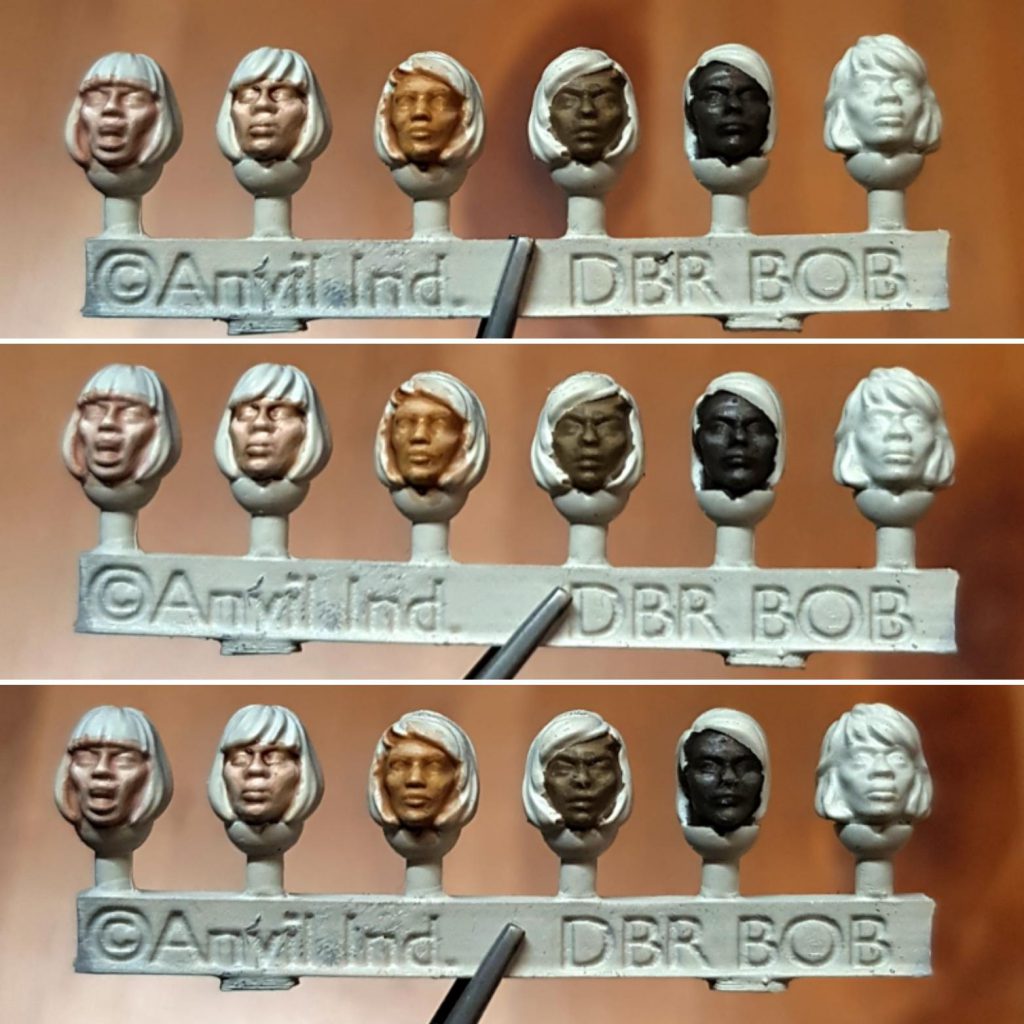
 Credit: ZIVth
 Credit: ZIVth


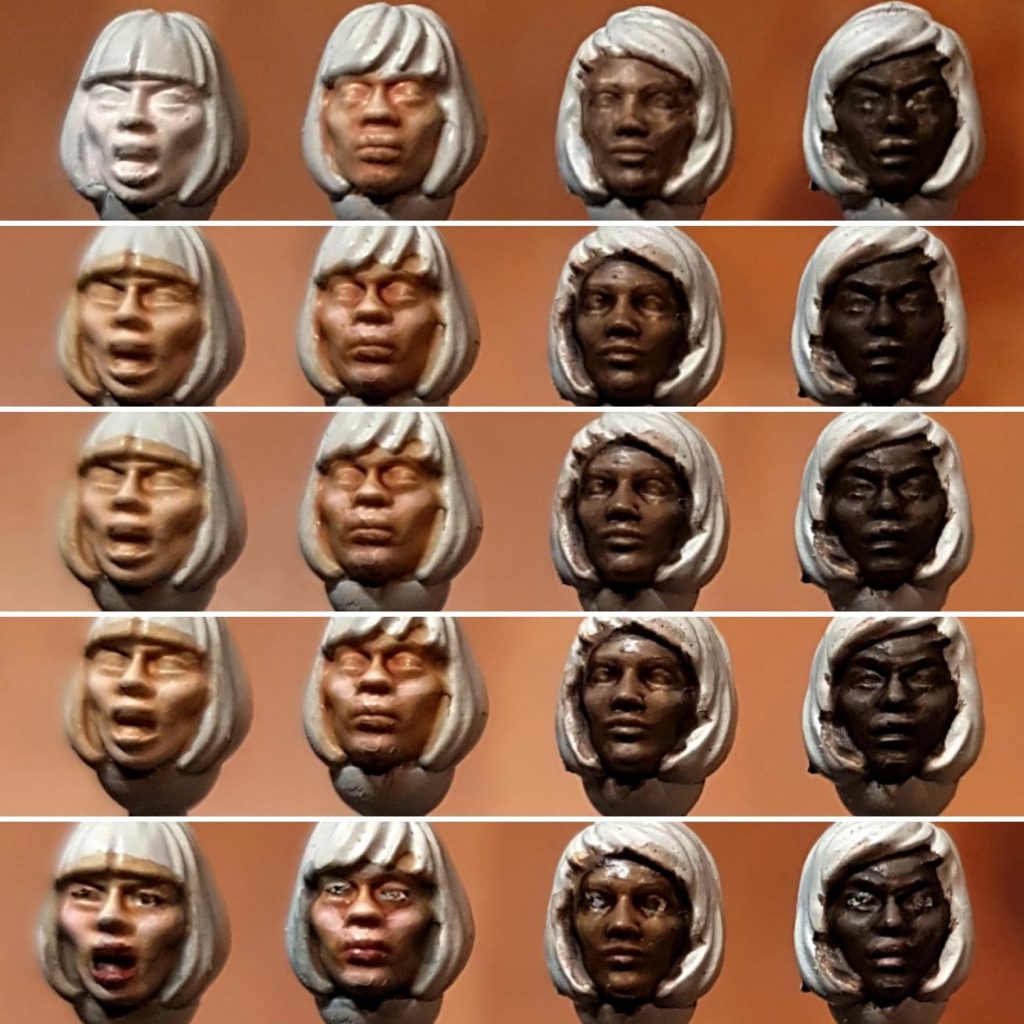
 Credit: Lupercalcal
 Credit: Lupercalcal
 Credit: Lupercalcal
 Credit: Lupercalcal
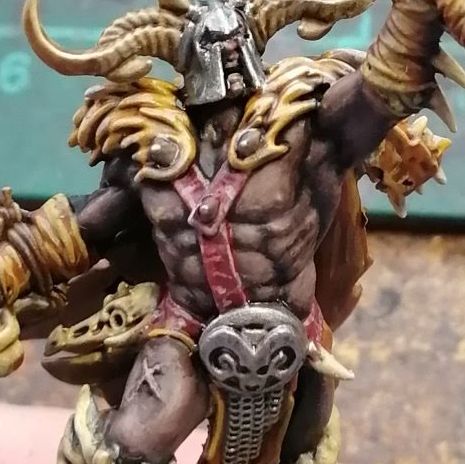 Credit: Lupercalcal

 Goonhammer App and Patron Updates: April, 2026
 Kill Team Tournament Report: Engage, Party, Repeat's March Madness 2026
 Goonhammer Reviews: Tribal Conquest