Making it easy to apply smooth color transitions to a model is one of the best advantages an airbrush has to offer. The effect we’re going to showcase here is a very basic fade, which will then be followed by painting the rest of the model traditionally. Framing airbrush effects with detail done with a brush is a great technique that goes quite quickly and can be quite striking on the tabletop, while helping avoid the more traditional "airbrushed look". I am going to use a wizard, but this could work well on anything with a large flowing area you want to apply a fade to, such as nighthaunts, robes, capes on Space Marine captains, etc. -- Just change out the colors as needed.
 Credit Evan "Felime" Siefring
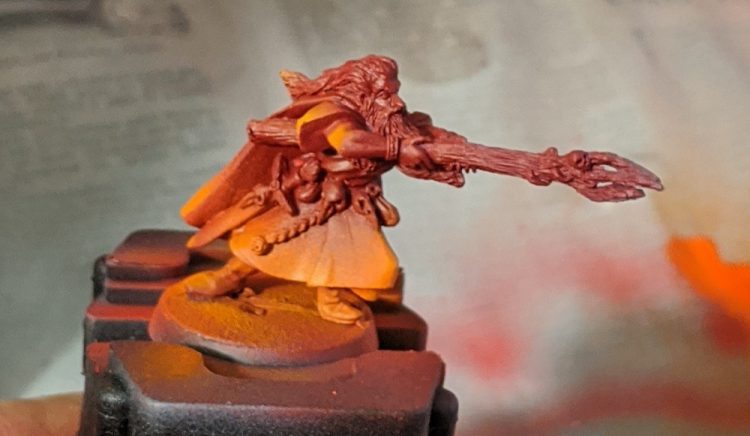
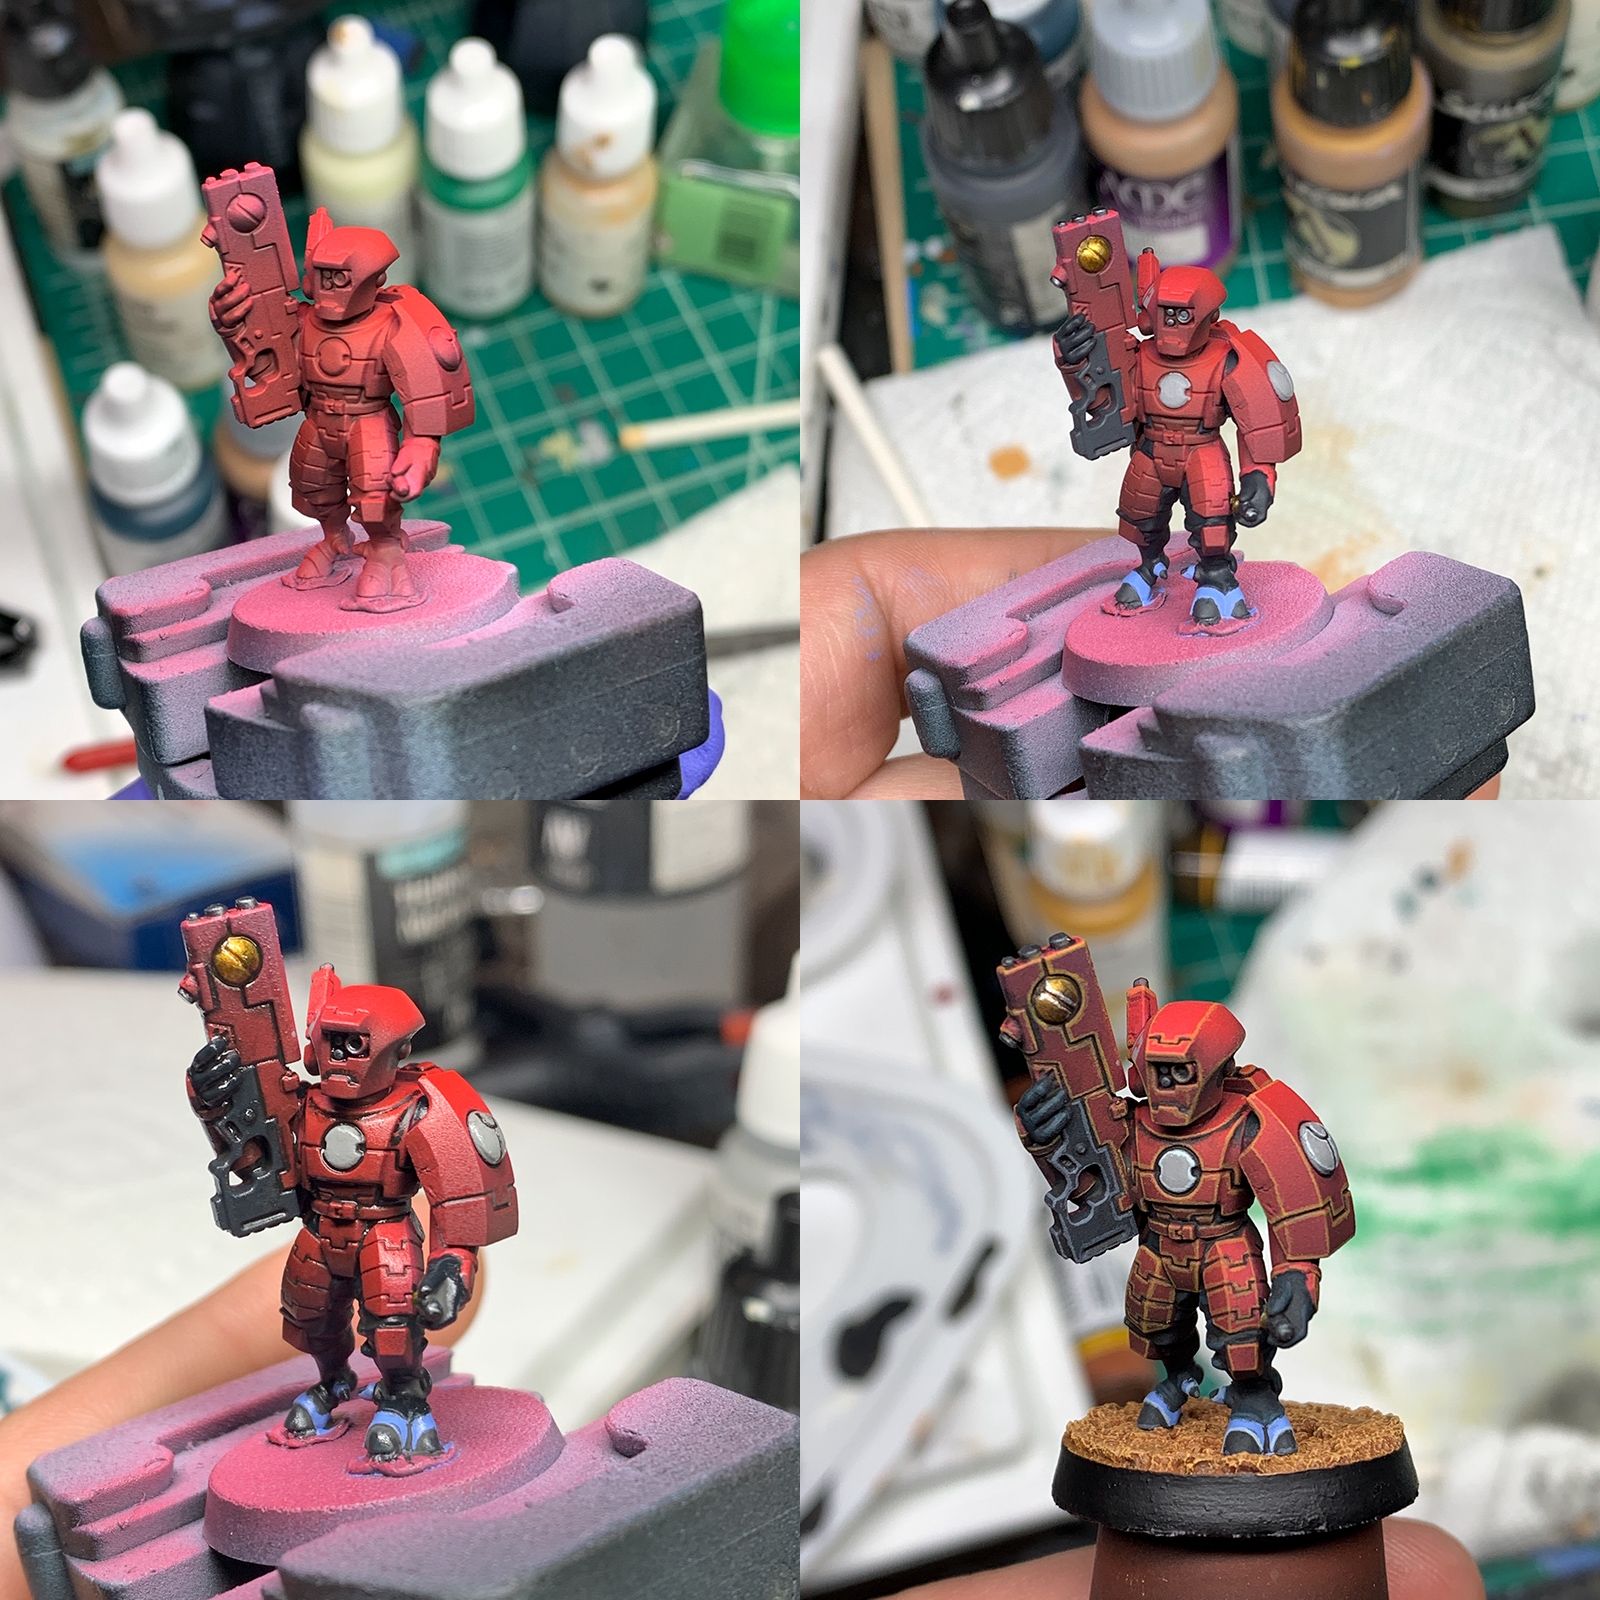
Here’s our wizard after the first steps. To do this, first spray the entire wizard with a dark red(VGA Gory Red). Once the entire model is red, come in with an orange (VGC Orange Fire), starting to spray off of the edge of the model and moving along the edge of the area you want to be orange, gradually going back and forth to build up the effect until you’re happy with the amount of orange present. Then, I repeated the process with a yellow (Golden High Flow Acrylics Hansa Yellow Medium. Any nice pure yellow will work, I used this for convenience), spraying along the edge of the fade and moving upwards, but much less far this time, only catching the very edges.
 Credit Evan "Felime" Siefring
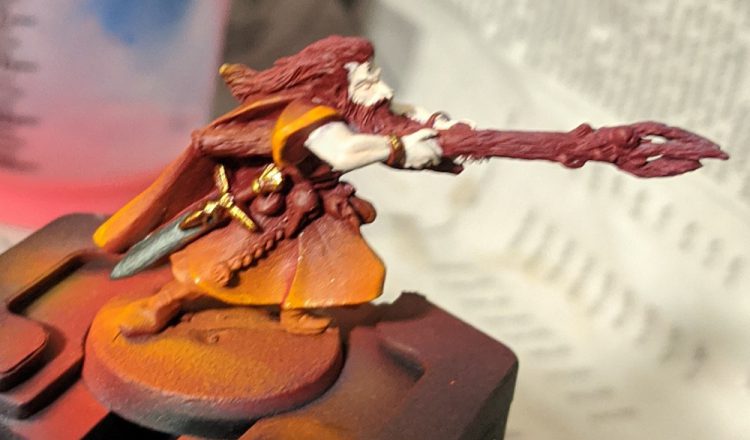
Here the wizard is after I did a little bit of brush painting. I reinforced the trim on his sleeves with the orange color and edge highlighted with yellow. At this point, as I started to get a better idea of how the final colors would look, I decided that I hadn’t been aggressive enough with the yellow and wanted to blend in the edge highlights a bit more. As I haven’t painted much along the edges, this isn’t too big of a problem. If you’re careful, you can go back in and modify your airbrush work even when you’ve done a bit of work on the model.
 Credit Evan "Felime" Siefring
 Credit Evan "Felime" Siefring
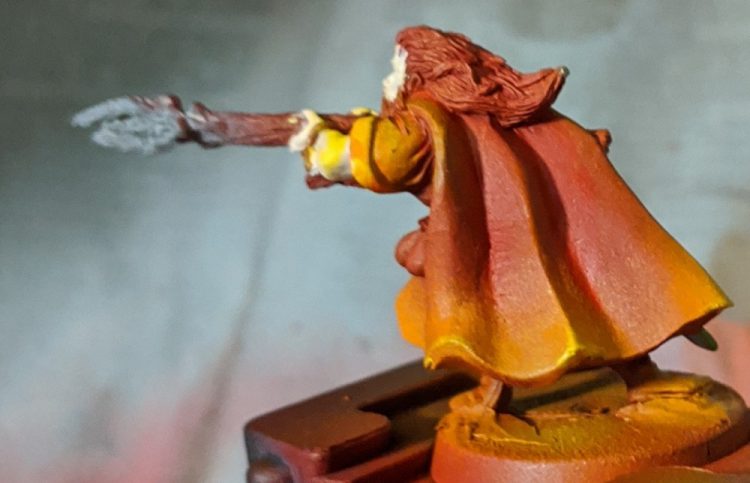
I went back in with my airbrush yellow, repeating the previous process to work more yellow into my fade. I then touched up the bits of the sword and skin that had gotten caught in the crossfire of the airbrush, and continued my brushwork.
 Credit Evan "Felime" Siefring
 Credit Evan "Felime" Siefring
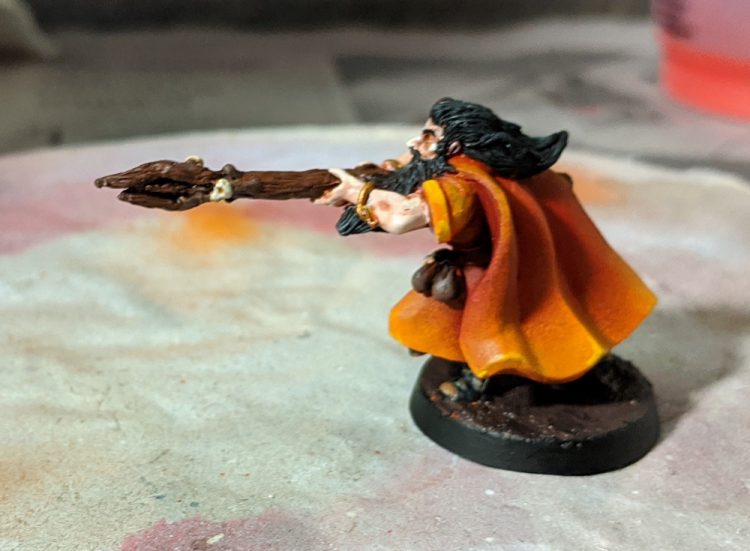
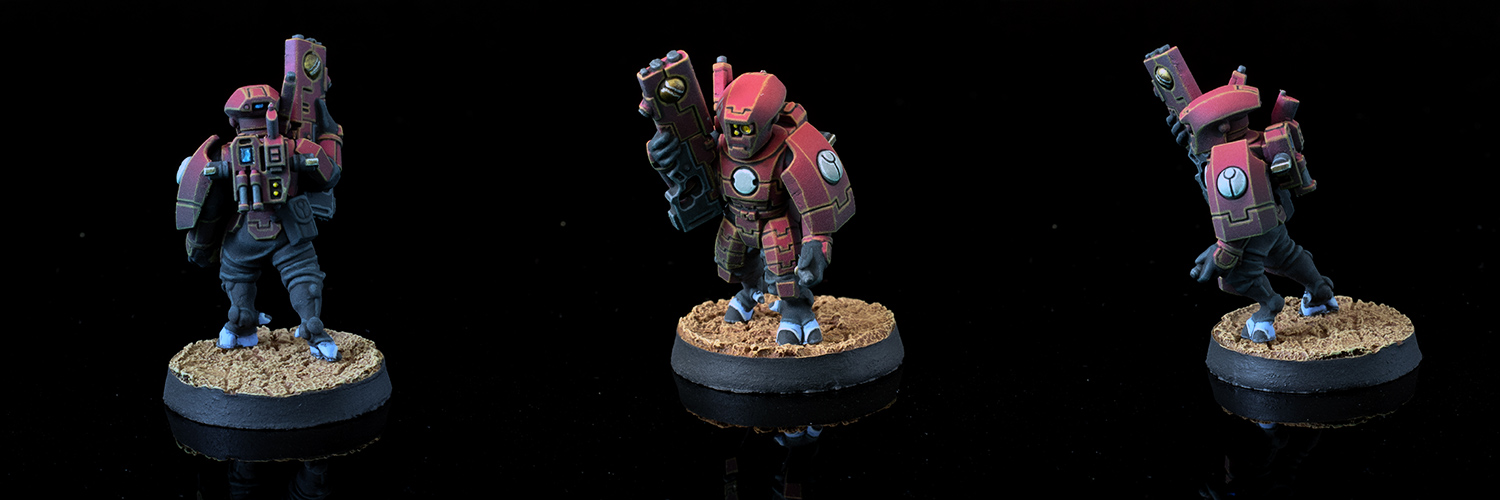
Now paint the rest of the owl. Nothing particularly special, and I mostly used the opportunity to play around a bit. I’ll include a reference for the other parts of the model at the end of this segment.
The idea of laying down an airbrush effect, then coming in and working around (or over) it is the basis of a lot of airbrush work. Without too much modification, you can apply a similar technique to things like fur, patterns on horses, large areas of skin, gradients on armor plates, or anything else your mind can come up with. Just play around and have fun learning and experimenting!
Paints Rundown:
- Skin: VGC Pale Flesh washed with Guilliman Flesh thinned with Lahmian Medium, extreme highlights with VMC Pale Sand (Less successful on this old metal model than on newer plastics)
- Boots: VMC Black Highlighted with Skavenblight Dinge, then Skavenblight dinge mixed with Jokaero Orange, then dots of Jokaero orange
- Staff: Gorthor Brown washed with watered down VMA Burnt Umber
- Pouches: VMA Burnt Umber highlighted with Gorthor Brown
- Skulls: Filthy Brown highlighted with VMC Pale Sand, recesses reinforced with very watered down VMA Burnt Umber
- Beard: VMC Black highlighted with Skavenblight Dinge
- Gold: VGC Hammered copper, dotted with Retributor Armor in highlights
- Steel: Vallejo Mecha Air Dark Steel, dotted with Vallejo Mecha Air Steel to highlight.
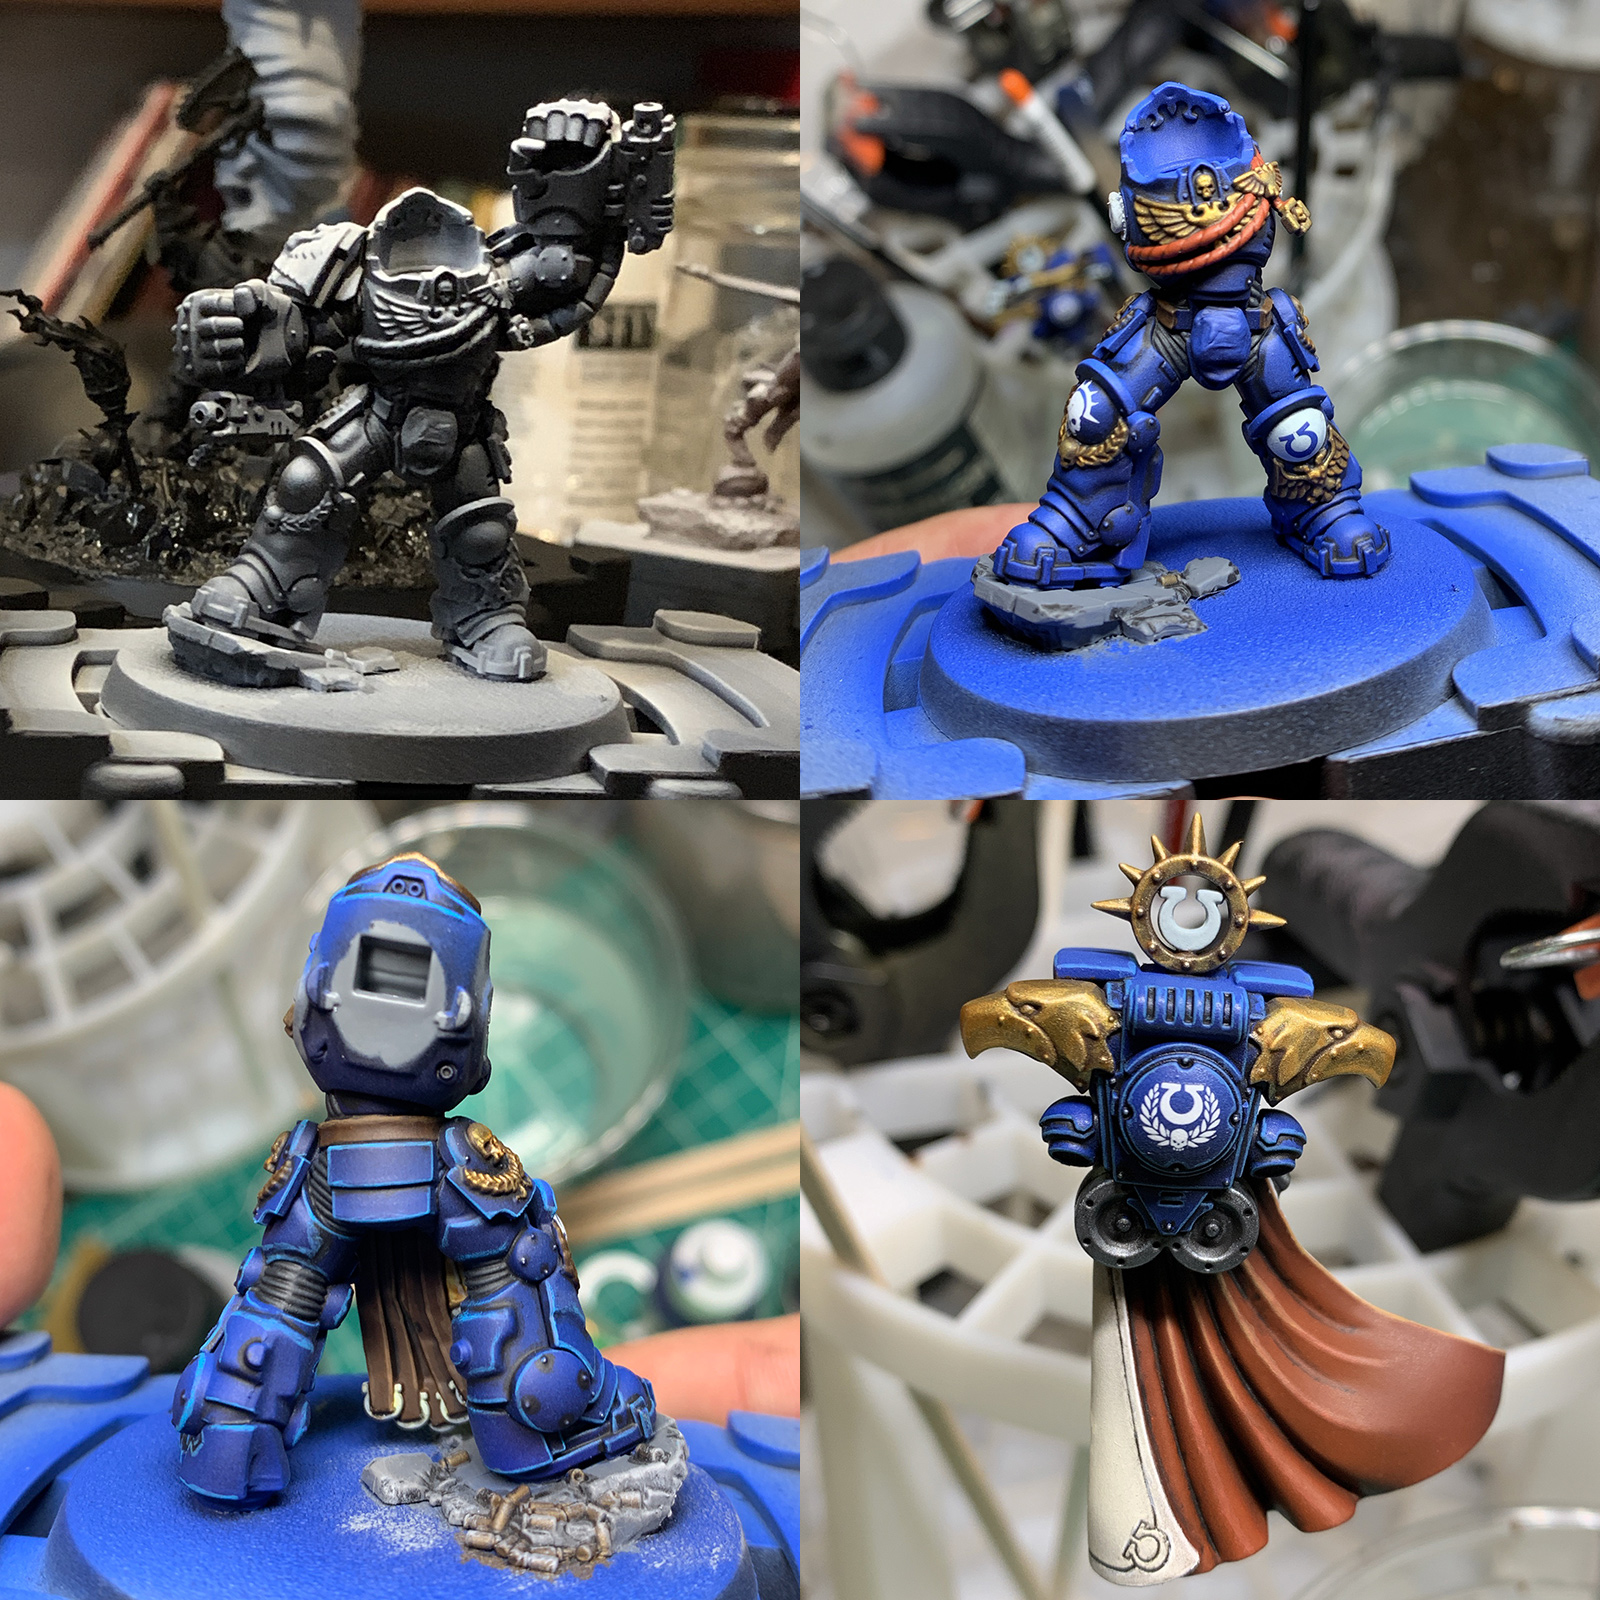 Marneus Calgar WIP Credit: Alfredo Ramirez


 Goonhammer App and Patron Updates: April, 2026
 Kill Team Tournament Report: Engage, Party, Repeat's March Madness 2026
 Goonhammer Reviews: Tribal Conquest