I've only ever painted this one Slaanesh model, so if you're looking for a Slaanesh diehard fan, look elsewhere. I won't be offended. I used the Contorted Epitome as a test model for some new Scale 75 metallics I recently purchased in addition to using it as an exercise in glazing, something I haven't been very good at. All in all, I pretty happy with how it turned out, though it did take a while, so this method isn't my usual "bang it out efficiently" sort of guide.
My color pallet and overall inspiration come from
Vince Vinturella, who, if you're not familiar with, is an excellent painter and teacher. He produces many helpful
painting tutorial videos on YouTube and is a great painter to follow. He's painted a lot of Slaanesh daemons, as well as, specifically, a
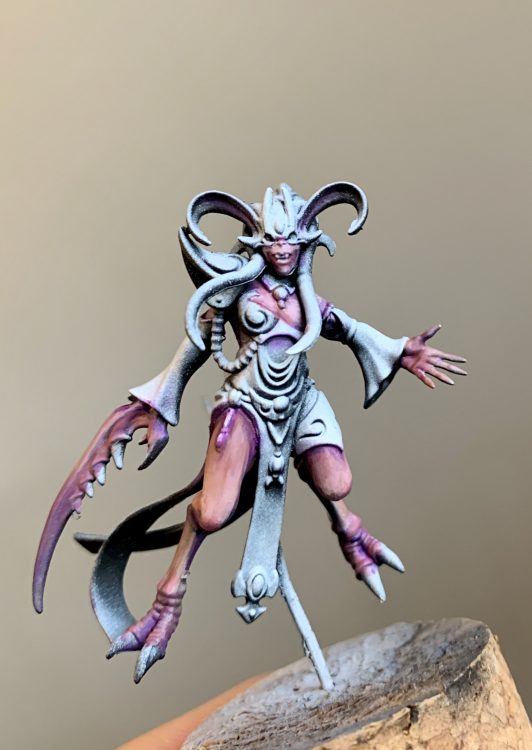
Contorted Epitome. I didn't have the exact colors he used but wanted a similar feel of teals and pinks/purples. I started the model with a black prime and then zenithal highlighted with white ink. This is pretty much always the first step for models that I care about and its a very helpful foundational step. For me, I don't fully look at all the details of a model until I do this step, taking care to notice points of interest and features I want to draw attention to while zenithal highlighting.
Next, I laid down some basic skin tones, ranging from
Model Color Royal Purple (shadow), to
Pink Horror (midtone), up to
Kislev Flesh (highlight). It's pretty desaturated at this point, but the gist is there.
 Credit: Charlie A
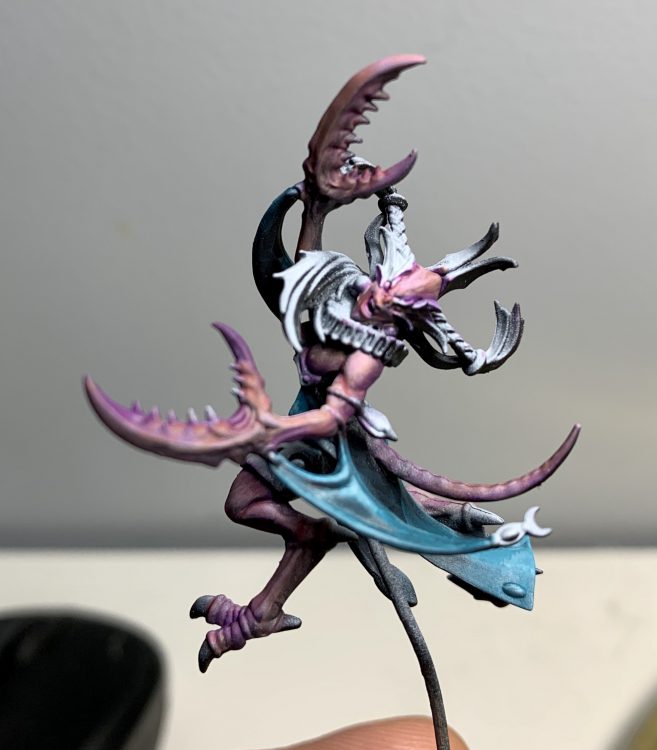
Next, I worked with
Army Painter Hydra Turquoise, and this is where I started going off the rails a bit. I started mixing my own colors, which can be scary as hell because I generally feel like I don't know what I'm doing. I added
Corvus Black to the turquoise for the shadow and layered/glazed up to a very light highlight. It was around this point that I really started enjoying the model and decided to put in a lot of effort. Unfortunately for me, there were plenty of mould lines I had neglected to remove. Hindsight is a bitch.
 Credit: Charlie A
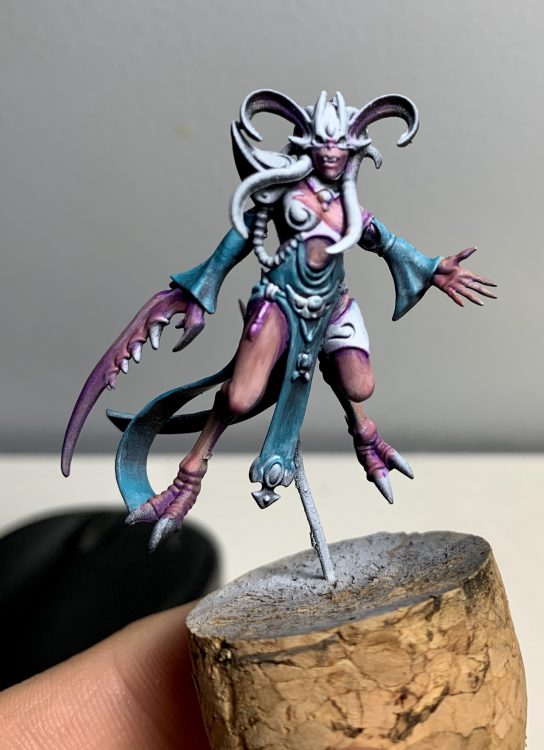
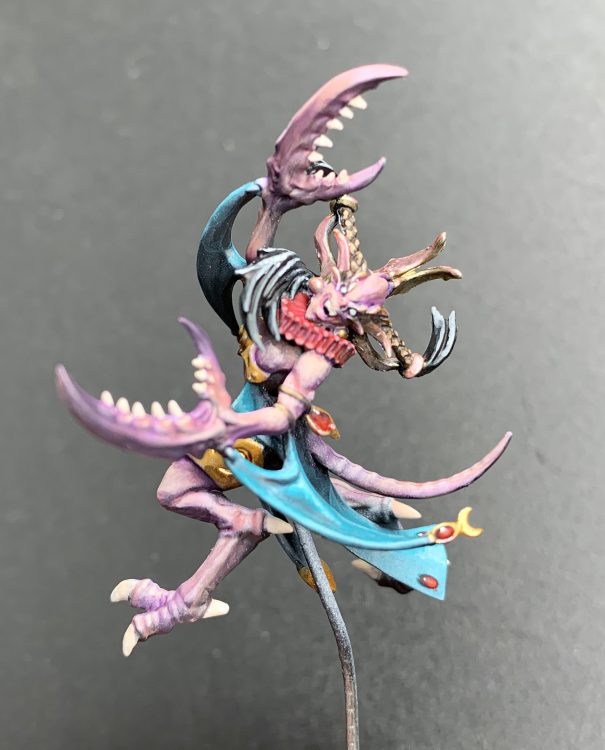
The saturation is better on the skin and some of the cloth at this stage. I just did more of the same from previous steps trying to darken the darkest areas and brighten the highlights. I also added a little red/
Pink Horror on joints (knees, ankles, etc.) to create a more realistic look.
 Credit: Charlie A
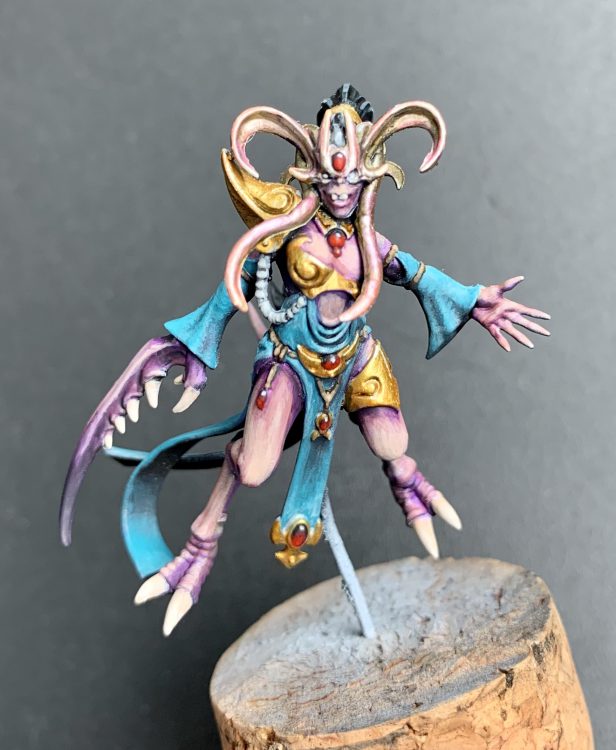
Obviously a lot has taken place between previous pictures and the one below. The gold was all done with the Scale 75 Gold Metallics and I cannot recommend them enough. They're very easy to work with and were much better in coverage and usability than any other metallics range I've used (at least, that has a good gold). All of the red gems started at
Corvus Black and I glazed the red down, completing the effect with a dot of white at the top.
 Credit: Charlie A
The hair is black and done with contrast
Black Templar, then edge highlighted. Super simple and a solid look.
 Credit: Charlie A
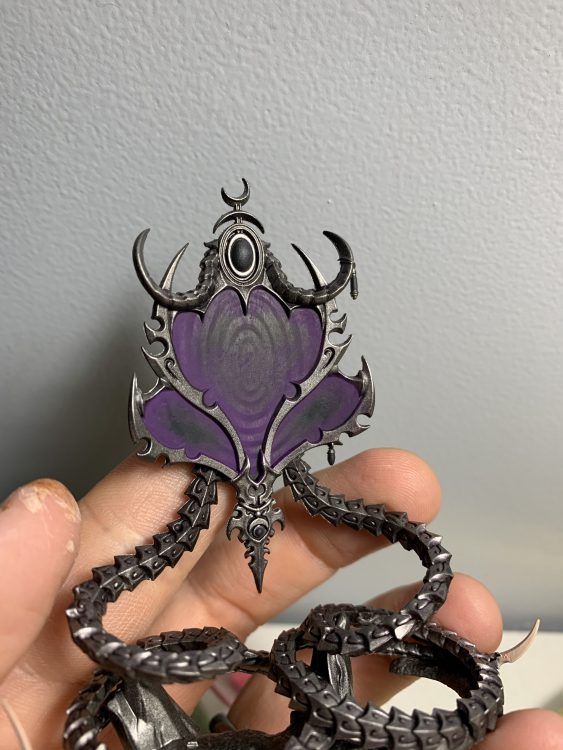
Next, it was on to the mirror. I had no real clue what I wanted to do at first, so started by glazing/blending a radius of the
Royal Purple over a basecoat of
Corvus Black. I liked where it was going, so used a pink to do a shorter blend as well. At this point, I was ready to push myself a bit further and wanted to try some freehand for the first time.
 Credit: Charlie A
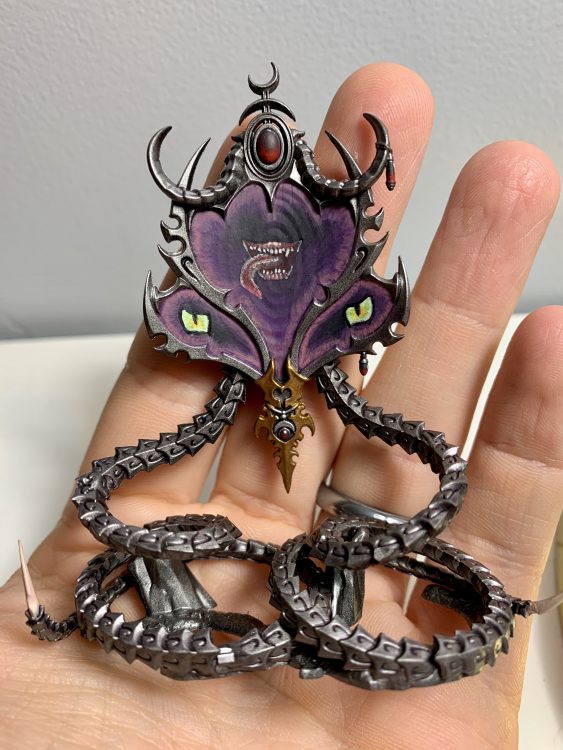
After googling Slaanesh art (... it was actually art, get your mind out of the gutter), I came up with some eyes and a mouth I liked. Due to the layout of the mirror and to be extra spooky, I decided to have the eye down low and the mouth up top. You can do literally anything and justify it as "Chaos". I followed the principles for freehand from
our own Free-Hand Guide and it was incredibly useful. Who knew Goonhammer made useful content??
 Credit: Charlie A
Here, above, you can see the mouth blocked out and the eyes more or less done. I tried to go for a "cat-eye" effect but didn't necessarily pull that off. They don't look terrible though. Below, you can see the mouth completed, which I was very happy with. Slaanesh most definitely has a tongue fetish.
 Credit: Charlie A
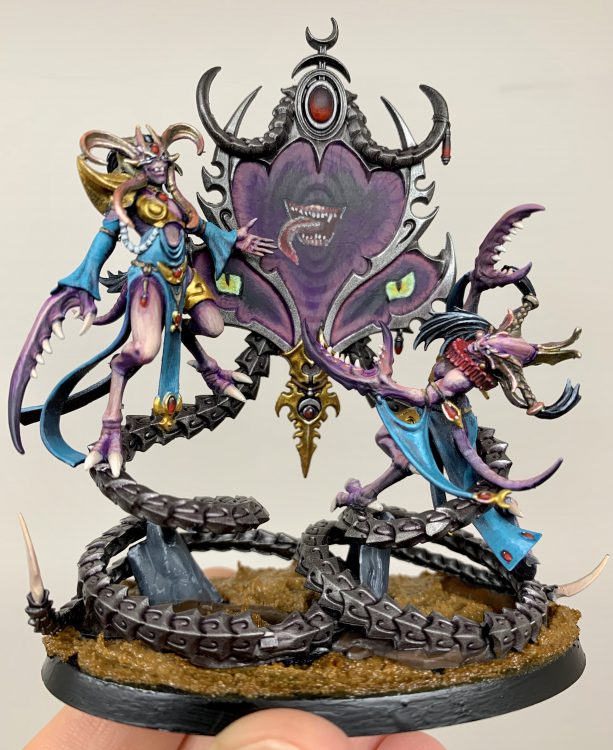
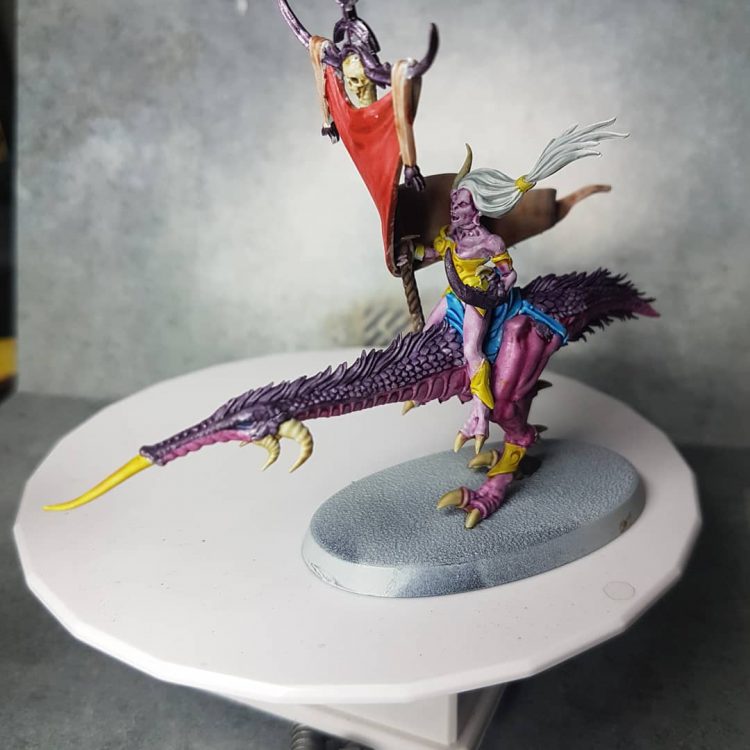
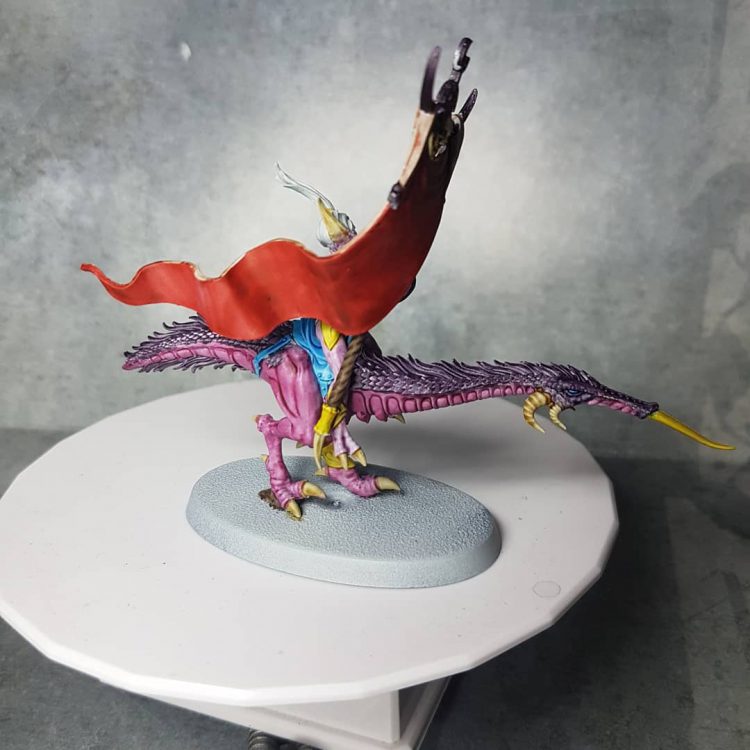
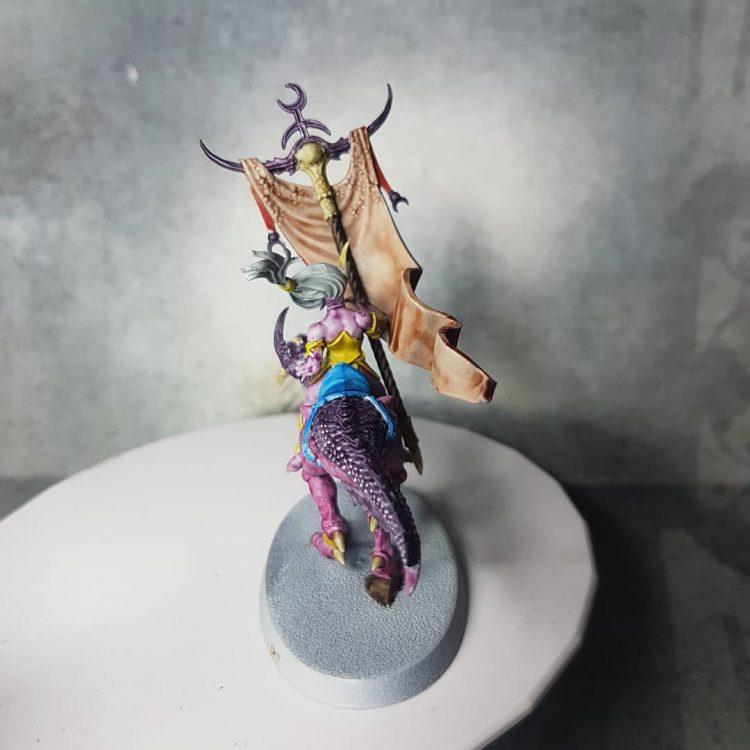
And here we are! Deamonettes attached to the mirror and some mud on the base to match my army. Before someone goes pointing out that I mis-assembled part of the front left coil of the mirror, yes, I'm aware. It just goes to show that you should always take your time with assembly and clean up because you never know what level of effort you're going to put in. Better to be safe than sorry.
 Credit: Charlie A


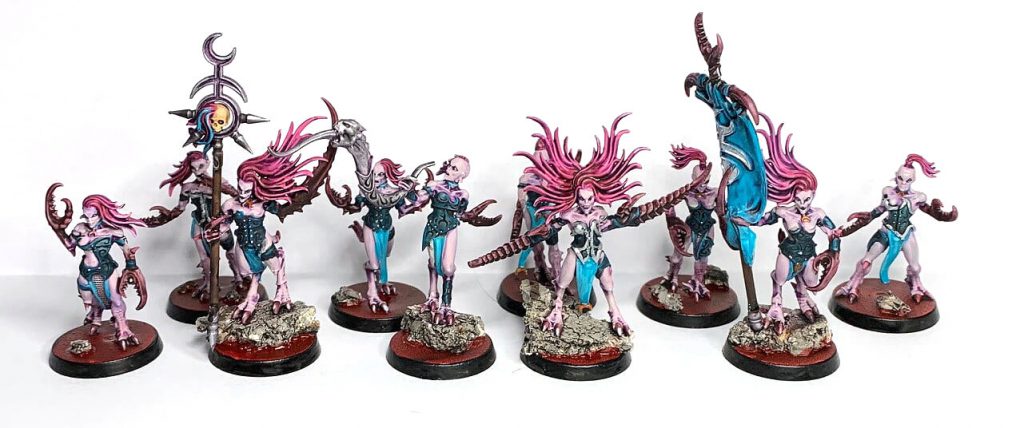
 Seekers of Slaanesh - Credit Beanith
 Seekers of Slaanesh - Credit Beanith
 Seekers of Slaanesh - Credit Beanith

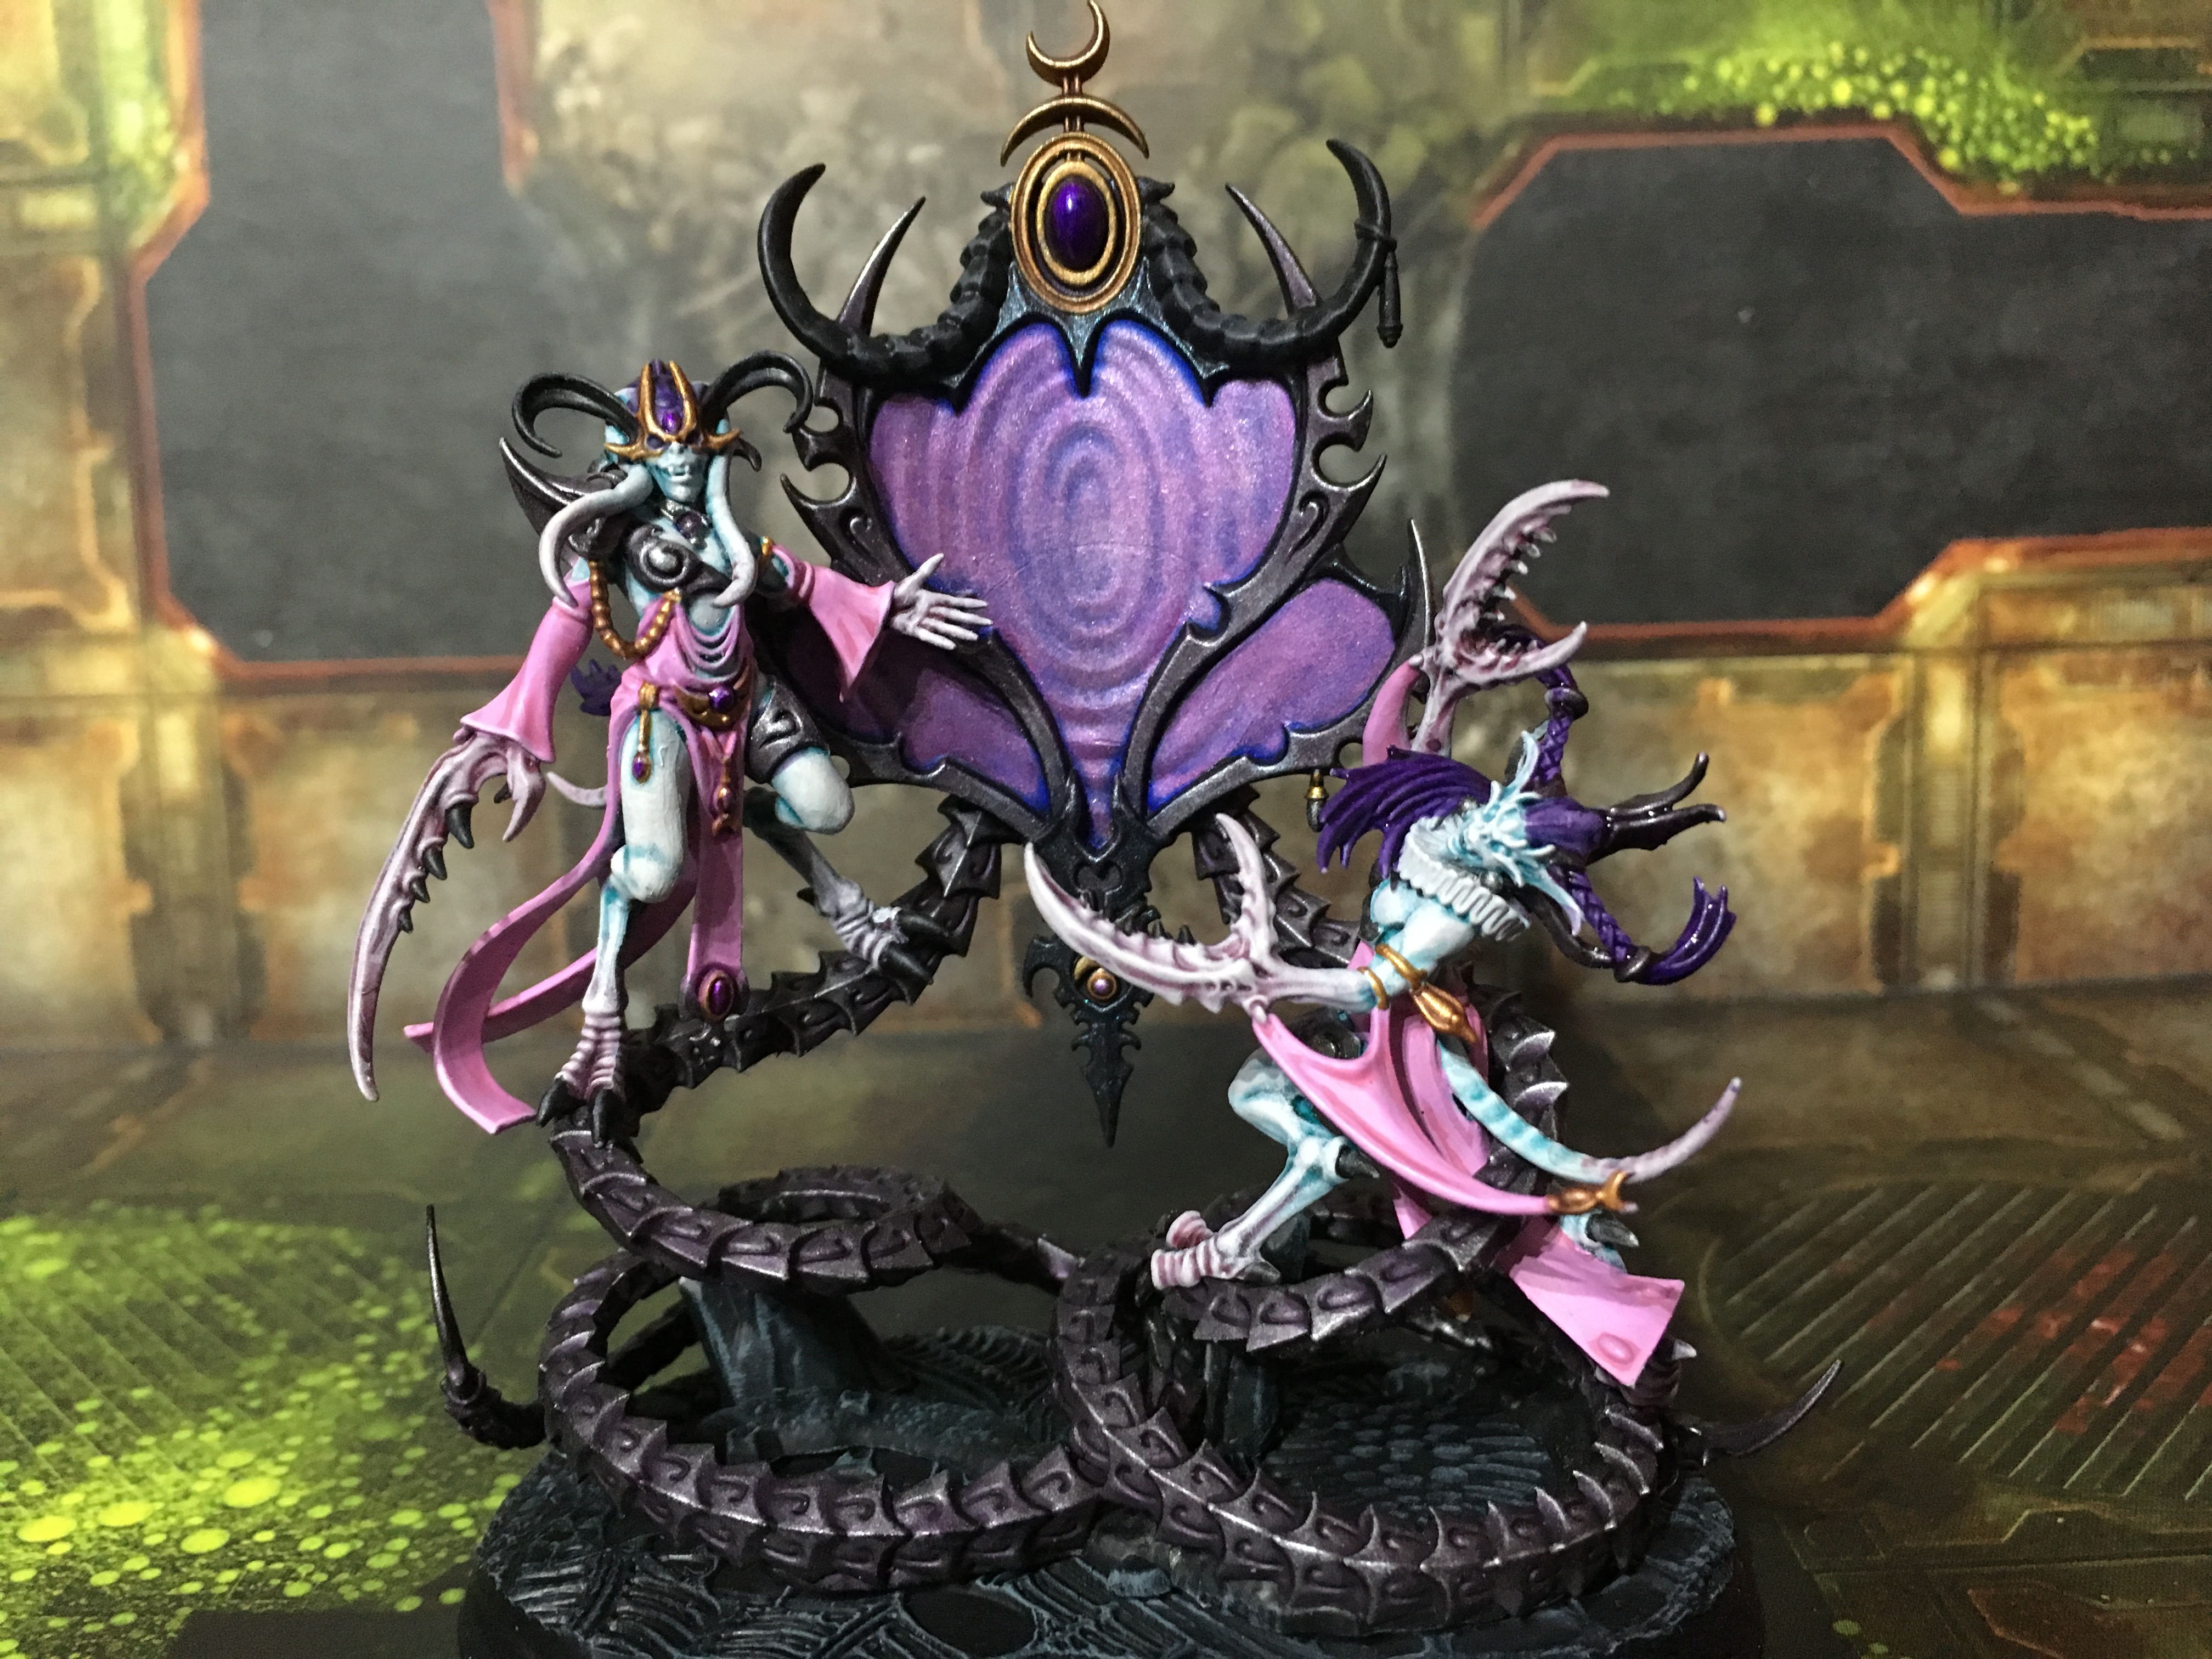 The Contorted Epitome. Credit: Mentor

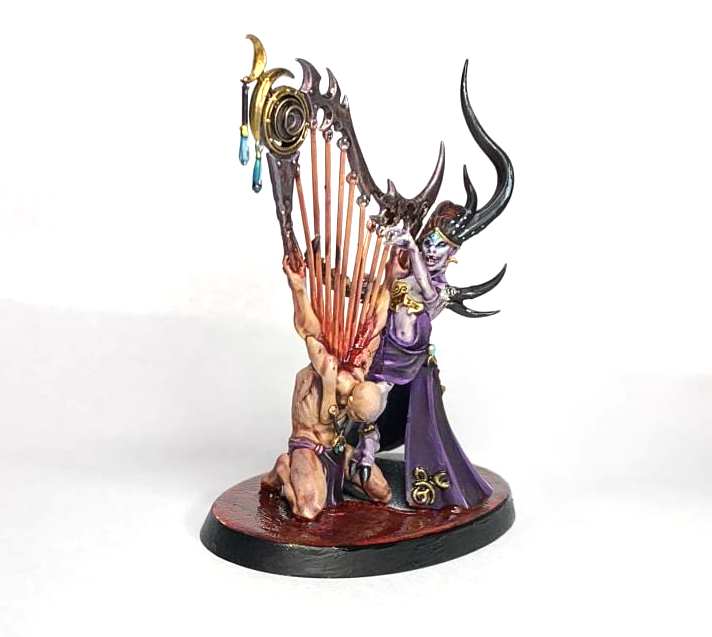 Infernal Enrapturess. Credit: Richyp
 Daemonettes of Slaanesh. Credit: Richyp

 Goonhammer App and Patron Updates: April, 2026
 Kill Team Tournament Report: Engage, Party, Repeat's March Madness 2026
 Goonhammer Reviews: Tribal Conquest