Welcome to another installment of Starting Hex, a series about Warhammer Underworlds. Second edition of Underworlds launched with a variety of changes in place to make the game less lethal, but there are still some fighters who can punch well above average. Being able to land attacks for three damage is a useful tool for a warband to have and gives them a leg up over their competition in many ways. While not every warband has access to one of these bruisers, there are still quite a few who do. Let's take a look at why you want to be able to hit that three damage threshold, see if the inclusion of such fighters is worth influencing your warband choices, and take a quick gander at which fighters fulfill this criteria.
Three! Three Damage! Ah ah ah!
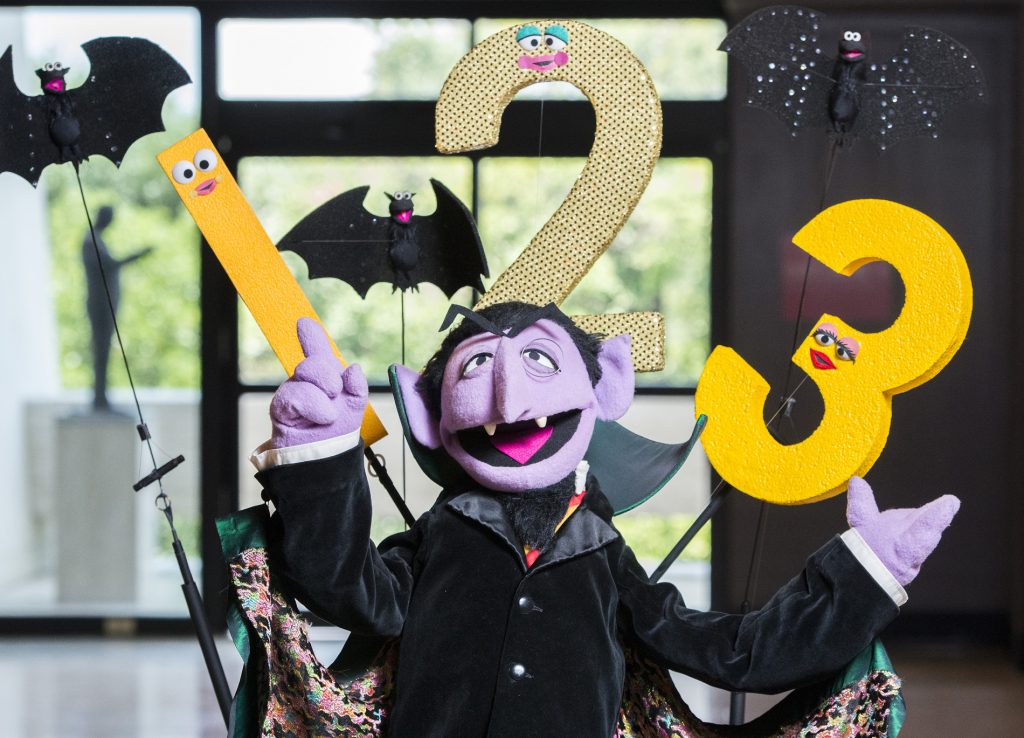 Did you know there's some debate on whether this guy is a vampire? Count von Count puppet in the LBJ Presidential Library. Photo by Jay Godwin
It's pretty common for a player to want to slay enemy fighters in Warhammer Underworlds. You get glory for doing so, it deprives your opponent of resources, and many objectives require you to make attacks – and if you're making attacks, you might as well try to make them lethal. In gaming, there's a term called time-to-kill which refers to how long it takes to eliminate an enemy. You can use this metric in Underworlds by considering how many turns it can take before a fighter is slain. Since the number of turns in a game are a fixed finite resource, it's a useful framework to consider when selecting your warband and game plan. Having access to a three damage profile also allows you to hit a nice breakpoint when it comes to inflicting enemy casualties. Let's look at common health totals of fighters and see how much going from what's probably the average of two damage to the above average three damage can help in making these attacks fatal.
Two health: Sure, this is a lethal hit for either a two- or three-damage attack, but the one point of overkill also ensures any lucky Stand Fast results don't deny you the kill.
Three health: Three damage allows a one hit KO here. It's an easily seen upgrade over needing two two-damage hits.
Four health: Strictly looking at attacks, it's the same time-to-kill between two-damage and three-damage attacks against fighters with four health. However, if you factor in any of the additional effects that could come into play like the defender managing to Stand Fast (which bumps the two-damage attacks up into needing three successes) or the attacker utilizing any of the prevalent pings available (to combine with the attack and one-shot the enemy), the three damage attacks are still going to be superior.
Five health: One of the clearest advantages of three damage attacks is when they're used against five health fighters. These big sacks of health are also fairly common given the strength of elite warbands. If you only have access to two-damage fighters, you need three turns of attacking to threaten taking out one of these elites. Having access to even one turn of dealing three damage cuts the time-to-kill down to two turns – bringing it down from a full 25% of your turns in a game to only 17% of your turns in a game. That's huge and doesn't even require multiple attacks with your warband's heavy hitter.
Six health: This might not seem like a common health threshold, but if you factor in Great Fortitude, Healing Potion, or any of the variety of warscroll healing abilities, then it becomes more relevant than it'd seem at first. Two swings from a three-damage fighter will save you a full turn compared to three swings from two-damage fighters. Yes, this is basic math, but it's nice to see it written out and made obvious sometimes.
Traits to Consider
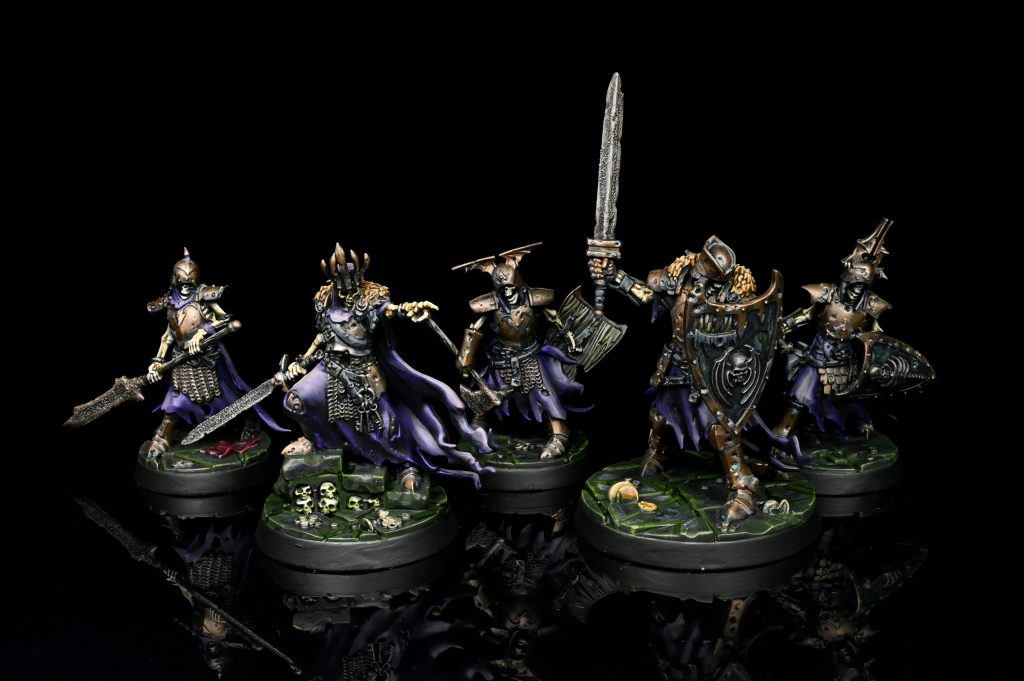 The Sons of Velmorn. Credit: Rockfish
Now that I made the ground breaking revelation of "doing more damage is better than doing less damage in a wargame" let's look at some of the other things that can make these heavy hitters more valuable. They're basically all different ways that you can ensure you can make the most out of your heavy hitter fighter.
The first valuable trait to look for is having above average durability. You're more likely to get multiple uses out of your brawler if they can tank a few hits themselves, so fighters with high health pools and/or solid defensive stats have an upper hand here. The vast majority of the fighters with strong attacks also tend to have a solid defensive profile, but there are exceptions – fighters stuck on poor saves or with low health aren't going to be able to stick around very long if the opponent comes after them.
Another thing to look for is fighters who have range 2 attacks as opposed to only range 1. This makes it so these fighters aren't limited to only swinging at enemies who are adjacent to them. Having a little extra reach will assist in lining up multiple activations in a round where you have different targets available without needing to charge and prevent further activations that round or, alternatively, burning up valuable
push and teleport resources that you can save for better uses later on in the game.
Similarly, warbands that have push mechanics on their warscroll can help shuffle your heavy hitter around the board to get into position without picking up a charge token. These come in a variety of flavors, but the most valuable ones are going to be the ones with the fewest restrictions on when and how you can use them.
Finally, it's worth considering how your fighter is reaching that three damage value. Does their fighter card have a flat three damage attack or are they two damage with grievous? The former is going to be more flexible because you can apply other runemarks to it like cleave, ensnare, or even grievous to jump up to four damage.
There are also quite a few fighters who only have two damage but also sport critical grievous. These types of fighters might not be reliable, but they do force your opponent to plan around a potential damage spike just because the possibility of you rolling a critical does exist. If going this route, tilt the scales in your favor by favoring +dice power cards and maybe take that Raging Slayers deck to gain a re-roll on your attacks.
Prime Examples (Get It? Because Three Is a Prime Number)
I'll run through some of the current Organized Play legal warbands that have fighters who can deal three damage in a single hit. For the ones I choose, I'll briefly highlight how solid of a heavy hitter they are when taking into consideration the traits listed above. This is also just based on my experience so far, so there may be some gaps in my knowledge! I'm also going to just skip over any fighters that require critical grievous to hit three damage – there are a fair bit of them and just saying "try to roll crits" isn't very useful advice. I'm not covering all of them, but rather some highlights and personal favorites.
Chaos
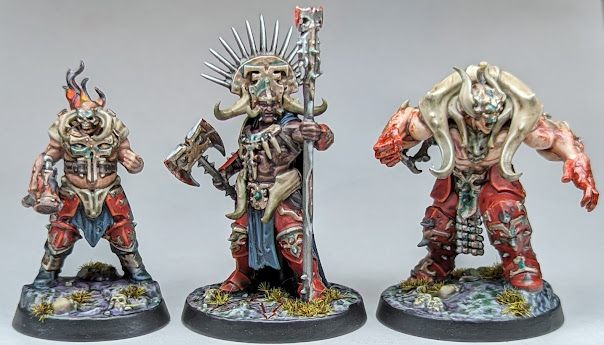 Gorechosen of Dromm. Credit: Rich Nutter
Sepsimus from the Wurmspat
Gorechosen of Dromm. Credit: Rich Nutter
Sepsimus from the Wurmspat: Starting off strong, Sepsimus ticks multiple boxes for what you want in a three-damage fighter. Not only is it a base three damage attack, but the Wurmspat warscroll offers the ability to give him grievous to bump it up to four damage or pair it with his range two attack to deliver three damage from afar. There's also a warscroll push to help get multiple attacks out of the big gross guy. The biggest downside is that access to three damage doesn't happen until Sepsimus has inspired and depending on the enemy warband, this might not happen for a bit.
Slynk from Skittershank's Clawpack: Slynk offers three damage from the first turn, unlike many fighters that need time to inspire before reaching their full potential. It's not the most accurate of attacks, but the warscroll offers a variety of bells and whistles to supplement it – if you're going for the enemy leader, you get a re-roll; you can push the enemy leader to set up an attack; if you do hit an attack, the target is going to suffer an additional point of damage if they choose to move in a later turn that round.
Dromm and The Gorehulk from Gorechosen of Dromm: It's probably no surprise that the elite Khorne warband can hit hard, but between these two there are some frightening attack options. The Gorehulk starts off with a three damage attack and once inspired it even gains an additional hex of range. Dromm has to inspire first and even then it's a two-plus-grievous profile, but it's also at a two hex range and fairly accurate. These guys are prime candidates, especially after you factor in the flexible Call of Blood push on the warscroll.
Gorl from the Gnarlspirit Pack: Not only does inspired Gorl have three damage, but he also has the Brutal runemark to help negate those pesky opposing Deadly Synergy and cover situations that crop up. Due to how spirit tokens are placed and removed during activations, Gorl is able to inspire at the start of an activation to swing for three damage, then revert to his Unleashed state to pick up an extra save dice. In Control, the flexible push ability on the warscroll, is an extra bit of help in getting the somewhat slow Gorl into range.
Death
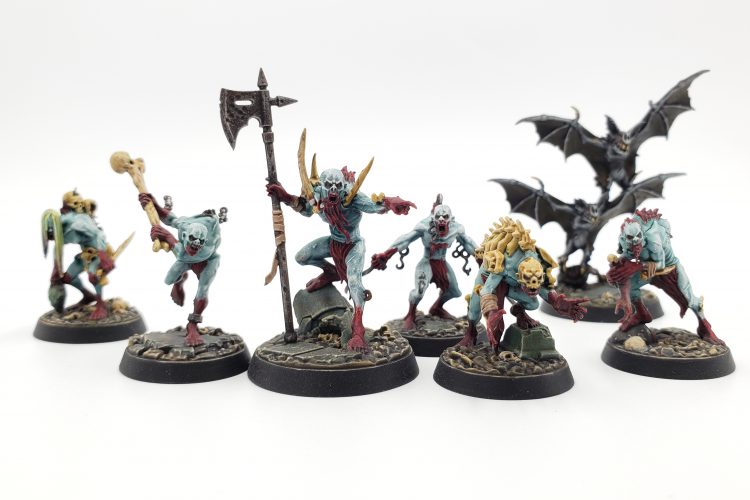 The Grymwatch. Credit: Fowler
Gristlewel from the Grymwatch
The Grymwatch. Credit: Fowler
Gristlewel from the Grymwatch: Yes, he has a pitiful 2 health and an inaccurate attack. The upside is he is completely expendable because the Grymwatch are very efficient at raising their fighters. Your opponent has to choose to either ignore the weirdly painful femur wielder or kill him only to potentially face a raised Grislewel – who comes back without a charge token.
All the weirdos in the Exiled Dead: The damage output this warband has is
staggering (har har). If Marcov survives long enough to inspire, he's rocking a two-plus-grievous profile. Meanwhile, all the conductive zombies start on their two damage inspired sides and
all of them have grievous if attacking a staggered enemy fighter. Given the popularity of the Pillage & Plunder deck, opponents are often staggering themselves just through the course of the game and even if they aren't, multiple Exiled Dead fighters can inflict the effect.
Morlak and Jedran from the Sons of Velmorn: Jedran's not the most accurate, but what he's lacking in accuracy he makes up in durability and the fact that he starts at three damage uninspired. Do remember that he switch from swords to hammers once inspired (thanks to
the December rules update). Morlak will likely inspire fairly early if you plan to make any attacks with the Grave Guard and that unlocks his two-plus-grievous profile, but the warband doesn't have any push or teleport tech to get these two into position for repeated attacks.
The Wielder of the Blade and the Bearer of the Block from the Headsmen's Curse: Three damage is cool and all, but what about four? How about four-plus-grievous to swing for an insane five damage in one attack? The Wielder is kind of the whole focus of this warband, but even the Bearer can serve as a backup once inspired. While the warscroll doesn't offer any pushes, it does have a teleport that can place a fighter in any empty hex and does so without giving them a move
or charge token.
Destruction
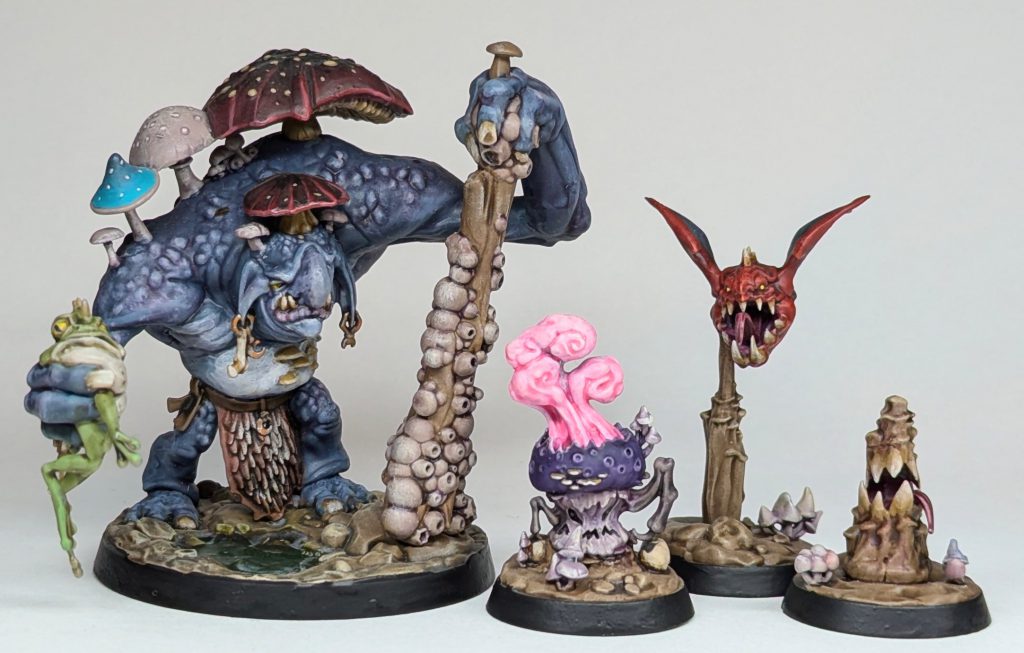 Mollog's Mob, for Warhammer Underworlds. Credit: Rich Nutter
Mollog from Mollog's Mob
Mollog's Mob, for Warhammer Underworlds. Credit: Rich Nutter
Mollog from Mollog's Mob: It's kind of difficult to make a list of the brutes in Underworlds without talking about the original. Not only does Mollog start with a three damage attack while uninspired, but he picks up grievous once inspired for a bonk inducing four damage total. There's a bit of push tech in the warband, but only for the minions – Mollog himself has to waddle around the battlefield the old fashioned way. Fortunately (for Mollog), his pet squigs can make his attacks nearly guaranteed to hit if they're positioned well.
Morgok and 'Ardskul from Morgok's Krushas: Both of these orruks have to inspire to unlock their extra damage, but once they do they are pretty scary. All the fighters in this warband are rather tough, Morgok's quite accurate, and 'Ardskull has a three damage profile with the Brutal runemark. It's also worth pointing out that even the other member, Thugg, inspires to two damage with critical grievous on four dice – something that will happen a little over 50% of the time. The warscroll also has a push that scales with the game's duration, so 'Ardskull and Thugg can get maneuvered into place, provided Morgok hasn't been slain by then.
Daggok from Daggok's Stab-ladz: Despite having an ugly hat, Daggok can be quite a threat once inspired. An accurate 3 damage attack goes well with the nearly unconditional warscroll push which also pairs well with their Krule Stab ability. If you're avoiding charges, Daggok can churn out the damage on adjacent targets while comfortably relying on two block to keep him fairly safe.
Uglug from Borgit's Beastgrabbaz: This Mini-Mollog needs to inspire before picking up grievous on his two damage attack, but given how simple inspiring with this warband is that isn't much of an ask. Once Uglug inspires, he's up there with the most durable fighters while threatening three damage from a two hex range. The main downside is that despite all the push tricks on the warscroll, none of them work on his big butt.
Order
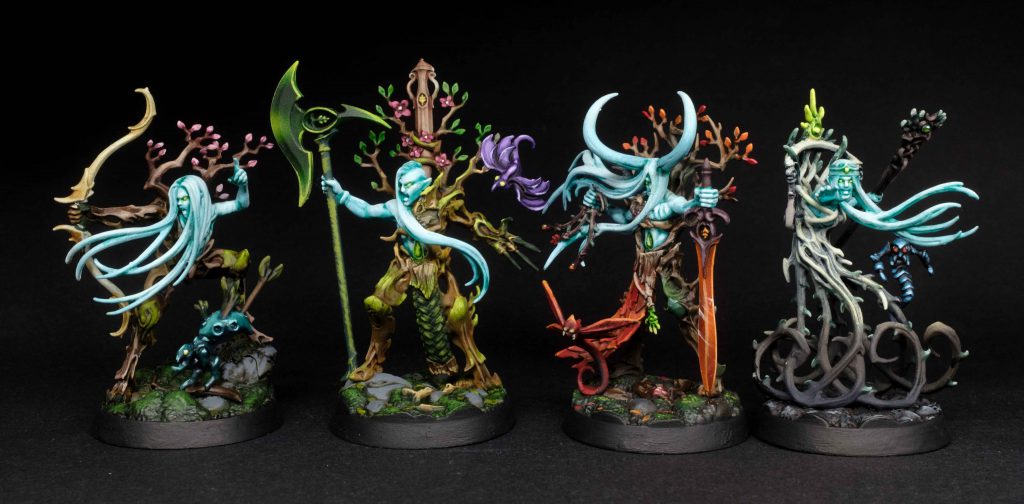 Ylthari's Guardians warband. Credit: Keewa
Anyone from Ylthari's Guardians
Ylthari's Guardians warband. Credit: Keewa
Anyone from Ylthari's Guardians: None of these fighters go to three damage, nor do any of them have grievous. What they do have, however, is the Everdusk warscroll ability which can add up to three damage to any of their melee attacks (provided enough friendly fighters are slain). This means a single surviving member of the warband is capable of the highest damage attack in the game – bumping up to a five damage attack that is still eligible to have grievous added to it from a power card.
Klaq-Trok from the Starblood Stalkers: The muscle behind all the skittering skinks, Klaq-Trok starts at three damage and becomes even more accurate once inspired. While the warscroll doesn't offer any pushes for him, and any power card pushes are likely to be used on the skinks to help ensure an early inspire, Klaq-Trok is able to just walk onto a forward treasure token and make the enemy come to him.
Drusylla from the Shadeborn: Drusylla has to inspire before unlocking her two-plus-grievous attack and is among the squishier fighters in this list, but she makes up for it by being able to attack from two hexes away and having remarkable reach from the warscroll. I've been on the receiving end of a Drusylla blender and it's scary.
Kro-Jax from the Jaws of Itzl: Another dinosaur! Kro-Jax is another fighter who starts the game with a flat three damage attack and only gets scarier as the game goes on. The warscroll does have a few extra ways of dealing damage in Predatory Fighters and Savage Mauling, so it's quite possible that Kro-Jax is able to surpass a measly three damage in a single turn cycle. Like I mentioned in the Morgok's Krushas entry, this warband also has another fighter in So-Kar who has a roughly 50/50 chance of being either two or three damage each time he attacks, barring any additional dice or re-rolls.
Closing Thoughts
Alright, so now you know some of the reasons why I think the threshold of three damage is so important in the game of Warhammer Underworlds. Does this affect how you plan to evaluate warbands in the future? Have any existing warbands gone up or down in your eyes? Personally, I've started valuing it quite highly and while I don't think it's a requirement for me to choose a warband, it's a very highly regarded point in the favor of any who have the ability to hit that hard.
Have any questions or feedback? Drop us a note in the comments below or email us at contact@goonhammer.com. Want articles like this linked in your inbox every Monday morning? Sign up for our newsletter. And don’t forget that you can support us on Patreon for backer rewards like early video content, Administratum access, an ad-free experience on our website, and more.Thank you for being a friend.


 Goonhammer App and Patron Updates: April, 2026
 Kill Team Tournament Report: Engage, Party, Repeat's March Madness 2026
 Goonhammer Reviews: Tribal Conquest