Conquest: The Last Argument of Kings (TLAOK) is a game that’s designed with large-scale armies in mind. In contrast with First Blood, the skirmish expression of the world of Conquest, which uses the same minis but treats each individual model as its own unit, TLAOK assigns stats to Regiments made up of stands of multiple models.
One of the first mental discoveries one makes when building out an army list for TLAOK is therefore that there’s a choice to be made around how many stands to include in a regiment. The minimum-sized unit (MSU) is three stands, so it’s tempting to create a first list of MSUs, but apart from some side-effects there’s no maximum size for a unit.
This ought to get us asking ourselves the question: How big can I go?
Ewan's Dweghom
Let’s say I want to create a W'adrhŭn list. I start with the Chieftain as warlord and add two mainstay units: Blooded and Veterans, with 16 stands of each. Before any upgrades that’s almost 1,600 points, which doesn’t leave much space for anything else. But it does have some advantages - perhaps in some cases the pros outweigh the cons.
Number of Cards
Firstly, let’s notice that the immediate strategic impact of running big blocks rather than MSUs is that you will enter the game with fewer cards. That makes decision-making around reinforcements and activation order a bit simpler - a massive pro for me - but brings with it other features.
Firstly, it means that you’re very likely going to be out-activated most turns. If your opponent wants to leave their shock cavalry and/or ranged units until last so that they can hang back and have free rein, they’re going to guarantee that for themselves. At certain points, this will make you sad.
But it’s swings and roundabouts. Having fewer cards brings with it an advantage in the supremacy roll-off, meaning that more often than not you’ll be able to choose whether to go first or second. A lot of games can feel like they’re decided on who gets to hit first in a critical matchup, so by itself this might win you the game. In TLAOK, where tiny margins can lead to extreme swings in points differences, every advantage is worth paying attention to.
Sam's Stryx
There are also some scenarios where having fewer cards is a huge benefit. Any time where killing a unit or a character scores points favours the person with fewer cards. In the thoroughly unrealistic scenario in which it’s a stalemate on objective scoring and both armies are wiped out simultaneously, the player who’s chosen to go with the bigger units will win by default.
Baked-in Survivability
The second thing to notice is how intimidating a massive unit feels in terms of the challenge of killing it. Even at the simplest level it’s clear that a unit with more stands will have more wounds, which will take longer to get rid of, but it’s much more satisfying than that.
We’re miniature wargamers. We don’t need too much tempting before we’ll dive into the rabbit hole of probabilities. But calculating the various outcomes depending on the size of a big block of infantry is a very fulfilling act.
Bigger blocks come with an inbuilt survivability benefit in the form of bonuses to the Resolve characteristic. 4-6 stands increase it by one, 7-9 increase it by 2, and 10+ increase it by 3. A meagre Resolve stat of 2 in a block of 10 stands suddenly becomes the best on the table.
This really comes into its own with huge regiments. Adding a single extra stand to an MSU is quite disappointing a lot of the time, because (1) the Resolve bonus is lost is soon as that stand is gone, so a hard enough hit means you’ll never experience the benefit, and (2) a really hard hit that removes three stands at once will simultaneously break and shatter the unit, giving you exactly the same experience as you would have done with only three stands.
But both breaking and shattering become increasingly more difficult as the unit size grows. This simple table shows the number of wounds required to shatter a unit with different numbers of stands (assuming 5 wounds per stand).
Number of stands
3
4
5
6
7
8
9
Wounds needed to shatter
15
15
20
25
30
30
35
35 wounds is a lot. Given the ability to Rally, this is almost never going to happen. For reference, a unit of Oni Ayakashi, assuming their Cleave 2 makes every hit automatic and benefitting from their command special rule increasing their attacks to 6, would probably need to be made up of 5 stands itself to do this, which at 80 points per stand is no joke.
Big blocks of infantry are going to stick around. If they can get themselves into a scoring position they can be as difficult to remove as some of the most annoying units in the game to try to figure out, and their size can give you the ability often to dictate what the battlefield is going to end up looking like, which can be particularly helpful if you sit a size 2 ranged unit behind it.
Setting the Tone for the Whole Game
One benefit of an MSU is how manoeuvrable it is. It can normally make a charge it can reach, and squeeze itself around obstacles. Good luck doing that with a 25-stand block of force-grown drones.
Wheeling almost always makes literally no sense. Reforming a lot of the time might end up being illegal. Charging can be very tricky if you’re not careful about impassable terrain, and if your opponent is good at positioning the decision might be made for you.
But none of these are reasons not to take it, they’re just characteristics to pay attention to. While an MSU of Werewargs can be dropped wherever you feel like it, a massive set of Hoplites should be placed carefully. Pay attention to the terrain, the scenario, your opponent’s units and the rest of your own army. That set of 3 stands of Karyatids might play an equivalent role in any number of places, but 15 stands of Praetorian Guard will only fit in one of two.
The number of points you’re going to sink into this single unit justifies being careful. It’s very annoying to have more than a quarter of your army spend tied up in your own backfield because the Stryx have stuck themselves to it. And once it’s out, its flanks are more exposed unless you’re lucky (or skilled, apparently) with terrain-aware placement.
Making the Most of Special Rules
Let’s be clear: Big blocks aren’t good fits for every infantry unit. Agema with more than four stands feels like a waste of points, because the back row will contribute only 1 extra attack. And the natural advantage from the offence perspective is volume of hits. This is undeniably helpful against every sort of regiment. Hardened doesn’t reduce the number of hits. Tenacious only affects single clashes, so big numbers is its direct counter. High Defence scores will still perform well, but there’s only one way to beat them and that’s with large numbers of hits.
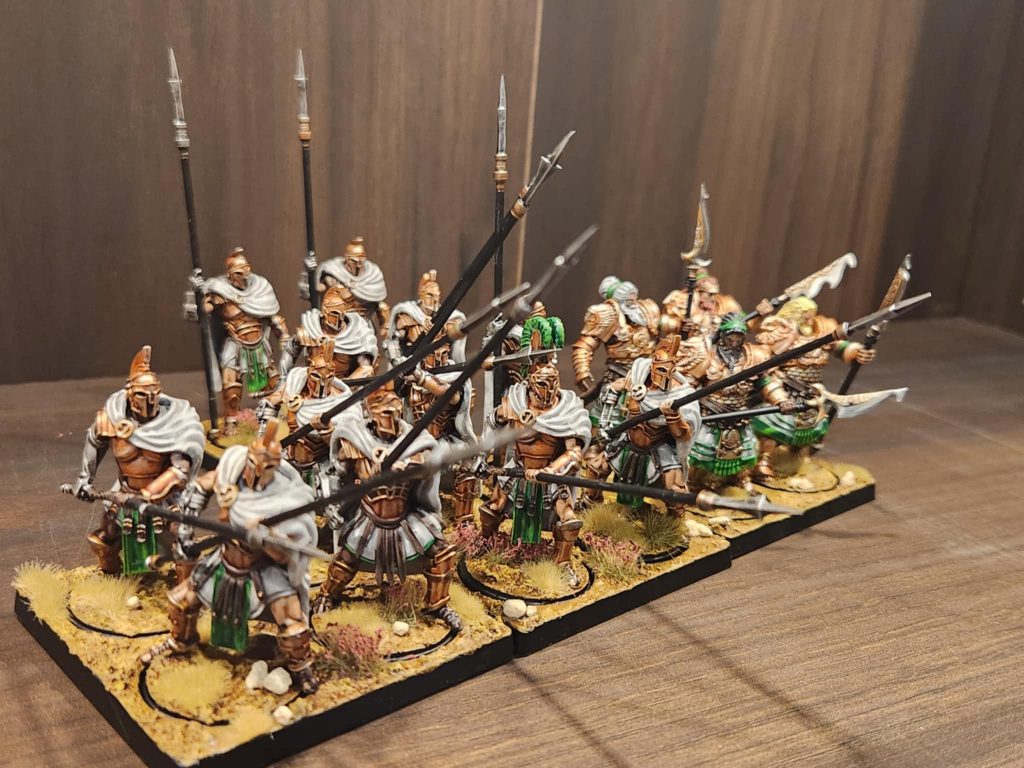
@mikes_hobbies91
In addition to that, infantry units as a general rule tend to have Support (2), meaning the back rows hit a bit harder than they otherwise might do, and there are certain units that really lean into this. A lot of Hundred Kingdoms infantry and Phalangites can be Support (3). Bound Clones can even become Support (4), meaning 10 stands could produce an average of 23 Cleave (1) hits. Not to be sniffed at. Force-Grown Drones in large units get Regeneration (+4) and Lethal Demise (2), meaning that not only are they annoyingly hard to get rid of but they hurt your opponent while they’re doing it and keep on coming back. Delicious.
Give It a Go!
I know, there are many reasons to not take a big block. There seems to be a tendency from some quarters to lean into lists made up predominantly of monsters, and the downsides of trying to run elite units in larger blocks make that decision unrealistic. Not to mention the psychological damage I’ve done to myself in putting in an order for six boxes of Force-Grown Drones, and then painting them all in one week.
But it’s a failsafe way to create the foundations of a cohesive list, and that’s half the battle won right there. Get the right synergies supporting an attractive blob of infantry, get it positioned well on the battlefield, and everything else ought to fall nicely into place. Your opponent will be faced with Hobson’s choice of whether to invest large portions of their army into killing it, or trying to ignore it while you merrily rack up the score and dictate the game.
As always, if you want to get 10% off and support Goonhammer you can make your Conquest purchase by clicking here and enter code “goonhammer” at checkout.
Have any questions or feedback? Drop us a note in the comments below or email us at contact@goonhammer.com. Want articles like this linked in your inbox every Monday morning? Sign up for our newsletter. And don’t forget that you can support us on Patreon for backer rewards like early video content, Administratum access, an ad-free experience on our website, and subscriber-only content covering competitive Warhammer 40K!

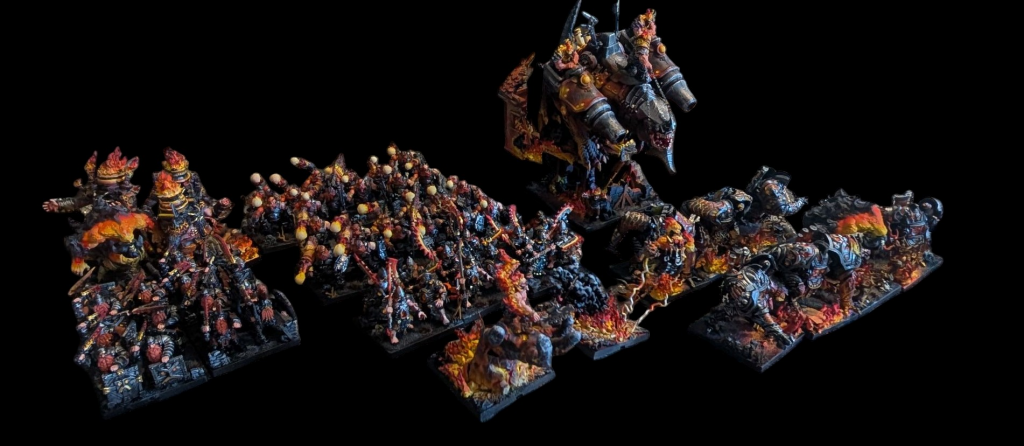 Ewan's Dweghom
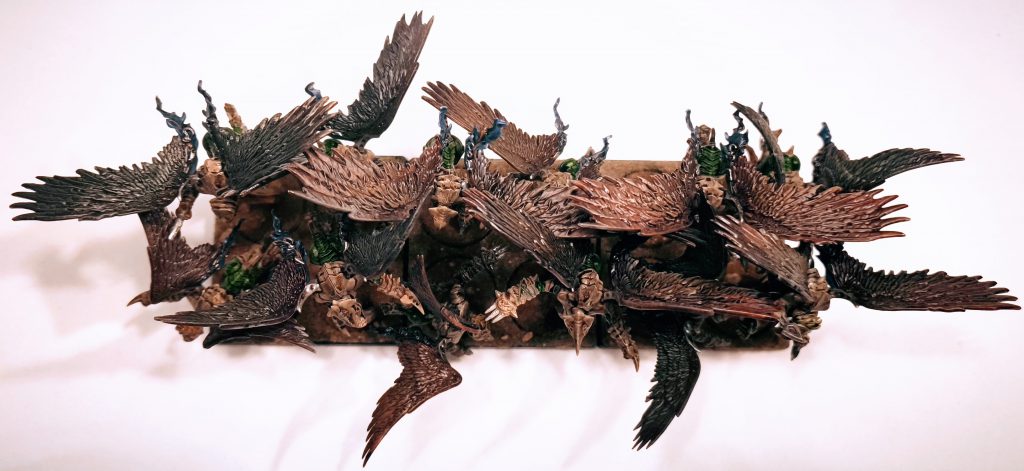 Sam's Stryx
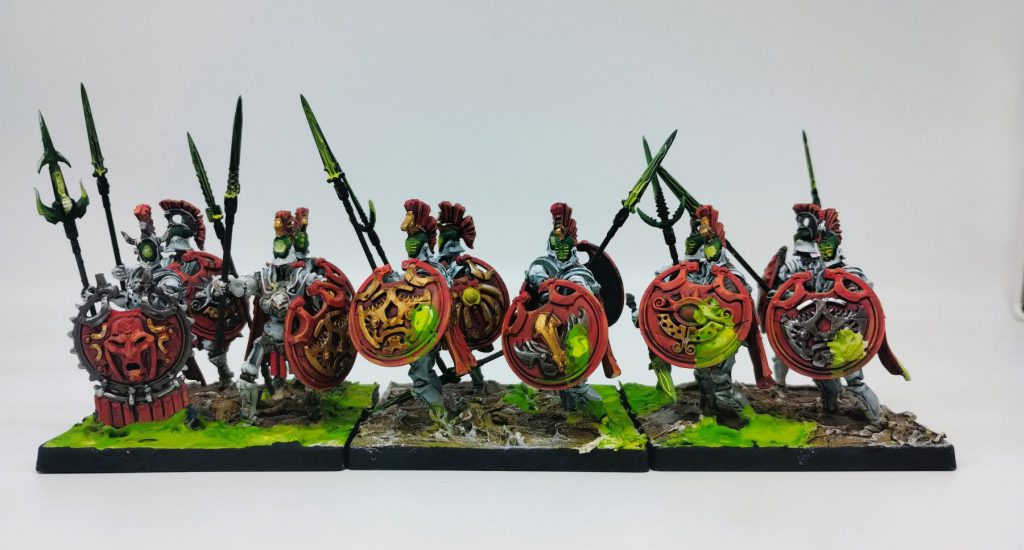
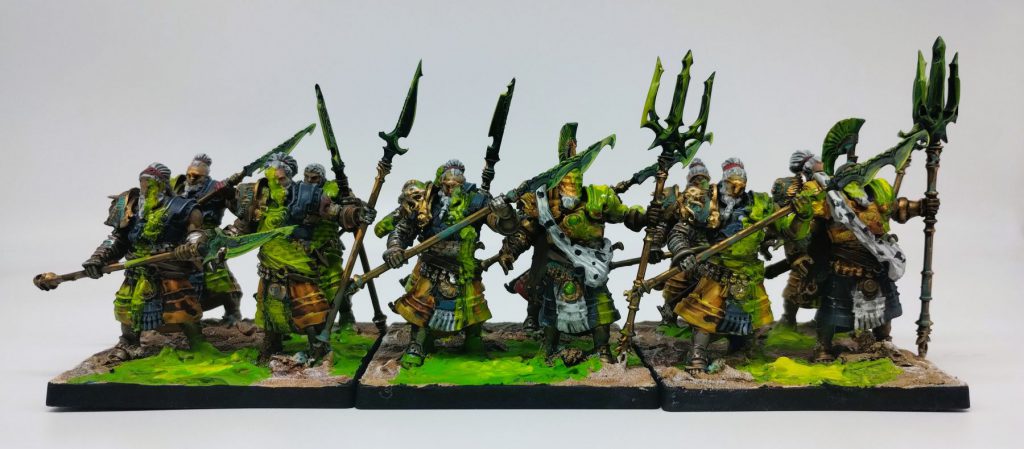
 @mikes_hobbies91

 Goonhammer App and Patron Updates: April, 2026
 Kill Team Tournament Report: Engage, Party, Repeat's March Madness 2026
 Goonhammer Reviews: Tribal Conquest