This guide was originally written at the request of Old Dominion players on the Conquest discord.
Why Play the Fallen Divinity?
As we note in our
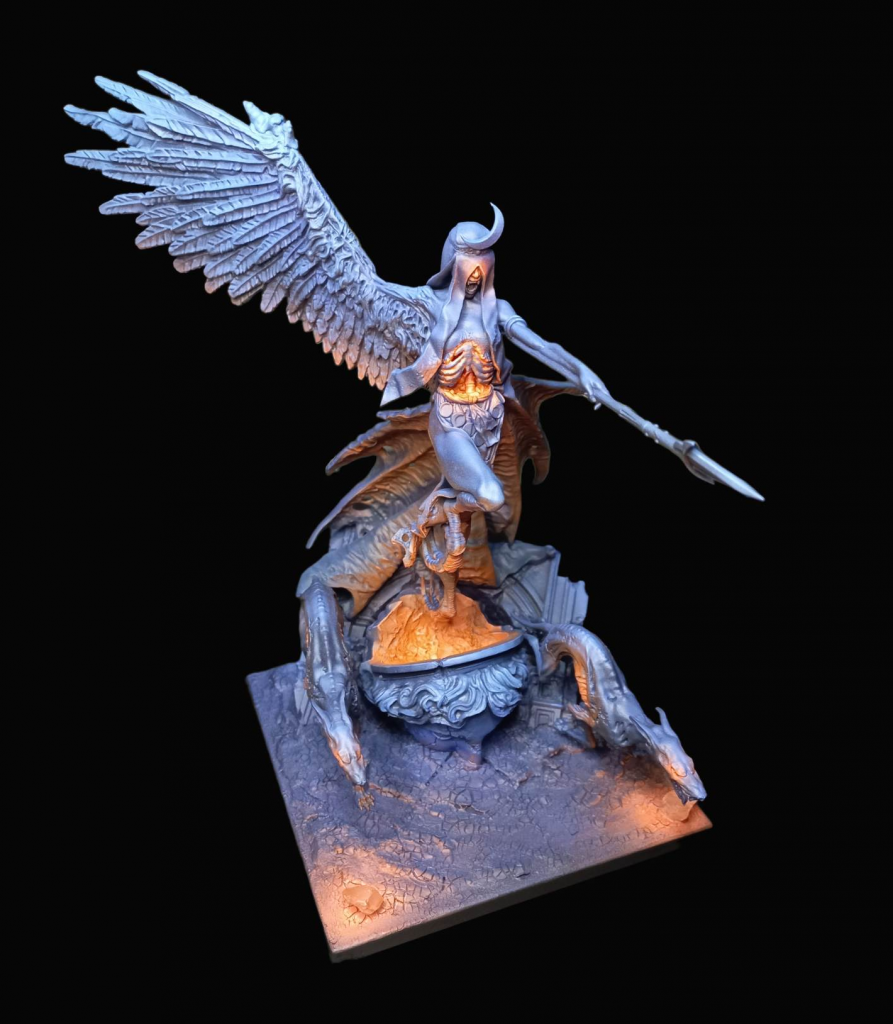
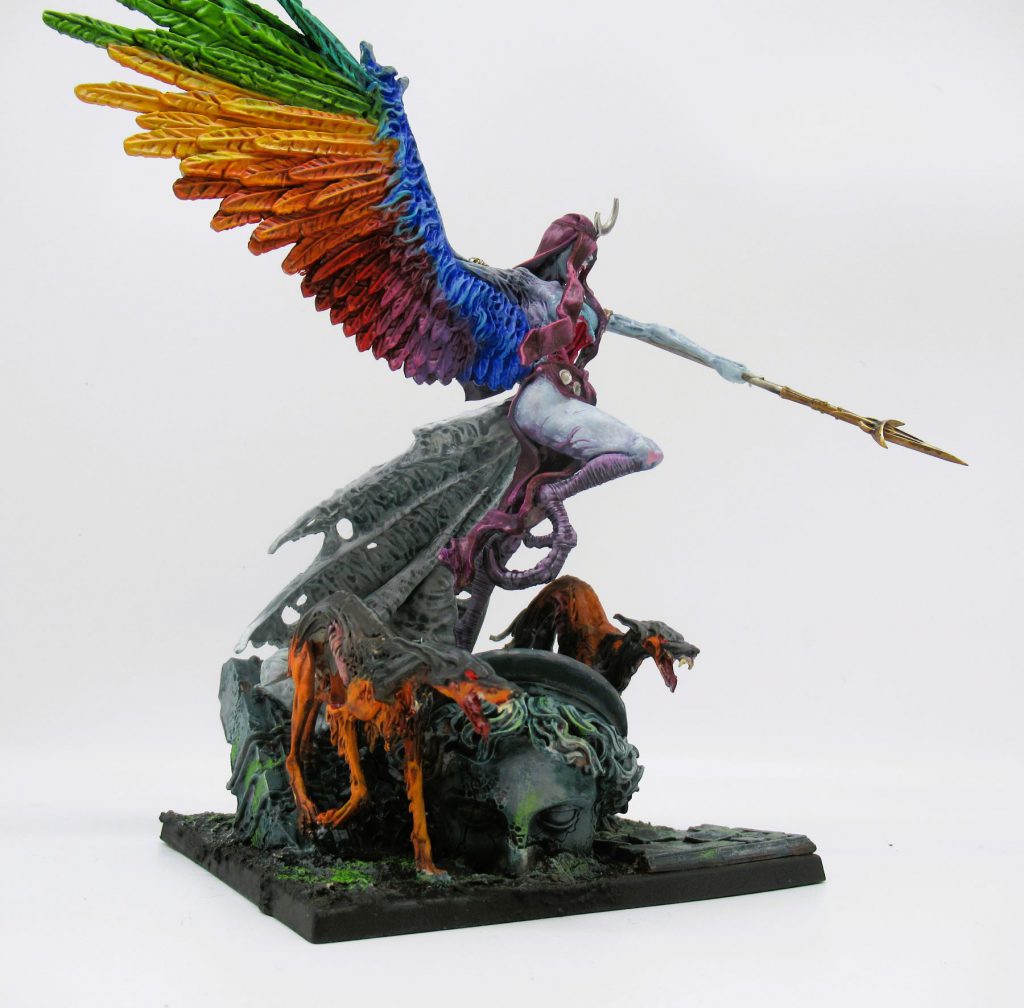
Old Dominion Faction Focus, the Fallen Divinity represents an entirely different way to play Old Dominion. Normally, Old Dominion lists gather dark power tokens into a shared pool that boosts all surviving models in the army, wherever they might be on the battlefield. With a Fallen Divinity at the head of your army, you now have access to a second use for your dark power: empowering her personally by directing that dark power into the Fallen Pantheon pool instead. This creates an experience with a very different texture, giving you a whole new way to use the core faction mechanic, although getting the most out of her can be tricky. This guide will discuss her strengths, weaknesses, and how to build and execute a gameplan that makes the best use of the former while minimising the latter.
What Makes the Fallen Divinity Strong?
Firstly, she offers even higher late-game strength than in a regular Old Dominion list. All Old Dominion lists rubber band themselves into the late-game to a greater or lesser extent thanks to the Dark Power mechanic, but Fallen Divinity lists allow you to harvest
more total dark power (thanks to giving access to two separate dark power pools – generally, the fallen pantheon pool is the most important to fill, but it
is possible to also get up to T2 or even T3 or the regular dark power pool in the right situation with the right lists), and
concentrating the effects of that dark power in one place (with the Fallen Pantheon pool moving her personally up to higher power profiles). Most Old Dominion players over-estimate the importance of Dark Power; many of the best Old Dominion units are surprisingly good on their merits and only a few are truly contingent on the higher tiers, but a Fallen Divinity list is a place where you can really push both how much you generate and the effects it produces.
Secondly, she offers benefits in the early game by being a scoring regiment, who arrives as a light with Flank. This helps increase your
activation count and scoring potential in the early game, although you need to be careful making use of these – don’t fling her onto a zone in Maelstrom unless you’re sure it’s the right play.
What Makes the Fallen Divinity Weak?
She’s 300pts minimum and not invulnerable, and you need to shepherd her fairly carefully through her first two tiers of dark power. Typically, the worst case scenario is that you put a lot of work getting her to to T2 and then she dies to some kind of blowout before she can get to T3. Yes, that power will flow into your regular pool, but that’s probably not how your list is built to play, so its limited consolation.
Secondly, once she reaches T3, she starts damaging nearby units. This is accompanied by some equally aggressive buffs, but generally you want to avoid damage to your own army if possible. This can be solved with proper positioning, but needs to be accounted for in your plans. We’ll talk about how to avoid the worst of this damage below.
Finally, a small number of regiments in the game can stall her out. Any regiments that can withstand high cleave and terror can potentially hold her at bay for a time even when she’s at T3, and if she’s able to be held in place for several turns, that consumes a significant portion of her total potential time at maximum power. The Old Dominion mirror match for example can be a particular struggle for her as most OD units have some native evasion and don’t suffer resolve damage, meaning it can easily take two rounds of clashes just to clear a baseline legionnaire unit – which represents a terrible waste of the strongest force concentration in your list.
How to Build a Fallen Divinity List
The Fallen Divinity works best as part of an aggressive early-game strategy. Depending on your local community you can supplement this with some late-game push, but the decision to do so should made only after you’re sure of
always having the advantage early. This means adding heavier regiments to her army only if your own metagame is more medium- or heavy-focused. Don’t stop adding your own early aggression and power generation until you’re confident it’s enough to be ahead early. The presence of the Divinity always means you have a strong late-game plan, so you only need heavier regiments if you think she’s insufficient herself.
Here's an example, developed by Australian player Saxon King:
Gods and Mortals
== (Warlord) Fallen Divinity [300]:
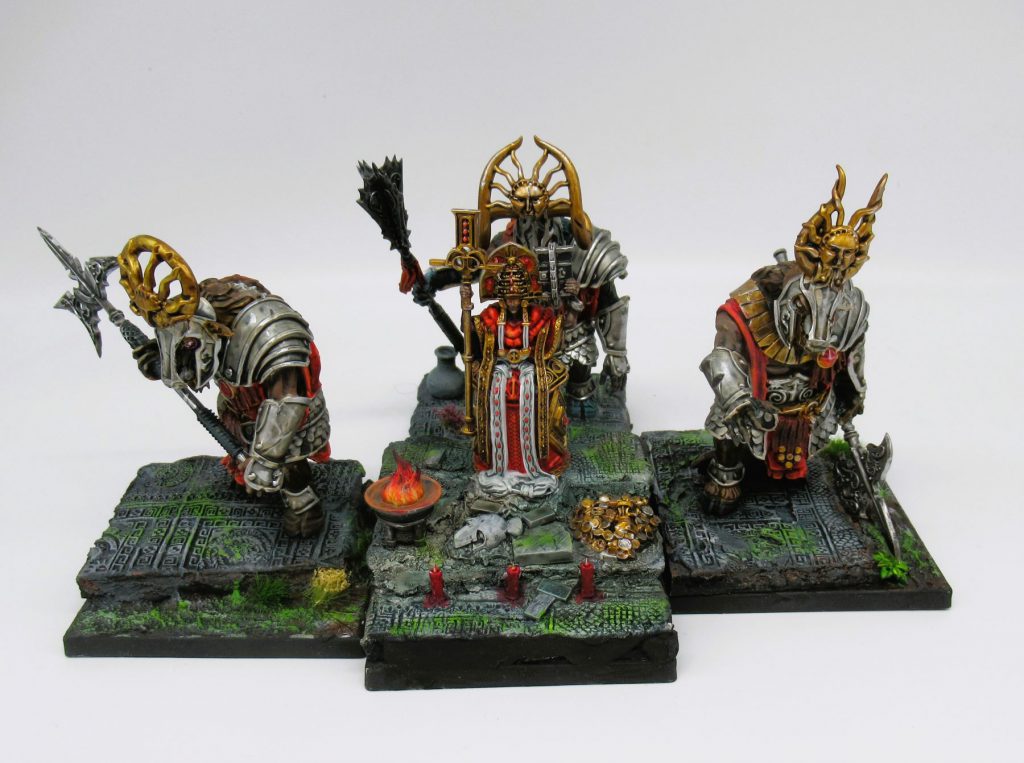
== Hierodeacon [90]:
- Cultists (3) [90]:
- Hashashin (3) [140]:
== Hierodeacon [90]:
- Cultists (3) [90]:
- Hashashin (3) [140]:
== Archimandrite [110]:
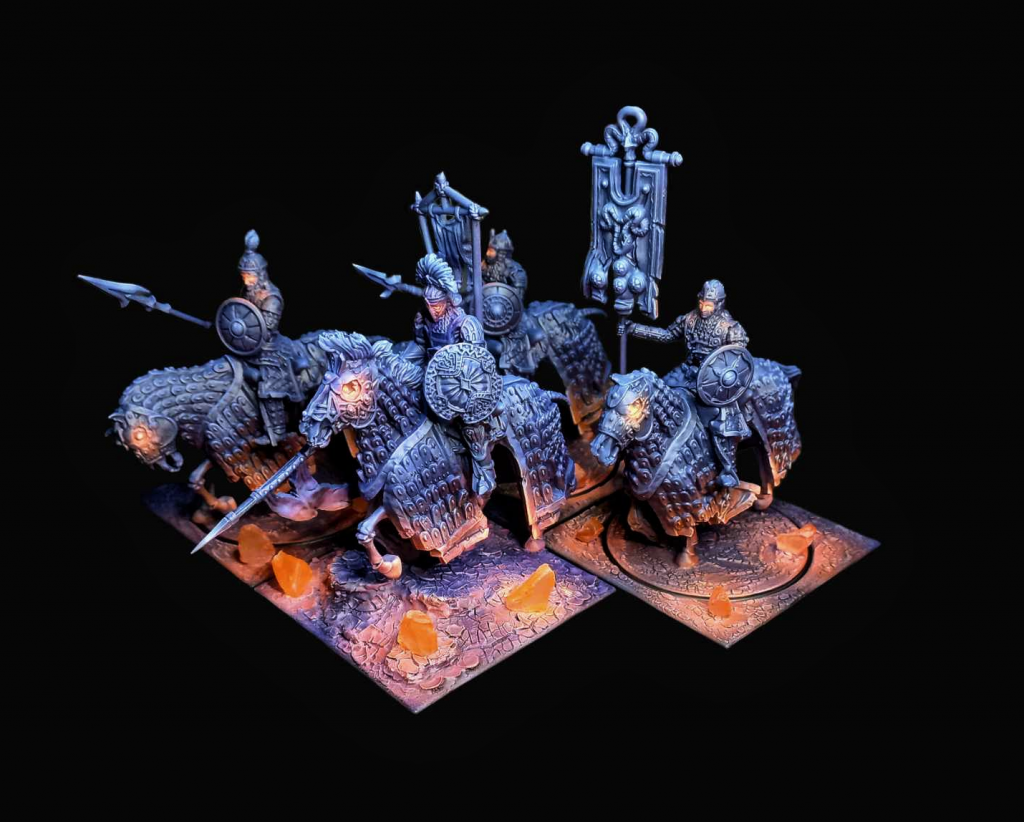
== Mounted Strategos [100]:
- Kataphraktoi (3) [190]: Hetairos
- Kataphraktoi (3) [190]: Hetairos
- Centaur Prodromoi (3) [150]:
There are a few things to note about the list, and it’ll be the focus for our example of how to play the Divinity in practice:
- As discussed above, the list is very close to maximally early-game focused; it has only a single heavy apart from the Divinity herself (typically choosing to bring the Buccephaloi on automatically during round three), it sets an aggressive reinforcement line, and the medium melee units all have long threat ranges (including deadly march + charge potential from the two units of Kataphrakts). This means the game resolves faster than normal, which is to your favour with such an early aggressive list generally, but also means that if your opponent does hold off your early aggression, then the Divinity spends the longest possible time at T3.
- The second is that it generates as much dark power as it’s possible for a list to generate in Old Dominion list, with two Heirodeacons and an Archimandrite to heal back damage caused by Dark Shepherd, and with the mortal regiments you can even attempt plays with Undying Devotion which will allow a Hassassin regiment to generate 5 dark power if it dies (but generally this is not necessary). This Dark Power generation is aggressive enough to actually allow the regular Dark Power pool to reach T2 before focusing on the Divinity, which in addition to empowering the horses, also has the subtle side effect of improving the Archimandrite to being able to heal 3 wounds per Hazlia’s Touch. That’s very relevant given the Divinity will often be a target for this spell.
- The third thing is that the Divinity takes no upgrades. Depending on your personal preference you might want to upgrade her, but in general this is a temptation you should resist unless you’ve got some specific matchups you’re concerned by. While she can take both Aura of Malice and Eternal Discipline, in general you should only take Eternal Discipline and then only when you’ve got powerful Deadly Shot shooting pointed at your list. Spires shooting in particular is one of the few things that can consistently pressure the Divinity, and paying a small premium to insulate against that can be worthwhile, but otherwise any points you spend on her are points not spent on other regiments. Getting 70pts of upgrades onto would necessitate cutting an entire legionnaire unit at minimum, which will reduce your reinforcement speed, activation count, and tie a more valuable medium unit to a scoring zone in the late game.
 Conquest
How to Play the List
The game will play out in a few phases:
- Development: while building your army on the board and setting up your formations, bring the Divinity on early, either turn one or two. You don’t need her on turn one as you have ample fast medium scoring units, but bring her on at least by turn two as that’s when your activation advantage starts really pressuring your opponent’s decisions. If there’s worrying enemy firepower, find a Size 3 Forest for her to toe into during the early game. All standard board setups should offer her ample cover.
- Early engagement: by the closing moments of round two and through round three you should have more activations than your opponent. Use that to set up pressure and trading situations. Don’t be afraid to do things like aggressively move both your hassassins forward as the last two actions of a round to be able to guarantee a charge with one of them at the start of the next round. They aren’t that expensive so will often trade up, but the important thing is that you are looking to trade, not get unanswered picks. Whittling down both armies early is favourable for you as it plays into your early strength and powers up the Divinity.During these early turns, usually focus on getting the regular Dark Power pool up to T2, then shift gears to powering up the Divinity. Keep the Archimandrite’s unit nearby behind her in case she needs some chip heal and be prepared to use units to screen or punish a dive, but generally distance and the pressure you’re exerting with other units will keep her safe.
While your army benefits from regular Dark Power reaching T2, if you think that’s not possible, use Blasphemous Power on the Kataphraktoi. Everything else can get by at T1.
During this part of the game, all equal trades are generally good, but if you can try to focus on removing enemy units with evasion and resistance to resolve damage – anything you can kill of that type here will limit the units your opponent has later that might stall the Divinity out for more than a round.
- Continue trading, and begin pushing the Divinity: the Divinity herself needs to be kept safe during the early game, but some time during rounds 3 or more likely 4 can begin to push forward – you trigger for this is to begin advancing once she’s in T2 and you’re within reach of T3. The earliest you want her to actually be exposed to any real danger is when you are within easy distance of T3 and the surge of healing it gives her. A practiced opponent will usually recognise going after her as bait at this stage of the game, but you want to set her up in any case, because as both armies trade down she will hit T3 sooner or later.
- Clear the blast zone: eventually (sometimes quite early in the game if you’re aggressive with your trades), the Divinity will hit T3. At this point, you have a few priorities. Units around her will need to clear the blast zone; losing a stand or two of cultists or legionnaires is fine but anything more valuable should get clear. Order your stack to accommodate this, either with the Divinity surging away or other units making their own charges to get clear; whatever works in the moment.
- Surge and consolidate: From there, the Divinity should be set up to go for the throat and start pinballing through enemy units, generally taking only a turn to get most kills (two at most unless your opponent has a unit purpose-built to withstand her that you haven’t been able to weaken or bring down). She’s the hero of this moment, but you need to capitalise on the damage she does. This means following up with scoring units into the space she makes, as the last thing you want is for her to reach T3 only to be stuck in a zone all game. The perfect unit for this is the Archimandrite’s legionnaires, who should never see much combat, can safely take some blast damage from her if needed but, ideally, sit more than 10” but less than 12” from her, safe from her damage but able to heal her if needed.
Particularly given how strong your early scoring and trading is, at this stage you should be in position to either secure or maintain a decisive scenario lead, or turn an emerging attritional lead into scenario advantage, or both.
Have fun!
As always if you want to get 10% off and support Goonhammer you can make your Conquest purchase by clicking here. You’ll also need to enter code “goonhammer” at checkout.
Have any questions or feedback? Drop us a note in the comments below or email us at contact@goonhammer.com. Want articles like this linked in your inbox every Monday morning? Sign up for our newsletter. And don’t forget that you can support us on Patreon for backer rewards like early video content, Administratum access, an ad-free experience on our website and more.
Thank you for being a friend.


 Goonhammer App and Patron Updates: April, 2026
 Kill Team Tournament Report: Engage, Party, Repeat's March Madness 2026
 Goonhammer Reviews: Tribal Conquest