Last week, Summer went over the general printing capabilities and maintenance requirements of the Bambu Lab H2D in great detail, but the attention given to the printer's laser cutting feature deserved its own breakdown in a separate piece. Thanks again to Bambu Labs for providing this unit and some accessories to Summer for review purposes.
Laser cutting is probably the H2D's most-discussed feature.
Characteristics
The laser cutter's characteristics are derived from its use as an add-on module to the printer toolhead.
- CoreXY motion system
- 10W or 40W laser module (one clip, one plug installation)
- 455nm operating wavelength (blue)
- Active ventilation and exhaust via a flexible hose
- 300mm x 300mm laser work area
- Included metal laser platform is configurable for different materials and sizes
- Included Emergency Stop button, non-overridable fire alarm, laser neutralizing windows, auto chamber sealing system, and other safety features
Like all tools, the H2 series lasers have limitations.
Limitations
- The H2 series laser modules cannot cut metal or clear acrylic
- Their ability to engrave certain light acrylics and metals is also limited
- Lower power than standalone laser systems
- Cleaning the print chamber is highly recommended after using the laser
Setting up the H2D laser for the first time was remarkably easy. The most difficult part was reaching around the printer's back to fit the exhaust hose and its plastic adapter. This was simply because my printer is against a wall in a somewhat space-constrained area. The hose and its adapter do require some additional clearance behind the printer, but I don't think there exists a configuration that doesn't require clearance for the exhaust. It's always preferable to have more ventilation for a laser than too little.
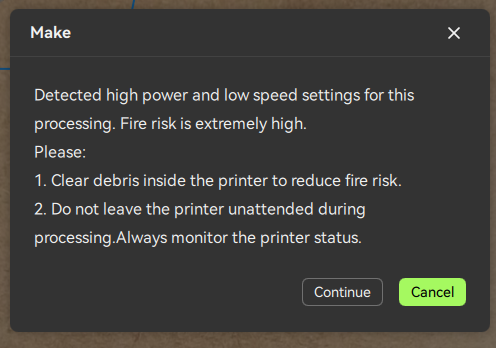 A conspicuous warning is raised when starting laser jobs with settings that increase fire risk.
Frickin' Laser Beams, Man!
My first time with the H2D laser was made of two main experiences: Enjoying its intuitiveness and receiving tutorials on laser safety and operations. It walked me through an eminently followable set of steps to personalize a coaster and laser cut it onto an included cork sample sheet. Critically, the laser tutorial included links to safety documentation, and an unskippable video safety presentation. I wholly believe that unsupervised instructions for safety-sensitive equipment should
always be available in multiple, accessible formats. The humble written manual/leaflet is too easy to ignore or discard in a user's excitement. Illustrated instructions, guided digital tutorials, and unskippable safety videos are exactly how the H2D should be approached—even for a simple coaster.
The laser was surprisingly simple to use. It wasn't long before I was carving and etching personalized projects using the Bambu Suite UI. However, my earlier complaint about Bambu Suite's back-and-forth workflow still stands. It's frustrating not being able to fine-edit my design with the material in sight. That alone slowed down my laser projects.
During my testing, I used the laser to cut a number of the included test materials (soft cork, leatherette, card). I later switched over to third-party MDF and it only took a
couple tries to get the settings figured out. I didn't waste much material before I was popping out larger projects like my own version of
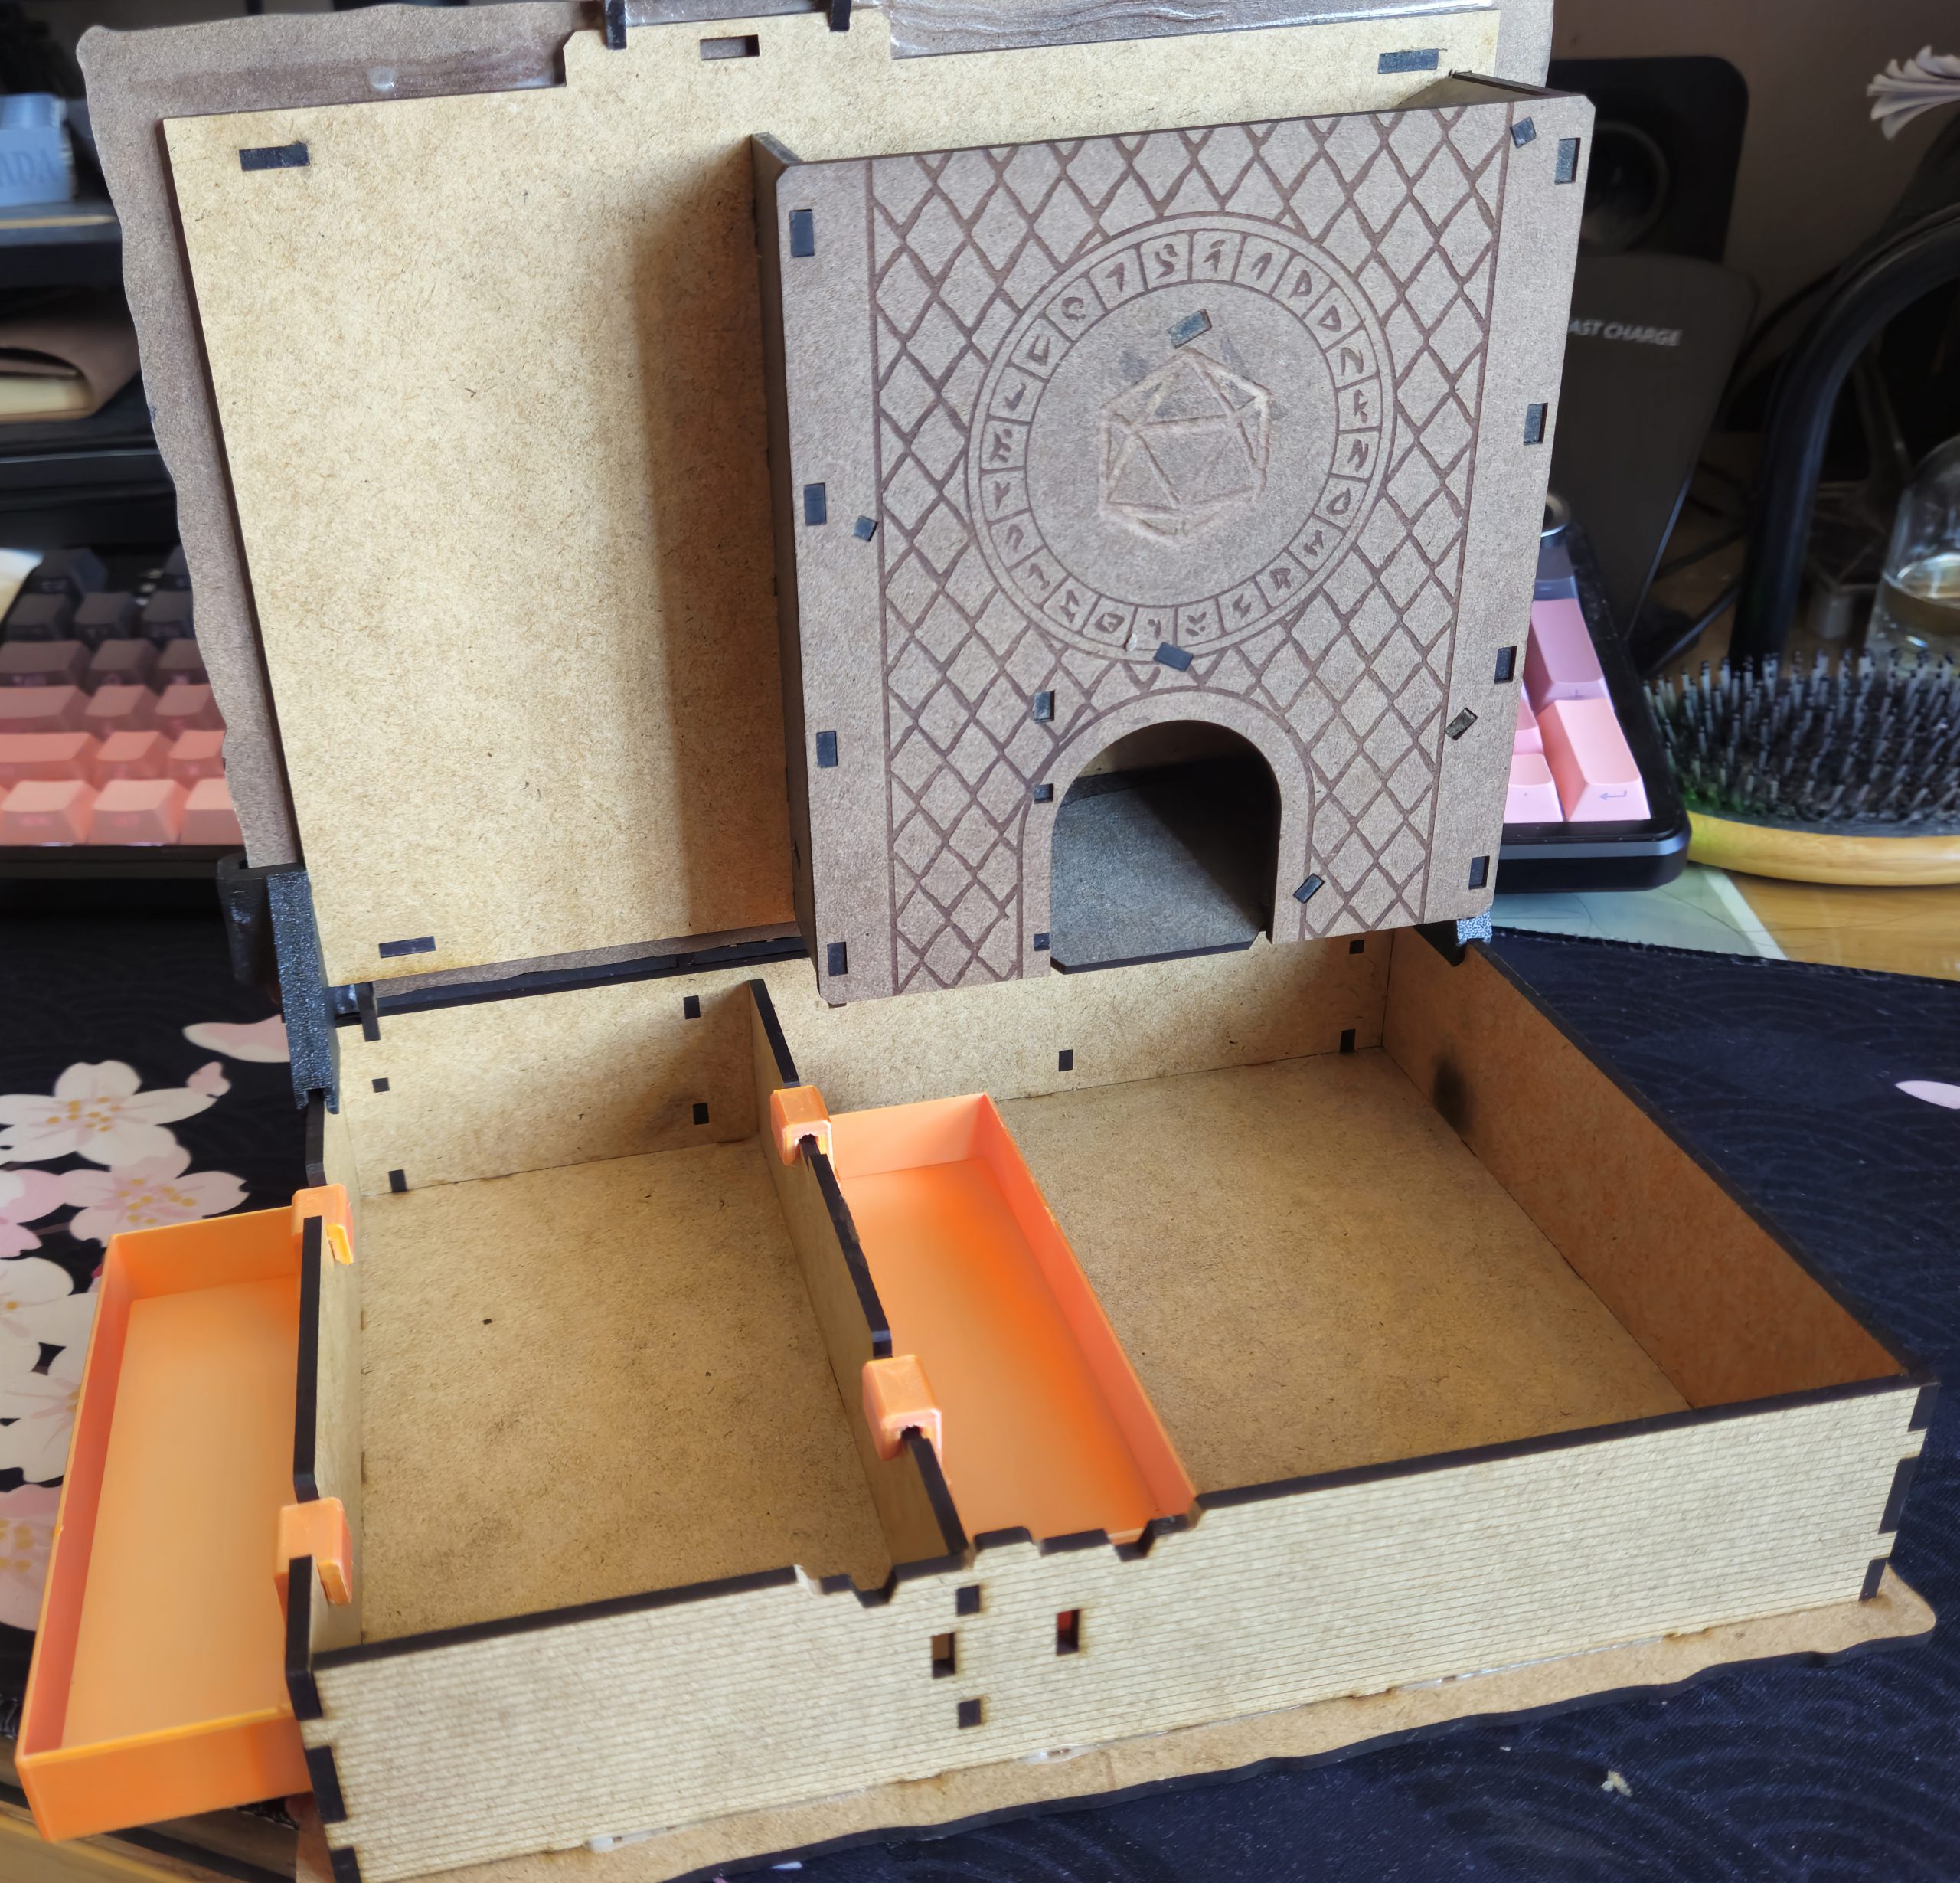
this DND player kit.
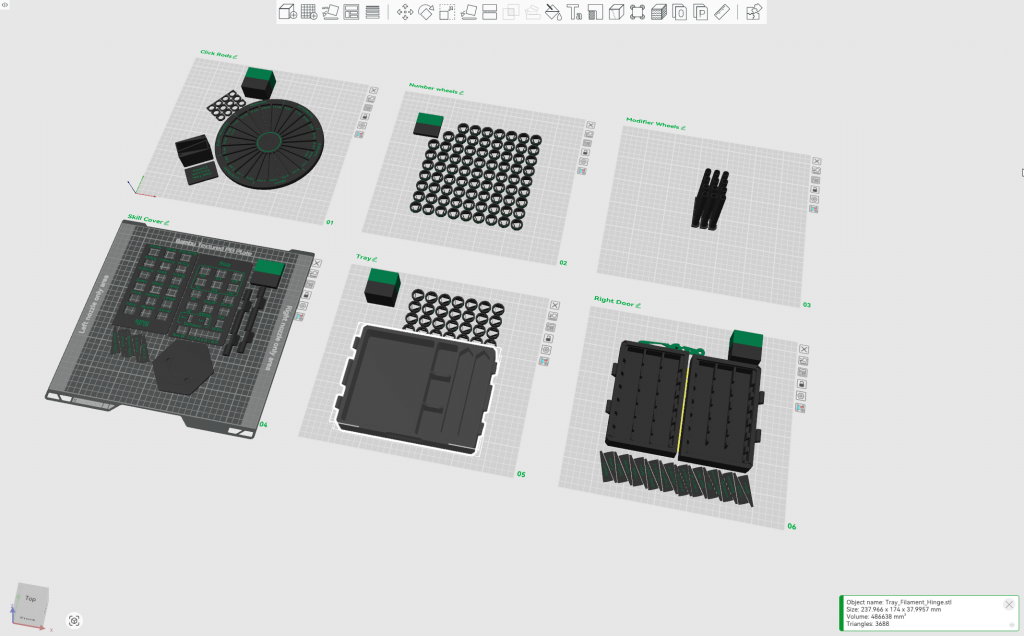
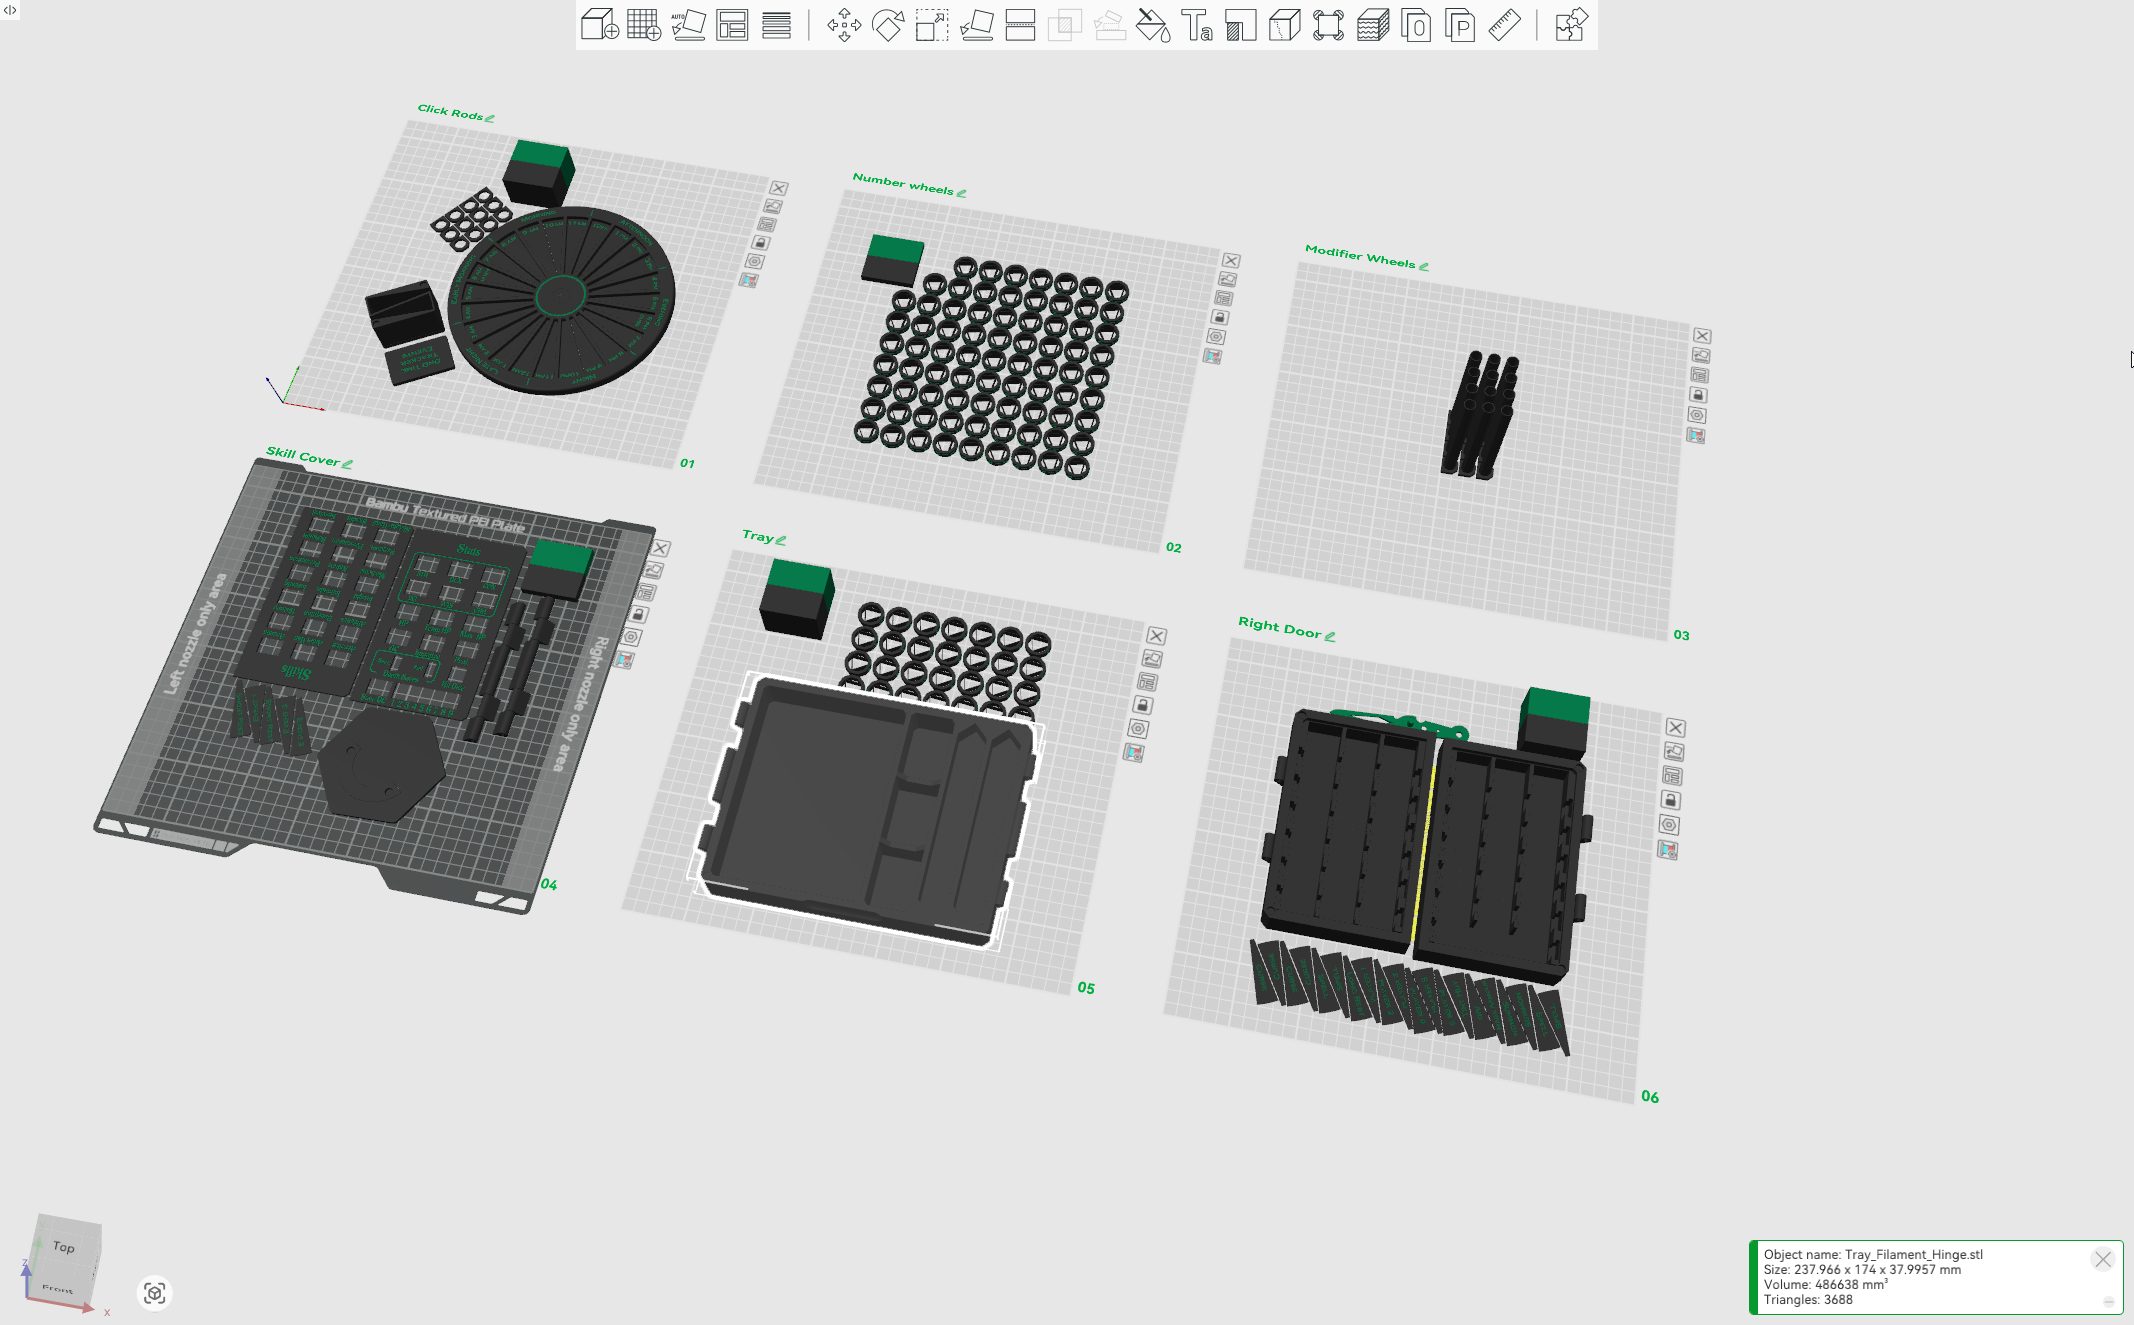
 The H2D opens the way for projects that combine 3D printing with laser cutting, such as this DnD player kit.
That was my largest and most complex laser project thus far and used plenty of third-party MDF (regular sheets from craft stores), different wood stain colors, and some 3D printed inserts. The H2D's laser performed admirably on sheet after sheet of MDF and the pieces fit together with only minor sanding and glue. The small imprecisions that required sanding and fitting were so minor that they could be attributed to ordinary differences between my MDF and the one used by the designer. A very successful and fun project.
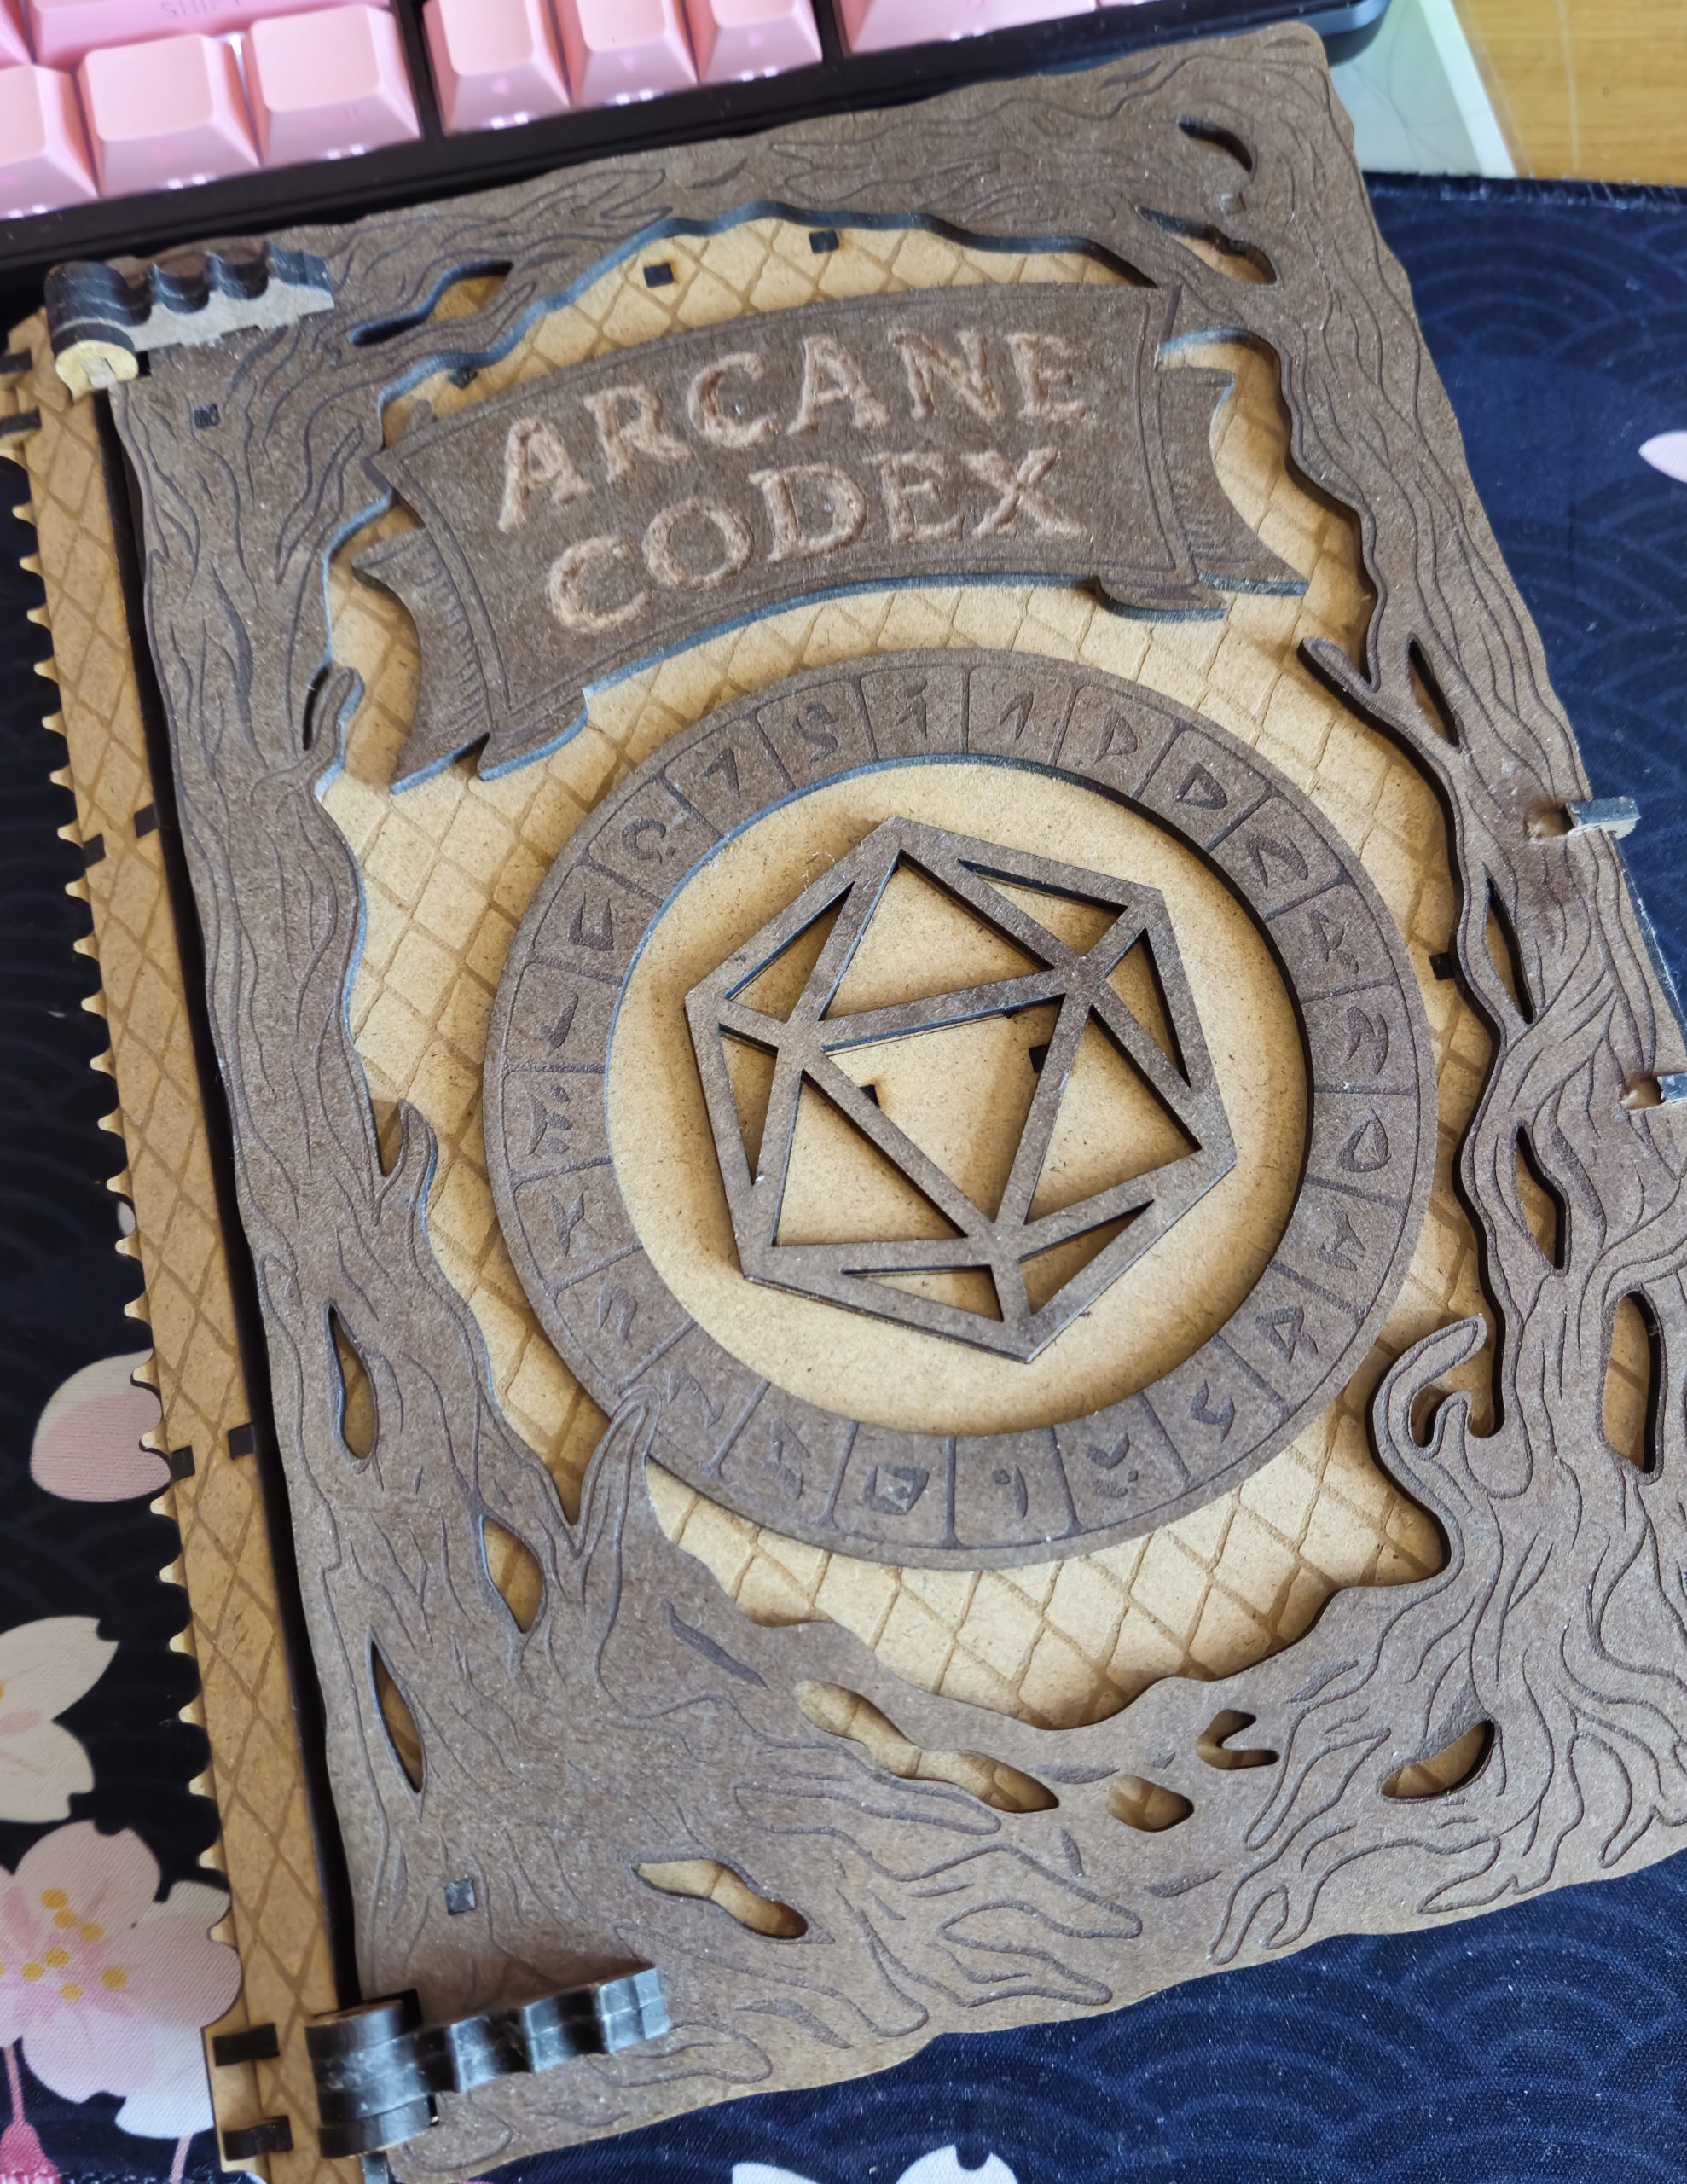
 This project introduced me to new techniques like wood staining and roughly-carved lettering with a rotary tool.
Laser Cleanup
A major point of contention following the H2D's announcement was the decision to produce a dual-function 3D printer and laser cutter using the same chamber. Laser work is
very dirty. Under completely normal conditions, laser cutting and etching produces significant amounts of smoke, flame flashes, and scorched material. It also sprays
all of the smoke and residue inside the device because many lasers (including this one) use an air jet to blow debris away from the cutting site. This improves cutting quality at the expense of literally hosing the interior in smoke before it's extracted by the fans.
While cutting my MDF (which could take several minutes per sheet), the exhaust hose evacuated a constant flow of smoke. My setup vents the smoke out of the window, but I still noticed after using the laser for a day, the interior smelled very smoky. The smell dissipated after I thoroughly cleaned the laser platform and printer interior
per the manufacturer's instructions. Critically, the printer's function and output quality was completely unaffected by a day of using it in its laser configuration. Still, I must highlight the necessity of cleaning the chamber and devices after using the H2D's laser features for user safety (and comfort), and to ensure that the internals aren't clogged by residue and smoke. The H2D's laser can
not be safely ventilated directly into an occupied space. It must be ventilated outdoors or into the compatible smoke purifier.
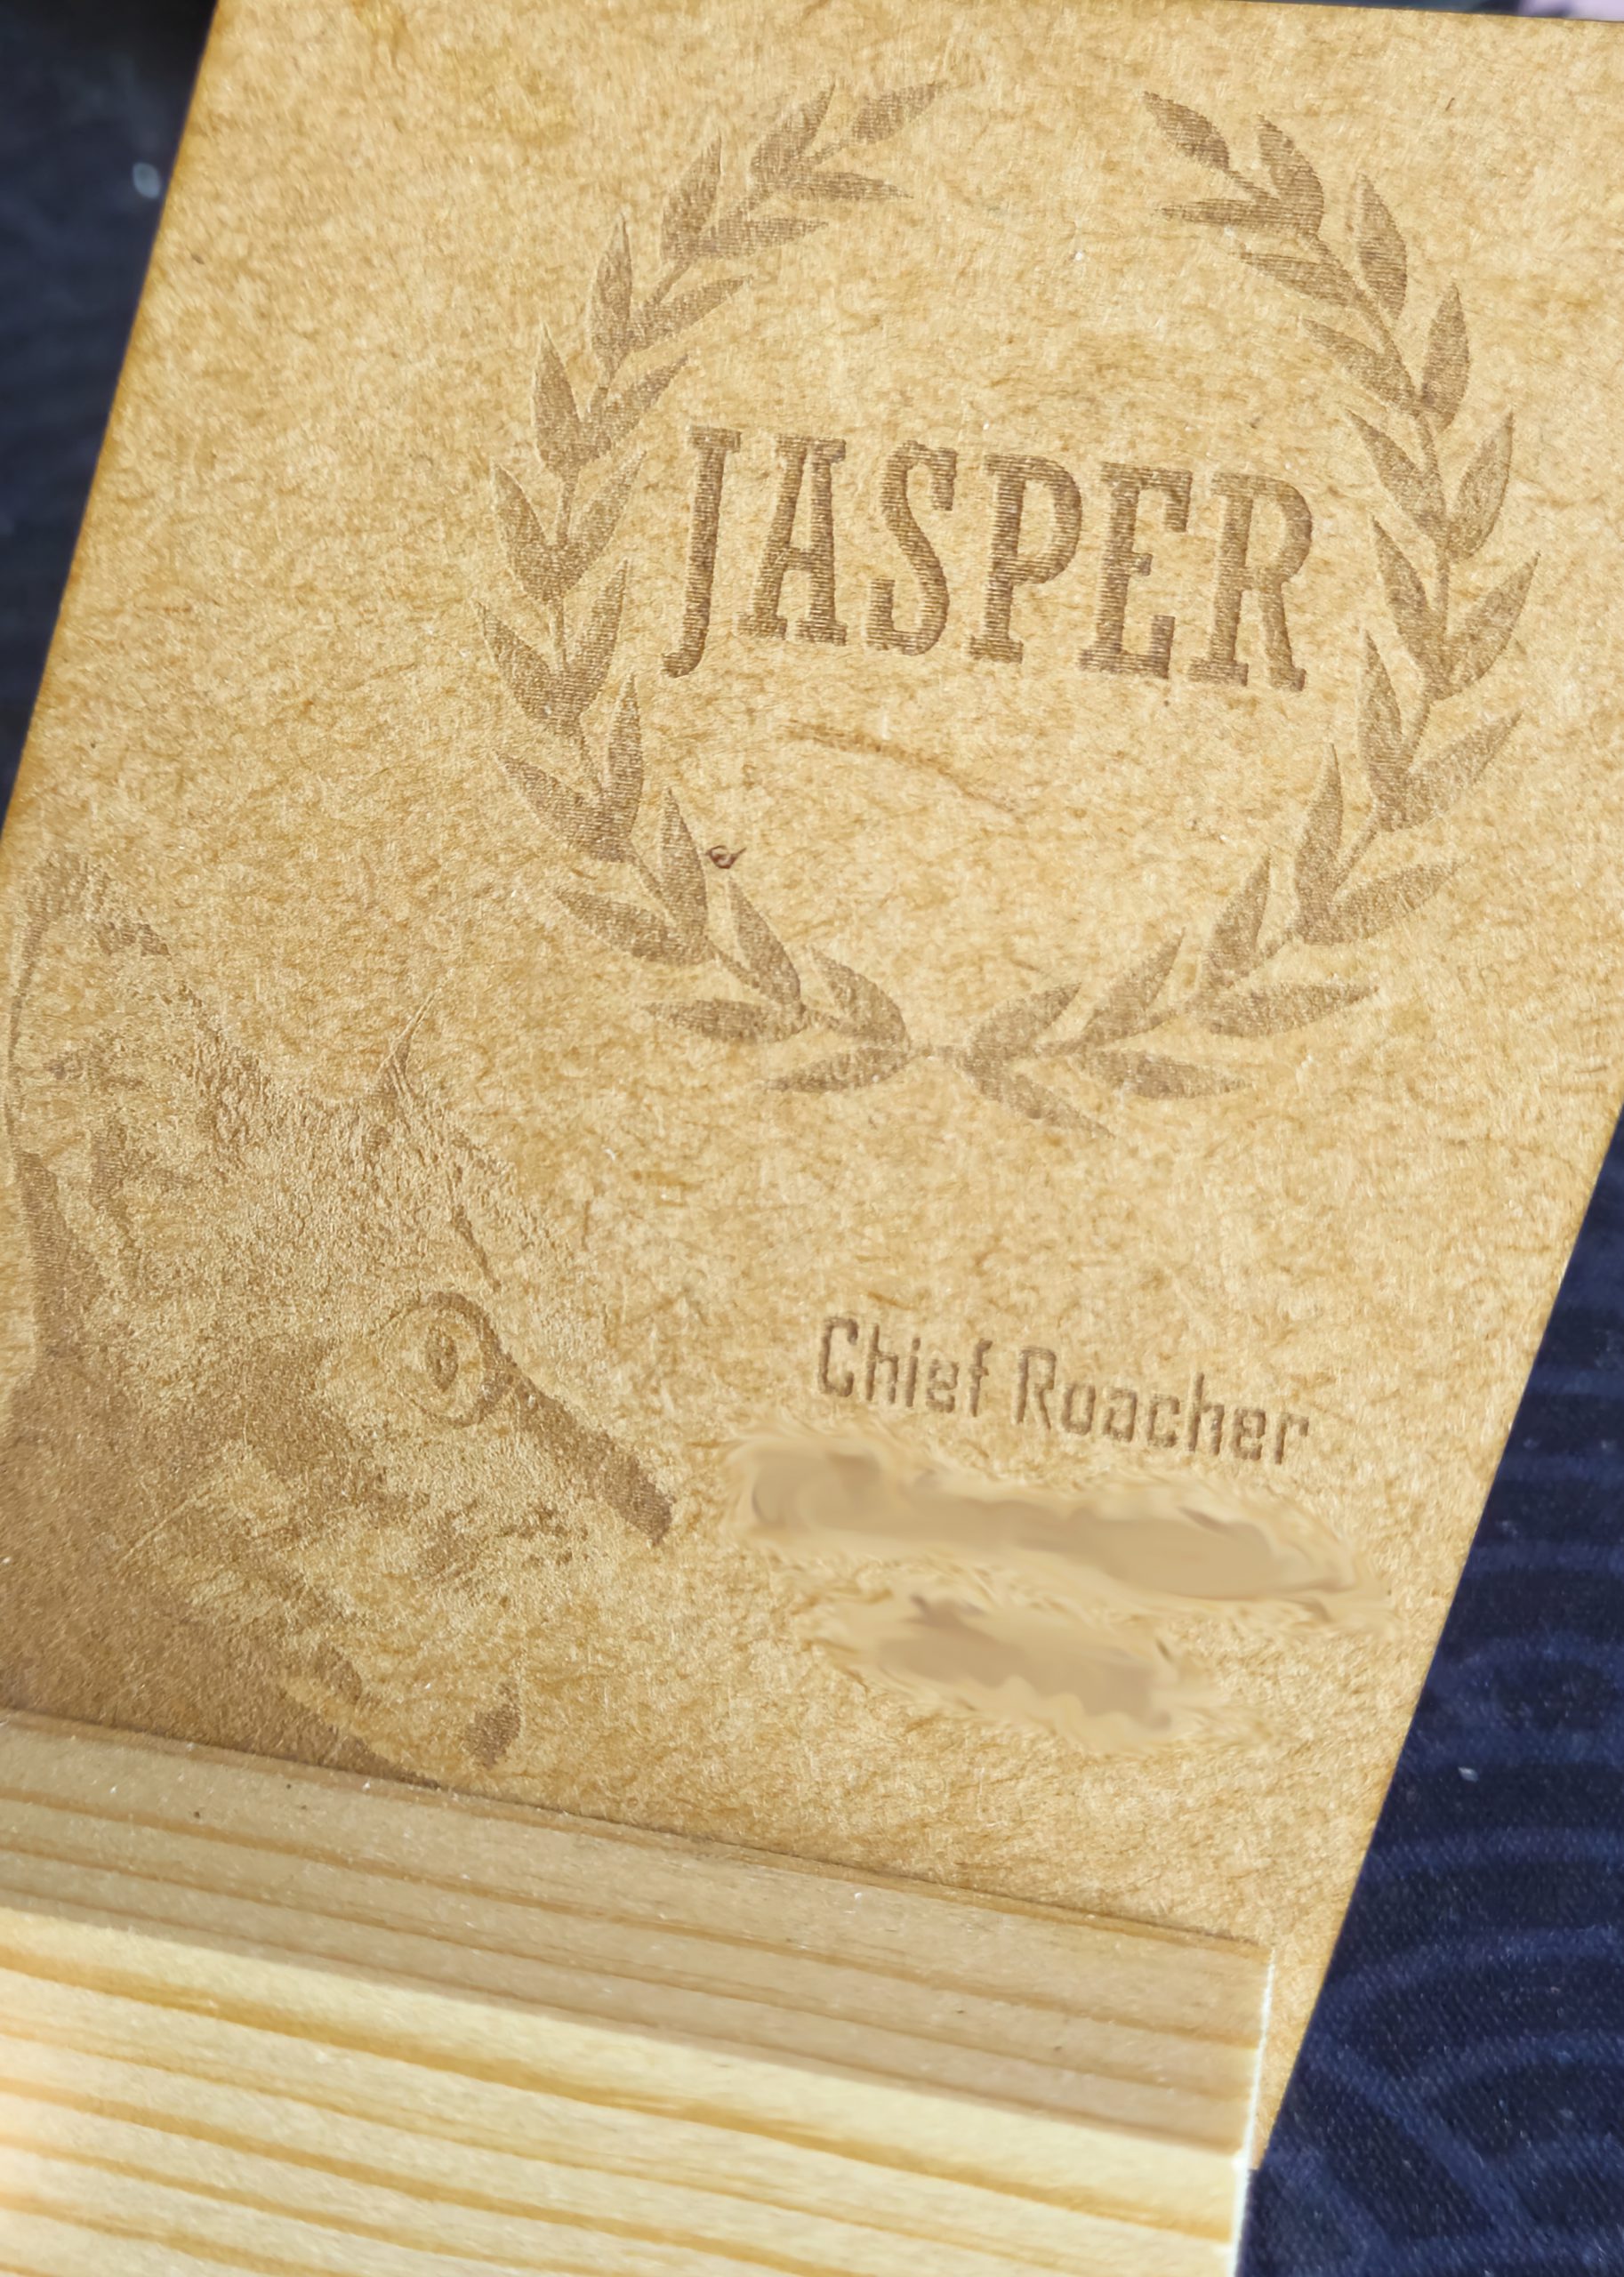
 Personalized gifting is easier than ever. This work-in-progress laser engraved gift for a friend's housecat was designed from scratch using a mix of photographs (cat) and lettering in Bambu Suite.
Pew Pew in My Life
I'm ultimately satisfied with the laser and its workflow. My time using it (which is ongoing) is defined by reliability and the endless enjoyment of just
having a small laser cutter in my home. There's something to be said for how impressive the engineering of the H2D is when I can convert a
very good 3D printer into a laser engraver in minutes. Converting it
back to a printer after use takes longer because I'm meticulous about cleaning the interior after every use. Even so, the H2D has a place in my crafts workflow as the ideal in-between state between not having a laser and spending a lot of money on a dedicated laser cutter.
The H2D's (and probably its siblings') laser is clearly not meant to replace a specialized laser cutter in enterprise applications. It simply
can't be as user-friendly or powerful as a dedicated laser. However, it's excellent at being a small laser suitable for hobby projects and gifts. The fact that it's attached to a 3D printer isn't lost on me at all. I've already begun experimenting with
mixed media projects that combine printed plastic and laser cut wood. Having some wood in your projects really just… elevates them above plastic, even if the plastic was already pretty cool.
The laser also opened up a lot of other potential projects that were previously inaccessible to me. There are plenty of designs for
MDF wargaming terrain that crave a laser. My gifting skills have also gone through the roof now that I'm the only one in my circle who has a laser cutter and I can just personalize any wooden object and send it to loved ones. The laser is also perfectly fine with cutting cardstock and the printer has built-in settings for it. If you're okay with (or even prefer) the charred edges of a laser cut on your cards, this is a
banging tool for cutting paper.
Knives Out, Pens Down
I'm bundling my blade cutter and plotter review together because they both use the same toolhead attachment (with different fittings).
Reconfiguring the toolhead for blade cutting/plotting was trivial and involved the same steps as fitting the laser module. The only real difference is the use of a magnetized, semi-adhesive cutting platform with calibration markings and measurements, rather than the all-metal laser platform. Unfortunately, Bambu Suite's UI dampened the experience of actually using these tools. Unlike the laser, I wasn't walked through a very followable tutorial for each tool, so I had to fumble around to learn how the tools worked. Fortunately, my time with the laser prepared me for Bambu Suite's quirks and I had a basic grasp of the workflow.
If I had one annoyance with the pen plotter and cutter tools, it's that they
both require the user to physically press a button on the machine to start projects. This is understandable for laser safety—it ensures that a user is present in the event of a fire. I see
no reason why the blade cutter and plotter need that kind of input and moving from my desk to the printer became a hassle when I had many small projects and tests.
Beware, I'm Plotting Something
The pen plotter was the more intuitive of the two tools. I ran a number of test projects using SVGs (my designs and located online), and I found the accuracy to be very satisfactory. The only downside was that each time the pen plotter runs, it places a dot in the work area as some kind of pen-and-material pressure calibration. This dot was always placed somewhere the pen would draw over anyway, but it might be partially visible if your project is especially detail-sensitive. My results ended up quite good. The most interesting one was my use of the pen plotter to fill out a Patron Sheet for the Warhammer 40,000
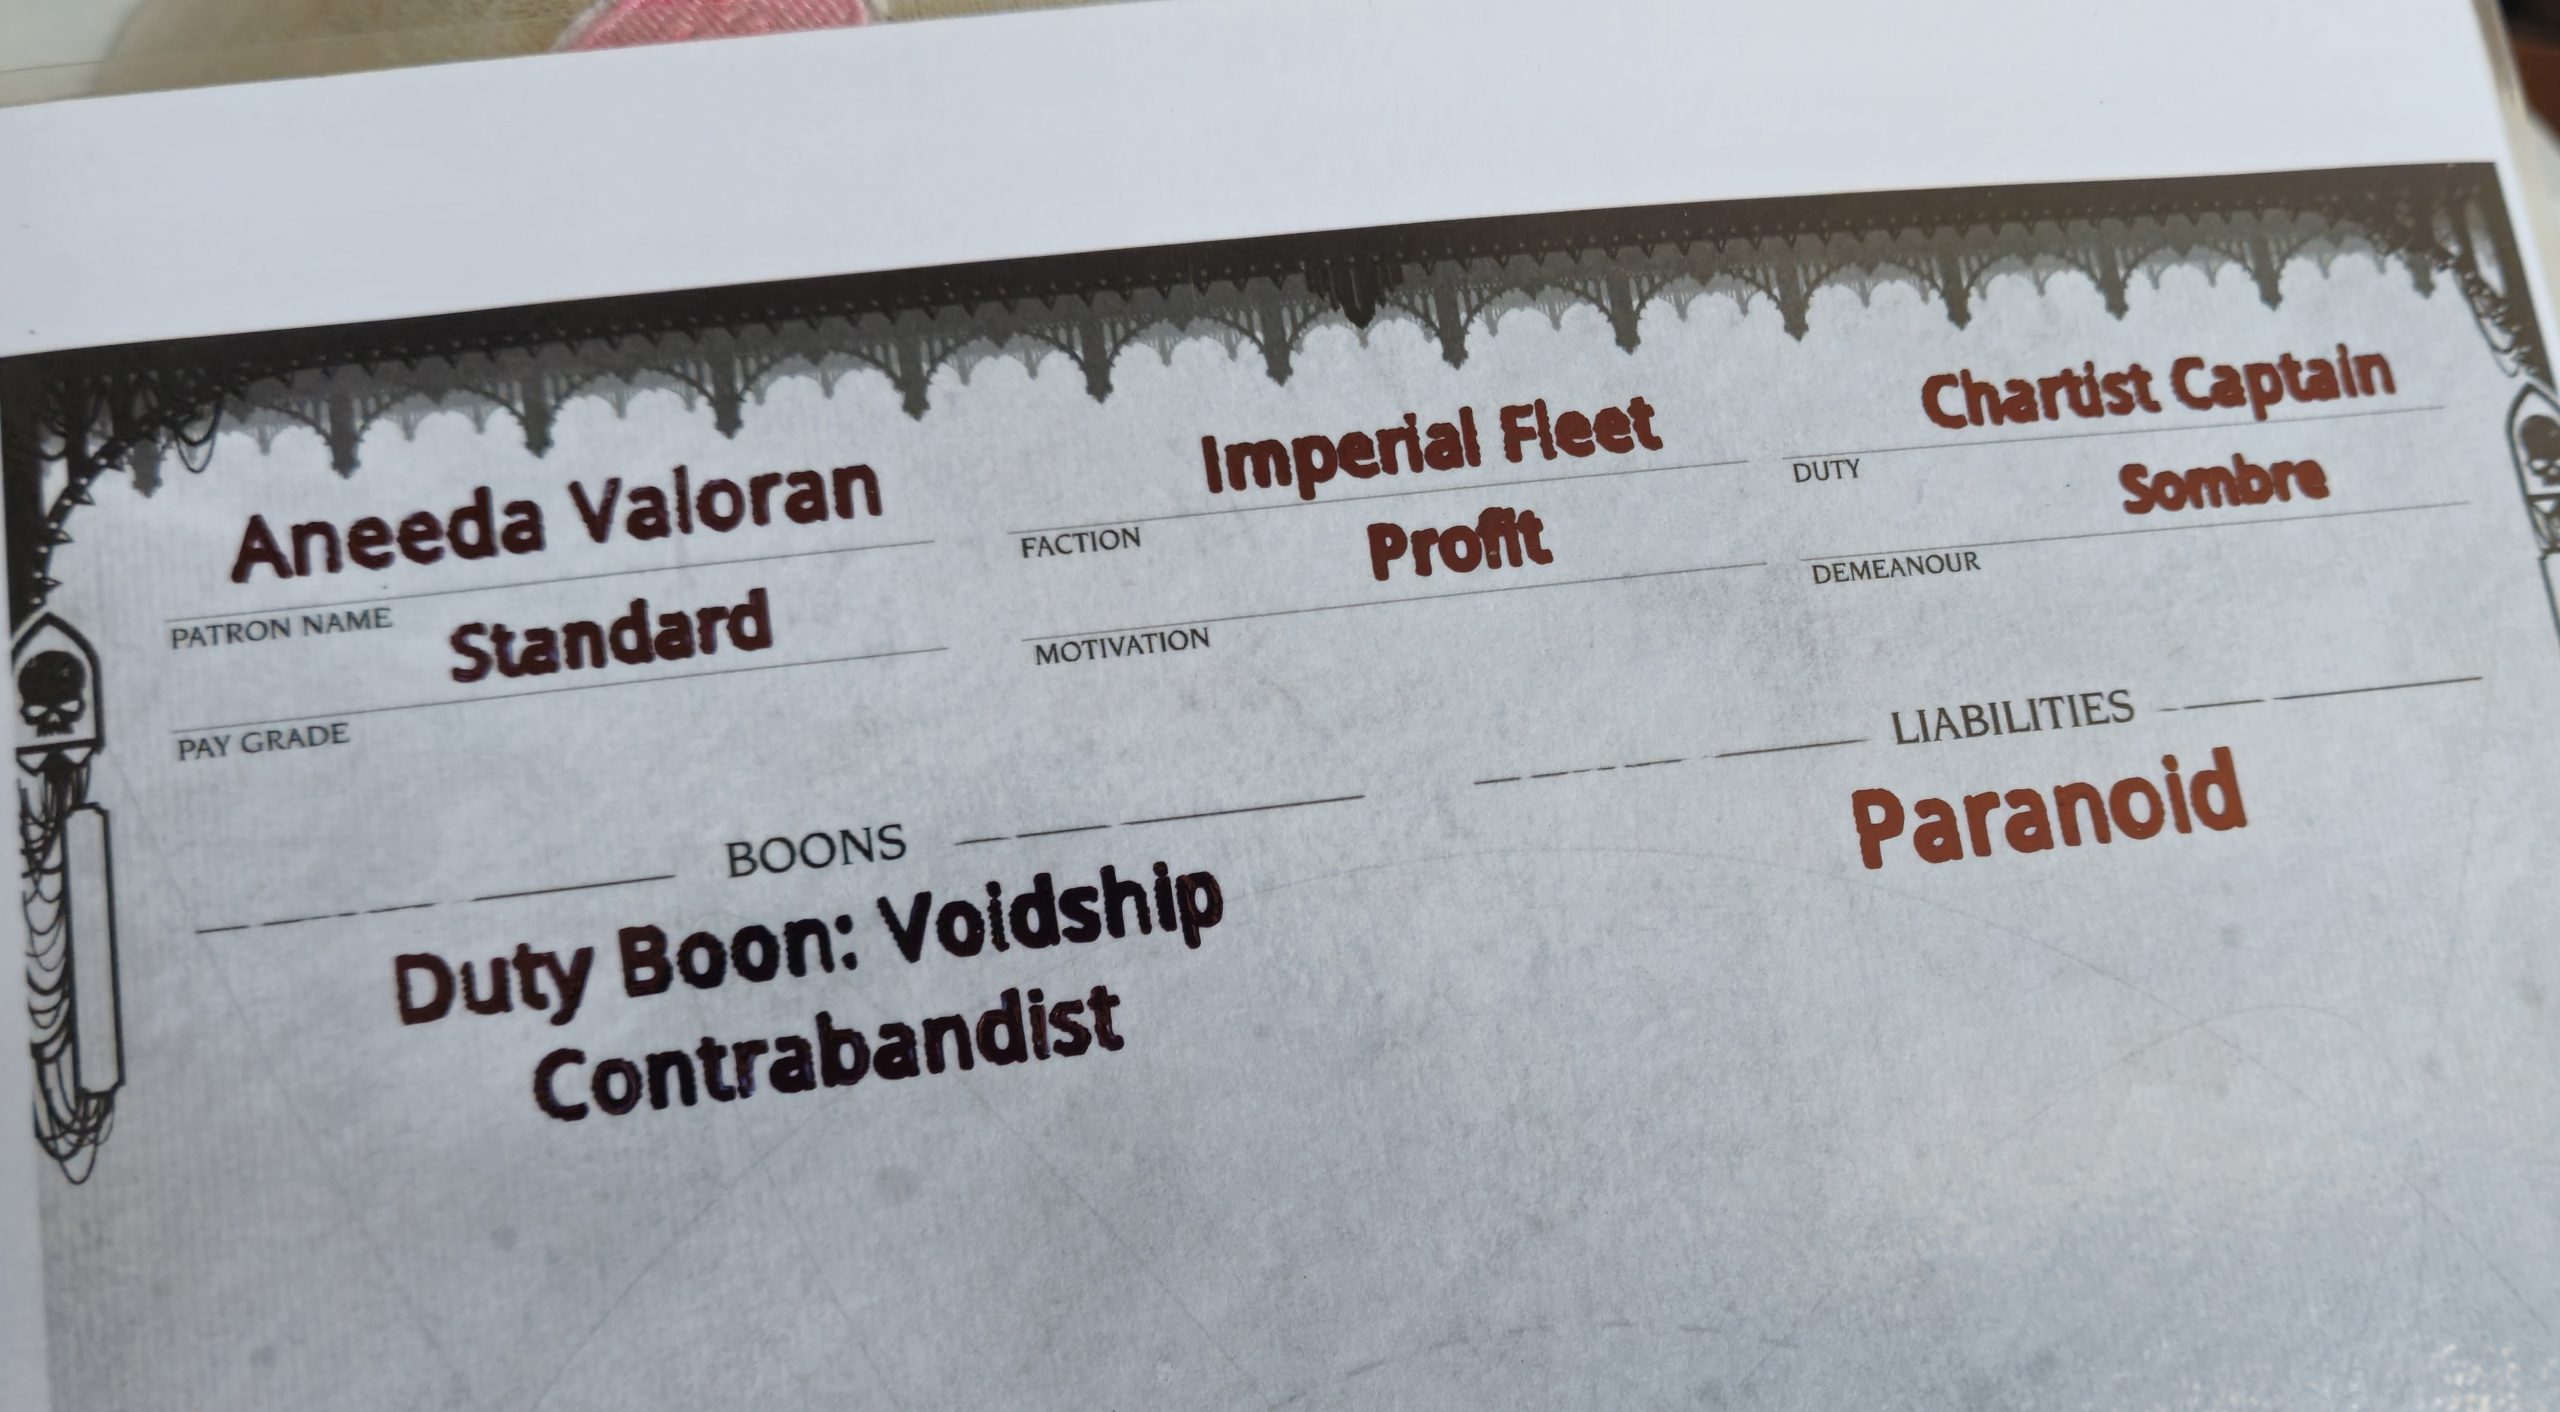
Imperium Maledictum roleplaying game. Anyone who has tried to use a sharpie neatly on a laminated sheet knows the horror that quickly ensues. Well, I'm happy to report that this slightly odd use case was very successful. My campaign's Patron Sheet has perfectly neat writing. After the initial success, I re-ran it with a permanent marker fitted into the toolhead and it looks great.
 Anyone who has had to use a sharpie on a laminated surface knows the horror of getting neat writing. This NPC sheet for a roleplaying game is one of the more unusual uses I found for the plotter.
The pen plotter also supports manual multicolour use. If you load a design with multiple colors the H2D will automatically pause and notify you when it's time for a color change. This turns it into a slow, manual version of an actual printer, but you can draw on any flat surface! I also found it interesting that when the plotter is configured for line drawing, it uses the pen as a person would: drawing continuous lines whenever possible. When the plotter is used in Fill mode, it instead operates more like a conventional printer by drawing the image line-by-line until completion.
The pen plotter is a straightforward and fun tool. It definitely has uses for marking wood for other projects and drawing designs onto objects of your choice. I also find it easier to justify switching to the plotter occasionally because there's no real cleanup afterward. It definitely won't replace an actual printer, but it's a plotter, not a printer. And that's fine.
+2 Slash Damage
The cutter add-on brings computerized cutting to the H2D with a cutting depth of 0.5mm. That confines it to flexible, soft materials like paper, card, and vinyl. The obvious upsides to these material limitations are that the blade cutter is safer and easier to clean than the laser. It also helps that the blade cutter and plotter add-ons are included with every H2D.
Since the blade cutter also relies on Bambu Suite, my user experience was pretty similar to the plotter. Bambu Suite's foundations are there, but its workflow needs… work. I was nonetheless able to get my designs onto card quickly.
 Some of the first things I did with the blade cutter involved gift cards. These are the textual remnants after I peeled away the rest of the card. I didn't achieve the legendary Perfect Peel, but these are good results for a novice.
Of added interest is the
Print-Then-Cut feature built into Bambu Suite. If you have a printer connected to the PC, you can develop a project for Bambu Suite to send to your 2D printer. It'll print the project with guide marks for cutting. The only other input needed of you is to place the printed sheet into the H2D for accurate cutting. Great for the occasional custom t-shirt vinyl transfer or sticker pack if you have machines that can handle those materials. It will of course elevate any other project that needs precision cutting after printing.
Repairability and Mechanical Maintenance
Bambu Lab emphasizes keeping their printers stock, but they are very repairable. Anything that can be a spare/replacement part is
sold on their site. Repairability is supported by an extremely detailed error reference system which identifies errors and labels them with an error code. These codes can all be
referenced on the official wiki. Each error entry has its own page with
guided step-by-step troubleshooting, photos, and possible solutions. As printers become larger and more complex, users
shouldn't be forced to send their whole machine in for minor repairs. Improvisation, learning, and initiative are core parts of the 3D printing mindset and user-repairability remains a priority in the H2D.
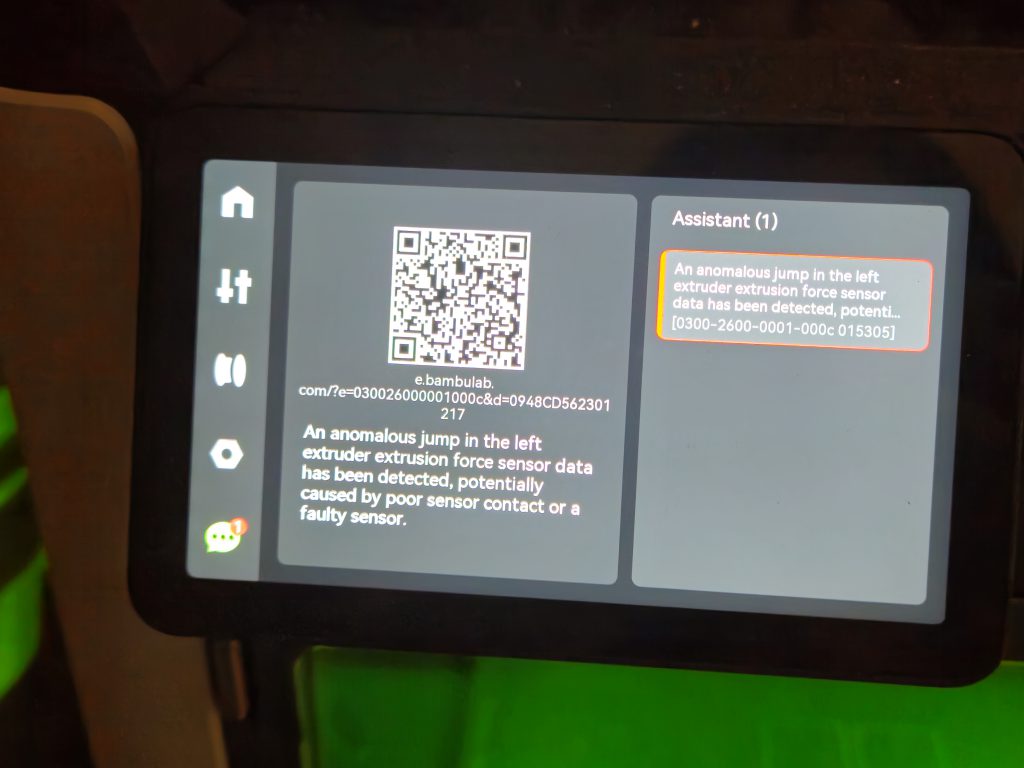 All known faults identified by the printer have a corresponding error code and QR code that goes to Bambu Lab's wiki to minimize the guesswork of troubleshooting.
This isn't an actual Apple situation where your device can
only be fixed by carting it to an authorized repairer at exorbitant cost. Every single error I've encountered with the H2D has presented me with a reference code that I matched up to a known error on the site. My minor issues like a sensor being unseated by consistent movement or a filament buffer magnet
being incorrectly oriented were all met with very followable, photographic guides. I'm confident that if a specific component failed, I would be able to order a replacement in and install it myself— because the printer is designed to allow users easy access to internals using just a pair of included allen keys.
Closing Thoughts
Bambu Lab's reputation for accessibility and consistency remains well-warranted. Their products strongly encourage users to stay in the manufacturer's in-house ecosystem, but this is balanced out by robust technical documentation, reliable performance, and ease-of-use.
The H2D continues this tradition with the addition of easily installable new tools. I was especially impressed by the laser's accuracy and consistency. In my experience, the integrated safety features were also effective when they needed to be. My printing experience on the H2D is similarly excellent. Its good bed adhesion and highly trustworthy stock filament settings have singlehandedly increased the expectations I place on other machines. Print quality is very good with zero-to-minimal tuning and I'm confident that only
some adjustment is required to achieve even better results.
My less favourable impressions were related to Bambu Suite's handling of the plotter and blade cutter. Bambu Suite's workflow is learnable, but not intuitively arranged. Improvements in that area would make its associated tools (laser, plotter, blade cutter) even more appealing. Even with some quality-of-life hiccups, I didn't feel like any of the add-on tools were short-lived gimmicks. They're meant to be there.
 The H2D's printing reliability lets me start multi-plate projects and expect excellent results.
The H2D is a generalist machine that cries out to versatile creatives. It's for people who want an excellent and usable printer, but also wish to expand their creative projects to other domains without investing aggressively in tools and space. It's already a great printer,
but there's more. The laser is suitable for basic crafting tasks so you
don't feel pressured to start researching dedicated lasers. The blade cutter is ideal for people who occasionally cut specialist materials, but aren't in the market (or have the space) for a whole Cricut. The plotter is invaluable to someone who doesn't want to add a plotter to the workshop 'just because'.
If you're someone who wants a great printer that's also an entry point into laser cutting/engraving, plotting,
and digital blade cutting, the H2D warrants your notice. I've learned a remarkable amount from just using the H2D and I feel like I'm growing as a creative with its input. This machine will probably exceed your skillset when it arrives—in a good way. It teaches foundationals about different kinds of printing and crafting in a pretty user-friendly manner. There's so much room to use that taught knowledge on more complex projects, and by mixing the different tools available to the H2D. I'm already putting it to use in several of my life domains: wargaming, RPGs, home optimization, and gifting. It's only uphill from here.
I recommend the H2D to anyone interested in a multi-purpose nerve center for their creativity.
Have any questions or feedback? Drop us a note in the comments below or email us at contact@goonhammer.com. Want articles like this linked in your inbox every Monday morning? Sign up for our newsletter. And don't forget that you can support us on Patreon for backer rewards like early video content, Administratum access, an ad-free experience on our website, and subscriber-only content covering competitive Warhammer 40K!
Thank you for being a friend.
 The H2D opens the way for projects that combine 3D printing with laser cutting, such as this DnD player kit.
 This project introduced me to new techniques like wood staining and roughly-carved lettering with a rotary tool.
 Personalized gifting is easier than ever. This work-in-progress laser engraved gift for a friend's housecat was designed from scratch using a mix of photographs (cat) and lettering in Bambu Suite.
 Anyone who has had to use a sharpie on a laminated surface knows the horror of getting neat writing. This NPC sheet for a roleplaying game is one of the more unusual uses I found for the plotter.
 Some of the first things I did with the blade cutter involved gift cards. These are the textual remnants after I peeled away the rest of the card. I didn't achieve the legendary Perfect Peel, but these are good results for a novice.
 All known faults identified by the printer have a corresponding error code and QR code that goes to Bambu Lab's wiki to minimize the guesswork of troubleshooting.
 The H2D's printing reliability lets me start multi-plate projects and expect excellent results.

 Goonhammer App and Patron Updates: April, 2026
 Kill Team Tournament Report: Engage, Party, Repeat's March Madness 2026
 Goonhammer Reviews: Tribal Conquest