Are you trying to learn to play Kill Team, but intimidated by all of the weird words and phrases that you don’t understand that people are throwing around? Confused about why people keep talking about charge hugging, or feel lost when someone says that their leader has a “just a scratch” ability?
Well I have great news for you, dear reader, because we’ve created a handy guide here for a whole bunch of these community terms!
The goal of this article, which we have dubbed the Kill Team Glossary, is not only to give definitions for common slang and concepts used by the wider Kill Team community, but to also provide insight on how you can use these tactics in your games of Kill Team, or how you can plan around them if your opponent uses them.
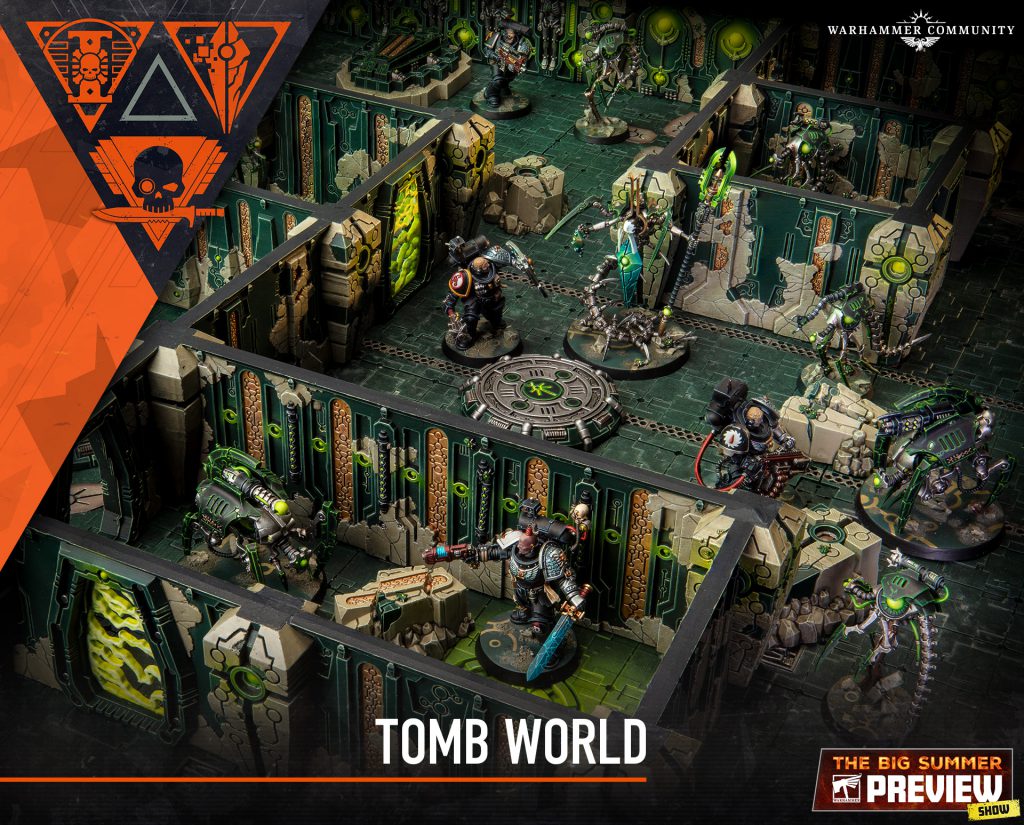 Kill Team Tomb World - credit Warhammer Community
Before we begin in earnest, we have two quick notes here. Firstly, this article assumes that you have some knowledge over the basic rules of Kill Team, and are familiar with keywords used in the game, such as conceal and engage, control range, and APL, as well as weapon abilities like rending, ceaseless, and accurate. If you’re new and looking for a place to start, I suggest checking out our starter guide to Kill Team 3rd edition right here on Goonhammer, as well as checking out the Kill Team Lite rules available for free online.
Secondly, the ">GH team recently released a video on Youtube all about the secret language of 40k, narrated by Campbell “SRM” McLaughlin. It’s a great video, especially if you also have interest in playing big Warhammer 40k as well as Kill Team. There’s also a good bit of overlap between concepts between both games, some of that overlap we will cover here, which means you’re bound to learn some ways to up your KT game by watching it even if it’s for a different game. I highly recommend watching that video as well as reading this article, and not just because I like to see the number go up on Goonhammer Youtube videos.
Without further ado then, lets talk shop and jump into the Kill Team Glossary!
Kill Team Tomb World - credit Warhammer Community
Before we begin in earnest, we have two quick notes here. Firstly, this article assumes that you have some knowledge over the basic rules of Kill Team, and are familiar with keywords used in the game, such as conceal and engage, control range, and APL, as well as weapon abilities like rending, ceaseless, and accurate. If you’re new and looking for a place to start, I suggest checking out our starter guide to Kill Team 3rd edition right here on Goonhammer, as well as checking out the Kill Team Lite rules available for free online.
Secondly, the ">GH team recently released a video on Youtube all about the secret language of 40k, narrated by Campbell “SRM” McLaughlin. It’s a great video, especially if you also have interest in playing big Warhammer 40k as well as Kill Team. There’s also a good bit of overlap between concepts between both games, some of that overlap we will cover here, which means you’re bound to learn some ways to up your KT game by watching it even if it’s for a different game. I highly recommend watching that video as well as reading this article, and not just because I like to see the number go up on Goonhammer Youtube videos.
Without further ado then, lets talk shop and jump into the Kill Team Glossary!
The Kill Team Glossary
KT
Kick things off with a gimmie here. KT is short for Kill Team, simple as.
 Credit: John from Can You Roll A Crit?
Elites
Elites, or Elite Teams, refer to any team with six or fewer models. The operatives on these teams are, well, elite. They tend to have a higher APL limit, a larger wounds pool, and dangerous offensive and defensive capabilities to make up for their lower number of operatives. The most common example of an Elite team is any Space Marine team. Space Marine teams have 3 APL per operative, a large wounds pool, a 3+ save, and can shoot or fight twice. Elite teams will feel the sting of every operative lost, so elite players need to be careful to not overextend themselves and risk losing an operative needlessly.
A thing to note here is that some teams have more than six models on the team, but are considered elite teams, like Canoptek Circle or Wrecka Krew. Most of the time though, these models are expendable and don’t count towards the kill op, meaning that these teams still count as less than 6 models for the purposes of scoring and land soundly in the elites category.
Hordes
Hordes Teams refer to the complete opposite spectrum of teams. The exact number of models a team needs to be considered a horde team is a grey area in the wider community, some players lump every team that doesn't have 6 or less models into the category of a horde team while others say that you need 10 or more models on a team to reach horde status. No matter the exact definition here, playing a horde team means that each individual operative tends to be less dangerous than an elite operative is, but you have more of them, meaning losing an operative won’t sting so badly. Playing a hordes team, especially a team with 10+ models, means knowing how your team can work together to play the mission and take out enemy operatives, rather than an elite team who can afford for each model to act more like a one-man wrecking crew.
Double Fight/Double Shoot
A very common term, so common we’ve already used it here in the glossary. This does exactly what it says on the tin: Double fight/Double shoot refers to any ability that lets an operative ignore the once per activation limit on actions to use the shoot or fight action twice. This is most common on elite kill teams, who need the extra offensive capability to keep up against teams that outnumber them, but sometimes pops up in other teams as well, such as Goremongers ability to fight twice for a Gore Tank point. In any case, this is a very strong ability to have, potentially turbocharging the damage potential of an operative or team.
TP
This is an easy one. TP is a common abbreviation for turning point, which refers to the turns of Kill Team.
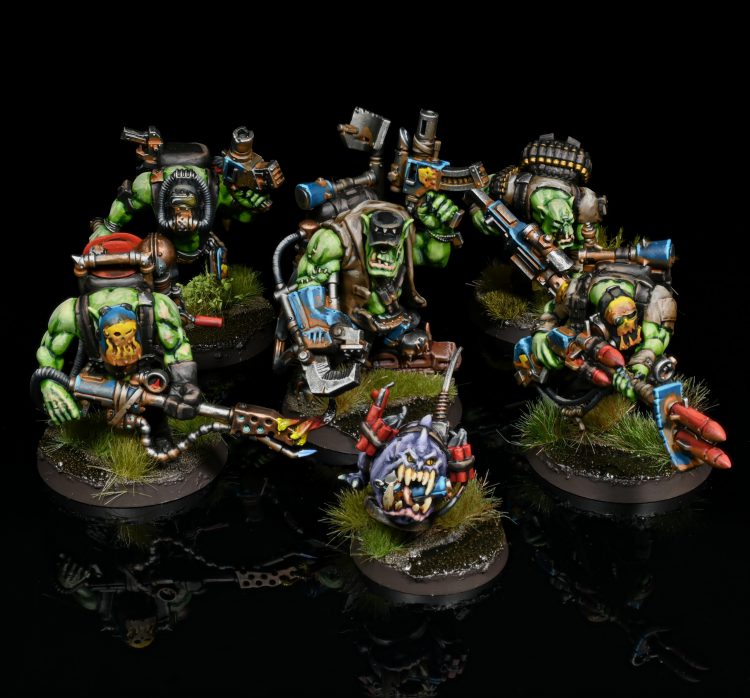 Kommandos. Credit: Rockfish
Just a Scratch
Just a Scratch, sometimes abbreviated to JaS, refers to a specific type of ability that is seen across several teams where a model can ignore one instance of normal damage. Depending on the team, this could be either a firefight ploy or an ability specific to a certain operative on the team, and is restricted to once per turning point. The term “Just a Scratch” comes from the Ork Kommando firefight ploy of the same name.
Having access to a JaS type ability on a team or model is a huge survivability boost. It forces your opponent to spend at least one extra dice worth of normal damage to kill an operative in both shooting and fighting, and often poses the real threat of not being able to kill a model in one go. If you have a JaS ability, it's smart to keep it in your pocket as long as possible to make your opponent think twice before committing, and the ability to bail yourself out at the last second in a tight spot. If your opponent has a JaS, your best bet is to try and bait it out as early as you can in a turning point, but be careful to not overextend.
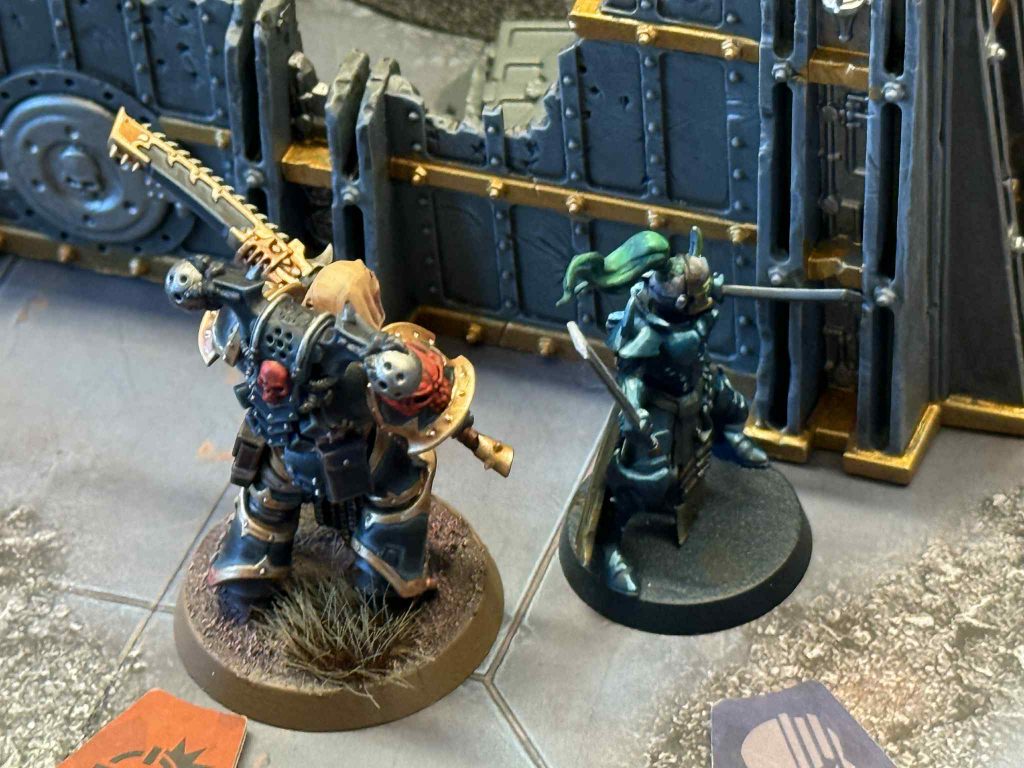 Charge Hugging in Action
Charge Hug
Charge hugging, which I’ve also seen referred to as the tactical hug, is a slightly unintuitive mechanic in KT while simultaneously being one of its most powerful strategies once you get the hang of it.
Charge hugging refers to when an operative charges an enemy operative, but does not fight them. At first blush, this seems like a bad idea. Why get into combat with a model and then just stand there? But in practice, charge hugging has several very powerful uses. First, charging gives you extra movement and only costs 1 APL, which is great for action economy as well as getting operatives important places on the board. Second, it keeps your operative safe from shooting in almost all cases. Barring Exaction Squads rules or some rare special abilities, you can't shoot at an enemy operative that is in control range of a friendly operative. So, if you have a close combat powerhouse on your team, rather than have them charge an enemy operative and punch it to death only to then be stuck out in the open and exposed to enemy shooting, you can hold off activating your combat model until near the end of the turning point and have them charge an enemy operative that's already expended. Now, your opponent has to get up and fight your nasty combat specialist to root them out, and the following turning point sets you up for a big, aggressive play.
This ability is especially good if you have access to abilities that prevent your opponent from falling back, like the chain snares equipment, allowing you to really lock down an opponent.
Charge hugging works best when done against expended operatives who can't just fall back right after and operatives who aren’t very good in close combat. If you charge hug a melee monster, your likely just feeding your operative to them on a silver platter.
The humble charge hug works best on melee operatives, and is a big part of any melee-centric team gameplan. If you're playing with one of these operatives or teams, keep an eye out for when your opponent moves one of their operatives a little too close and then tie them up with a charge hug to punish them. The best way to not get stuck in a string of charge hugs is to be mindful of your spacing and positioning with your operatives, staying outside of enemy charge threat ranges.
Damage Reduction (DR)
Damage Reduction is any ability that reduces damage taken from an attack, and is often shortened to DR. These abilities include basic things like minus one damage or half damage, Feel No Pain abilities, and Just a Scratch.
Feel No Pain
Feel No Pain in Kill Team is a conditional damage reduction ability based on a dice roll, which is similar to how it works in 40k. It tends to be a little less powerful in KT than in 40k, since less dice are involved making it less likely to really matter, but its still a great way to boost an operative's survivability.
 Credit: Robert "TheChirurgeon" Jones
X Tap (One Tap, Two Tap, etc.)
If someone refers to one tapping or two tapping a model, they’re referring to how many hits it would take to kill that operative from a specific attack, oftentimes from full wounds. Knowing this before you make a big offensive play in KT is an important skill to have, since knowing how many successful dice you need to take a model out, which alongside how many dice you're rolling will give you a general idea of your odds of success. For example, if your shooting an operative with 8 wounds and a 4+ save with a gun that has 5 4/ 5 damage, you need two shots to go through to two tap that enemy operative. With 5 dice and a 4+ save, your odds of this are pretty good.
Having an idea of how many hits you need to put an enemy operative down is doubly important in close combat, where your opponent can block your hits as well as hit you back. If you are fighting the same operative mentioned above with a 4/ 5 melee weapon, you’ll probably need three successes to two tap that operative, since you can expect your opponent to be able to block one hit. The perfect combat ideal is to set up a situation where you can one tap an enemy operative when you fight them, which guarantees your operative won’t take any damage in return.
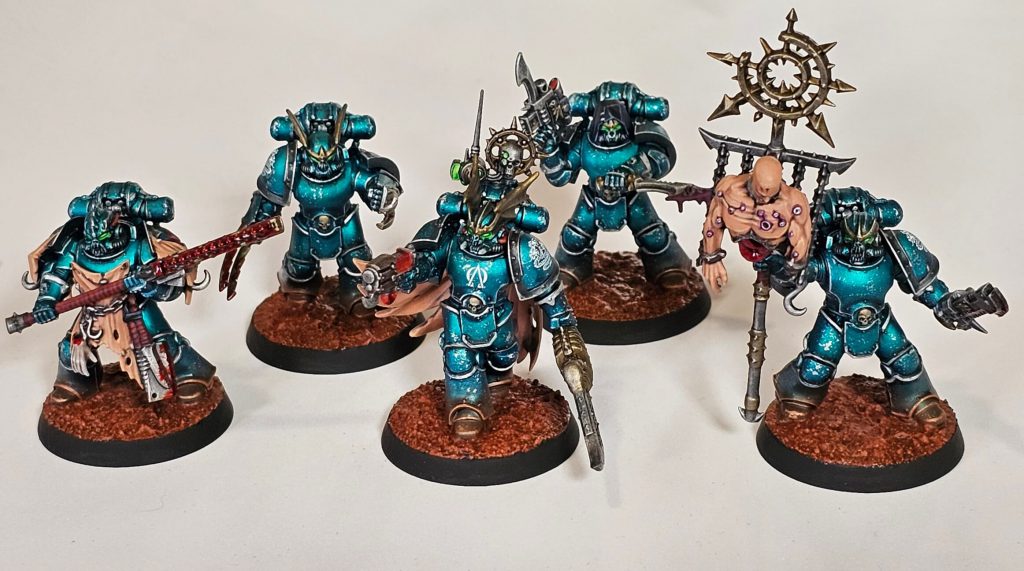
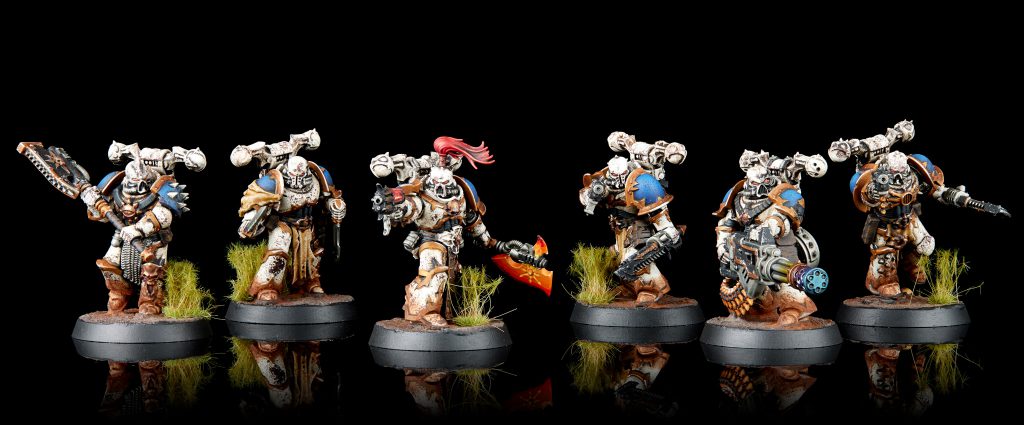 World Eaters Killteam. Credit: Jack Hunter
Parry Out
Parrying your opponent out in Kill Team means using blocks to remove all your opponent's hits in melee combat, either to open them up for the rest of your dice to do damage or keeping said enemy model stuck in combat with you. The first use case here is pretty straightforward, but it’s important to note that blocking isn’t always something to be used defensively. Sometimes, it’s not a bad idea to make blocking an enemy operative the first thing you do right out of a charge, parrying them out to reduce the damage you take before finishing them off with attacks. This strategy works best if you have more attack dice then your opponent.
Another common reason to parry out an opponent is when you don’t want to kill an enemy model and want them to be stuck in combat with you, like with a charge hug. It's important to remember here that the rulebook does explicitly state that you can still choose to block even when there are no successful enemy attacks to allocate your blocks to, so you can parry out your opponents attack dice and still safely stay locked in melee.
Trade
This is another definition that carries over from 40k, which in turn carried it over from chess, and is a fundamental principle of most game plans in KT. A trade in the game is when you sacrifice one of your models for one or more of your enemy models, preferably of greater overall value than yours. While said value of a model isn’t as linear as it can be in chess (taking out a knight with a pawn is usually a clear value trade up for example), it's still critical that you have an understanding of the importance of your models to your game plan as well as having a general idea how important each enemy model is to theirs. This will also fluctuate with the state of the game; a model with potentially high value might become a bad target for a trade if said enemy operative is wildly out of position. It is also important, or course, to be reasonably sure that your operative can successfully initiate the trade. While Kill Team is a dice game, and cold dice will happen, the last thing you want is for the operative you sent out to trade fails to get the kill, and gets potentially sacrificed to little benefit.
Having a good sense of what makes a good trade versus a bad one is a skill that takes time and practice, so don’t beat yourself up if you aren’t perfectly analyzing your trades right from the get go. A good rule of thumb is to evaluate trades based on how many points said enemy operative will potentially score your opponent, versus how many points you stand to lose by sacrificing yours.
 Credit: Dan "Swiftblade" Richardson
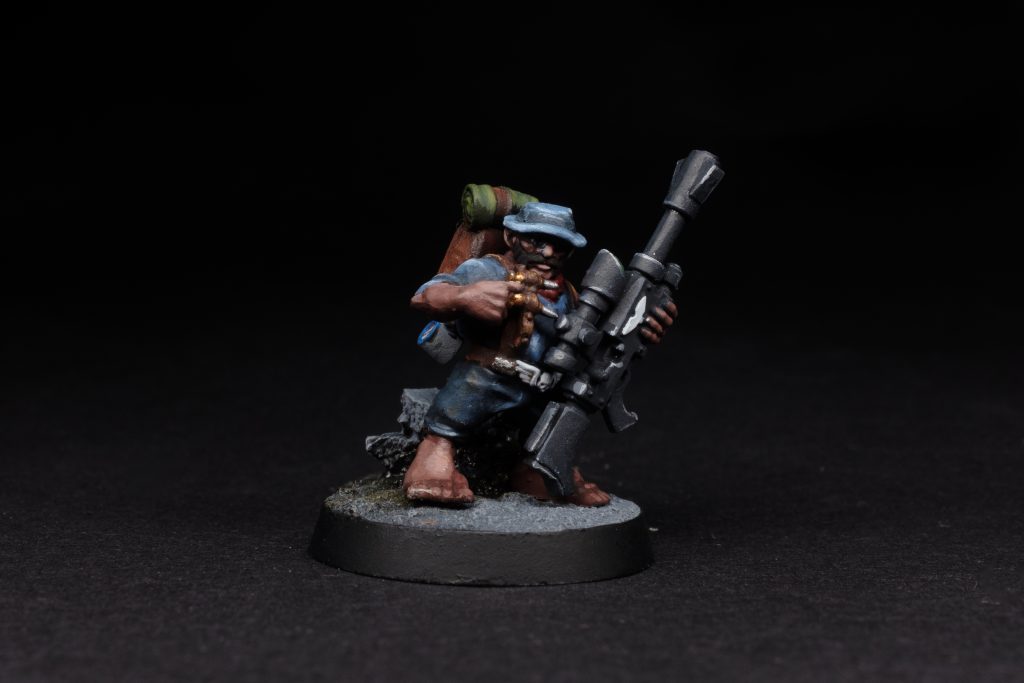
Expendable
Expendable operatives are a type of operative that does not count towards the Kill Grade scoring if they get murked. These operatives tend to be less powerful than non-expendable operatives on an individual basis, such as Bomb Squigs, but give you the option of playing more aggressively with them, since losing them won’t also score your opponent points. Generally, expendable goobers are best employed as harassment pieces, early forward scoring pieces, or bait to lure your opponent out into engage.
Threat Range
Threat Range refers to the reach an operative has with an attack or ability. Basically, if you are within a model's threat range, you are close enough that they will be able to use an ability or attack on you, which includes things such as the range of the ability itself as well as how far a model can travel before using it. If you’re out of an operative's threat range, you are too far away for that operative to reach you, and you’re safe from said action.
A more concrete example: say you have a 3 APL model with a move of 6” and an action with a 6” reach. With a reposition and dash action, you can get 9” up board, and then use the action on an enemy operative within 6”, meaning the threat range for that ability is 15”. If your opponent is within that 15” bubble around your operative, they are in your threat. If they are 15.1” away, they’re out of your threat range.
The most common way threat range is used in Kill Team is to evaluate the threat range a model has on their charge, since knowing exactly how far you need to stay away from a nasty melee bruiser is the best way to avoid getting stuck in with it. An important reminder when calculating the threat range of an enemy charge is to remember to factor in control range. Since you need to get within 1” of a model to be in control range for a successful charge, it effectively adds an inch of distance to the threat a model has while charging. If an operative has a 6” move, they will get an 8” charge, but if you hang out 8.1” away they will still reach your control range placing you squarely within their effective threat range, even if they aren’t base to base. In this scenario, you need to be further than 9” away to stay outside of the charge threat range.
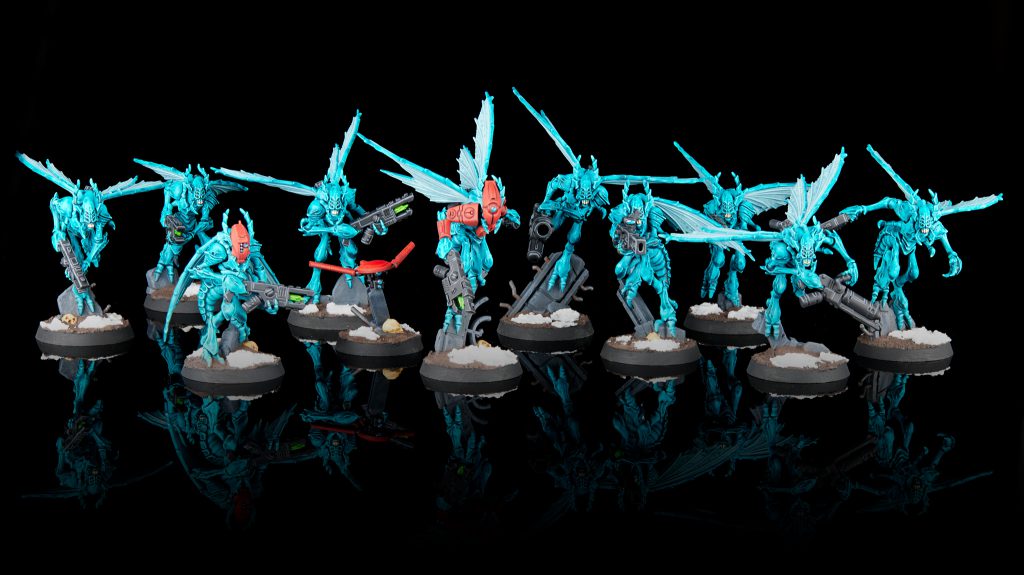 Vespid Stingwings Kill Team. Credit: Jack Hunter
Out-Activate/Activation Advantage
Out-activating your opponent, or activation advantage, means that you have more effective activations on your team than your opponent does on theirs. In many cases it's pretty clear who has activation advantage during a match: Whoever has more operatives out-activates the other, even factoring in for counteractions. Sometimes who has the activation advantage is more in flux, such as when models start to die during the game or a team has abilities to delay their own activations, and it could potentially even change mid-TP. When two teams have an equal number of models, assuming neither player loses any unexpended models during the turn, the player that went second has activation advantage.
Whoever has activation advantage is going to be the player who gets the last activation during a turning point, which is very powerful. Firstly, it means that said operative will have the opportunity to act without the threat of counterattack during that turning point, giving it powerful leverage for scoring plays like stealing an objective away from enemy control. Secondly, if you win initiative, having the last activation means you will activate two operatives in a row before your opponent can activate, which can open up potentially brutal opportunities to ruin your opponent's day.
Get Down Mr. President
Get Down Mr. President is slang for an ability that lets a model take the hit for another model if the initial target is close enough. This ability usually pops up on teams with powerful leader models that are extremely high priority targets, such as Canoptek or Sanctifiers, and is an outstanding defensive tool as long as you have someone nearby that your willing to let take the hit. There are some ways around a Get Down Mr. President ability, such as shooting with a blast weapon, but a canny opponent will do their best to keep their leader out of the threat of a weapon like that and use a Get Down Mr. President ability as an emergency button to confound an unexpected attack on their high value operative.
Dice Fixing
Dice Fixing refers to any ability that mitigates the randomness of dice. This includes reroll abilities, like ceaseless or relentless, abilities that can proc on dice rolls to change the value of dice, such as rending or punishing, or abilities that let you change the value of a dice, such as the Purity Seals equipment from Angels of Death.
Dice fixing is an important part of making sure your big plays are successful in Kill Team, as it levels out the randomness inherit in dice and makes successes or failure more predictable. The last thing you want is for your dice to go cold right when you need to make a game-changing kill. If you have equipment, abilities, or strategy ploys that give you better access to dice fixing abilities, they’re almost always worth spending the CP or resources on.
 Credit: Keewa
Super Conceal
Super conceal is a term for an ability that gives an operative an upgraded form of conceal, ignoring most ways to target a concealed model with an attack like seek or shooting from vantage at an operative behind light cover and stipulating the only way you can be targeted is if your opponent to comes within 2” to shoot at you. This of course makes shooting a model with super conceal impossible without getting up close and personal, and is a great defensive tool when your opponent has easy access to seek or on Killzones with plenty of vantage terrain.
“Explodes” Ability
An explodes ability is any ability that does damage when an operative dies to another model nearby. Usually explodes damage isn’t a ton of damage, often d3, but could give an opponent pause if they know killing you with a severely wounded operative could also take them out in return.
Non-Reciprocal Threat
A non-reciprocal threat in Kill Team is when you have a way of putting the hurt on an enemy operative while said enemy operative either is very hampered in their ability to hurt you back or unable to get to you at all. Good examples of this are silent shooting, where you can shoot an enemy freely without the risk of getting shot back, or having an operative with a longer charge threat range than their target, making it so you can reach them with a charge but they cannot reach you. There are less obvious examples of non-reciprocal threat as well, such as when a large base model like a Canoptek Tomb Crawler can shoot at an enemy freely, while the Tomb Crawler is obscured from return fire thanks to their base size. Setting up good non-reciprocal threats isn’t always possible, but very powerful when the chance does line up.
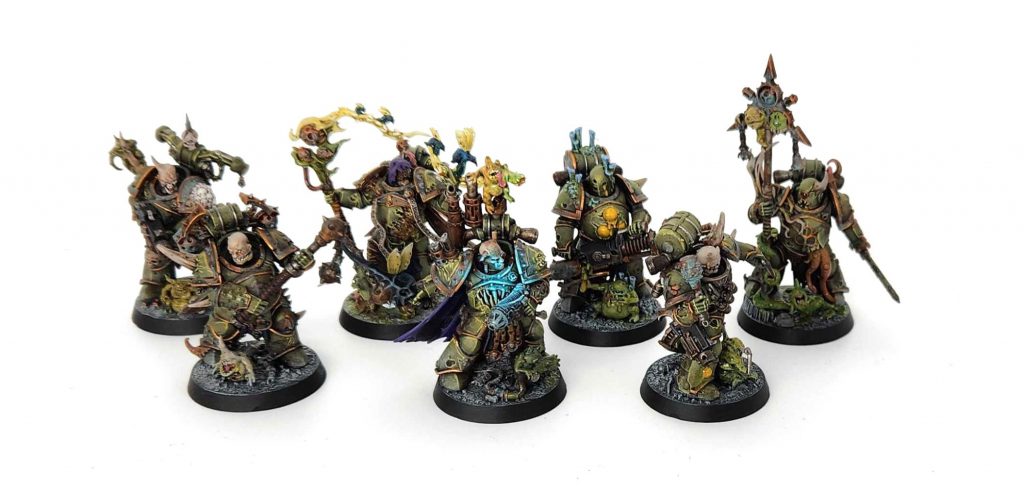
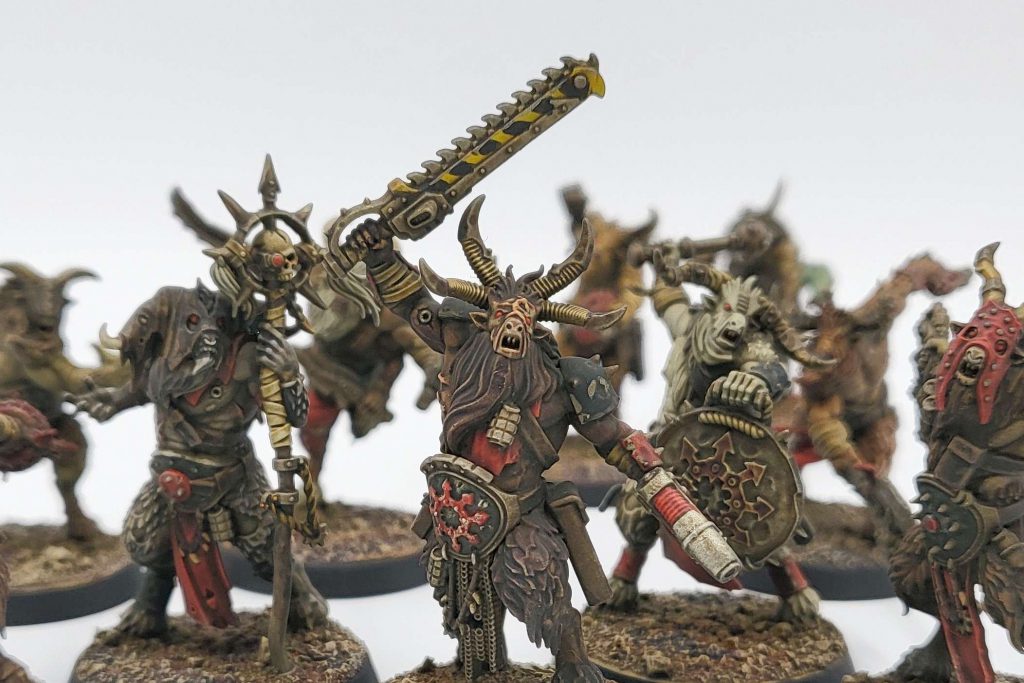 Fellgor Ravagers. Credit: Fowler
Wound Breakpoints
Wound Breakpoints is a concept closely related to one or two tapping, and refers to the wounds a model has versus the successful attacks required to take them down. Exact Wound breakpoints vary from weapon to weapon, as well as abilities that can reduce damage, but generally good wound breakpoints will boost an operatives survivability significantly.
Sometimes, this is very obvious, a Space marine with 14 wounds is harder to kill than an operative with 8, but other times the math is more obscure. Take the wound breakpoint from 9 wounds versus 10 wounds against a chainsword, which is 4/ 5 damage. To kill the 9 wound model, you need a crit and a hit to go through in combat, which is fairly likely if you charge. At 10 wounds though, you now need two crits to two-tap the opponent, which is far riskier. And at 11 wounds, there’s no way to kill the enemy operative with 2 hits; you have to use 3.
As alluded to above, good wound breakpoints will vary from team to team and matchup to matchup, but if you’re just trying to figure it out with some napkin math, calculating wound breakpoints based off survivability against 4 damage attacks is your best bet, since 4 damage is fairly common in KT.
Final Thoughts
That's all we have for this edition of the Kill Team Glossary! Hopefully, you found this as a useful tool for both better grasping the common terms used by the Kill Team community, as well as a helpful insight on tactics to improve your game! Let us know in our email inbox if we missed some terms here; the Kill Team community is big, and I’m bound to have missed a thing or two, but we’re happy to help define stuff for the good readers back home. If there’s enough demand, we may even do a second glossary to catch those other terms. Otherwise, I’ll catch you later, Kill Team fans!
Have any questions or feedback? Drop us a note in the comments below or email us at contact@goonhammer.com. Want articles like this linked in your inbox every Monday morning? Sign up for our newsletter. And don’t forget that you can support us on Patreon for backer rewards like early video content, Administratum access, an ad-free experience on our website and more.
Thank you for being a friend.

 Goonhammer Hobby Round-Up: March 2026
 Goonhammer Reviews: Tribal Conquest
 Conquest: Weaver Courts Gemred Knights and Scaile Dancers Model Review