Update (Latest): 2026-3-20 Updated to account for rules changes made to the Great Hunger faction.
Published: 2025-10-25
This week, Creature Caster released an update to the Great Hunger rules which changes how they play significantly. With that in mind, we went through and updated the tactics you’ll find here.You’ve acquired and printed your goopy guys and are ready to start making lists. The question is though, where to start. Don’t worry, our imagineers (me) over in the goonhammer offices (my house) have been hard at work in our lab (my LGS’s table) to figure out enough Great Hunger tactics to fill your appetite. At the time of writing this, the new Great Hunger rules aren’t out on the main website yet, but can be found in the Creature Caster discord. I’m sure they’ll be on the website soon but for posterities sake we’ll be looking at update 1.0.2
The Basics
Overall Great Hunger is a melee focused faction that looks to rush down your opponent with an overwhelming horde of bodies. There's a few ways you can tweak the gameplan but one thing is for sure, you will not be shooting. Most of your shooting options aren’t even here and none of your models get any dice for shooting outside The Great Maw (the Great Hunger Lord of Tumors equivalent) and even he’s not great at it.
Speaking of which, let's start with what you don’t have. A lot of your equipment like, Beelzebub’s Axe, Black Grail Shield, Musical Instruments and all of your ranged weapons outside Shotguns, Parasite Grenades, The Black Spot Rifle and Putrid Shotguns are gone. What may hurt the most here is losing Gas Grenades and Corruption Belchers, which are mainstays of the traditional up close and personal gameplan Black Grail is looking to do. You also lose access to Heralds, which makes sense since you can’t take most guns, and Amalgams, which is mostly fine.
Don’t worry though, there’s a slew of extra options to help shore up the stock to choose from. We’ll go through these in their own section, but you get: new units, new weapons, new equipment, new knight ranks, and a very powerful army wide ability. But all of this is just an appetizer, let's get into the main course.
Special Rules
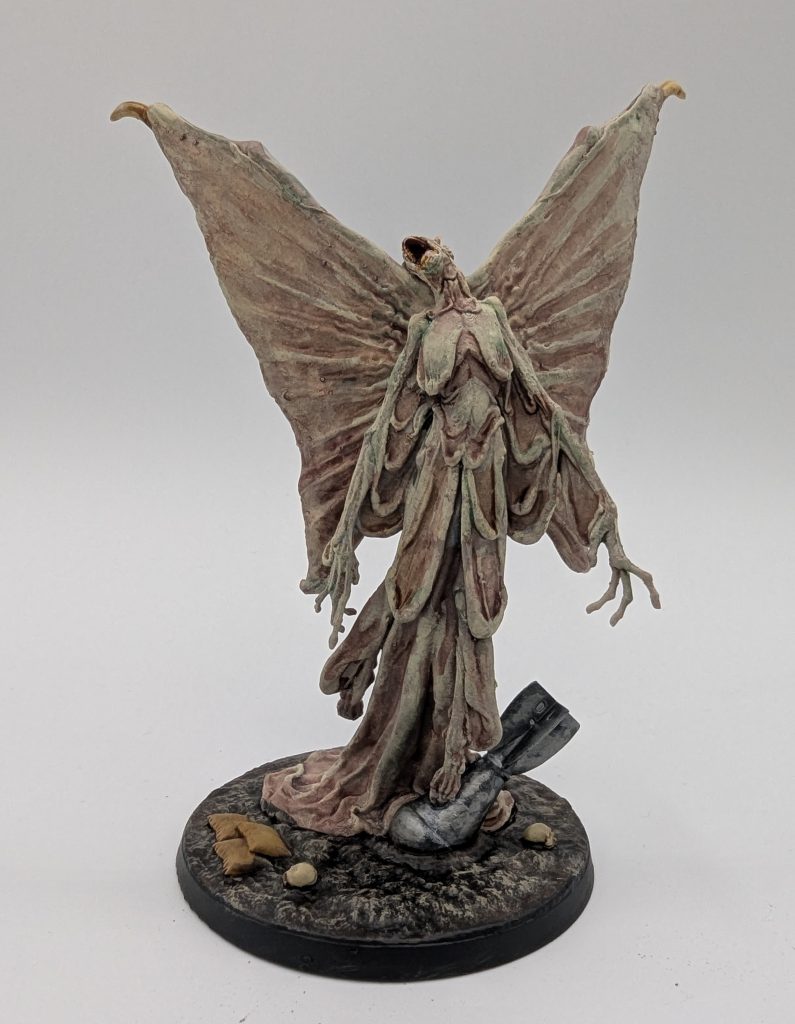
Butcher Knight. Credit: MildNorman
Let's start with the unit changes because it's all slightly different. We’ll move from least complex to most complex. The Lord of Tumors is there and unchanged but loses LEADER and can only be added when your warband goes over 1000 Ducats. Hounds become Prowlers which are exactly the same as well. Corpse Guards become Desiccated Husks which gain the rule More Worm Than Man, which prevents your opponent from using Infection Markers on them (we’ll get to why that's good in a bit) but lose Bodyguard.
Ravenous Infection: This is a special ability that Thralls (called Ravenous) have that allows them to perform a Risky Action to put an Infection Marker on something in Combat Range. This is a very important rule in Great Hunger and one of the things that really makes the gameplan work. It lets you quickly build up markers and get bloodbaths early. You have very few options to deal with armor and this is how you bust up tough targets.
Time for the more complex stuff. Plague Knights become Butcher Knights and get a full slew of ranks to take instead of the ones in the default book.
Butcher King (10 Ducats): If your Butcher Knight survives the battle and takes something out of action in melee you gain 1 Glory. This is really neat and is a great take when playing in a campaign to help juice your Glory early. And you’re gonna really want the Glory.
Knight Companion of the Feast (5 Ducats): This lets you use Ravenous Infection with +1 Dice for everything within 3”. This is a great little add and probably your first pick if you’re adding a knight with a shield.
Knight of Twin Cleavers (5 Ducats): Melee weapons on the Butcher Knight gain SHRAPNELand ignore the Off-Hand rule. This is amazing for 5 ducats and I throw it in almost all my lists. Early in the campaign before everything has helmets, this can let you become incredibly lethal to models that aren’t prepared for it. Don’t sleep on this one.
The most dramatic changes are to your Thralls. They’re called Ravenous here, with a whopping +0 to hit and critical on their unarmed attacks and the Ravenous infection rule. These changes transform thralls from loser bozo to credible threat, and we haven’t even gotten into the strains yet.
Ravenous Infection is a special ability that Ravenous have that allows them to perform a Risky Action to put an Infection Marker on something in Combat Range. This is a very important rule in Great Hunger and one of the things that really makes the gameplan work. It lets you quickly build up markers and get bloodbaths early. You have very few options to deal with armor and this is how you bust up tough targets.
In addition your army gets access to Cradle of Filth which lets you recruit up to 3 extra thralls at the cost of 2 Glory each. These thralls allow you to exceed the model cap for your scenario and gives them Infiltrate. This is a great tool for helping you apply pressure early and helps you overwhelm your opponent early and often with dudes.
Eternal Appetence
This one's a doozy so it gets its own section. You have 4 abilities to pick from, each either putting Infection Markers on models in your army or spending them. At the start of your turn, you pick one of the following abilities to be active for your army:
Agonized Churning: Lets you remove 2 Infection Markers from a model of yours that activates within 8” of your Hag and put them on a model in combat with that model. This is gonna be your go to when your army is stuck in and fighting, letting you quickly build up a ton of markers while keeping your own ones under control.
Ruinous Masticating: Generates an Infection Marker on something that activates within 8” of your Hag and makes your opponent unable to use Infection Marker to affect melee attacks done with your models. This is good for your go turn if you want to build for Agonized Churning but this doesn’t stop your opponent from disrupting your dash rolls, so make sure you’re in range to charge before you pop it.
Spasmodic Wretching: Generates Markers near the Hag, this time giving models -1 to hit at Ranged if they have 2 or more markers. This is a good pick while your army is closing the gap across the table but beware, if your opponent makes the hit, those Infection Markers are gonna help the Injury Roll a ton.
Vile Craving: Your other option for spending markers, letting you remove 2 of them and immediately move 4”. This is massive. Rotate in your mind a hound moving 20+D6” with this, a Dash, and a Charge all in the same turn. This is a great way to pounce on your opponent and push your entire force into combat in the same turn. Knowing when to use this will be a skill you’re gonna want to develop.
Equipment
As you’d expect the Great Hunger get a full armory to work with
Black Spot Rifle (25 Ducats): You can only take 2 of these, but they come with Bayonet Lug (this is good for another reason) and +1 Dice to Hit and -1 Injury Dice. It's also got Assault and Shield Combo which makes it a very flexible piece for stuff like your knights. Where this thing gets interesting is when you hit an enemy with this, a Thrall within 12” can attempt a charge into that target. This is Big. Out of Sequence movement is huge in any context and this lets you lock stuff down as well. Even if you don’t make the charge you still get to move. As a nice little cherry on top, it does Infection Markers which is always a nice bonus.
Butcher Bayonet (15 Ducats): Another Limit 2 pick with Shield Combo. It works with anything that has a Bayonet Lug and comes with +1 Dice to Injury. In addition, everything within 3” Crits on an 11, which combos very nicely with your Ravenous and the Pestilent Fang. Whats the Pestilent Fang you ask? well..
Pestilent Fang (15 Ducats): You guessed it, it's Limited to 2. This gets +1 to Injury Rolls, and whenever it causes a Blood Marker you do an additional Infection Marker. Combine this with a Knight of Twin Cleavers and you’ll have a guy putting down 3 markers before he even does his second swing. In addition, if you score a crit with it you get to ignore armor, which goes great with a buddy that has the Butcher Bayonet.
Cup of Filth (4 Glory): This is our first piece of equipment and works much the same as the cup in the main Grail faction. At the beginning of the game you pick up to one Elite or 4 Ravenous and those models get +1 Dice to Dash for the rest of the game. Considering you’re a melee force, this is an incredibly powerful tool and not something to sleep on.
Foetid Palanquin (4 Glory): This is the only way to get your Matagot Hag armor. It works as Standard Armor, but you can spend any number of Infection Markers from nearby units and at an additional -1 to the roll for every 2 you spend (to a max of -3 per the core rules). Not only does this give your Hag a bit more durability, this also lets you get your Infection Markers in check if they’re getting a bit out of control from Eternal Appetence.
Strains
Technically these aren’t equipment and should go under special rules, but you spend Ducats and Glory on them and they go on your models, and frankly this is my article and I can structure it however I want. In fact I can just put a painting tip in here and no one except Bernhardt, our editor, can stop me. Watch this:
I use Army Painter’s Crusader skin on most of my Great Hunger models over Citadel’s Grey Seer to make a sickly pallid skin that goes on fast.
See? Pretty cool. [Sigh. -Ed.]
Anyway Strains act like Battlekit, but can’t be sold or removed. Everyone can take up to one of these, outside Ravenous who can take up to 3.
Devouring Jaws (2 Glory): This is Elite Only and you only get 1 and it lets you get an extra attack that doesn’t use a melee weapon and has the Critical keyword. If it doesn’t take a model out of action though, the model using it takes a Blood Marker. This goes nicely on a Knight of Twin Cleavers or a Lord of Tumors, letting you seal the deal after their flurry of attacks.
Grasping Maw (15 Ducats): This is an interesting one. You can take a Risky Action to force a model within 12” to move 3” in a straight line towards you. You can force things to fall down but if it retreats you don’t get attacks on them, making it a bit less flexible than Heretic Legion’s Puppet Master ability. Still, forcing movement is always very strong and you can use this to yoink stuff off objectives to help you win games. If you’re drowning in Ducats, throwing this on a bunch of Thralls is very funny.
Hellfly Host (free): This is simply how you get access to Fly Thralls in Great Hunger. This is likely the way main grail will work once they get their strains.
Lockjaw Bite (15 Ducats): If something retreats from a model with this strain it takes an Infection Marker before you get your reaction attacks against it. This is nice for making sure you at least put some damage on something, but your opponent isn’t likely to retreat from a horde of thralls when they’ll just get torn down for the trouble.
Papillal Hide (5 Ducats): This can only go on Prowlers and Ravenous and it lets them charge without line of sight. This is great in combination with Vile Craving but also just useful generally. This will often save you a risky dash roll and at 5 Ducats it's a steal.
Rotten Cutters (7 Ducats): This one can only go on Hags and Ravenous and gives them CLEAVE 2 on their melee weapons. This is very strong and my go to when adding Ravenous to my roster. It also lets your Hag cosplay as a mini Lord of Tumors. Throw this on your guys early and often.
Unending Starvation (10 Ducats): this is tied to the Hag, Lord of Tumors, Desiccated Husks, and Ravenous, giving them +1” to move. This isn’t as flashy as some of the other strains, but can be a very powerful pick on any of these models.
The New Units
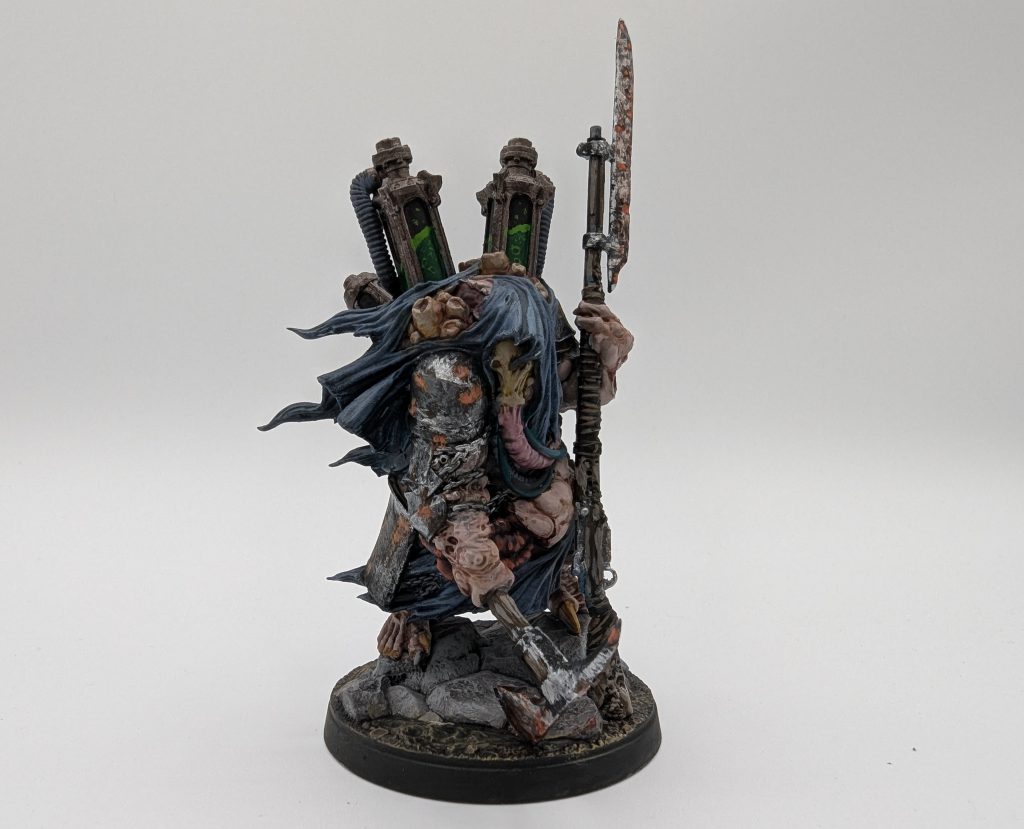
The Matagot Hag
The Matagot Hag is the lynchpin to your force. Obviously you need her to make Eternal Appetence work but she’s also a very powerful buff piece in her own right. Stats wise, she’s pretty standard, with a 6” move and +2 Dice to hit in melee. She can’t have any battlekit but she gets Critical on her melee attacks with Infection Markers and does an extra Infection Marker whenever she inflicts one. Her abilities though are where she really pops off. Cadre of Flesh lets you use nearby Ravenous as meat shields for your Hag, letting them take an Injury Roll in her place if they’re within 3”. You also roll for her first if your opponent hits her with blast, so you’ll always have a shield if a thralls in arm’s reach. Frenzied Followers gives her an 8” Musicians aura, granting everything +1 Dice to Dash. Since you’re a melee army, this is very important. Mother’s Call lets you remove any number of Infection Markers from models within 18” and have that many Ravenous within 8” either move, make a melee attack with +1 Dice to hit, or carry out the Ravenous Infection action, placing an extra marker down on a success. This makes her the fulcrum to your entire army, allowing your horde to surge up and beat down your opponents, sometimes letting almost your entire army get an extra turn.
Gregori Gula
Ol’ Greg is my personal favorite addition to the army from this ruleset. He moves 9” with Fly and does Melee attacks at +2 Dice. He has an upgraded of Undead Fortitude referred to as Plague-Ridden Flesh, which imposes -2 Dice to all Injury rolls against him that don’t have the Fire keyword. He also attacks twice, with +1 Injury Dice and gains an extra attack on the charge thanks to Gnashing and Tearing. He gets the Infiltrator rule, although he’s somewhat difficult to hide since he’s on a 60mm base and so tall. Theres a pretty hefty option here for Unholy Gut which gives you an attack that hits everything in a line automatically with Infection Markers, +1 to the Injury Roll and Assault. You can also spend 2 Infection Markers from ol’ Greg here and add an additional +1 to the Injury Roll, letting you more easily bust through armor.
Lastly, and maybe most interestingly, there’s Dormant Hunger, which, when its taken out of action, lets it instead go Dormant. When it does, it keeps all its Blood Markers and a Token replaces the model. If a Thrall wanders within an inch of the token though, the Gula is brought back in a Down position. You can do this any number of times a game, but only once per round which means if it dies twice in a round it's gone for good. This makes the Gregori Gula functionally immortal if you play your cards right. Every time you revive it you’re removing activations from your list, but in the right situation, this can be worth it.
Desserts
That should be all you need to get started with the Great Hunger! Its a really neat ruleset and well worth checking out if you haven’t put it on the table yet. It's probably one of the more complex factions in the game right now, but it absolutely rewards you for that effort.
Have any questions or feedback? Drop us a note in the comments below or email us at contact@goonhammer.com. Want articles like this linked in your inbox every Monday morning? Sign up for our newsletter. And don't forget that you can support us on Patreon for backer rewards like early video content, Administratum access, an ad-free experience on our website and more.

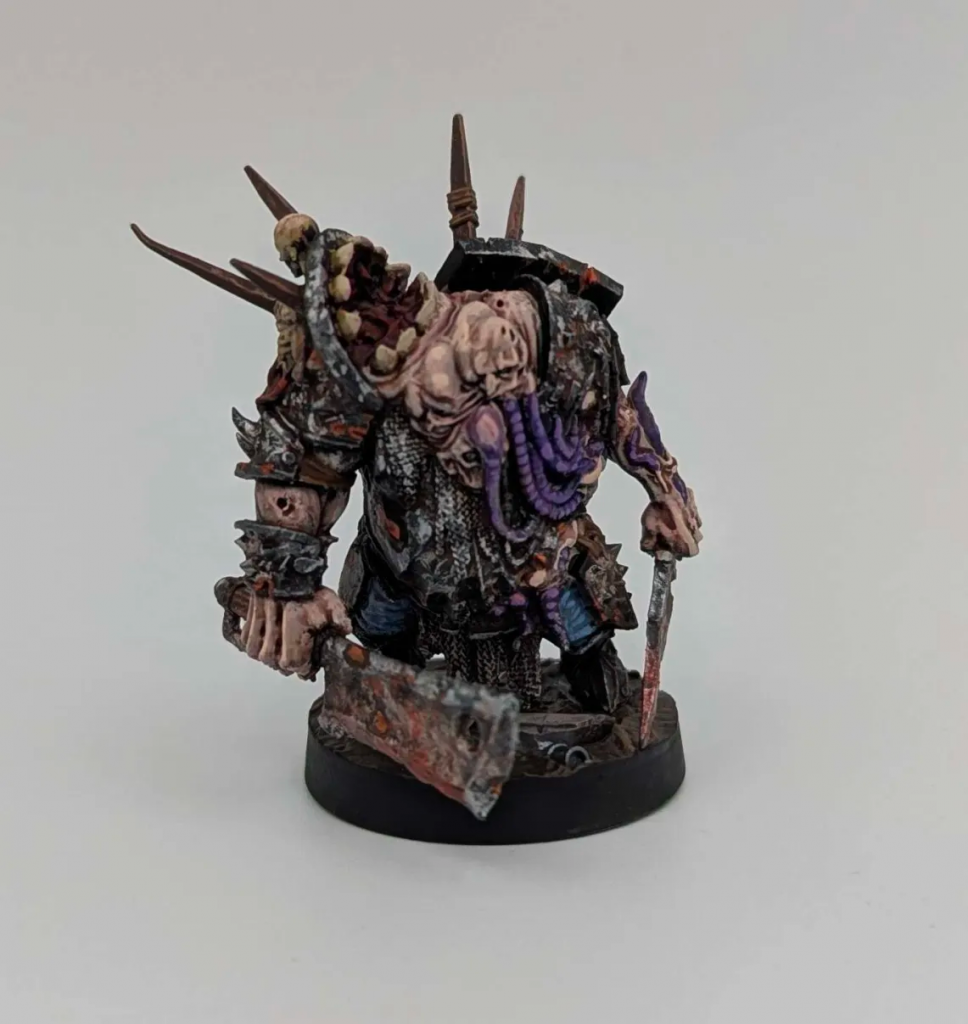 Butcher Knight. Credit: MildNorman


 Goonhammer Hobby Round-Up: March 2026
 Goonhammer Reviews: Tribal Conquest
 Conquest: Weaver Courts Gemred Knights and Scaile Dancers Model Review