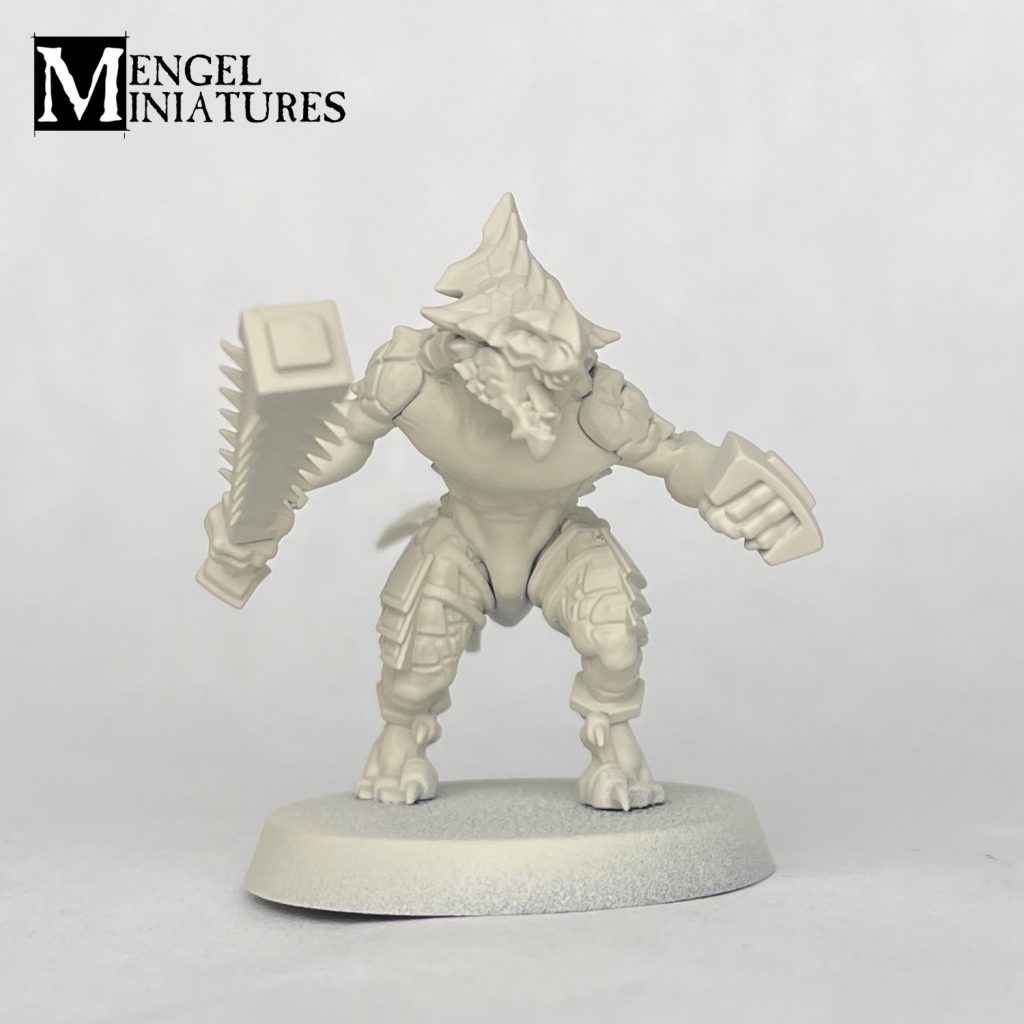
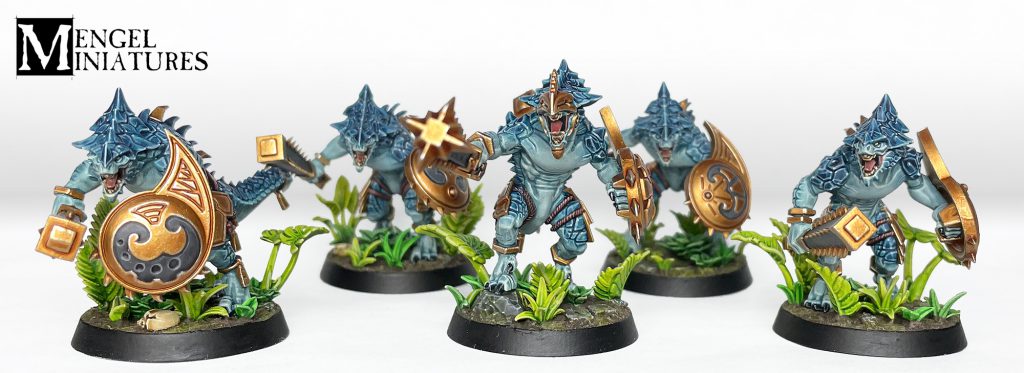
Welcome to my first guest article on Goonhammer, Mengel Miniatures: Painting Abroad! I've been a fan of Goonhammer for quite awhile now, so was very excited to get to contribute. I thought, what would make a good debut article? How about our scaly lizardy friends from the jungle, the Seraphon. A big thank you to Games Workshop for sending me these models for review. I've considered doing an army of them from all the way back in 8th edition Fantasy, and with the release of all of their shiny new models, it seemed like the perfect time! One thing that's great about the majority of the Seraphon range is that they're the perfect candidate for using Contrast Paint. They're just full of different organic textured surfaces. I've already done a contrast only guide for the Seraphon over on the Warhammer Community site, so I knew I had to take this one to a different level. We've also had all those new Contrast colors released since then, so there were plenty of opportunities. With all that in mind let's take a look at how to paint one of the new Saurus Warriors.
The Skin and Scales
 Credit: Tyler Mengel - Mengel Miniatures
Step 1.
Credit: Tyler Mengel - Mengel Miniatures
Step 1.
The model is primed with
Wraithbone primer while the shield is kept separate and primed with
Retributor Armor.
 Credit: Tyler Mengel - Mengel Miniatures
Step 2.
Credit: Tyler Mengel - Mengel Miniatures
Step 2.
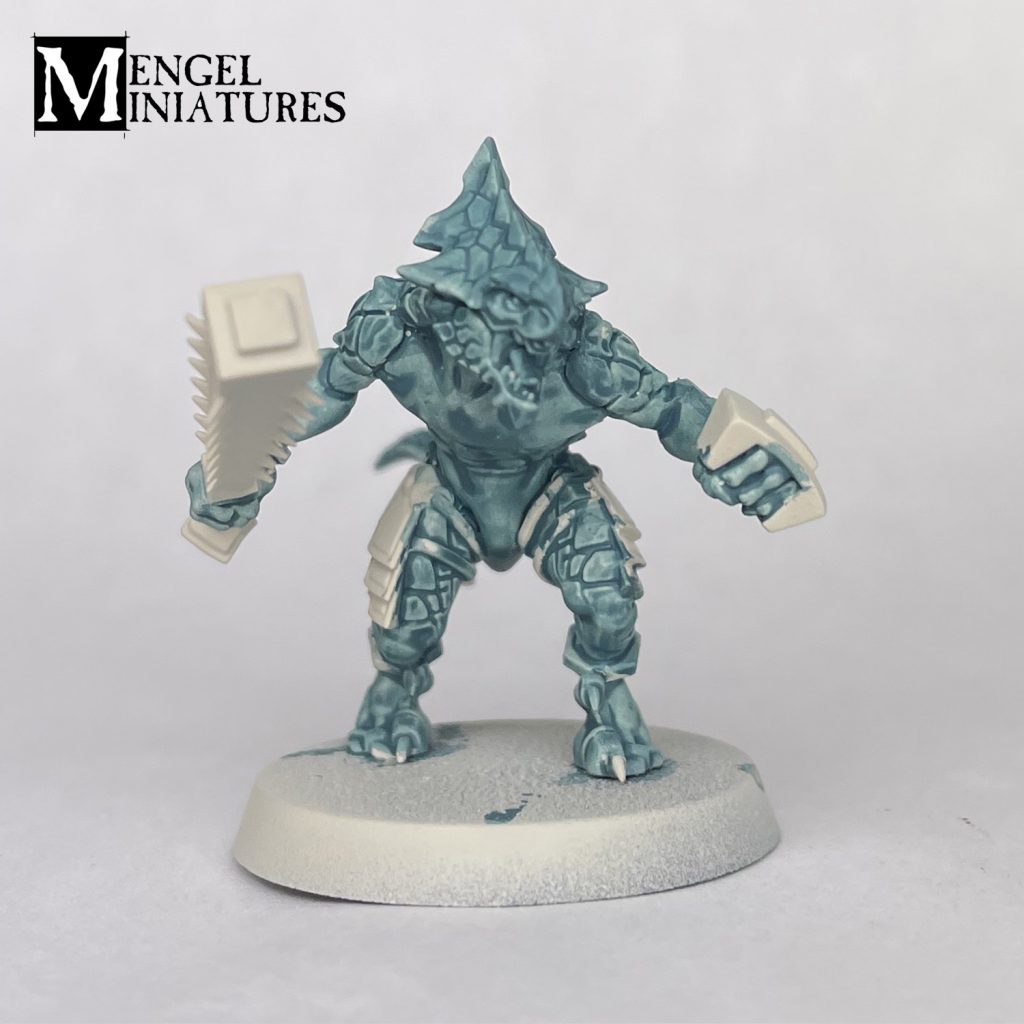
All of the areas on the model that are going to be skin or scales are given a solid coat of
Nighthaunt Gloom. Watch out for pooling, as the cleaner you are here the less work you'll have later. I tended to do it one section at a time, starting with a leg, then doing another, then the torso, etc.
 Credit: Tyler Mengel - Mengel Miniatures
Step 3.
Credit: Tyler Mengel - Mengel Miniatures
Step 3.
Once this is completely dry I gave all of these areas a drybrush of
Deepkin Flesh. You don't want to go to heavy here, or too light.
 Step 4.
Next, I made a mix of
Deepkin Flesh and
Thunderhawk Blue, probably around 50/50. I used Thunderhawk Blue since it's super close in color to Nighthaunt Gloom. I then used this mix to clean up any areas that are prominent or ended up with weird tide marks from the Contrast Paint, or too chalky from the drybrush. Think areas like the chest, face, etc.
 Credit: Tyler Mengel - Mengel Miniatures
Step 5.
Credit: Tyler Mengel - Mengel Miniatures
Step 5.
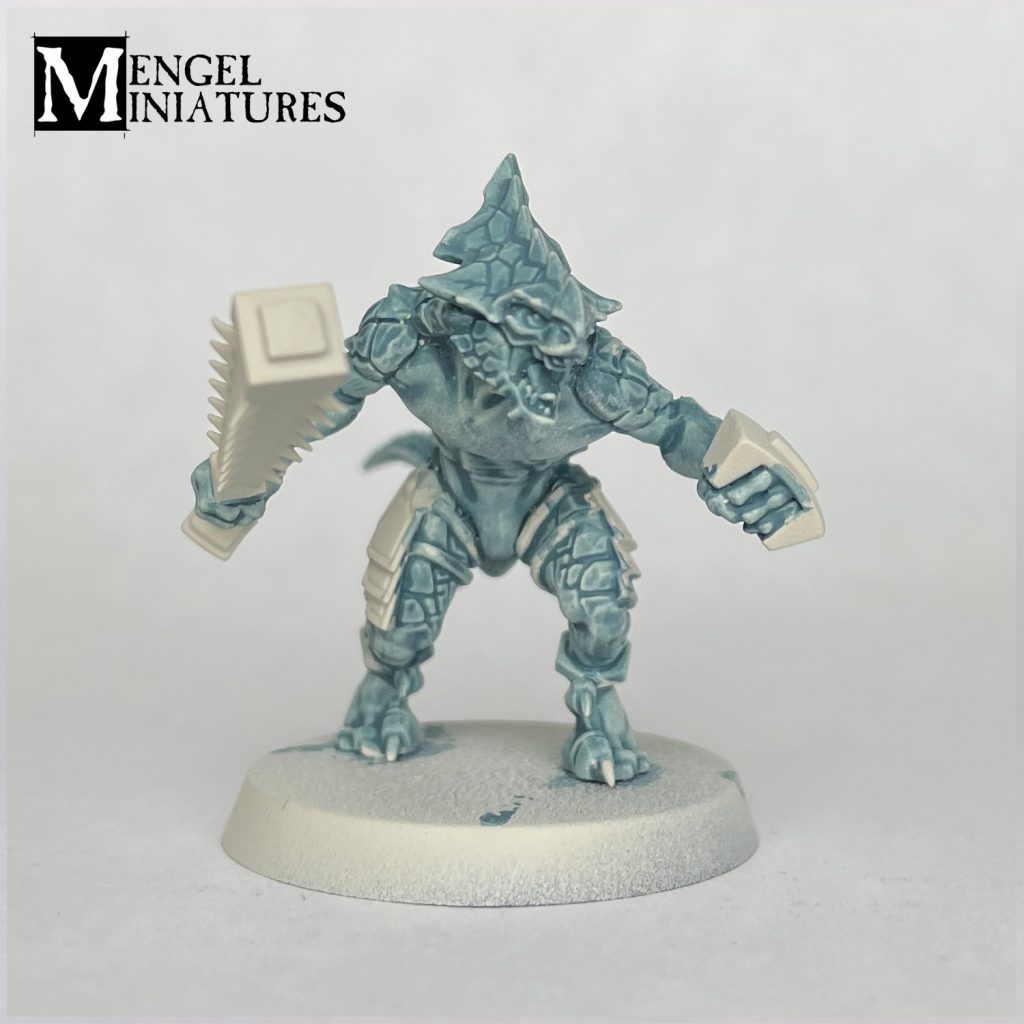
The scales were then painted with
Stormfiend Grey thinned with
Contrast Medium, about 40/60. I then thinned this down even more and hit some of the scaly areas further down the arms and legs, as well around the edges of the "main" scales where they meet the skin, to get a bit of a transition. I did a further coat on the center of the "main" scale areas (think back, head) so that it's a bit of a gradient, getting darker towards the center. You can also use this color to better define a few areas on the skin. I painted it into the crevices of the toes, fingers, and face for example.
 Credit: Tyler Mengel - Mengel Miniatures
Step 6.
Credit: Tyler Mengel - Mengel Miniatures
Step 6.
Tidy up anything on the skin as needed, but you can get away with a bit of sloppiness due to the organic nature of the model. I then highlighted the skin with pure
Deepkin Flesh.
 Step 7.
The scales were then highlighted with the mix from step 4, picking out the edges.
 Credit: Tyler Mengel - Mengel Miniatures
Step 8.
Credit: Tyler Mengel - Mengel Miniatures
Step 8.
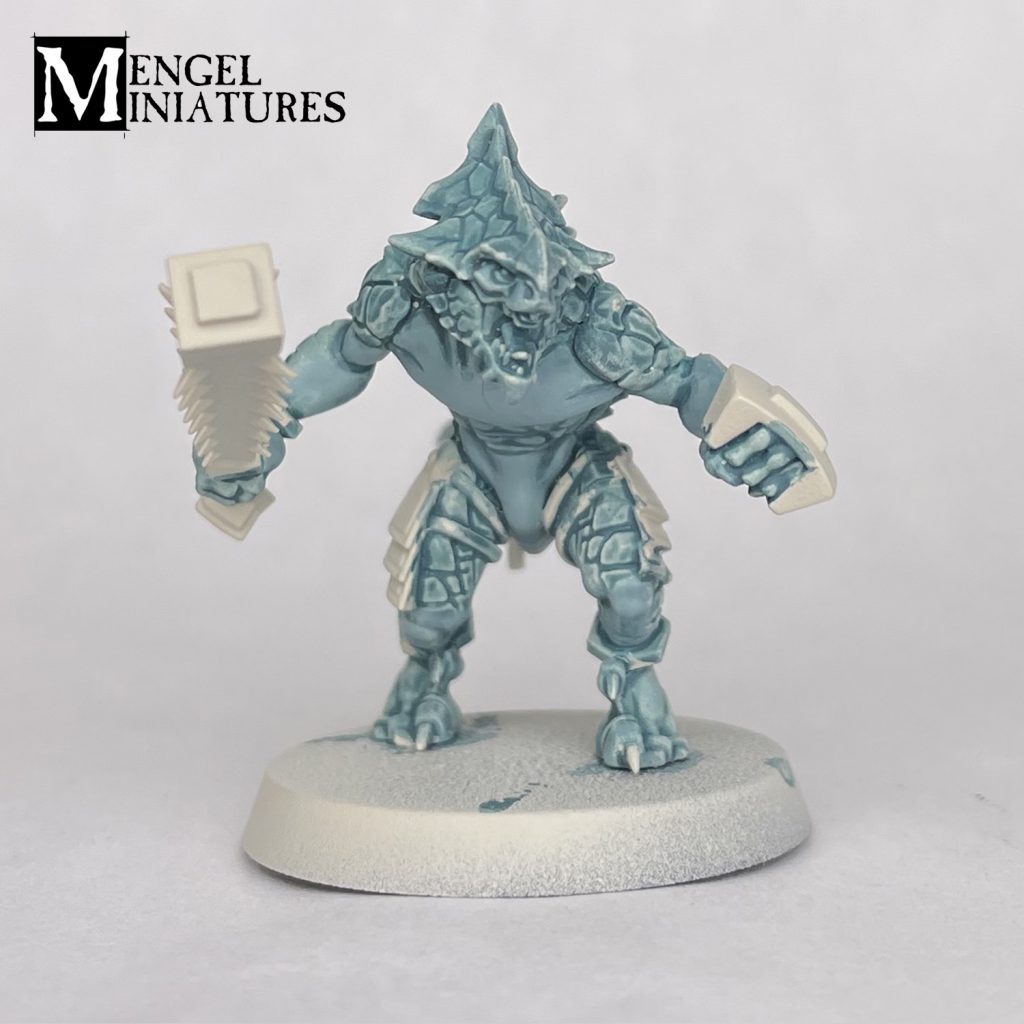
This was finished by mixing in more
Deepkin Flesh, so that it's almost pure Deepkin, just tinted blue, and then picked out the corners of some of the scales with a dot highlight.
The Face and Claws
 Credit: Tyler Mengel - Mengel Miniatures
Step 1.
Credit: Tyler Mengel - Mengel Miniatures
Step 1.
The gums and tongue of the face were base coated with
Bugman's Glow.
 Credit: Tyler Mengel - Mengel Miniatures
Step 2.
Credit: Tyler Mengel - Mengel Miniatures
Step 2.
This was then shaded with
Volupus Pink thinned with water.
 Credit: Tyler Mengel - Mengel Miniatures
Step 3.
Credit: Tyler Mengel - Mengel Miniatures
Step 3.
These were then highlighted with
Cadian Fleshtone.
 Credit: Tyler Mengel - Mengel Miniatures
Step 4.
Credit: Tyler Mengel - Mengel Miniatures
Step 4.
The teeth were picked out with
Morghast Bone.
 Credit: Tyler Mengel - Mengel Miniatures
Step 5.
Credit: Tyler Mengel - Mengel Miniatures
Step 5.
These were then shaded with
Agrax Earthshade.
 Credit: Tyler Mengel - Mengel Miniatures
Step 6.
Credit: Tyler Mengel - Mengel Miniatures
Step 6.
Lastly, the were highlighted with
Screaming Skull.
 Credit: Tyler Mengel - Mengel Miniatures
Step 7.
Credit: Tyler Mengel - Mengel Miniatures
Step 7.
The eyes were painted with
Darksun Yellow from Two Thin Coats (
Averland Sunset GW).
 Credit: Tyler Mengel - Mengel Miniatures
Step 8.
Credit: Tyler Mengel - Mengel Miniatures
Step 8.
They were then highlighted with
Skulker Yellow from Two Thin Coats (
Yriel Yellow GW)
 Credit: Tyler Mengel - Mengel Miniatures
Step 9.
Credit: Tyler Mengel - Mengel Miniatures
Step 9.
The claws on the hands and feet were painted with 2 coats of
Black Templar.
 Credit: Tyler Mengel - Mengel Miniatures
Step 10.
Credit: Tyler Mengel - Mengel Miniatures
Step 10.
Next, they were highlighted with
Dawnstone.
 Credit: Tyler Mengel - Mengel Miniatures
Step 11.
Credit: Tyler Mengel - Mengel Miniatures
Step 11.
Finally, they were given a dot of
Grey Seer.
The Stone
 Credit: Tyler Mengel - Mengel Miniatures
Step 1.
Credit: Tyler Mengel - Mengel Miniatures
Step 1.
The stone on the club was base coated with
Mechanicus Standard Grey.
 Credit: Tyler Mengel - Mengel Miniatures
Step 2.
Credit: Tyler Mengel - Mengel Miniatures
Step 2.
This was then shaded with a 50/50 mix of
Basilicanum Grey and
Contrast Medium.
 Credit: Tyler Mengel - Mengel Miniatures
Step 3.
Credit: Tyler Mengel - Mengel Miniatures
Step 3.
I then highlighted it with
Dawnstone. On models with more detail on the stone, you can also pick out any corners with a dot of
Grey Seer.
The Ropes
 Credit: Tyler Mengel - Mengel Miniatures
Step 1.
Credit: Tyler Mengel - Mengel Miniatures
Step 1.
All of the ropes and leather straps on the model, including the grip on the weapon and shield, were tidied up with
Wraithbone, before getting a coat of
Gore-Grunta Fur.
 Credit: Tyler Mengel - Mengel Miniatures
Step 2.
Credit: Tyler Mengel - Mengel Miniatures
Step 2.
This was then given another coat with thinned down
Cygor Brown.
 Credit: Tyler Mengel - Mengel Miniatures
Step 3.
Credit: Tyler Mengel - Mengel Miniatures
Step 3.
I then highlighted with with
Tuskgor Fur.
 Credit: Tyler Mengel - Mengel Miniatures
Step 4.
Credit: Tyler Mengel - Mengel Miniatures
Step 4.
They were finished off with another highlight by mixing in
Screaming Skull to the
Tuskgor Fur.
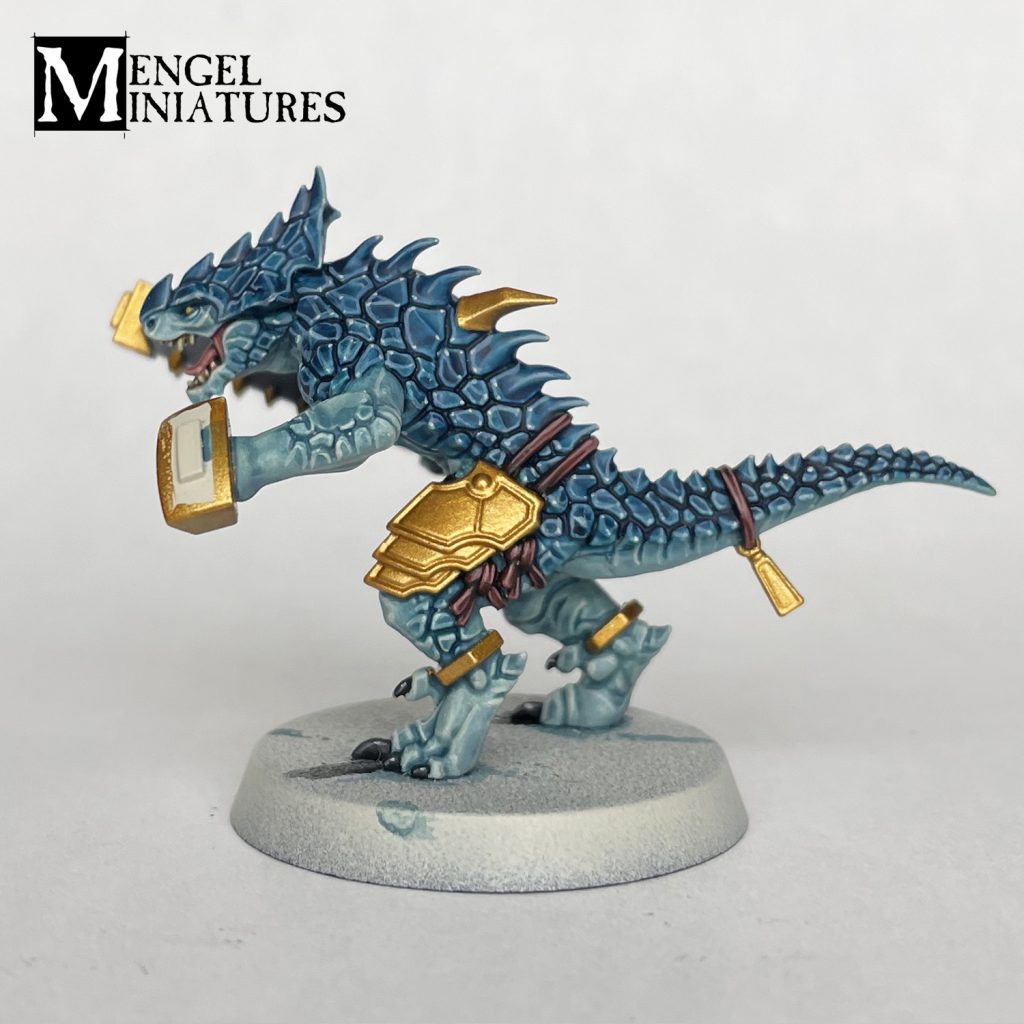
The Gold
 Credit: Tyler Mengel - Mengel Miniatures
Step 1.
Credit: Tyler Mengel - Mengel Miniatures
Step 1.
All of the gold areas were base coated with
Dragon's Gold by Two Thin Coats (
Retributor Armor GW), including the shields, even though they were primed with gold. This just makes sure everything is the same shade of gold.
 Credit: Tyler Mengel - Mengel Miniatures
Step 2.
Credit: Tyler Mengel - Mengel Miniatures
Step 2.
These were then shaded with
Reikland Fleshshade. You want to make sure you're using the new formula from GW to get the same effect and result as mine.
 Credit: Tyler Mengel - Mengel Miniatures
Step 3.
Credit: Tyler Mengel - Mengel Miniatures
Step 3.
This was then edge highlighted with
Glistening Gold by Two Thin Coats (
Liberator Gold GW).
 Credit: Tyler Mengel - Mengel Miniatures
Step 4.
Credit: Tyler Mengel - Mengel Miniatures
Step 4.
Lastly, I picked out the most prominent edges with
Mythril Blade by Two Thin Coats (
Stormhost Silver GW).
 Credit: Tyler Mengel - Mengel Miniatures
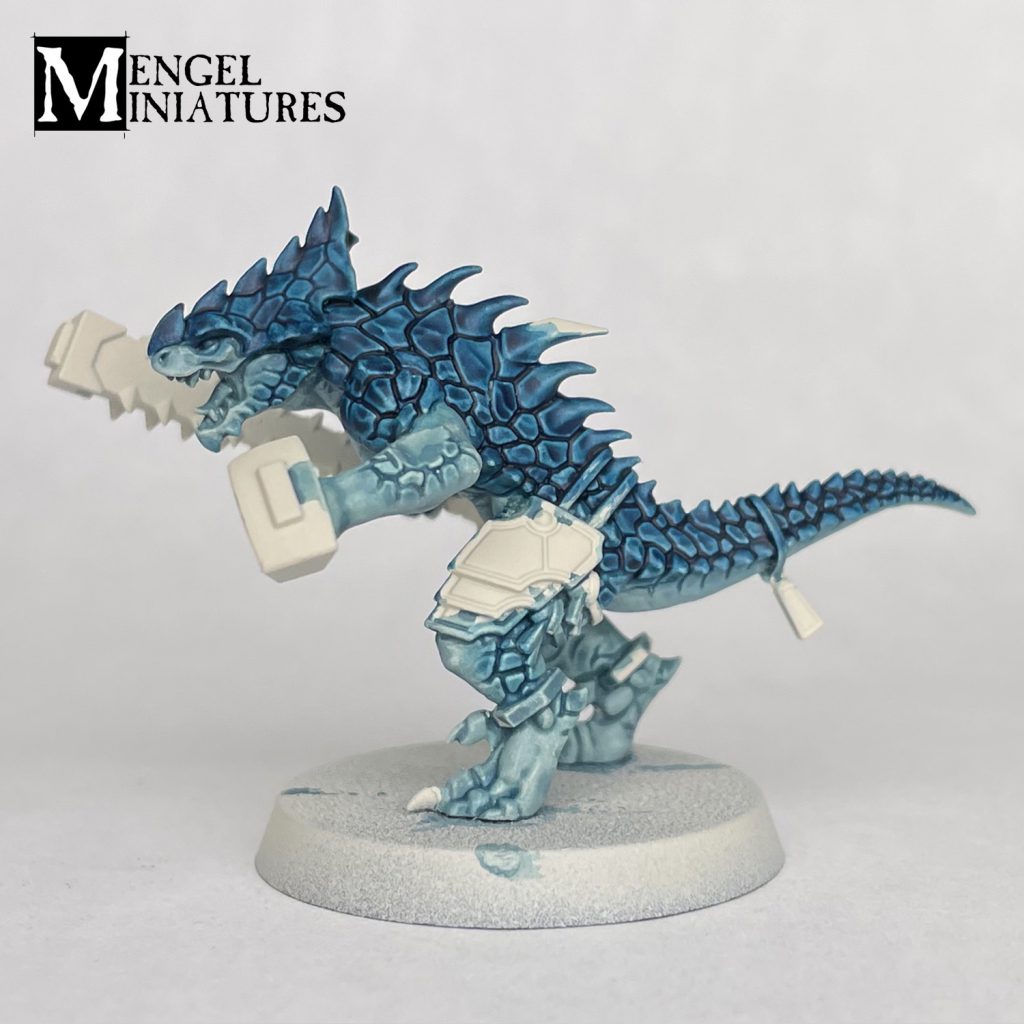
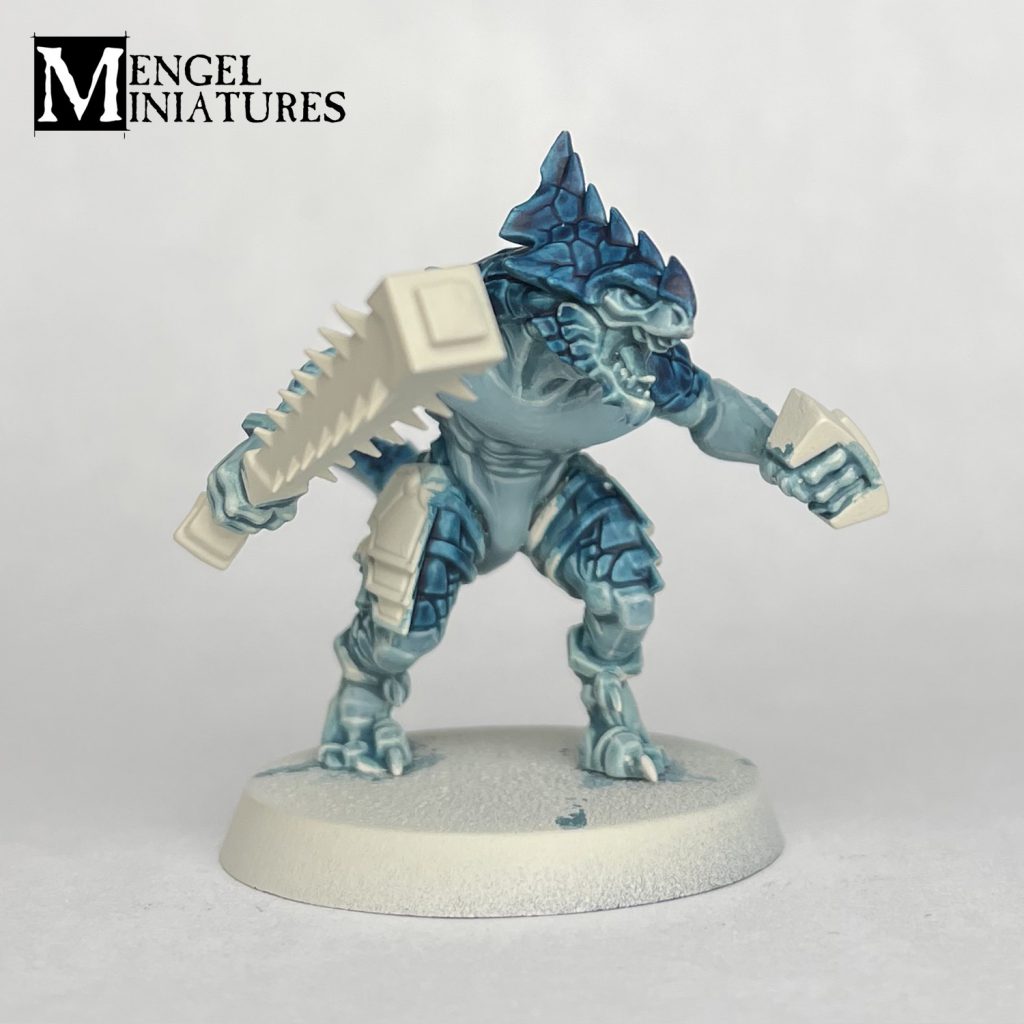
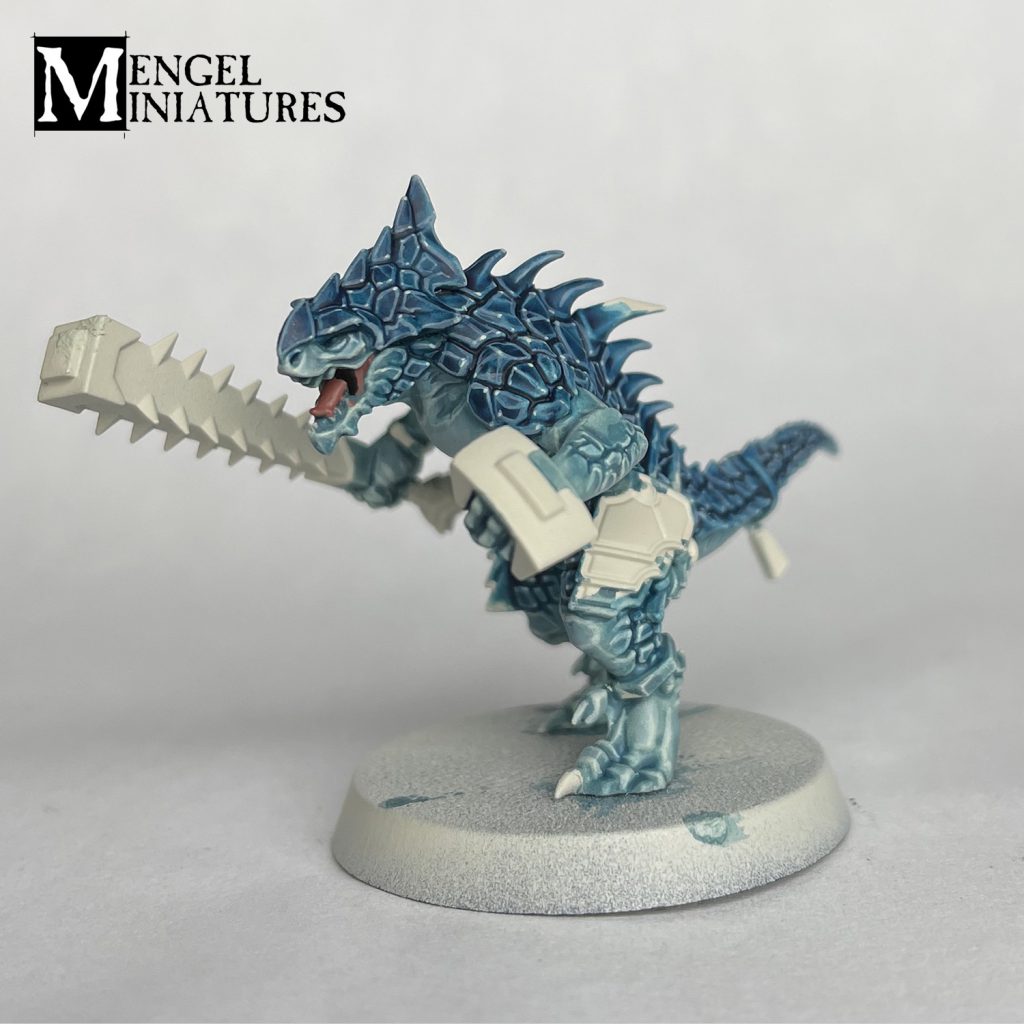
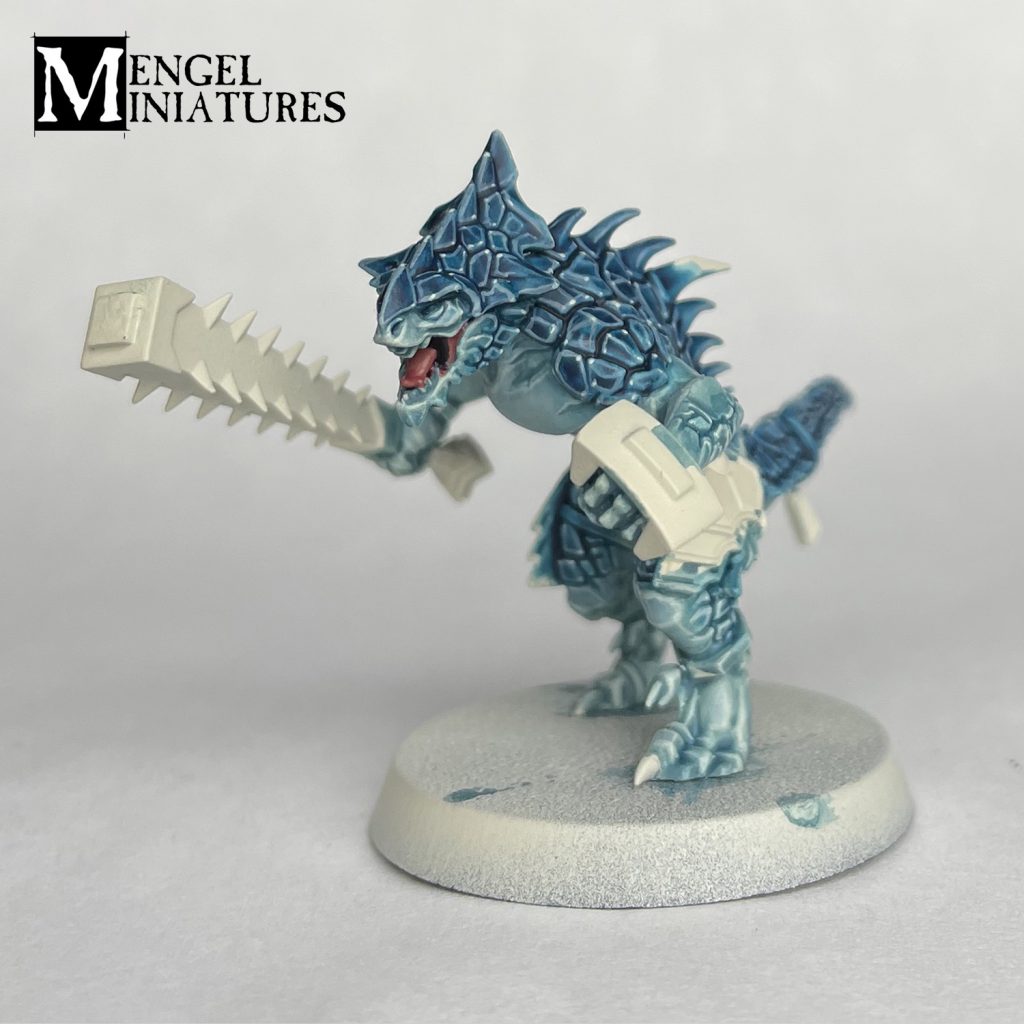
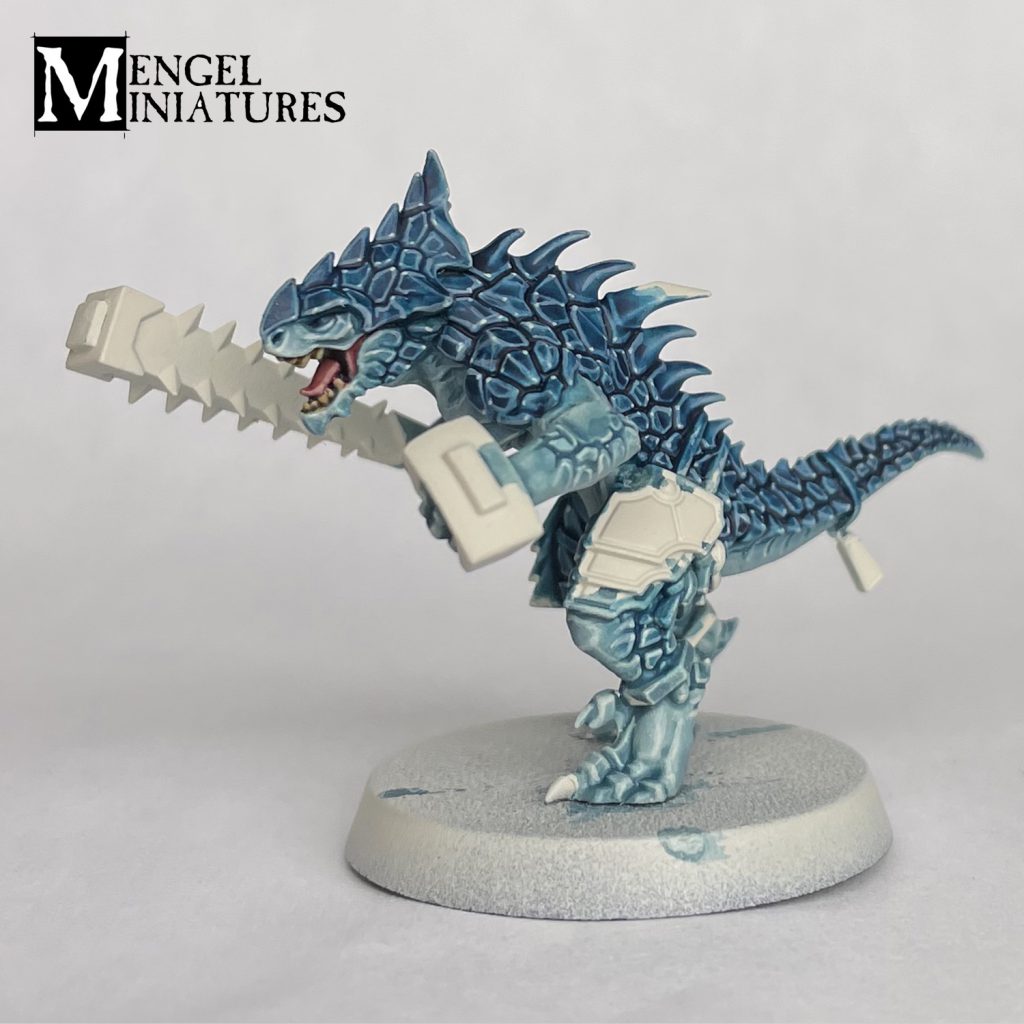
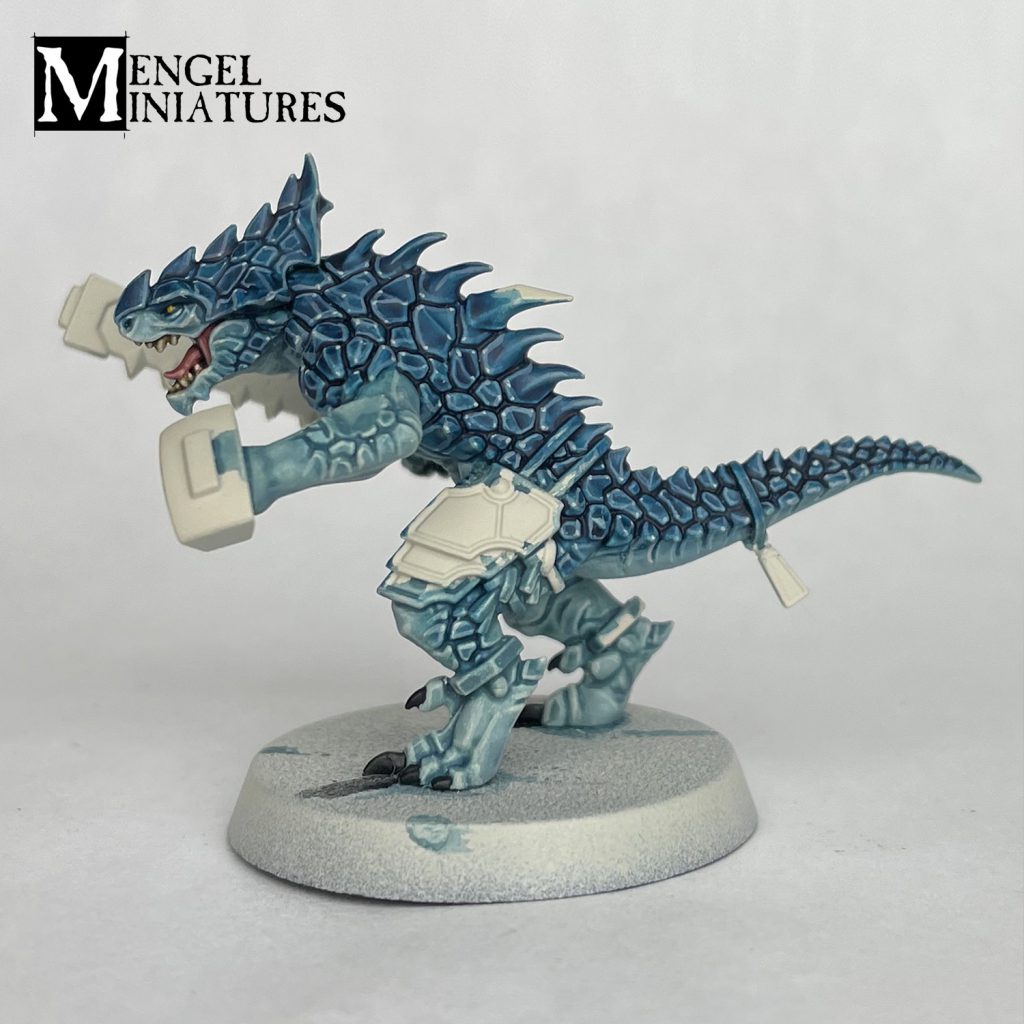
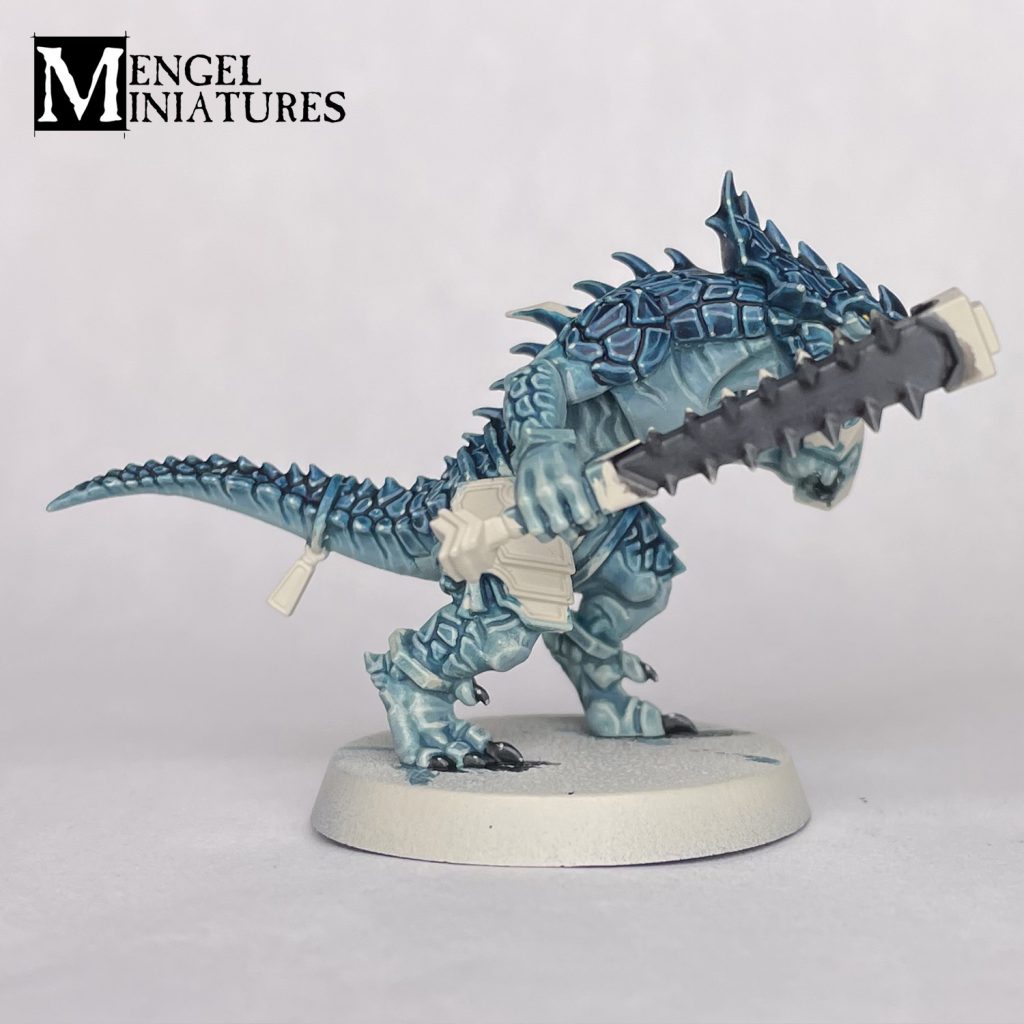
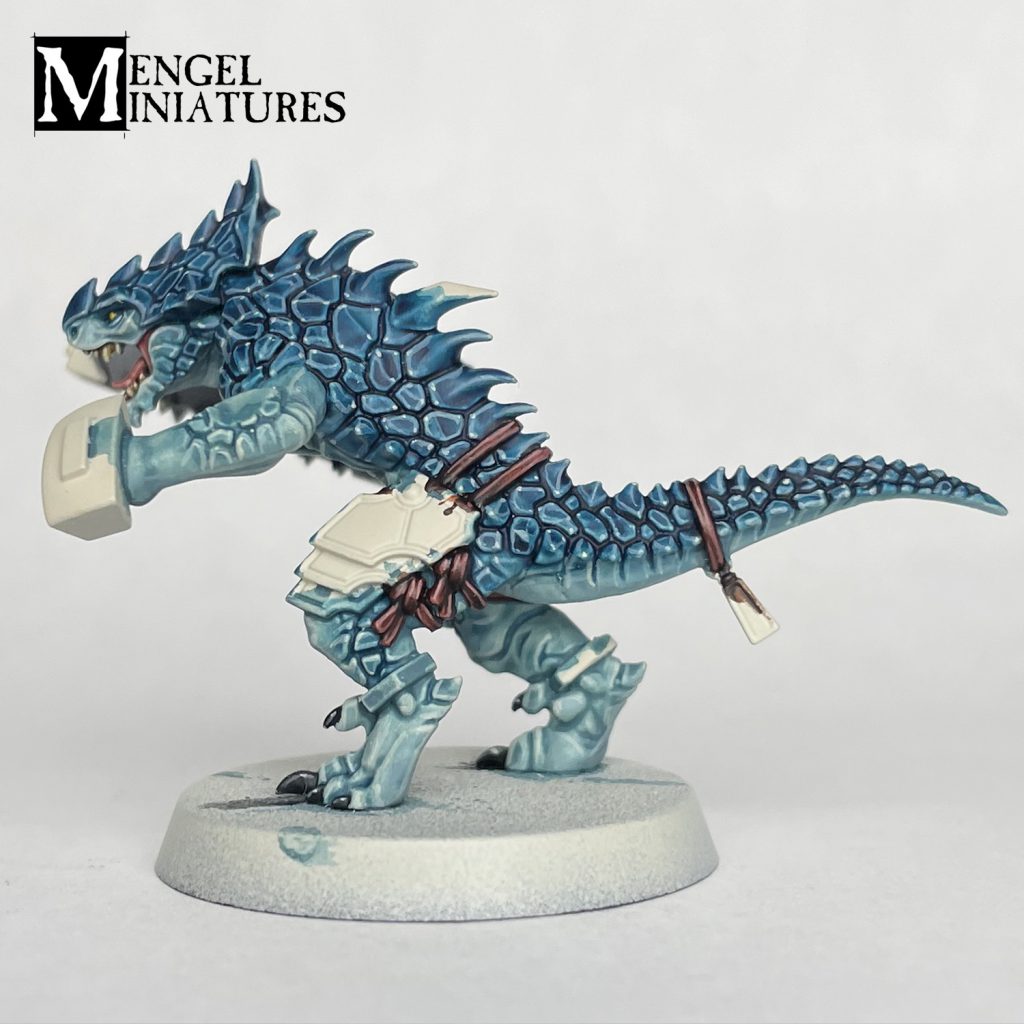
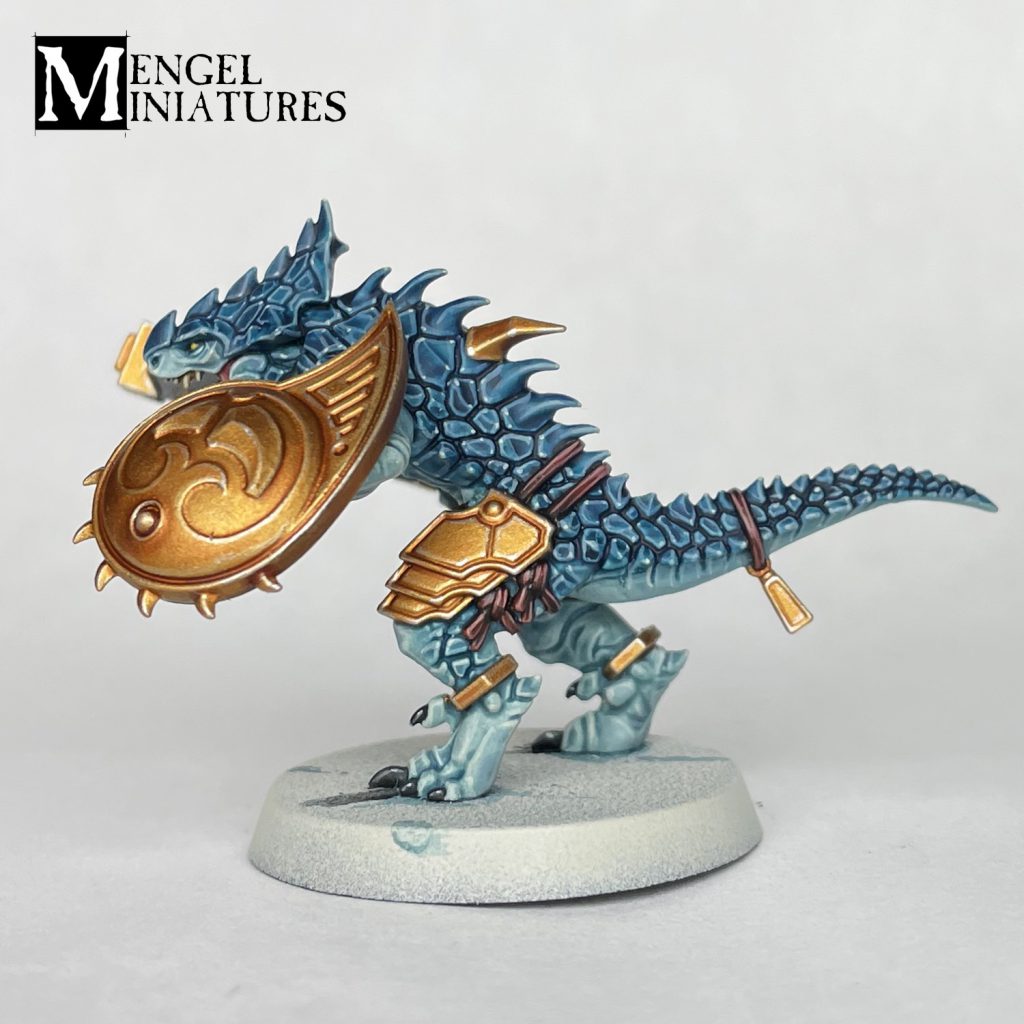
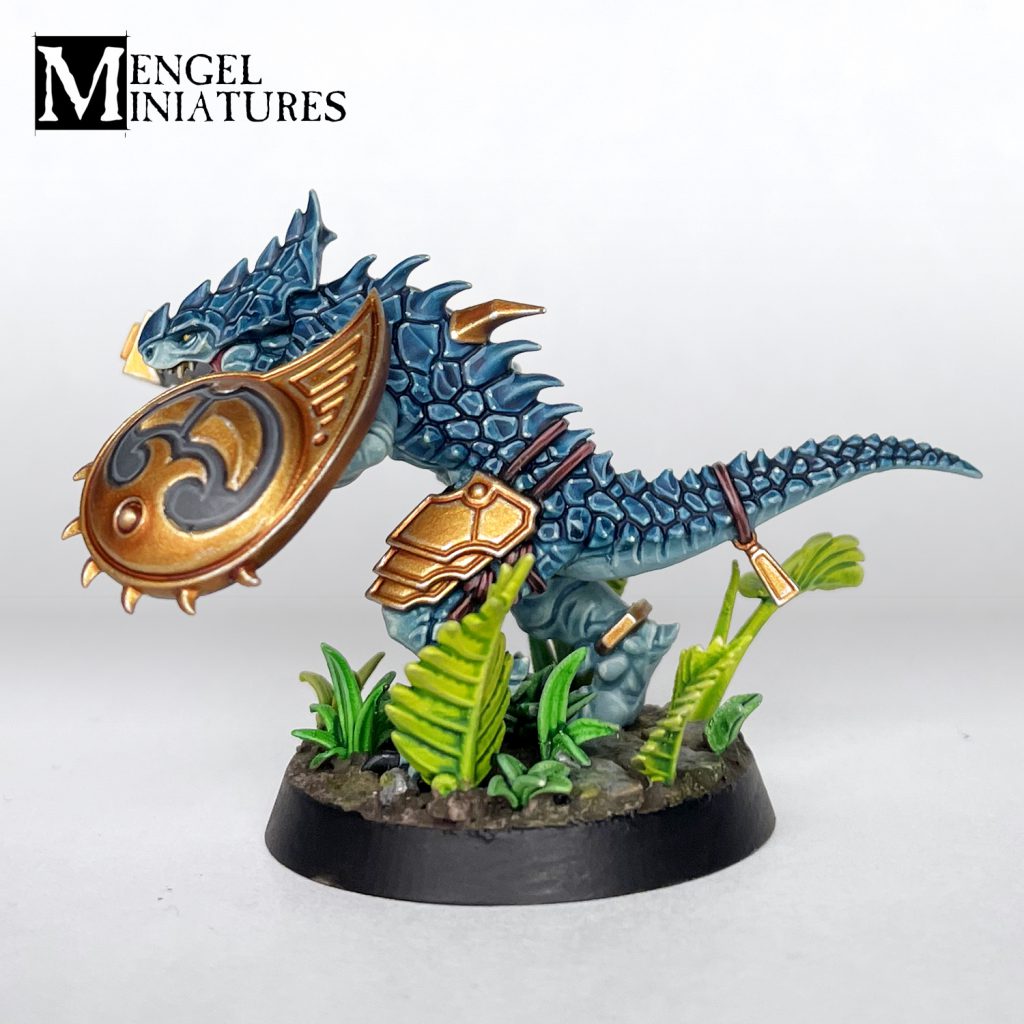
That's it, your Saurus is done! If your shield has areas that you want to make stone, like I did on mine, just follow the same steps from the stone weapon.
 Credit: Tyler Mengel - Mengel Miniatures
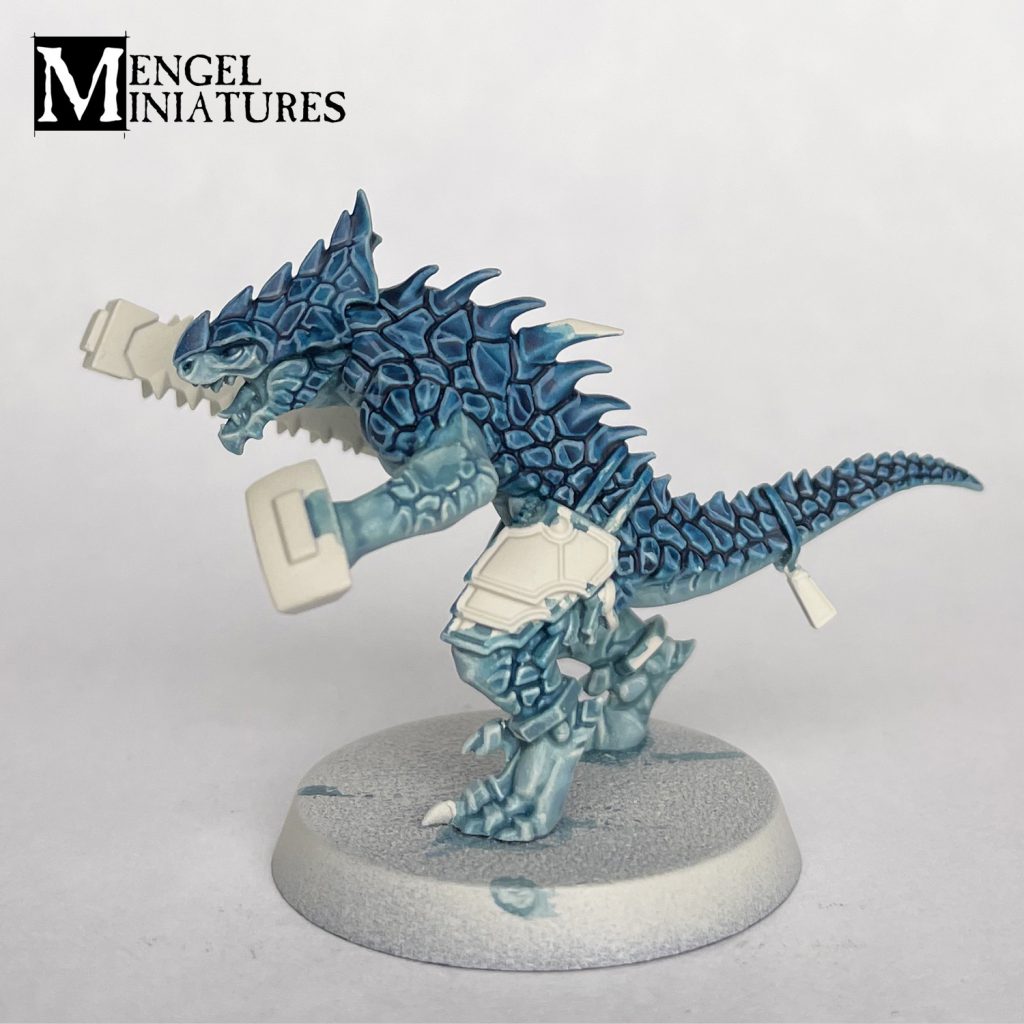
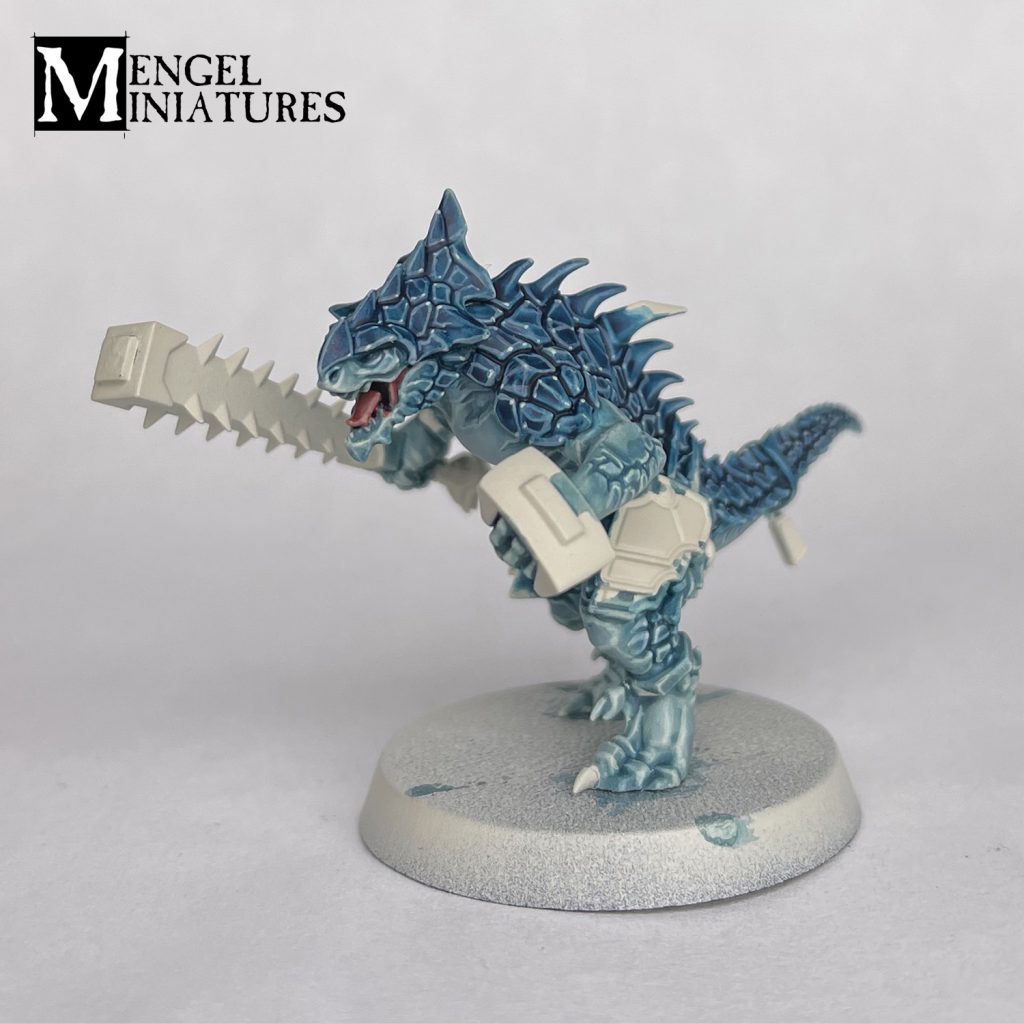
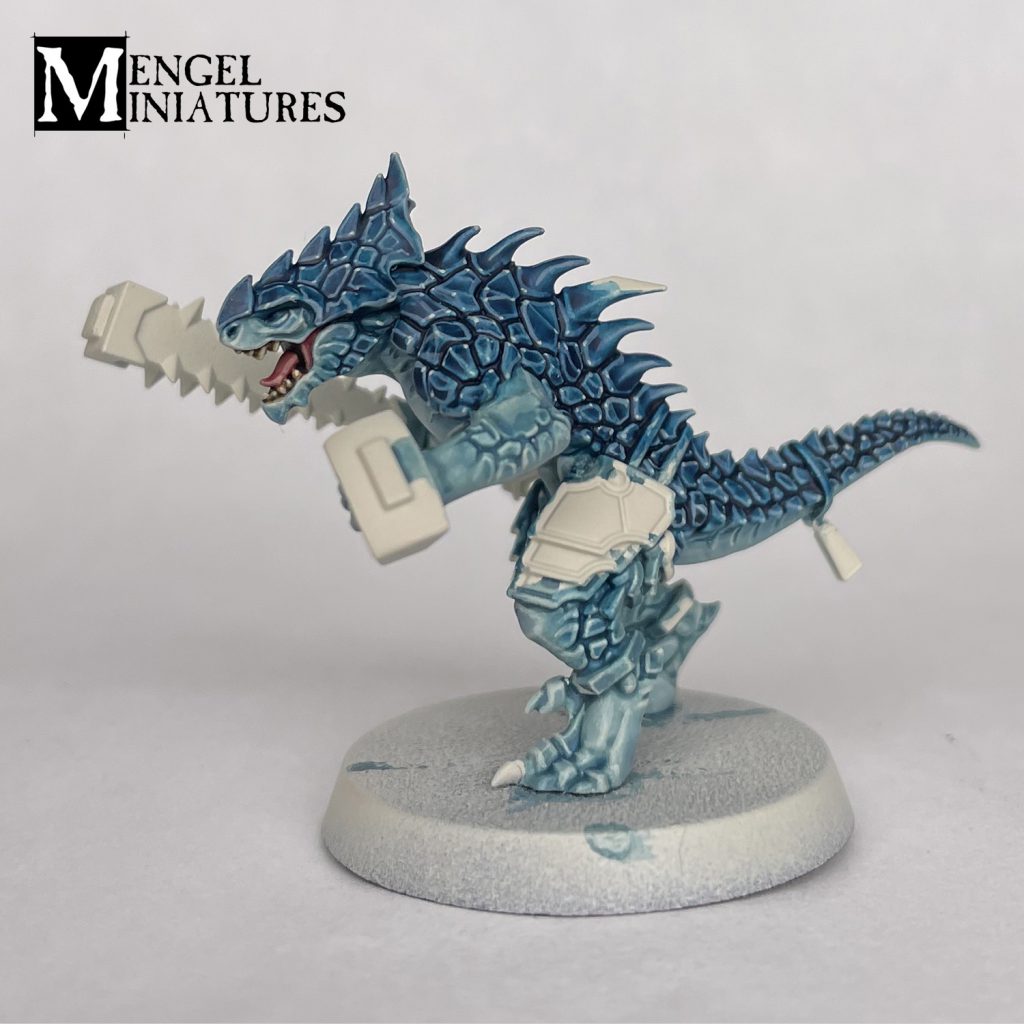
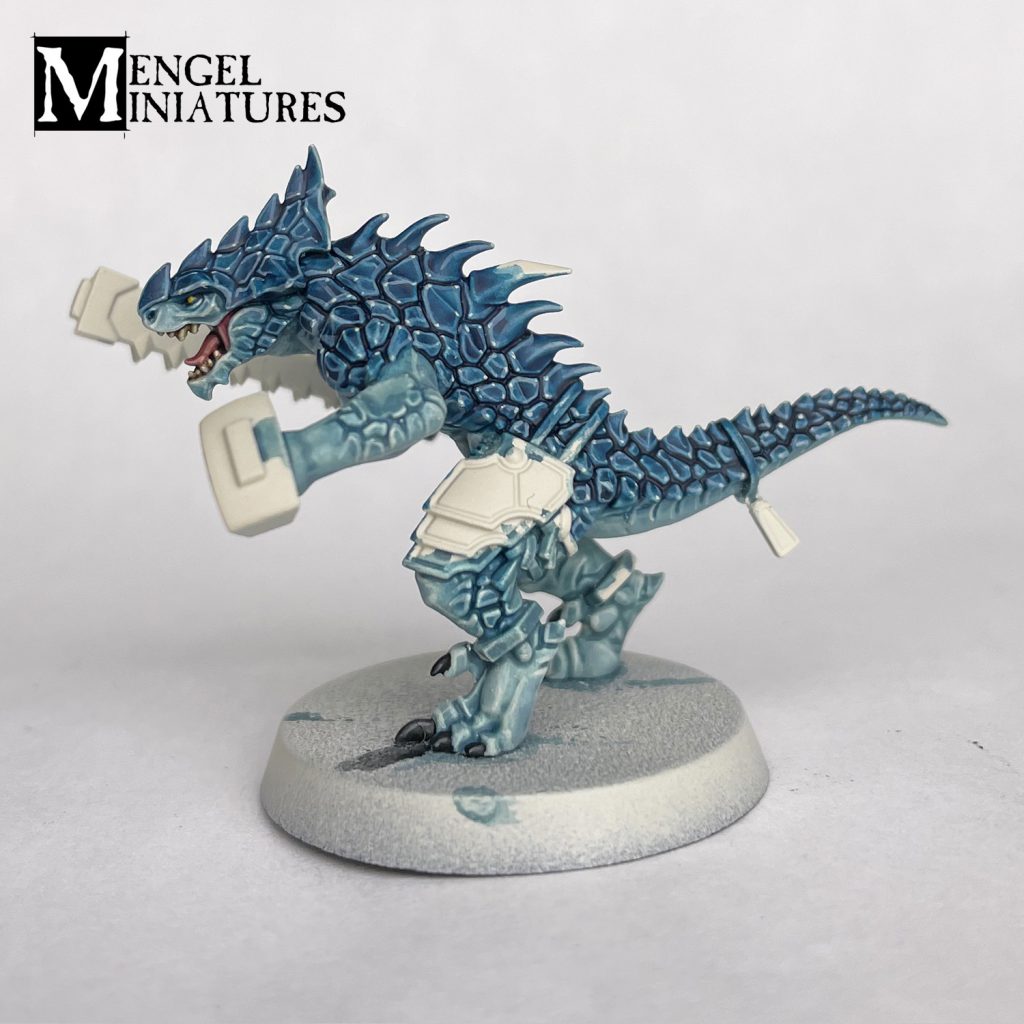
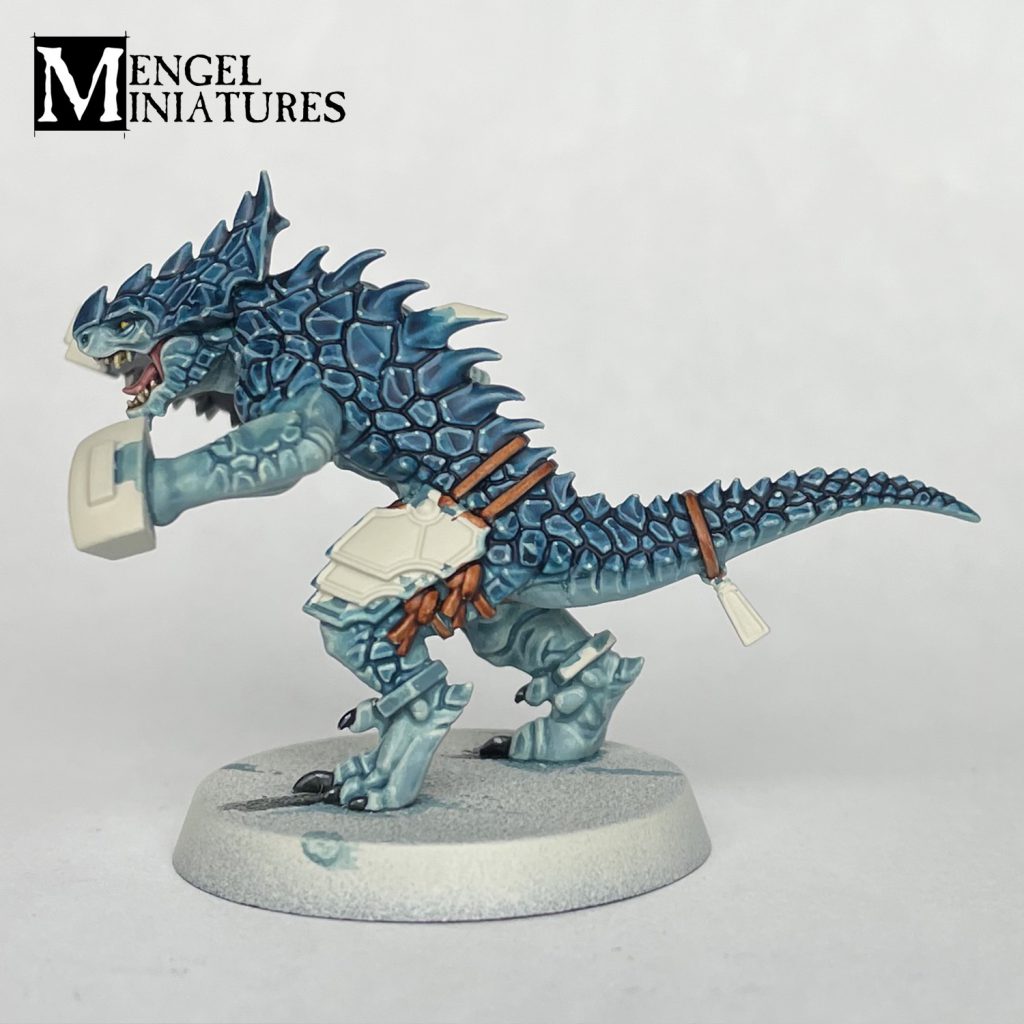
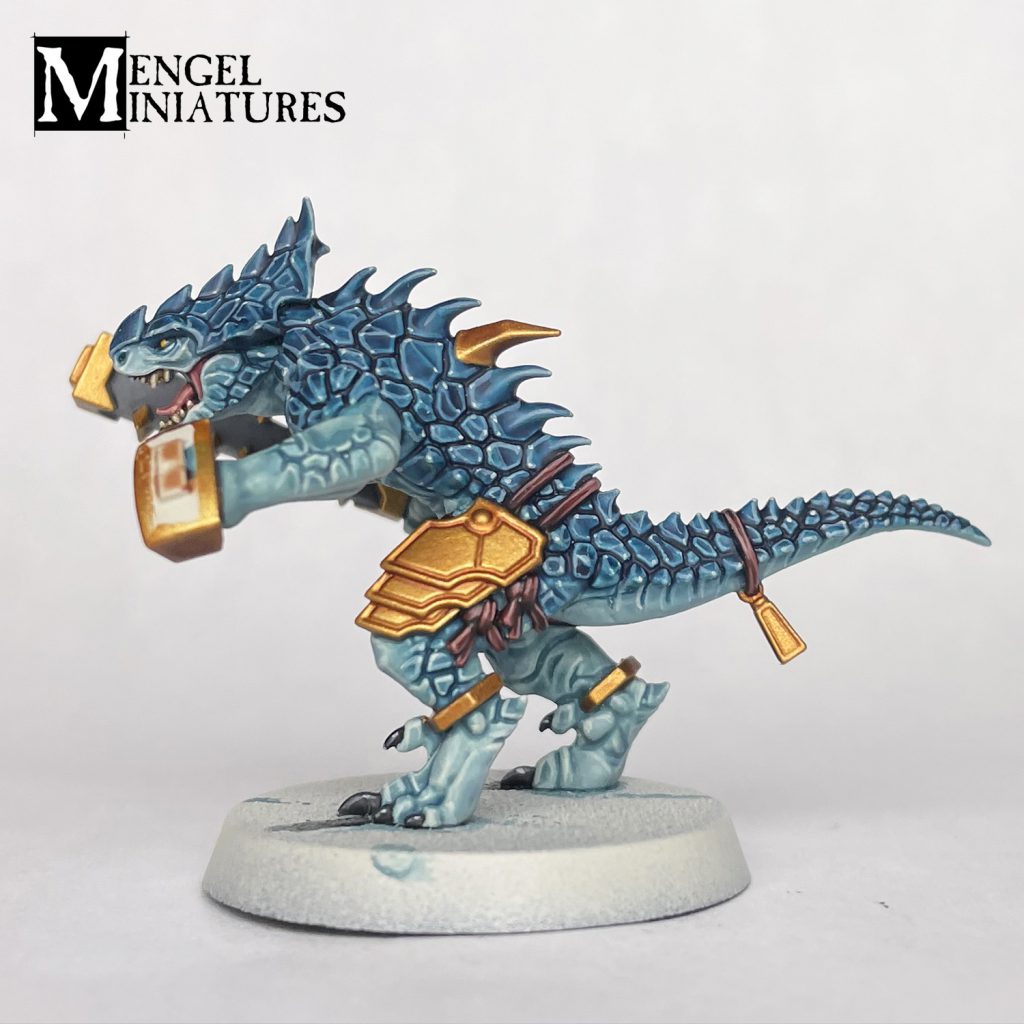
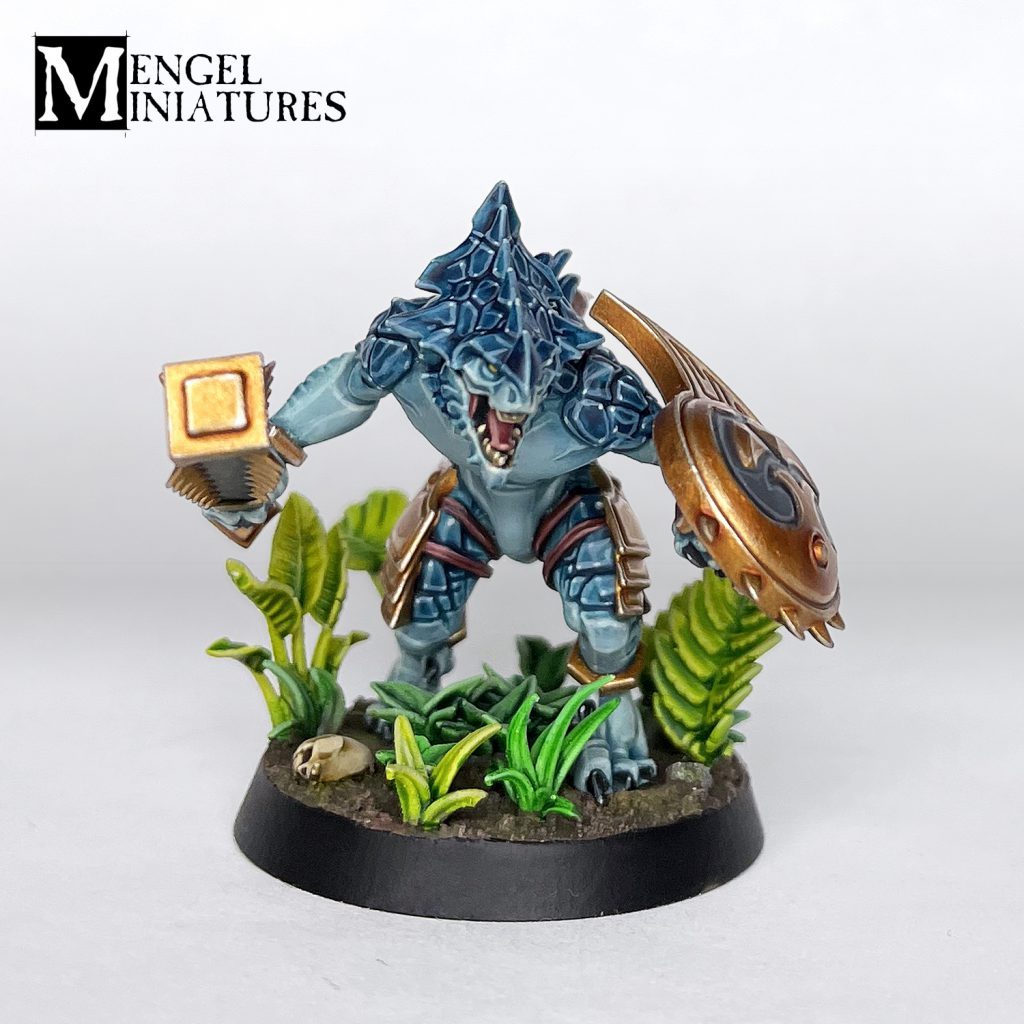
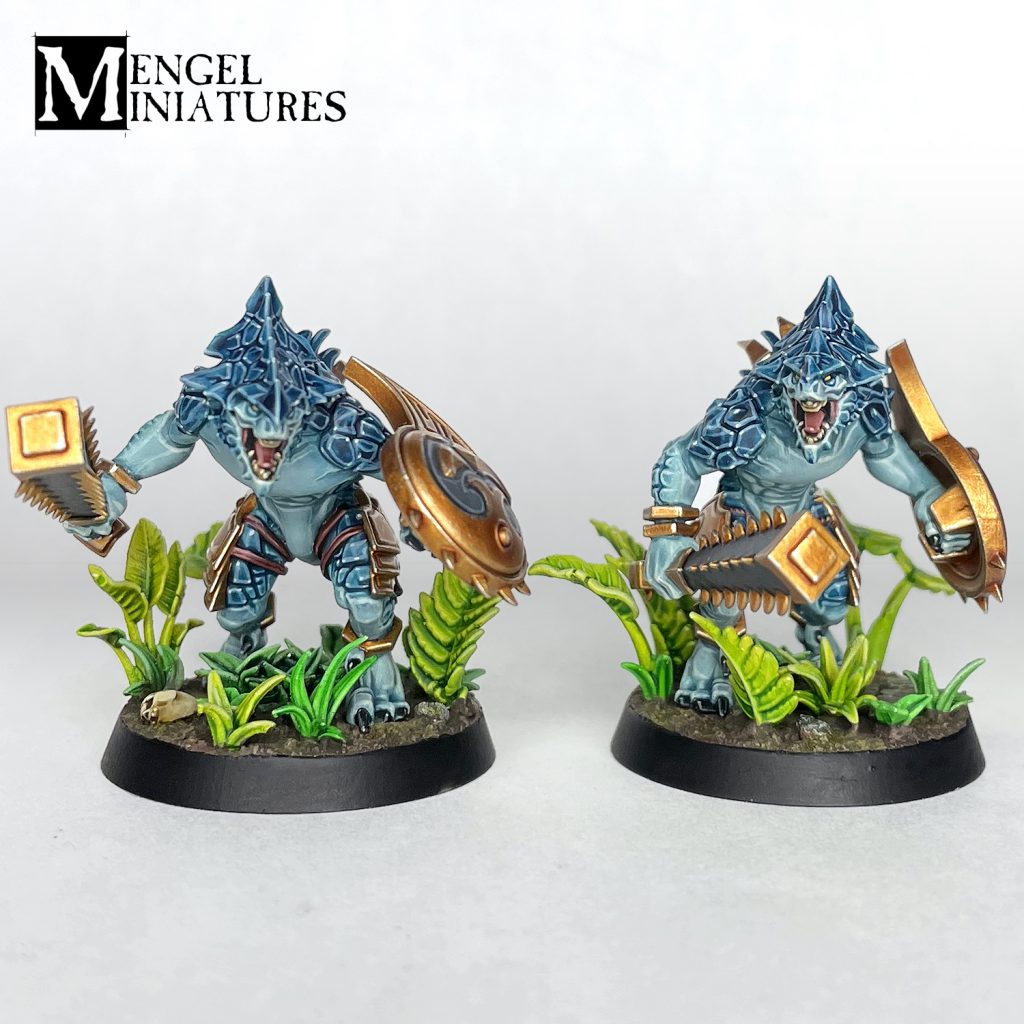
A lot of these same schemes and colors can be used across the rest of the Saurus and even the Skinks. I plan on doing a slightly lighter version of this for my own Skinks.
 Credit: Tyler Mengel - Mengel Miniatures
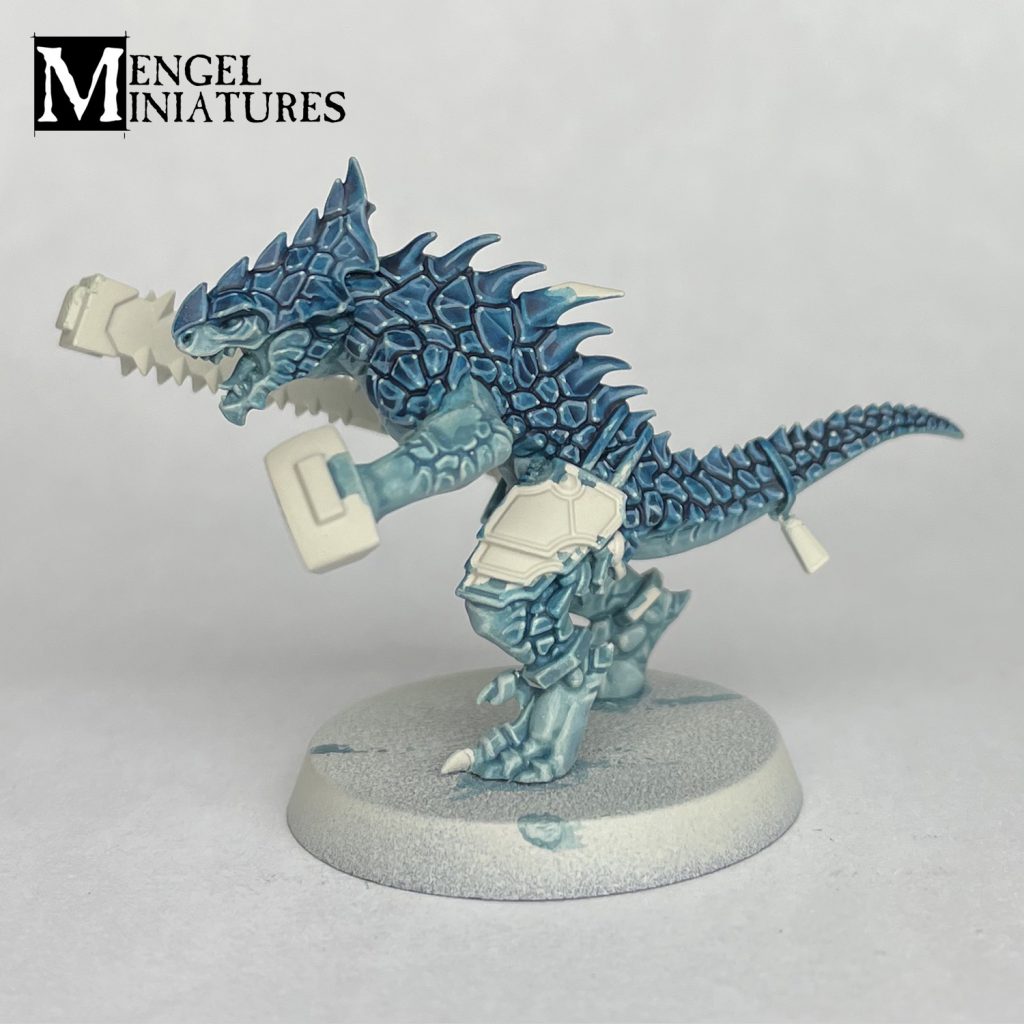
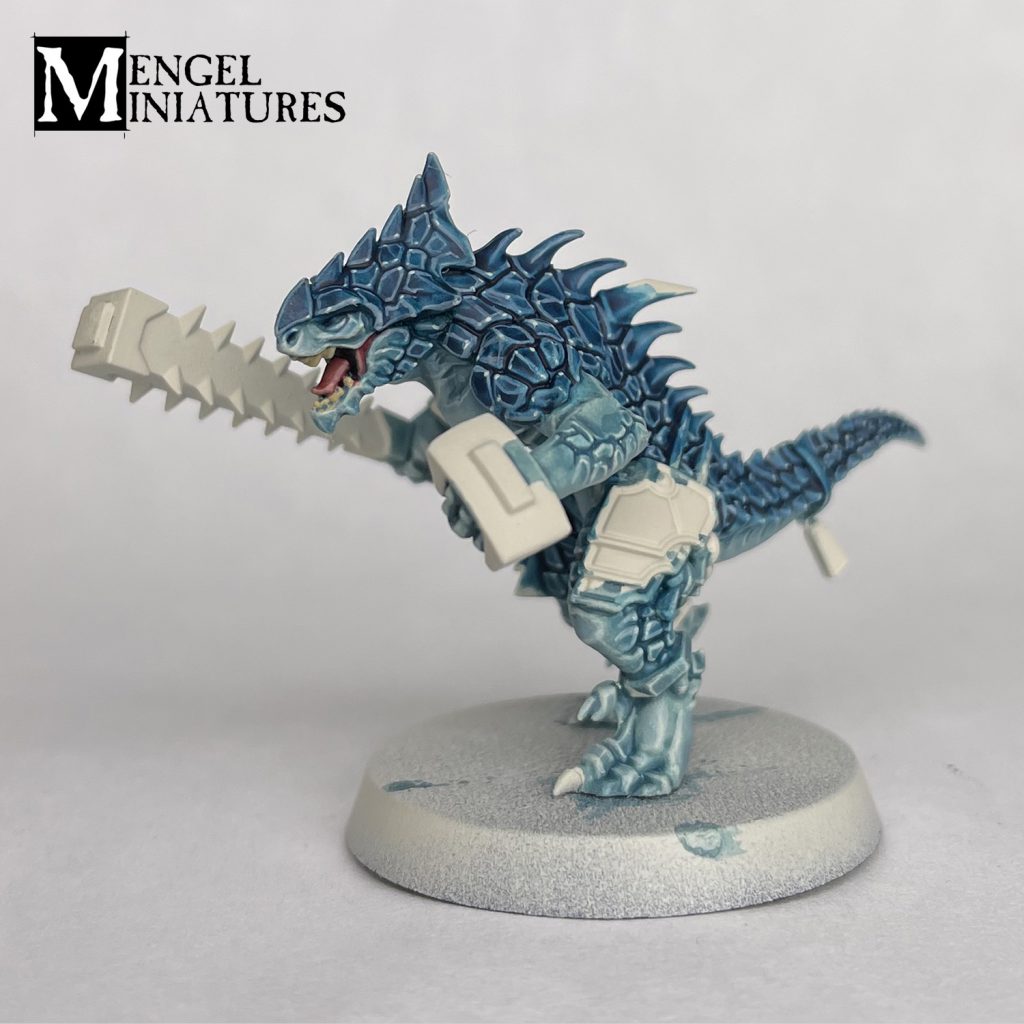
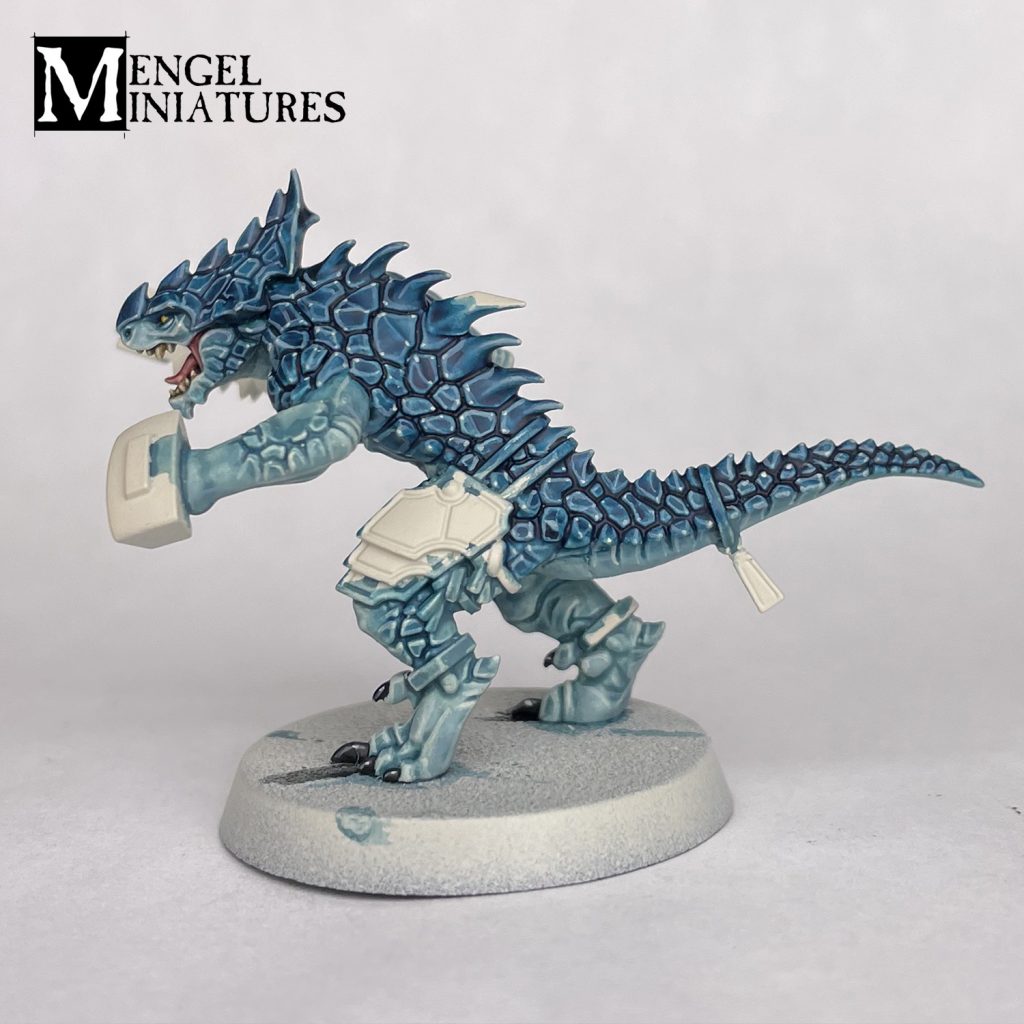
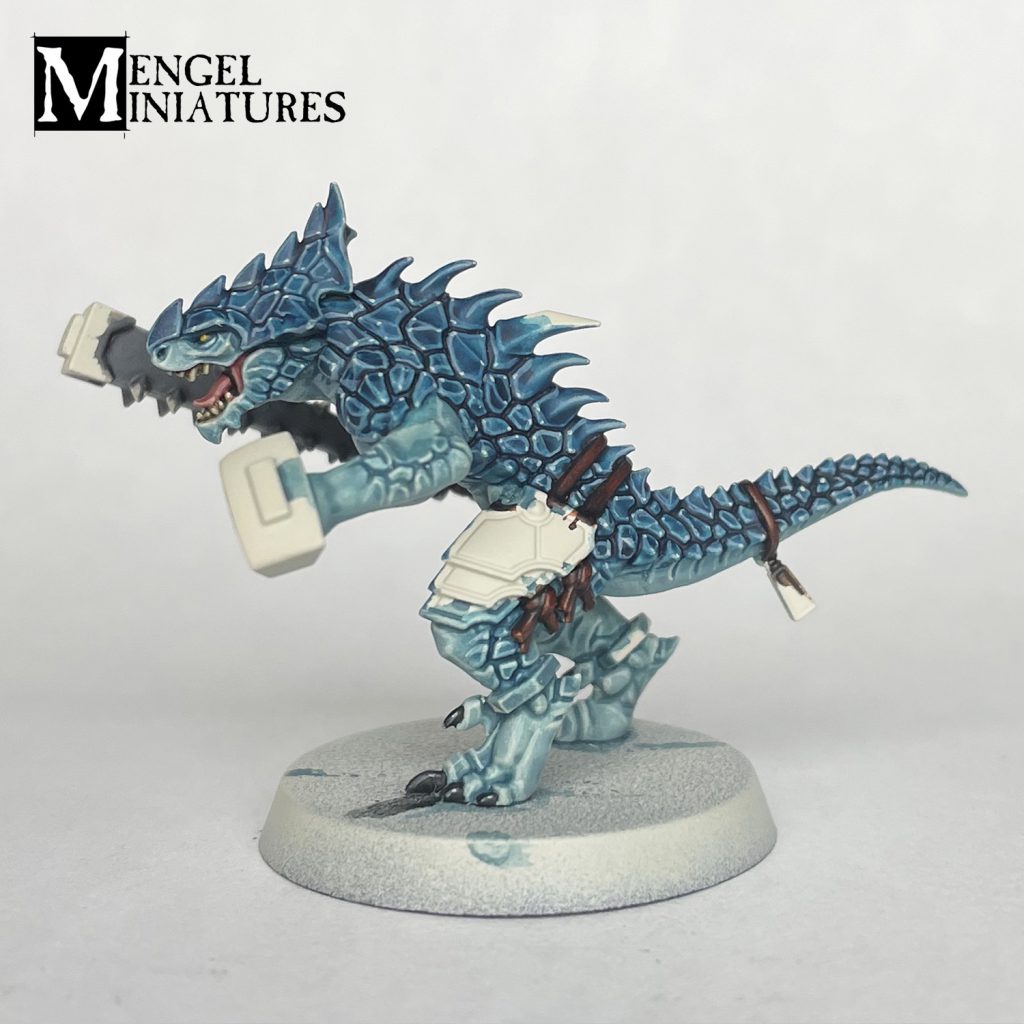
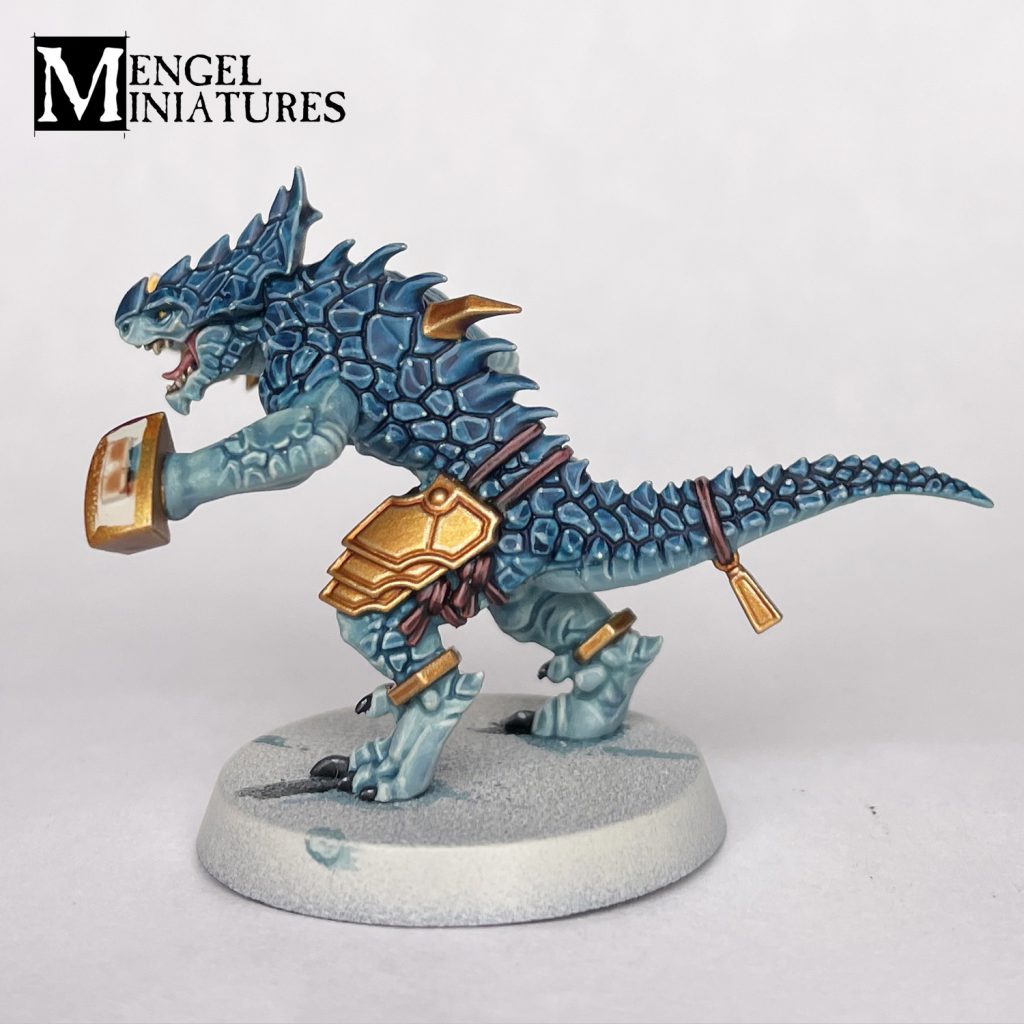
I've started painting these models in groups of two. I feel like this still lets me focus on each one without getting too worn out with a large group. You can base your model how you want. As you can see, I did a rather elaborate jungle base for mine, which I've covered over on
Mengel Miniatures.
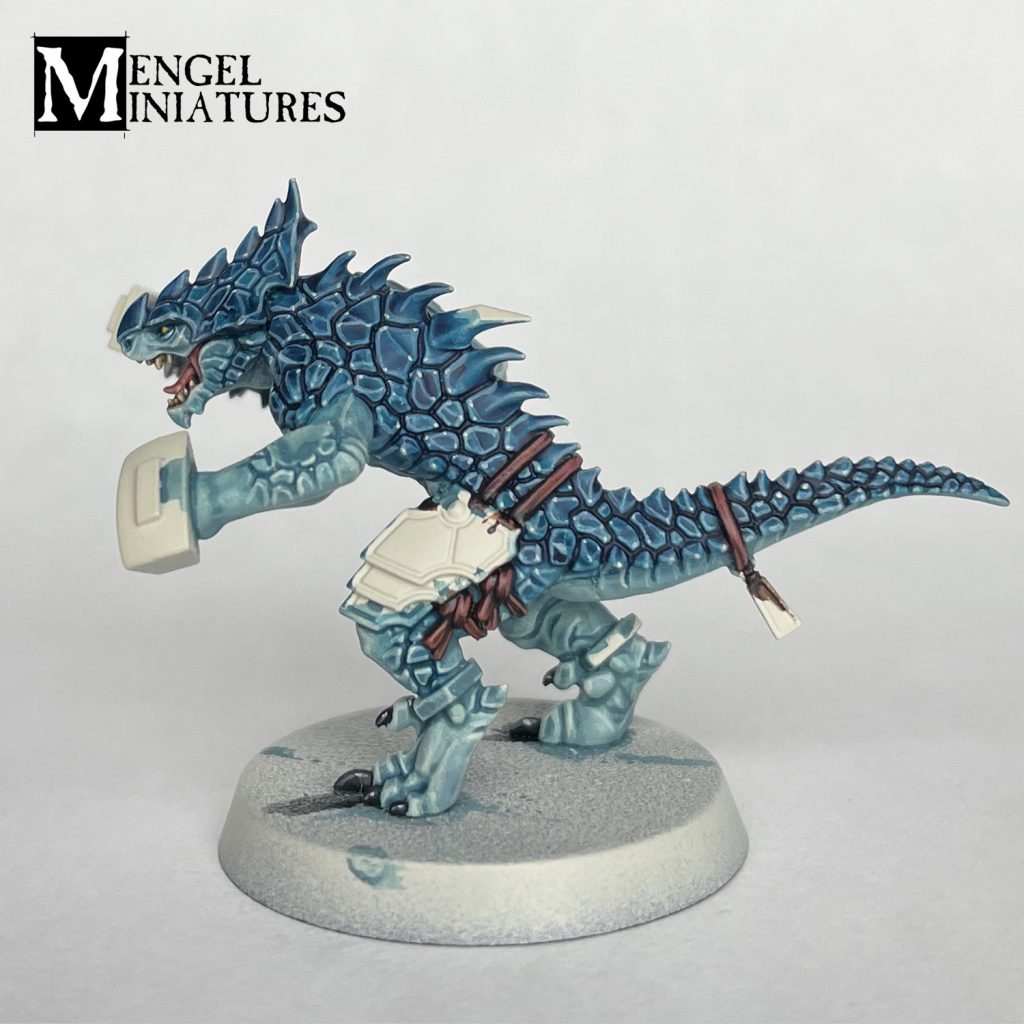
 Credit: Tyler Mengel - Mengel Miniatures
[table id=85 /]
Until next time,
Tyler Mengel -
Mengel Miniatures
Twitter –
InstagramThank you for being a friend.


 Infinity N5 First Principles: Understanding the Outcomes of Face to Face Rolls
 Tactical Feedback: Timing the Go-Turn
 SRM's Roundabout to Adepticon 2026: Curd Is the Word