
 Image courtesy of Atomic Mass Games
AJ Backhouse
“Teams that put D shapes in their crisis usually want to avoid a fight and do so knowing they have a lot of inherent mobility. Don't try to beat them at their own game; you need to kill them.”
It may be tempting to swap out some of your favourite attrition pieces in favour of someone more mobile - and while this could be a great move (models like Ulik & Juggernaut have astounding ability to punch while also moving very fast), you may be in fact playing into your opponents strengths. When Web Warriors bring D maps, they’re hoping to avoid a fight. So if you drop some of your kill pieces in order to try and out-run and out-score the webheads, chances are you’re not going to be able to play that game as well as they can.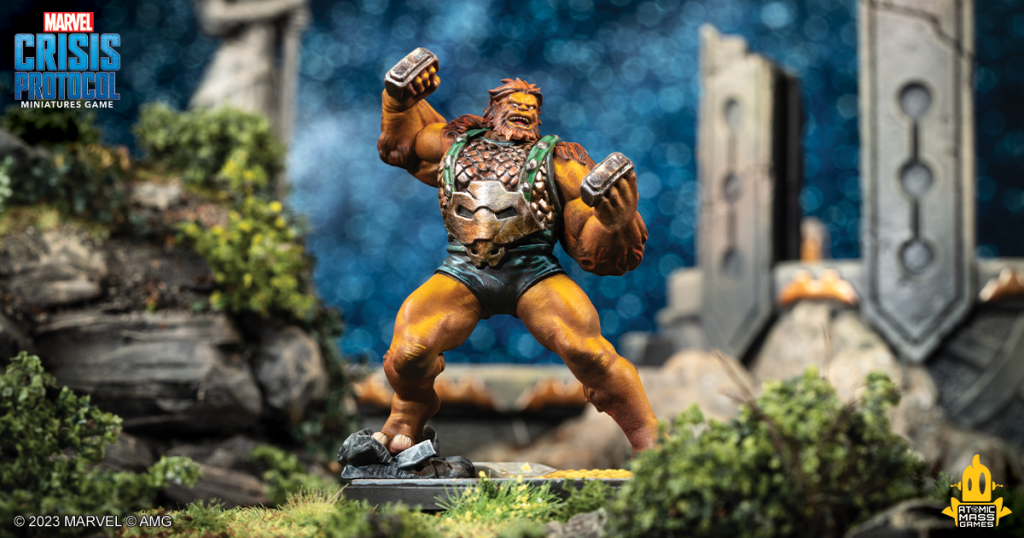 Image courtesy of Atomic Mass Games
AJ Backhouse
“Barring some exceptions, once you commit to a side on a D map it's likely you'll spend most if not all the game on that half of the board. The biggest movement choice you get all game long is deployment. Try to deploy opposite characters you know you are favored into.”
This is huge. I’ve often found myself playing from behind from Round 1 due to bad deployment. This is especially important when your plan is to punch into a Crisis focussed team. If you don’t knock them down quick enough, they’re going to get away and score all the points they want. Pick your match-ups wisely and deploy characters that are designed to kill opposing characters opposite their targets. Agent Venom deploying opposite an enemy Miles Morales is much more effective than him deploying against a Wong or Toad. Image courtesy of Atomic Mass Games
Conor Rooney
“Having medium/large base, medium/long movers with placement effects helps a lot.”
Some of the best attrition pieces in the game have what we call ‘action compression’. This usually translates to them having ways of moving without spending an action, because they want to save their actions to attack twice a turn. Characters like Doctor Strange, Sorcerer Supreme has Scalpel Of Strange. Wolverine, Malekith the Accursed, and Shang-Chi all have Charge abilities that allow them to move while also still attacking twice per turn. Almost every action spent moving as an attrition model should be seen as an action wasted.Dr Norbert
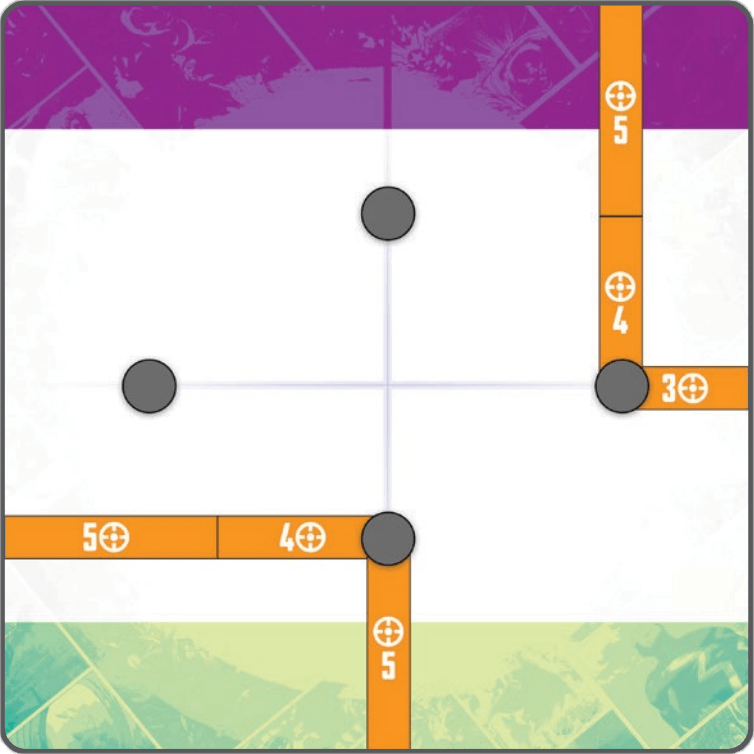
“If you keep within the diamond shape, you should be able to go from one secure to the other with a small base medium move.”
Learning this was key for me learning how best to play D maps. Always place your models on the inside of the diamond shape if you want to have any hope of double moving to an adjacent secure. Medium base, medium/long movers have some leniency here, but not much. Very few characters can effectively move between the secures if they’re not in a good starting position. I’d recommend measuring out a D map at home - and experimenting with different base sizes and movement rulers to really learn what character can reach which secure at any given moment. Image courtesy of Marvel Comics
Ron Wilde
“[In] round 1, I try to set up as much as I can for round 2. Create multiple situations where you can threaten a key model before it activates, so that whichever they go with you have someone to shoot/punch.”
This is linked to the deployment stuff we talked about earlier. You’re likely to double move with your attrition pieces Round 1 to get them onto one of the two center points. Chances are - your opponent is planning to double move 1 of their point scoring models away from you at the top of Round 2. Make sure you set up two fights in your favour on each side point, so that when they choose to run away - they have to decide which model to leave behind.Ollie Lowe
“If I'm playing a team that is ordinarily better than me on D maps, I just more heavily skew to ignoring two points and winning the fight on the other two points. Just try and maintain some level of parity.”
Pat Dunford
“Absolutely this. The key to winning Ds for a fighting team is to control the extracts and minimise the area of the table that is relevant.”
It can certainly be an adjustment when you first start facing crisis teams on D maps to accept that some points aren’t worth fighting over. Teams like Storm’s Uncanny X-Men want you to spread the damage across their team evenly. They have models with Healing Factor, Xavier’s Dream, and the like that make it easier for their small health pools to withstand the fighting. You have a much higher chance at punching through their defenses when you double down on a smaller portion of their team - and let them score their 1-3 VPs on the other side of the D map. Just be sure to do your maths so you don’t let them accidentally make it to 16 before you’ve had a chance to take them down!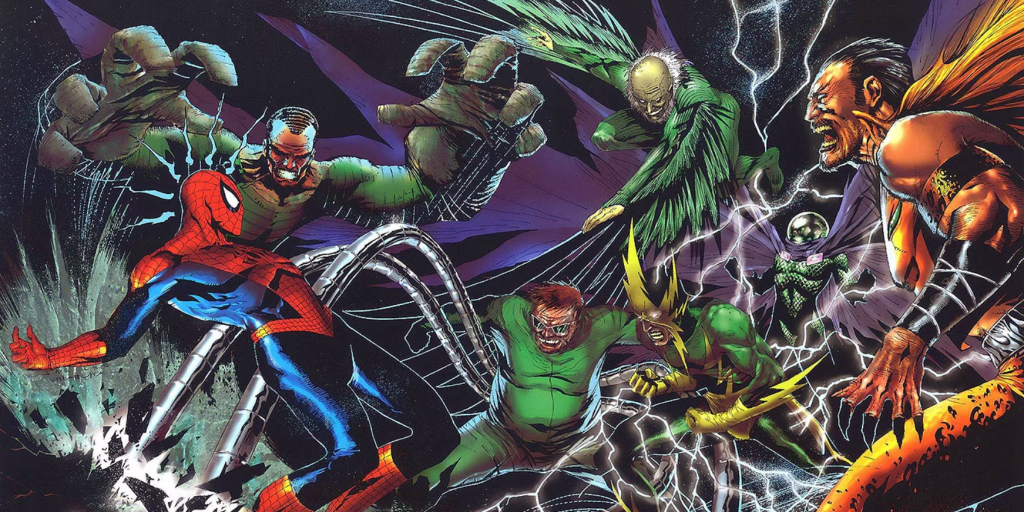 Image courtesy of Marvel Comics
Conor Rooney
“If in doubt, splash Baron Zemo.”
Well…most of us hate him, but he’s right. Baron Zemo is (and always has been) one of the fastest attrition pieces in the game. He has a long move, a Charge and a free movement off the back of Steel Rush. Need to chase a pesky spider-man and put him down for good? Baron Zemo is probably your guy for the job.Tags: strategy | Marvel Crisis Protocol | MCP | Marvel | tips | venom | competetive | d maps | agent venom | ulik

Thank you for being a friend.
 Infinity N5 First Principles: Understanding the Outcomes of Face to Face Rolls
 Tactical Feedback: Timing the Go-Turn
 SRM's Roundabout to Adepticon 2026: Curd Is the Word
Support us on Patreon to get access to our Discord and exclusive App features.
Thank you for being a friend.
Already a Patron? Login with Patreon.
Visit our incredibly official store on RedBubble.
![]()
![]()
Support us on Patreon to get access to our Discord and exclusive App features.
Thank you for being a friend.