Painting | Tutorials | How To Paint Everything | Hobby | Warhammer 40k | Core Games

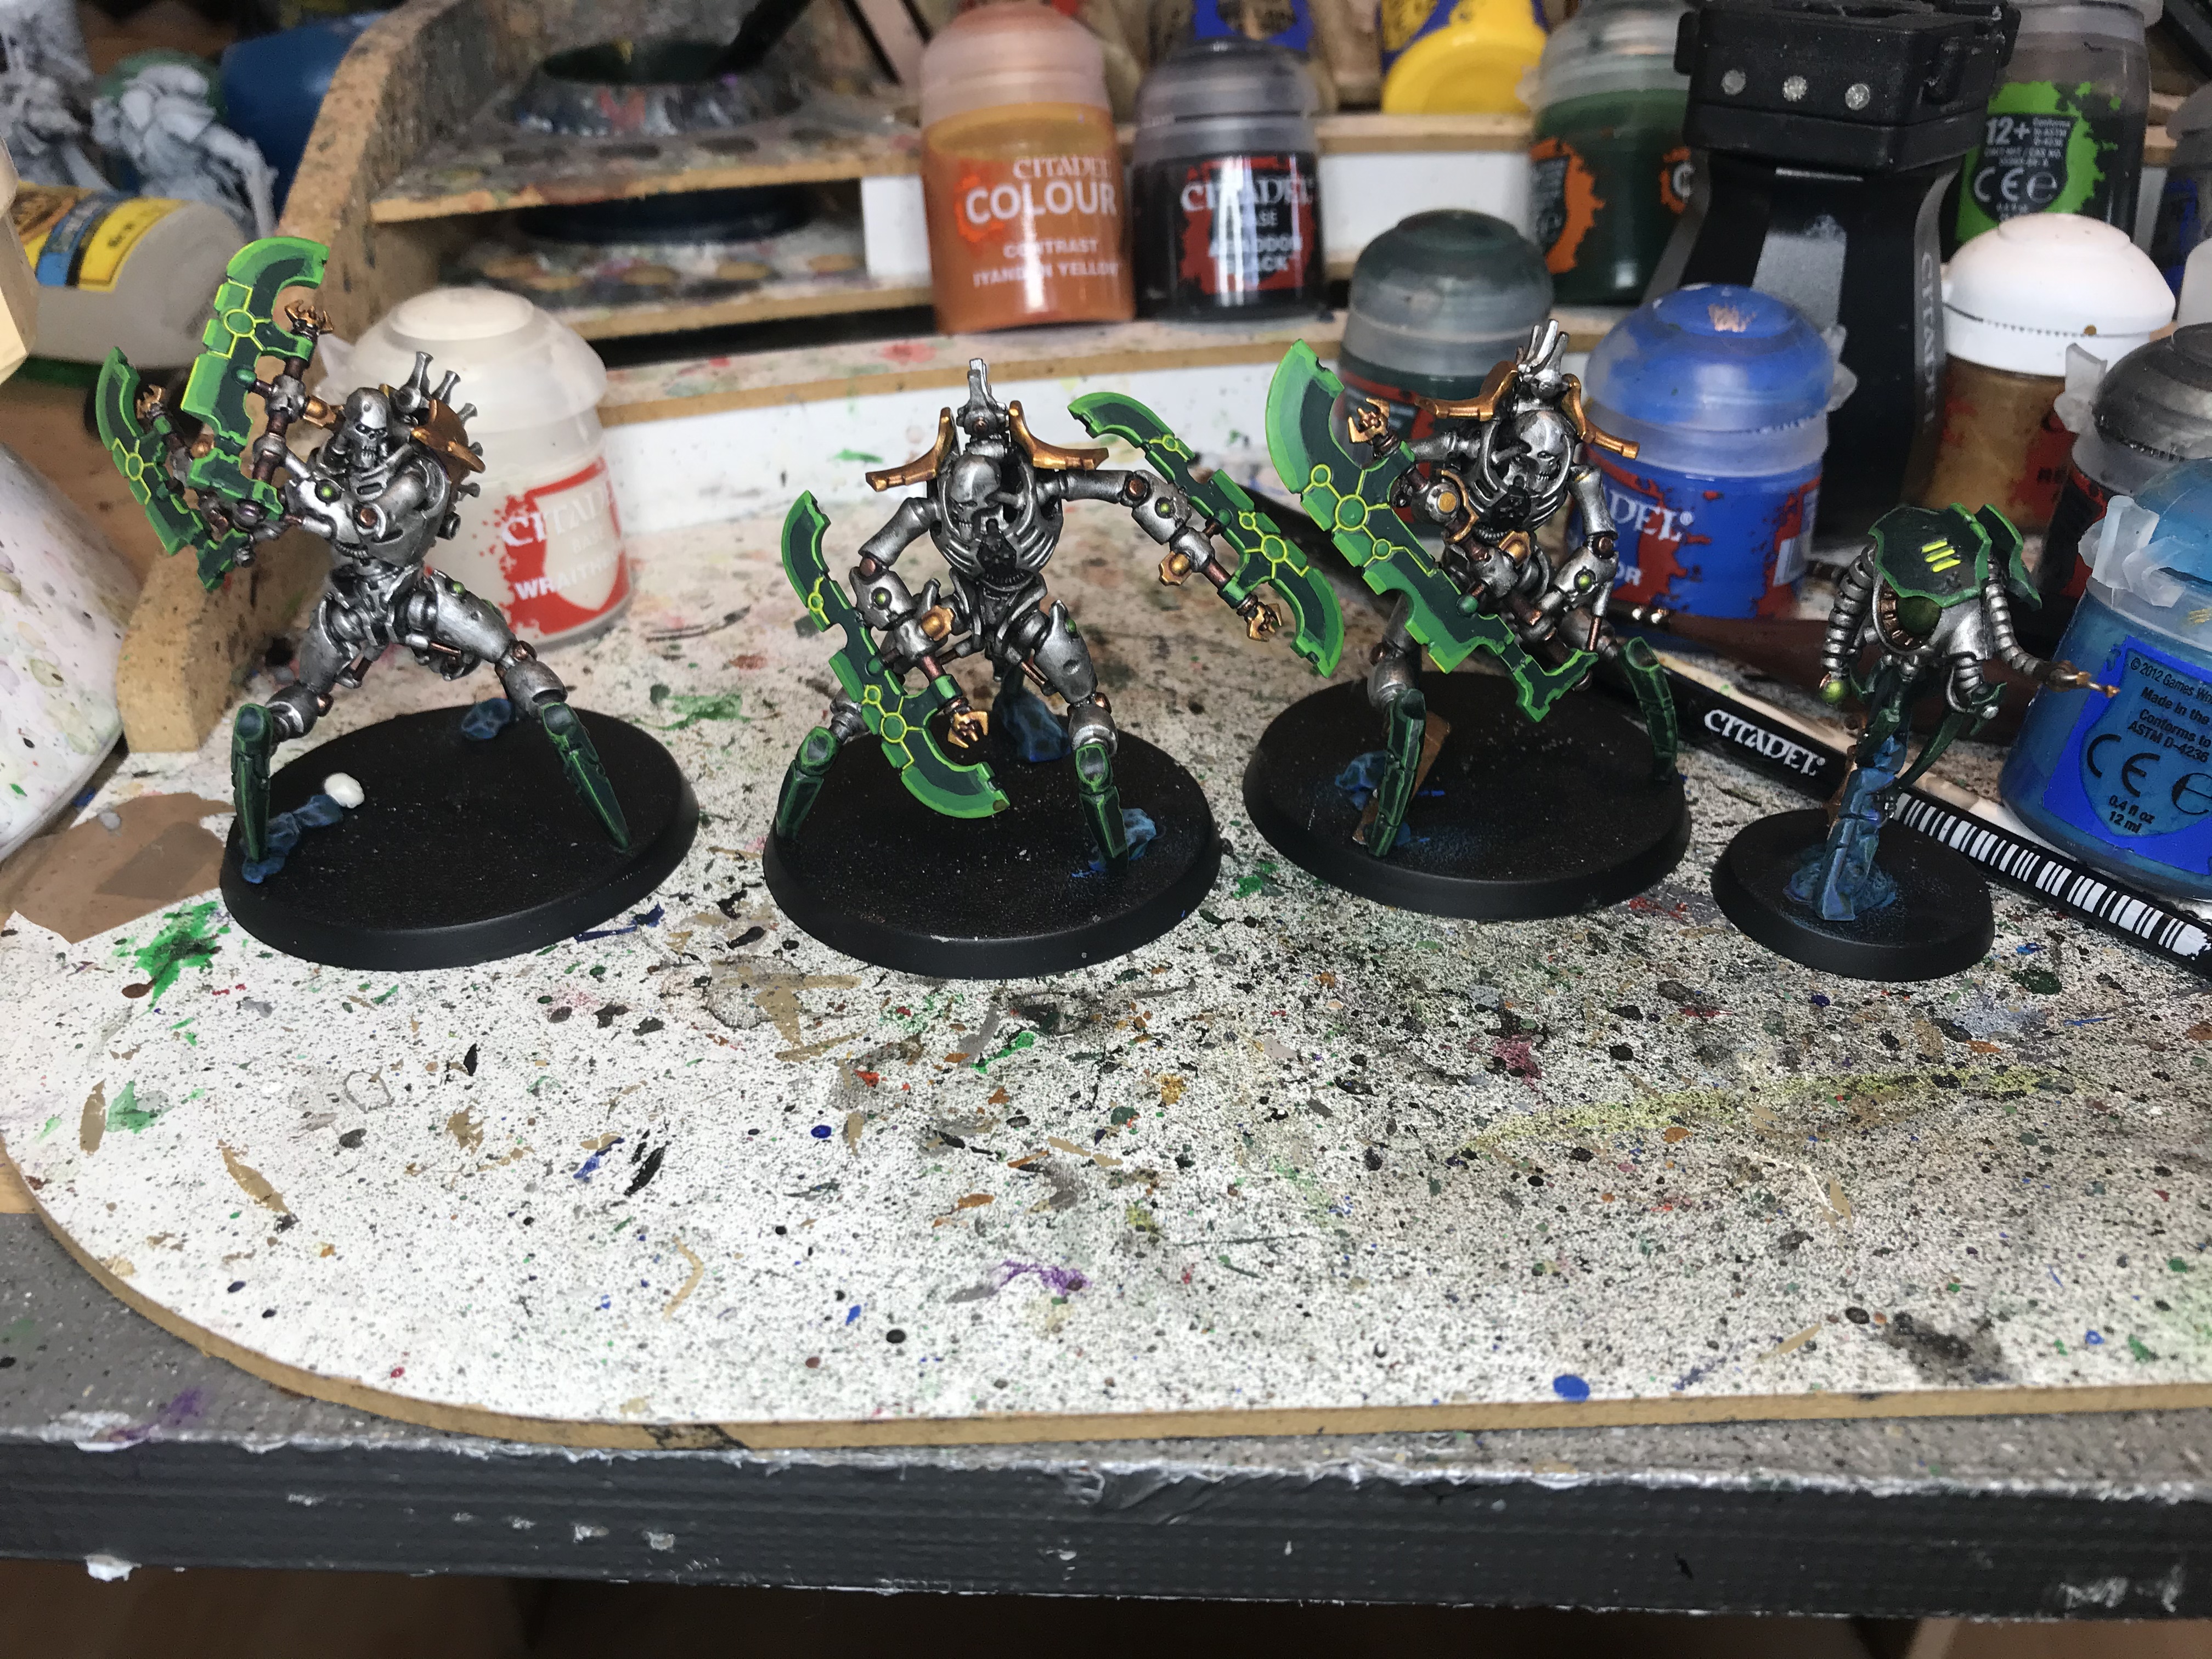
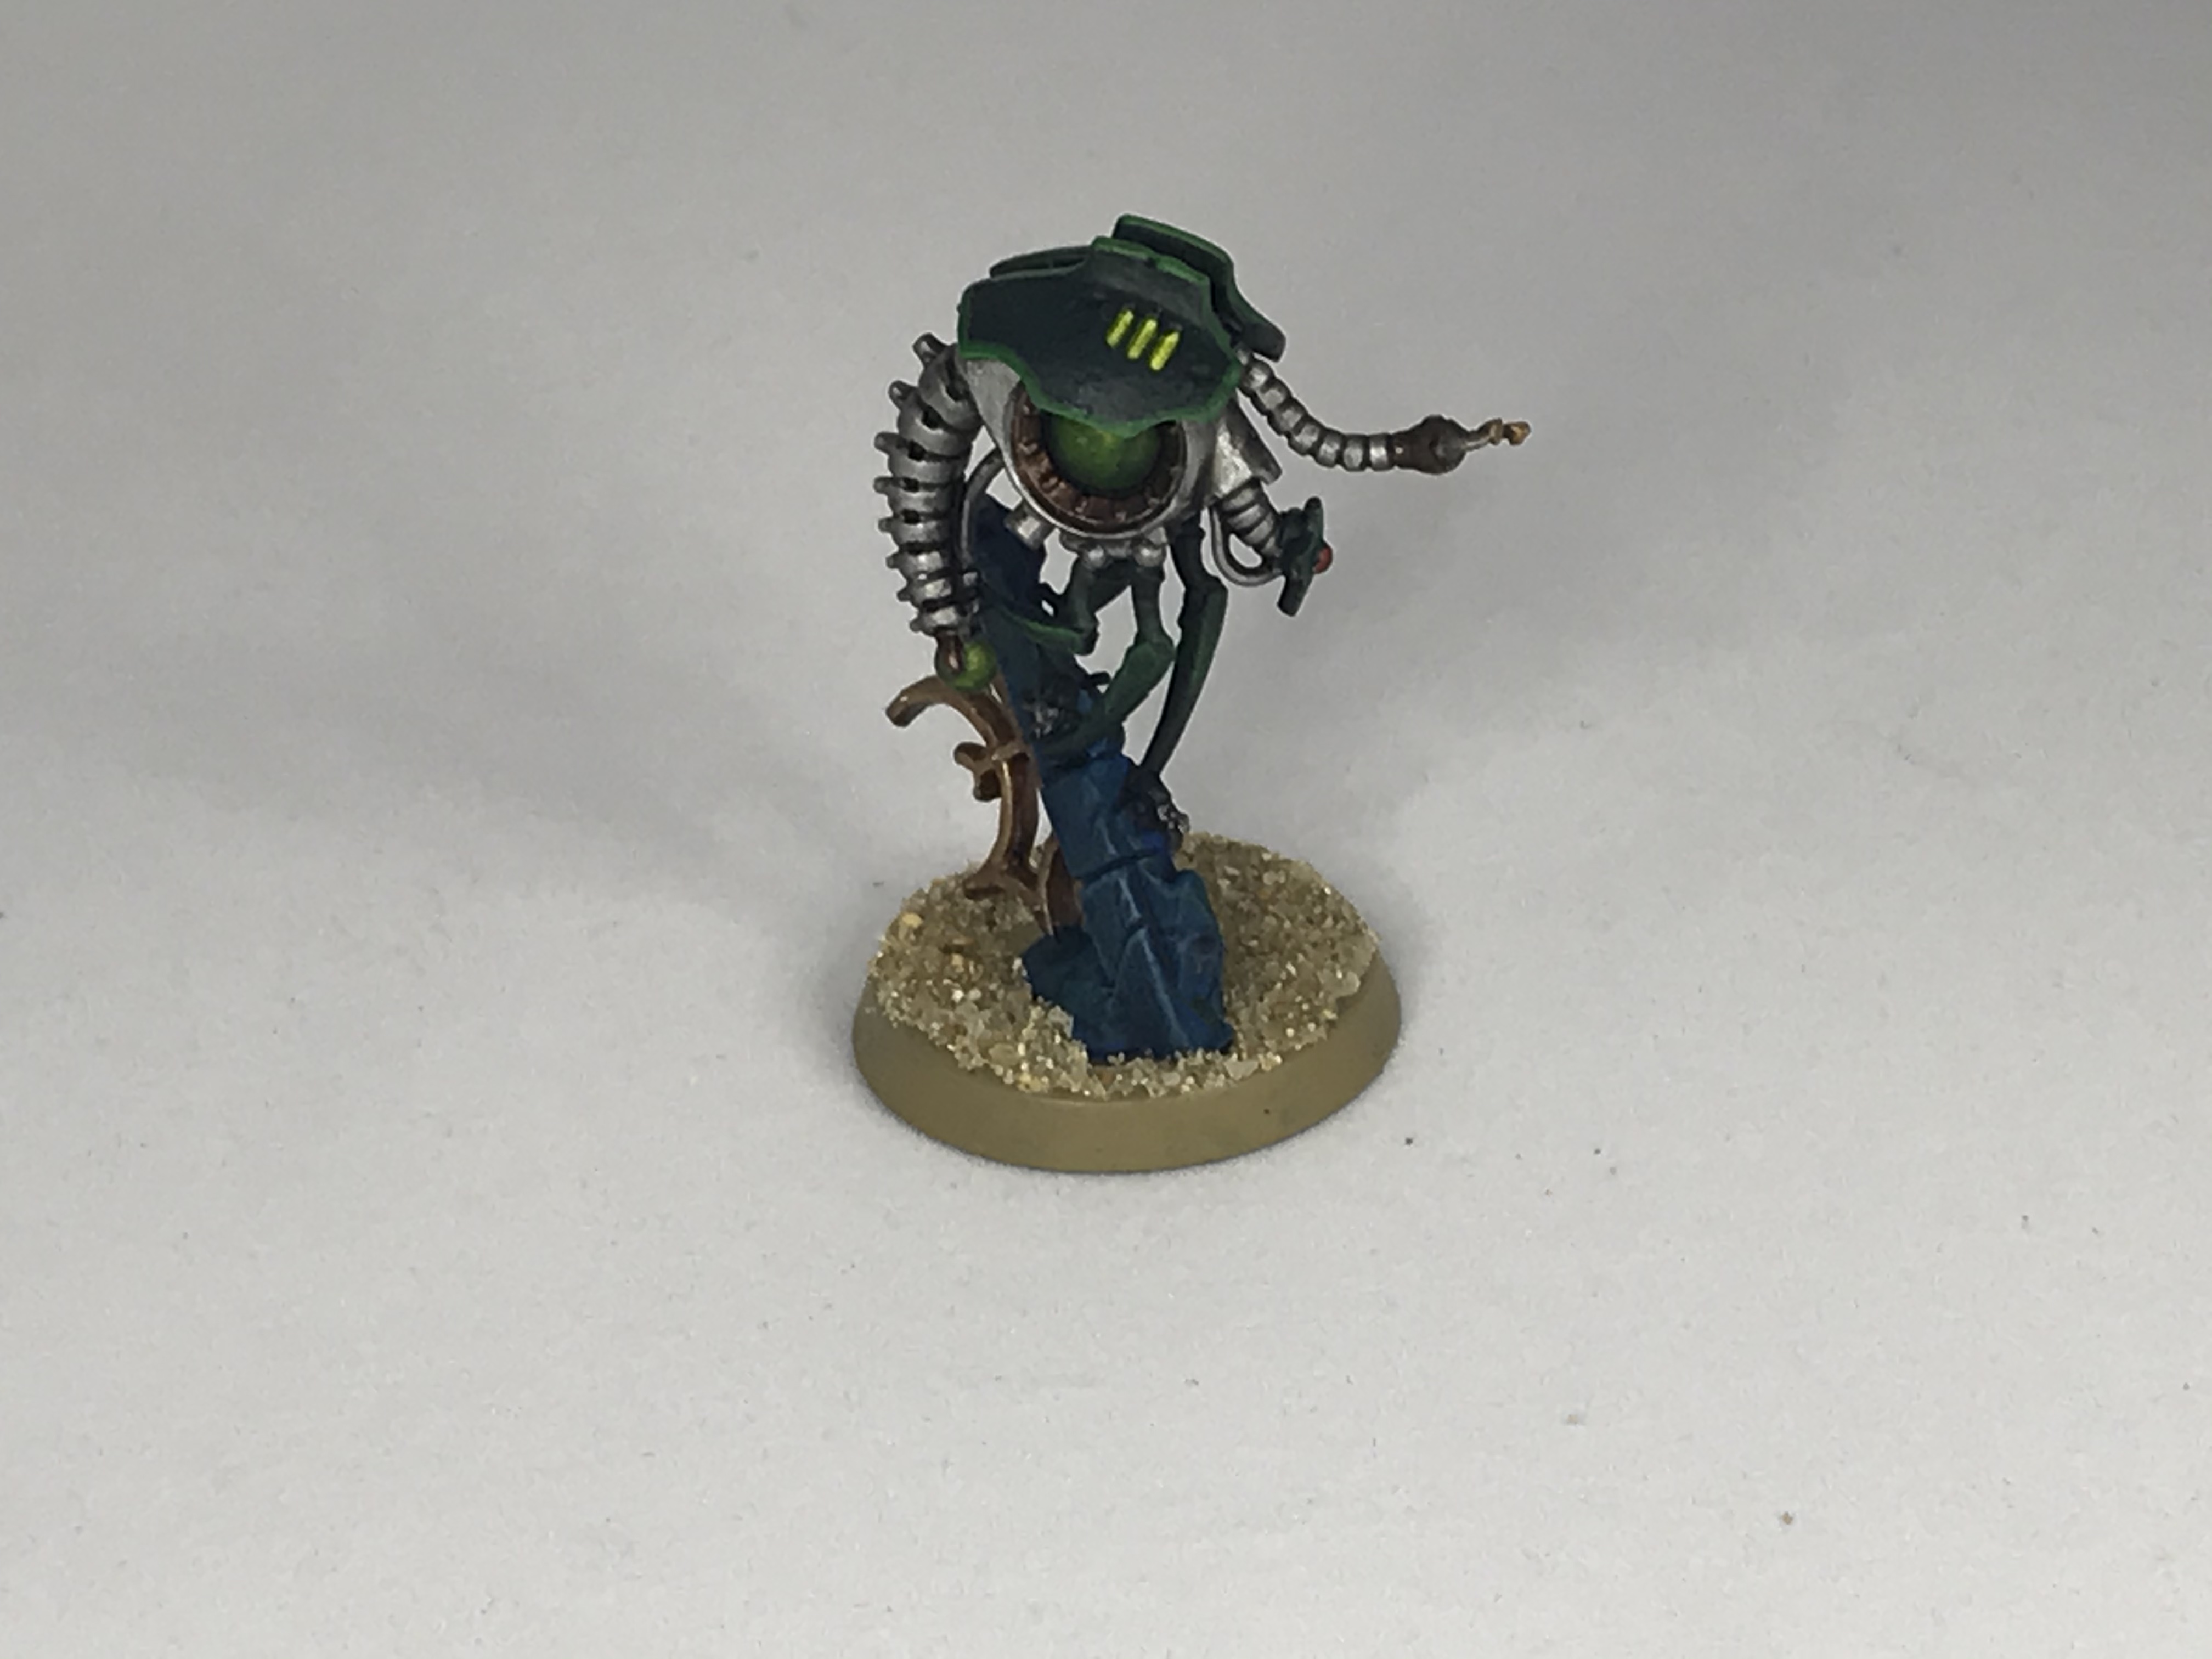
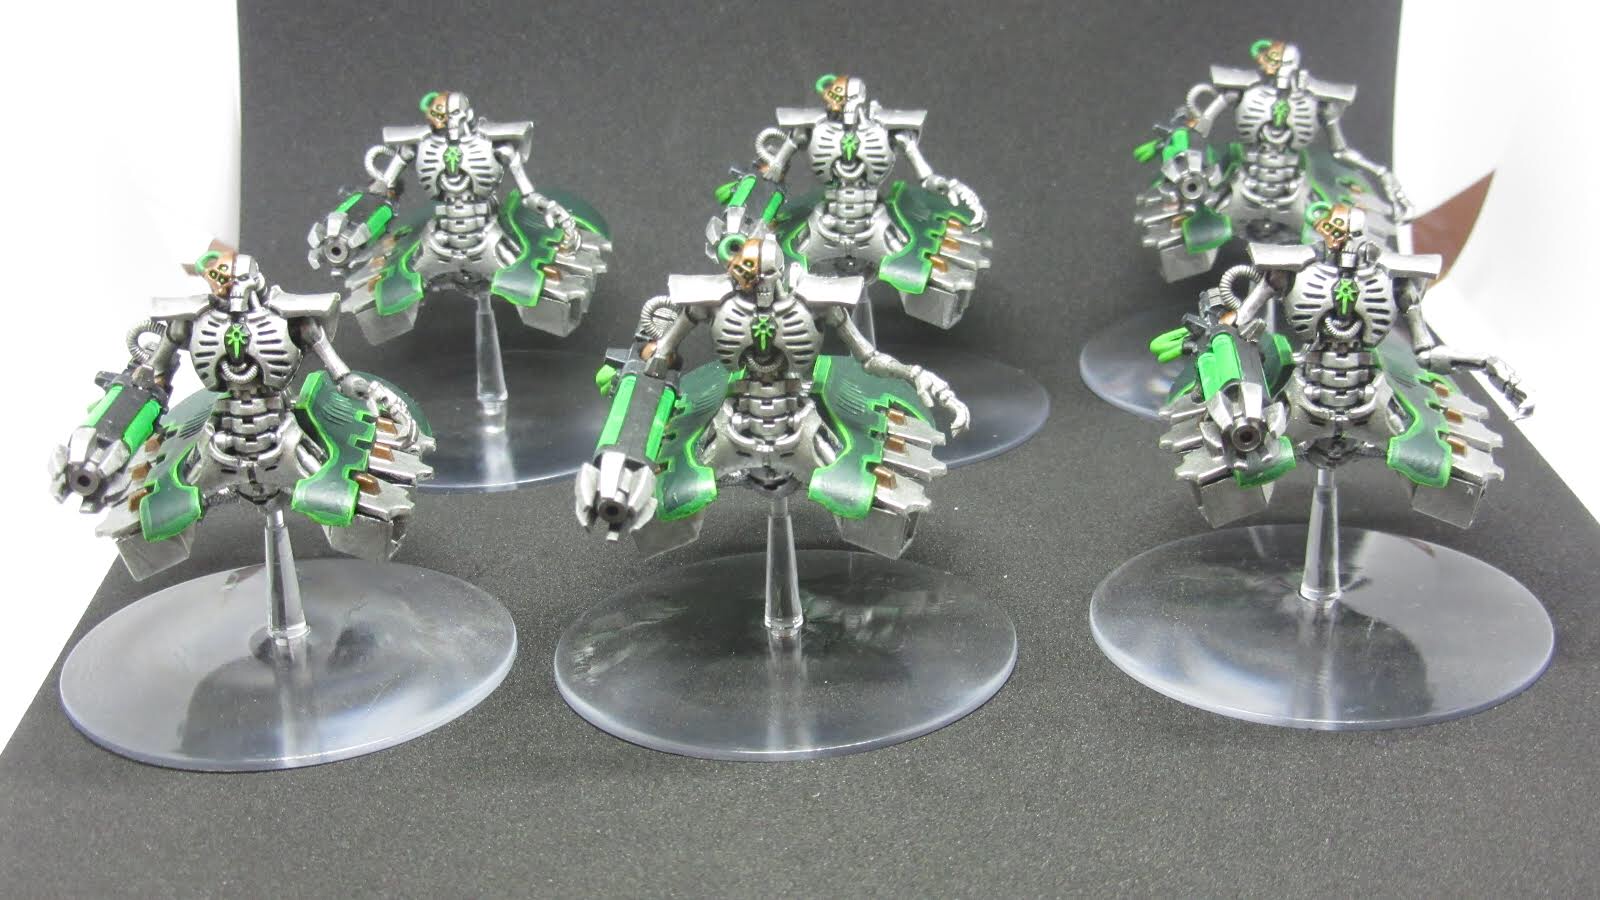 Destroyers. Credit: Wings
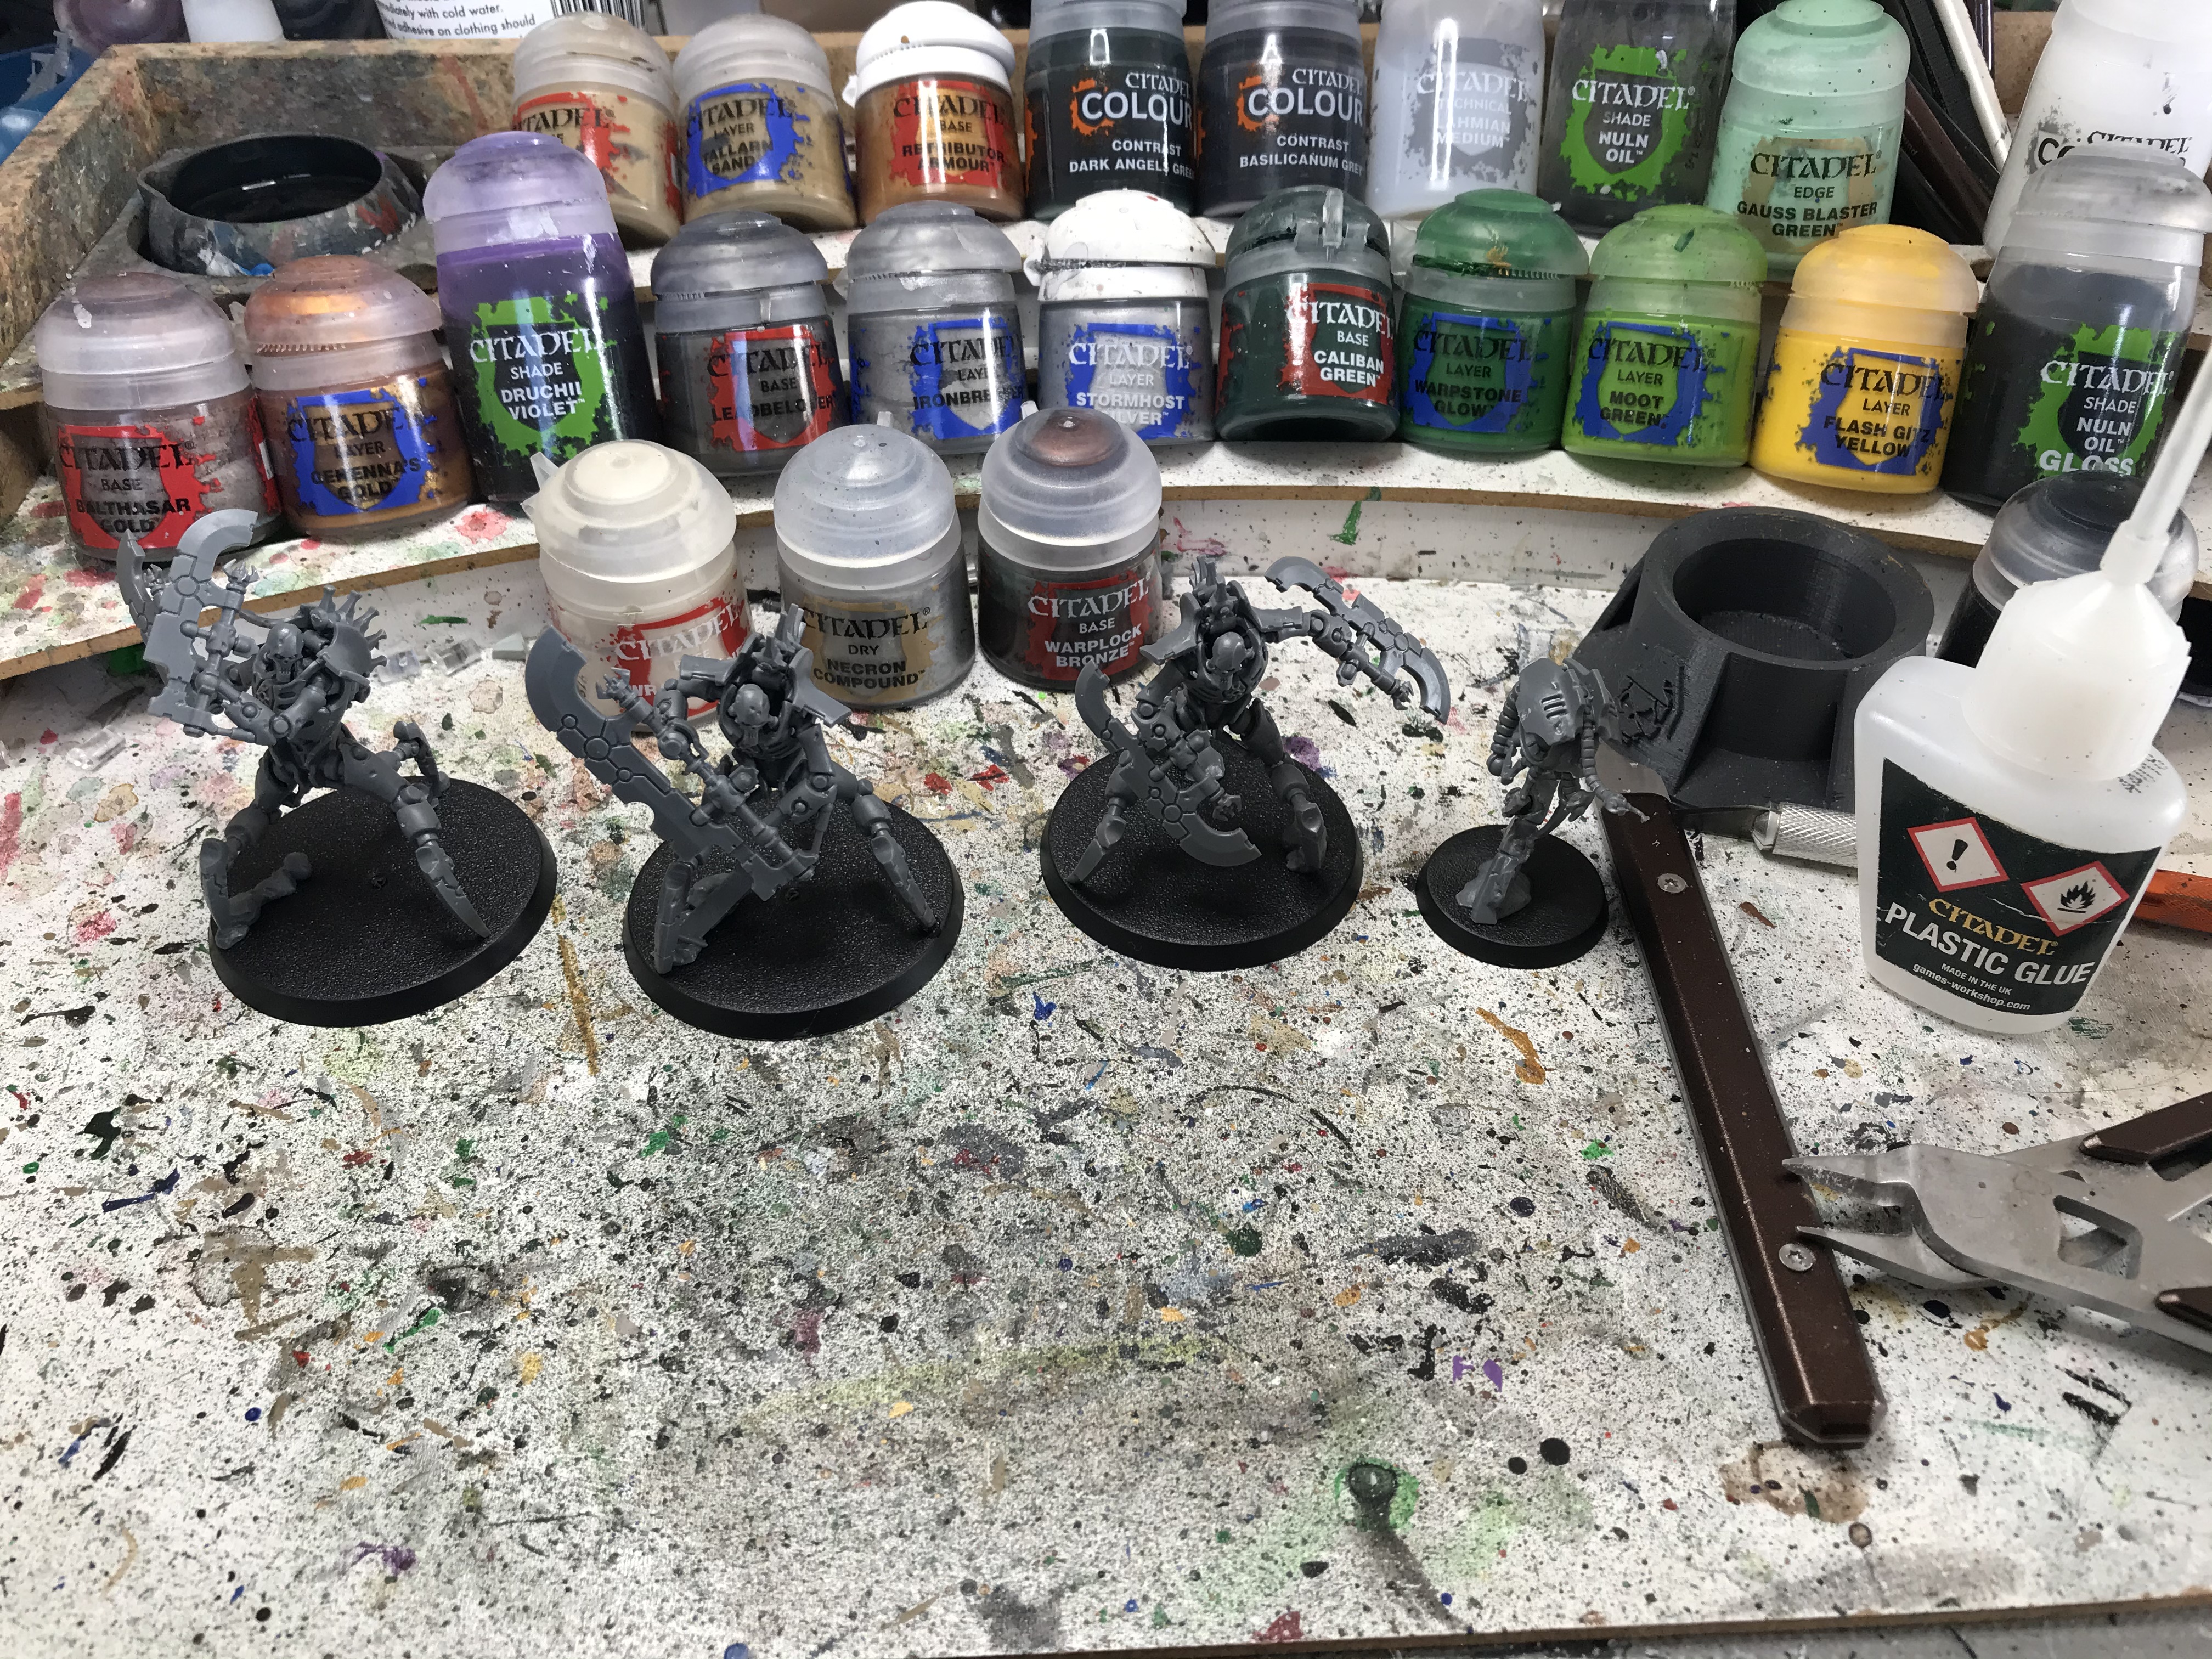
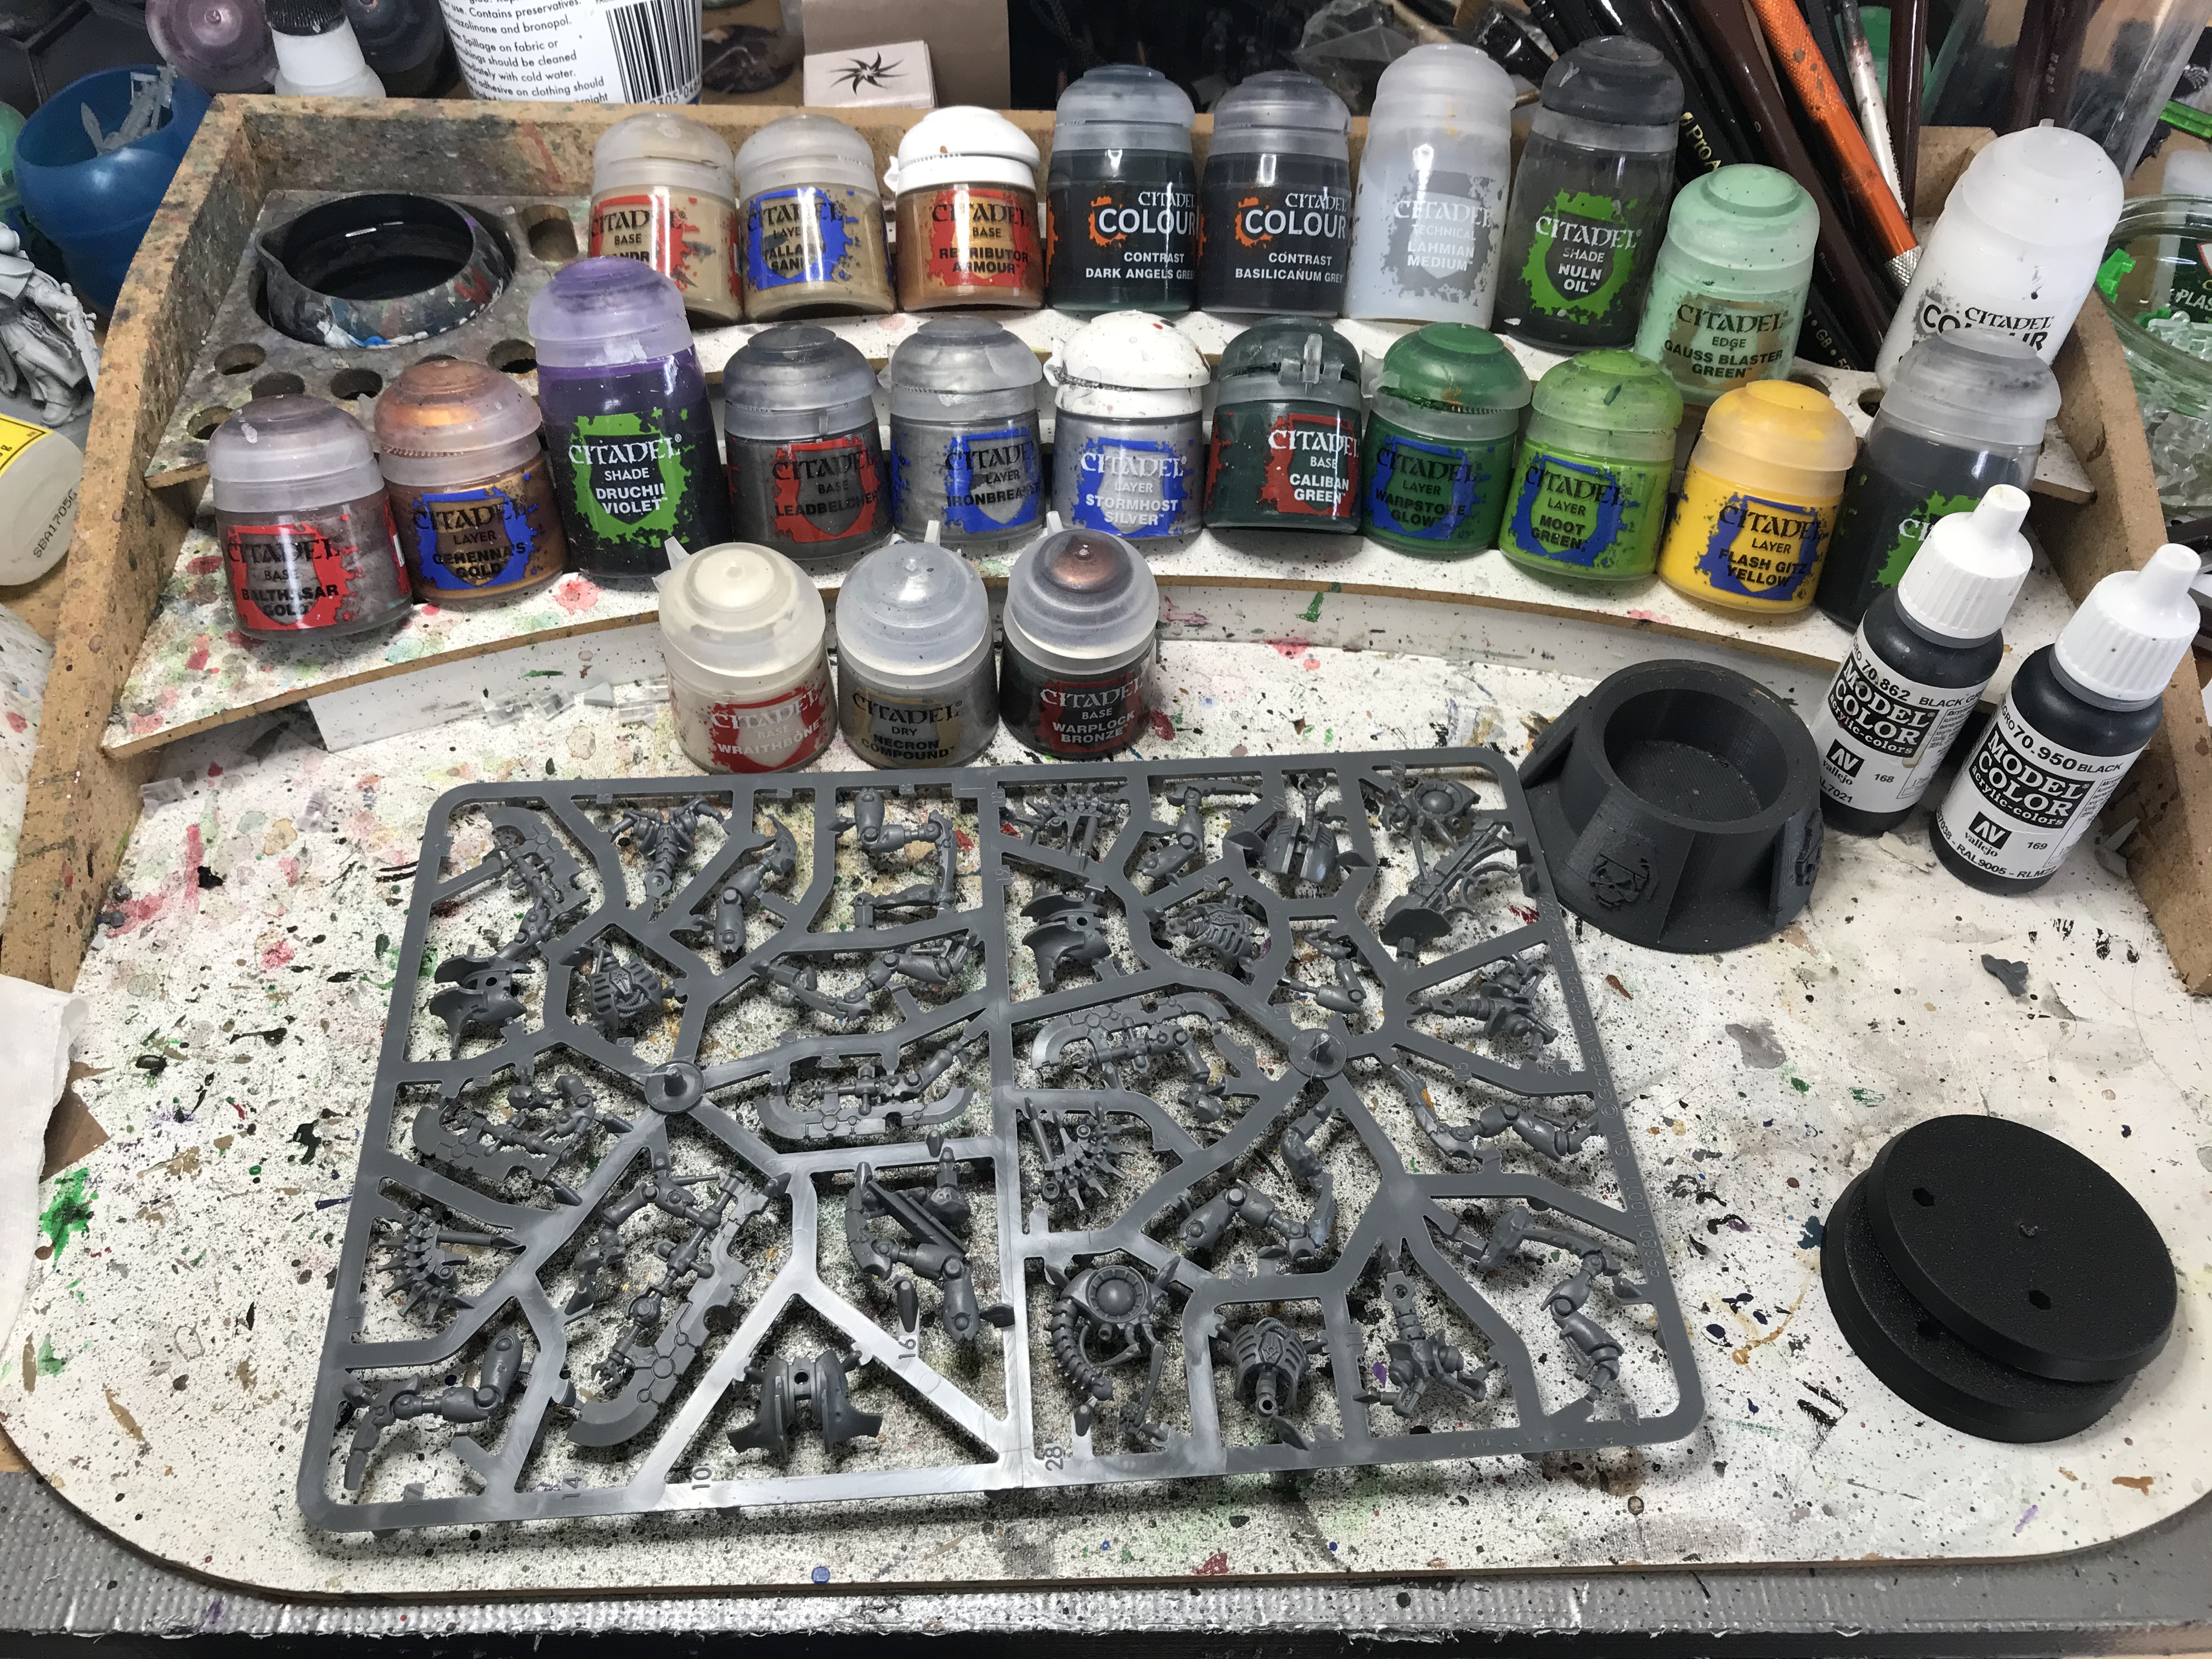 For monopose models where it's important to keep parts together, but I still want to do clipping and cleaning of plastic in a batch, I tend to flip the bases upside down and keep the parts together in those once they're cleaned.
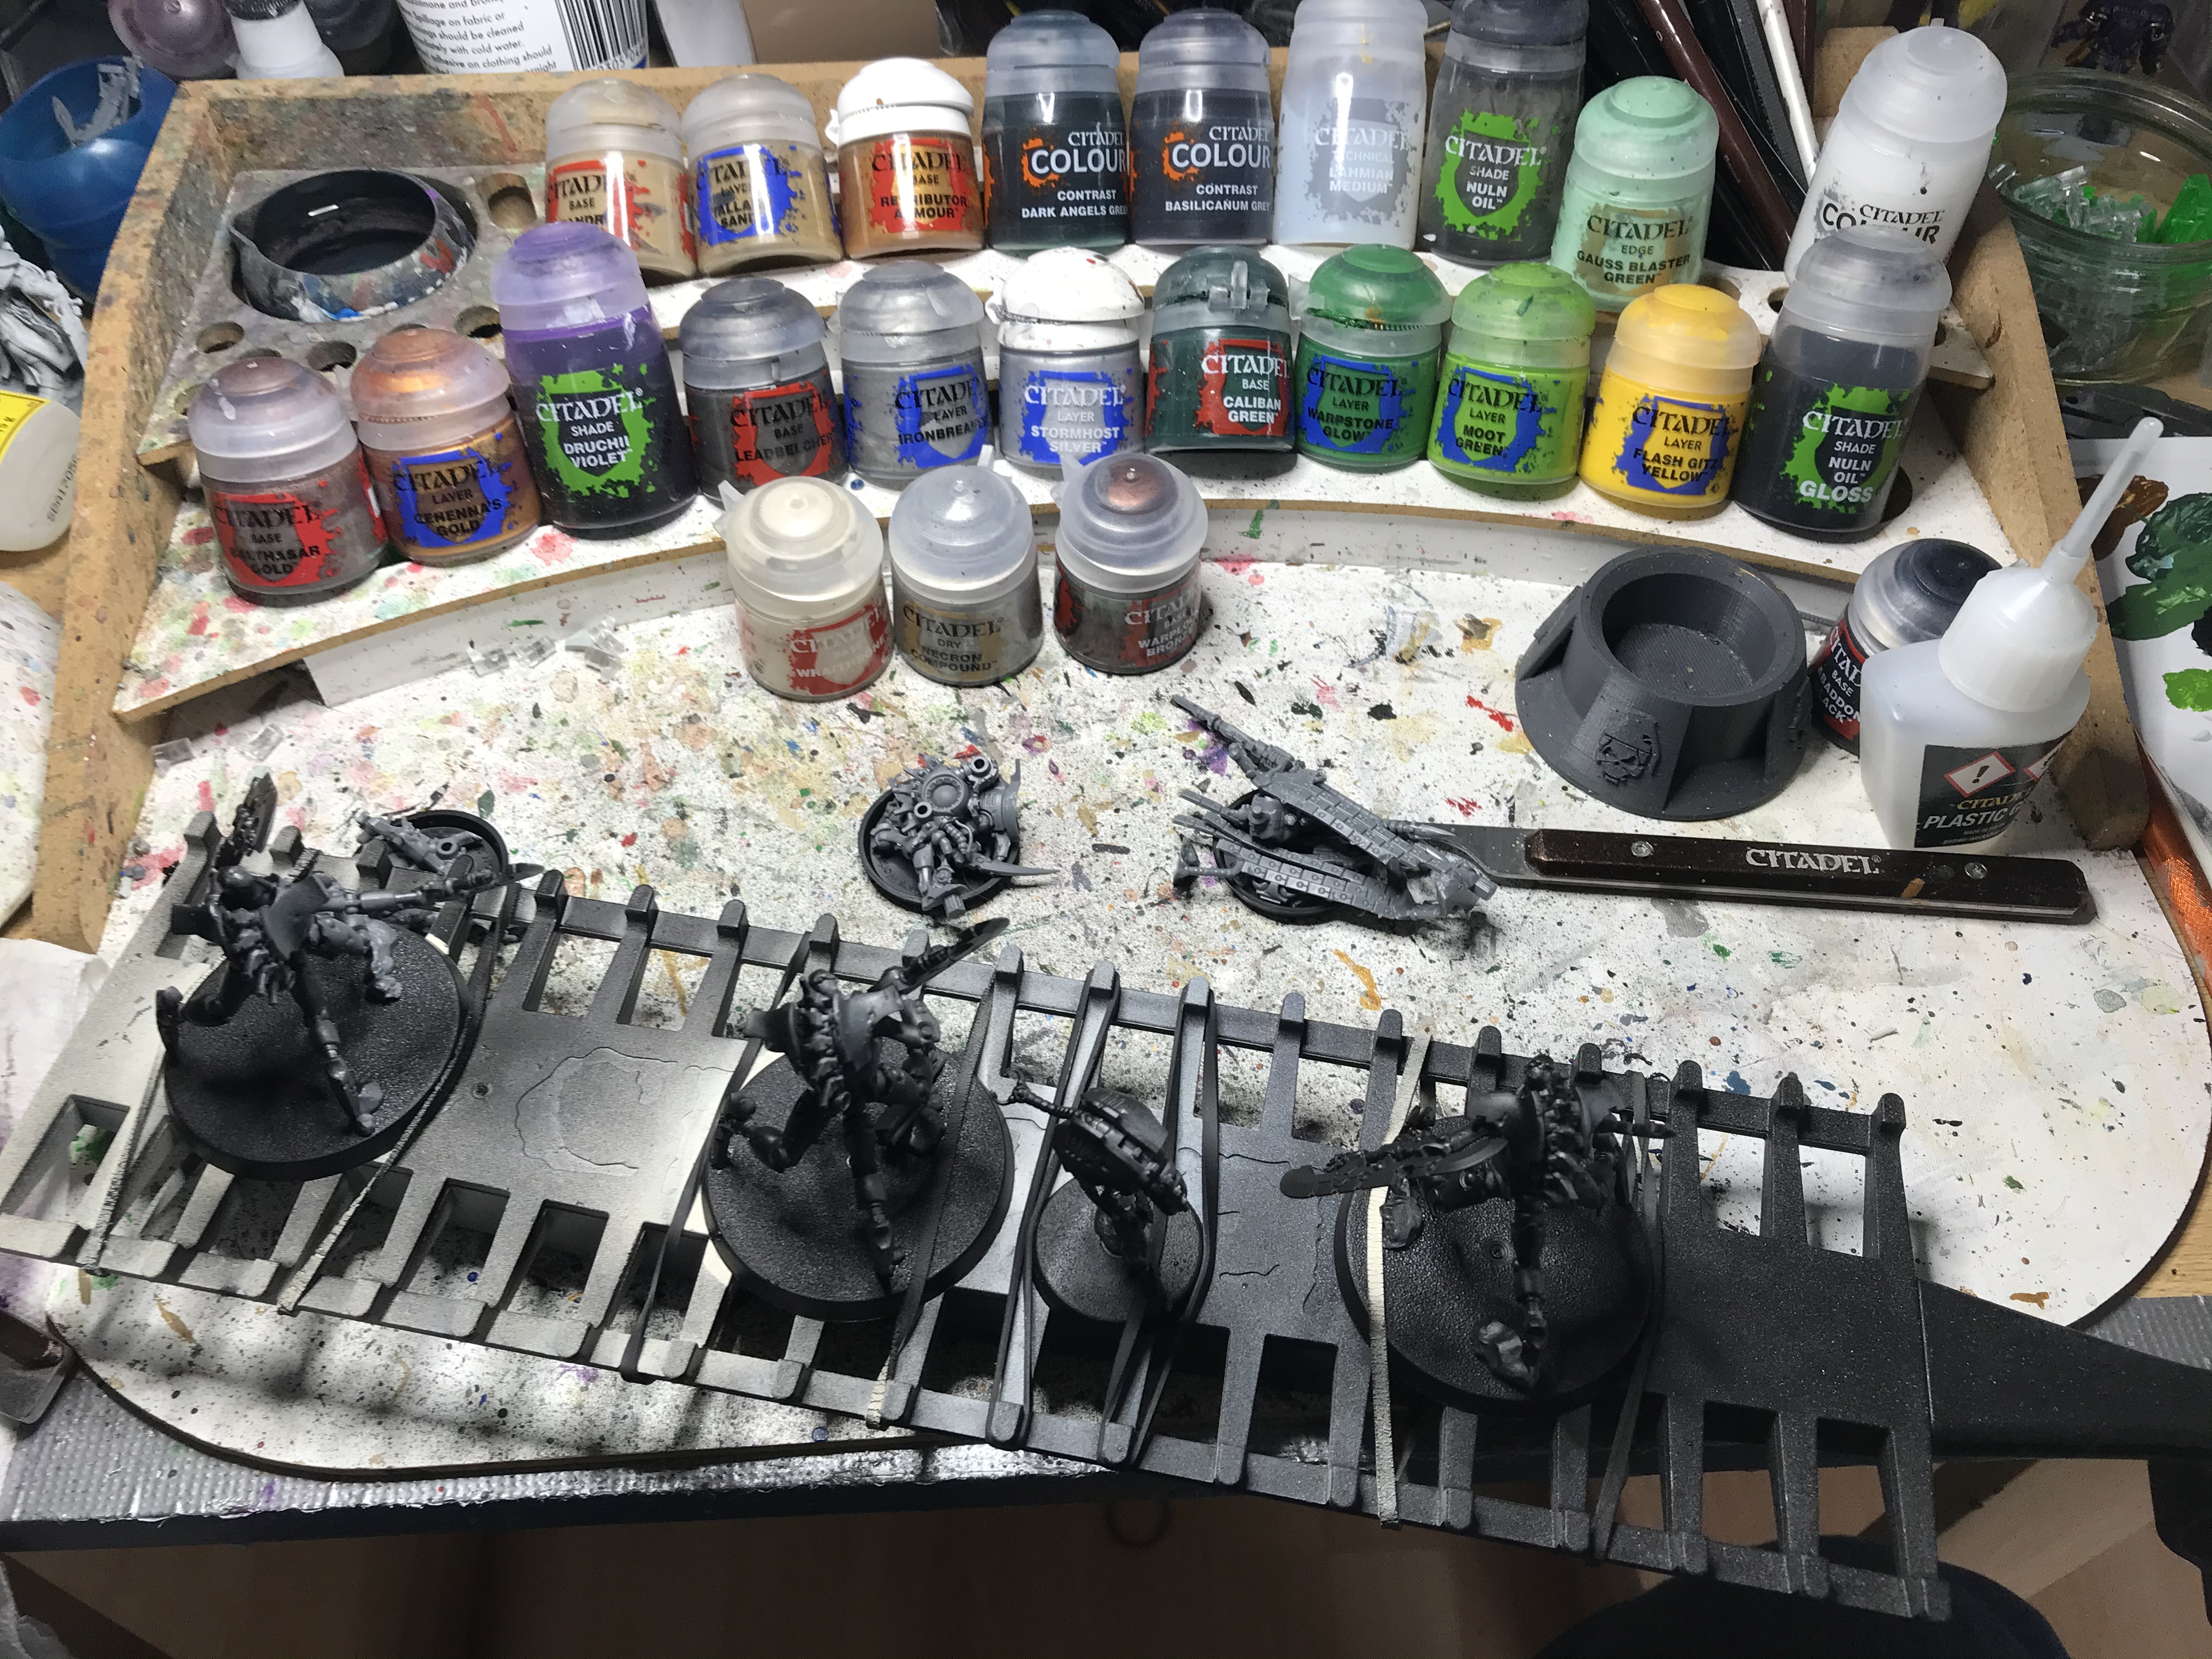
 From there, assembly time. Here I thought I'd test the theory that you can build these without glue, and the answer is that yes, you can, and they're mostly fine. There were a couple of joins that were a little bit looser than I'd like (so I did add glue to those after testing the dry fit) but if you really wanted to go glue-free you could. The hardest parts to work with were faces - GW have devised a clever way to hold these into place, which is that they're attached to one of the arms and sort of get twisted into position and held by the tension, which works but is a little fiddly to line up, and the main place I went "screw it, adding glue."
 Next, priming. I just use a Citadel Spray Stick and Chaos Black Primer and it basically works. I did need to do a little extra manual priming under the lets once done, as it's harder for the spray to reach, but this was minimal.
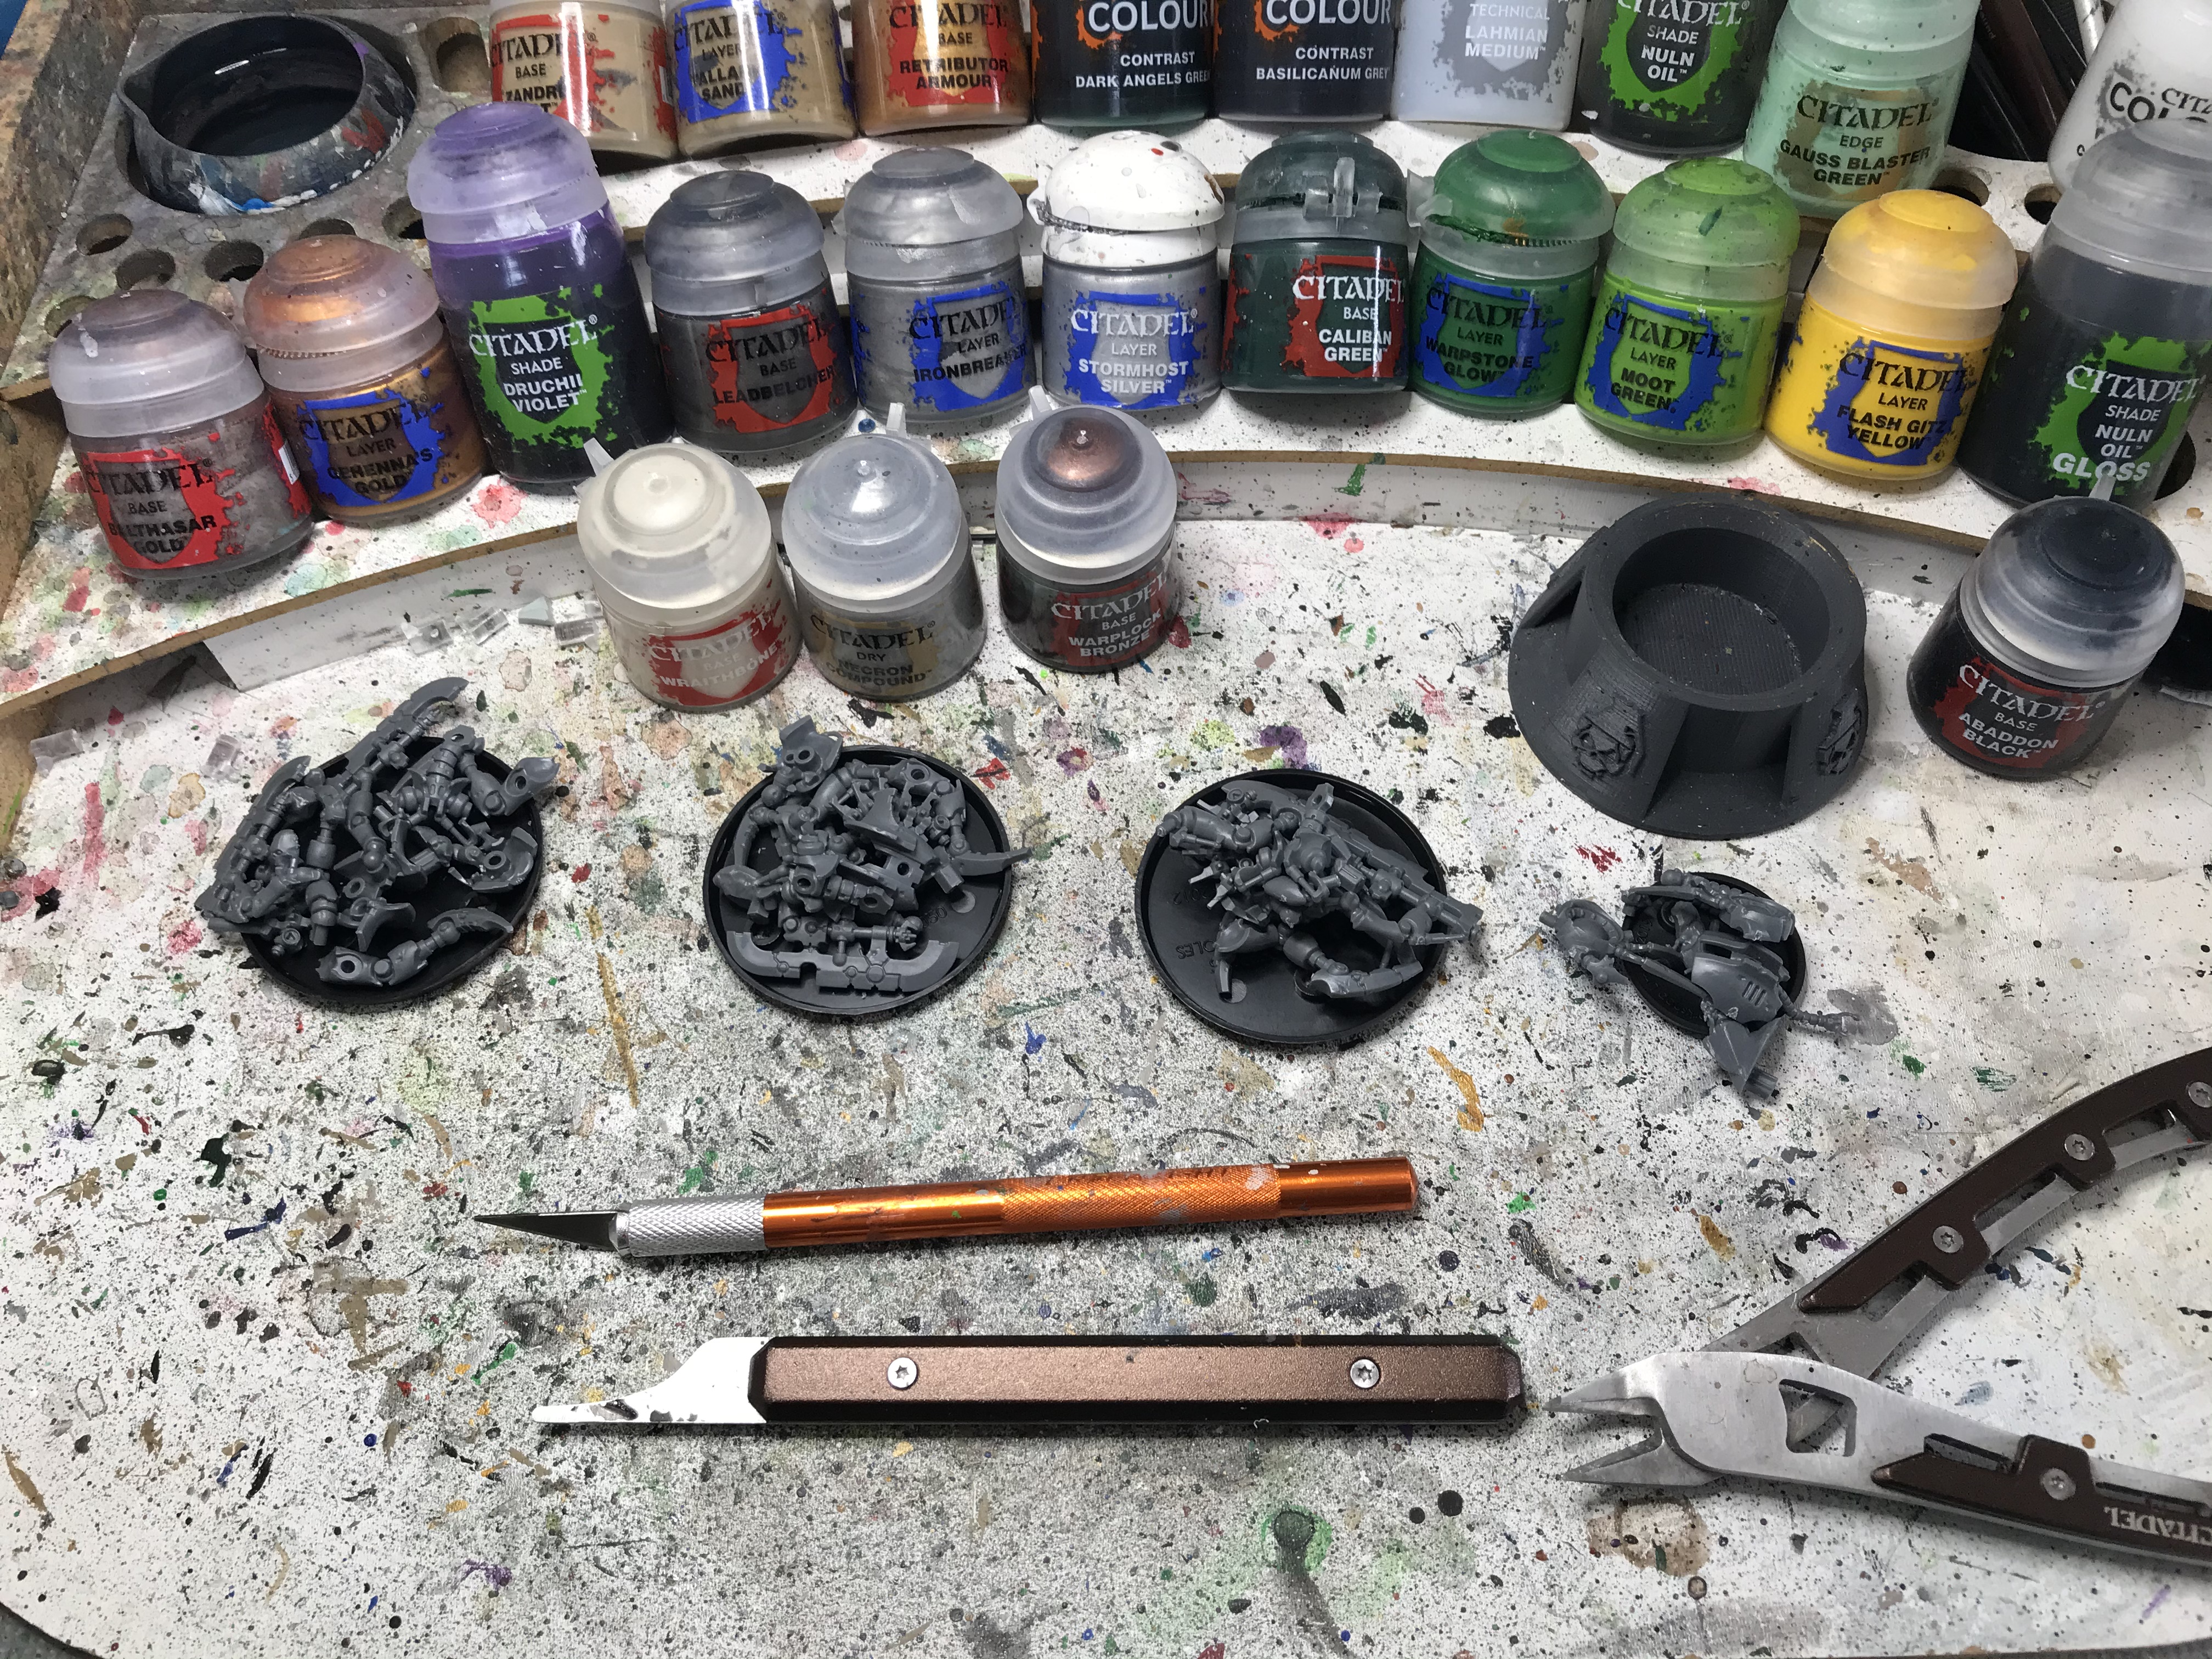
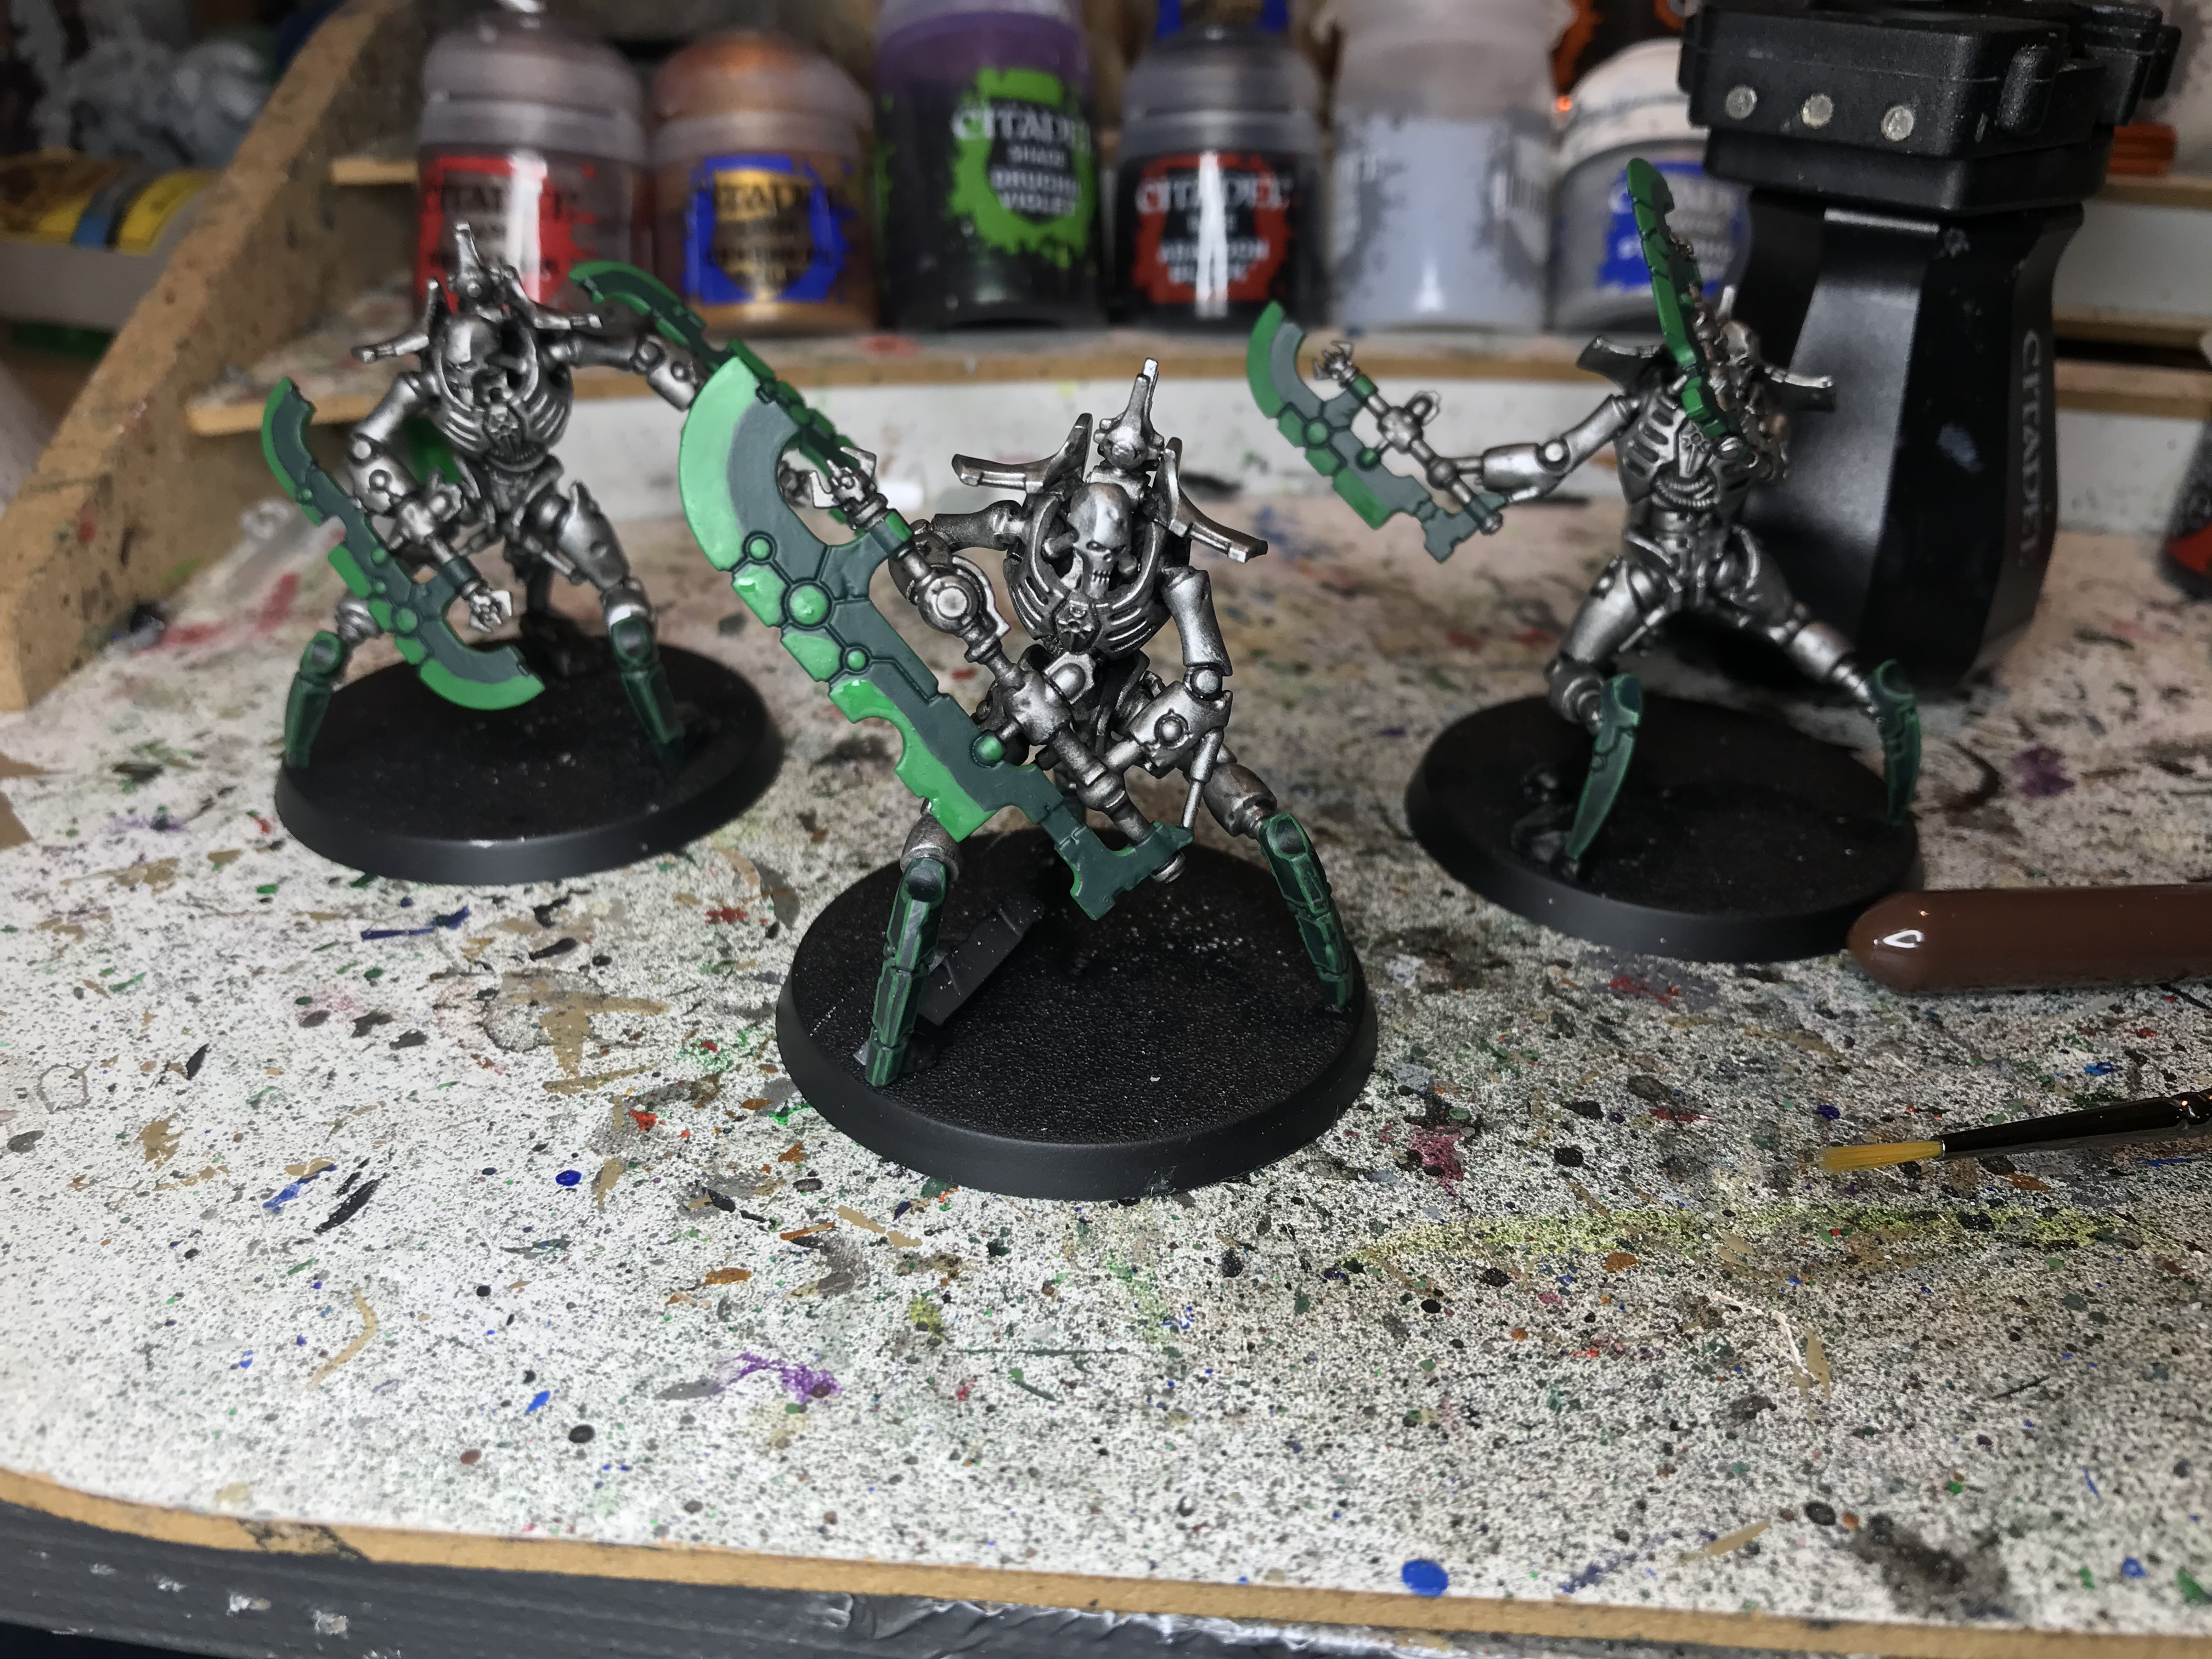
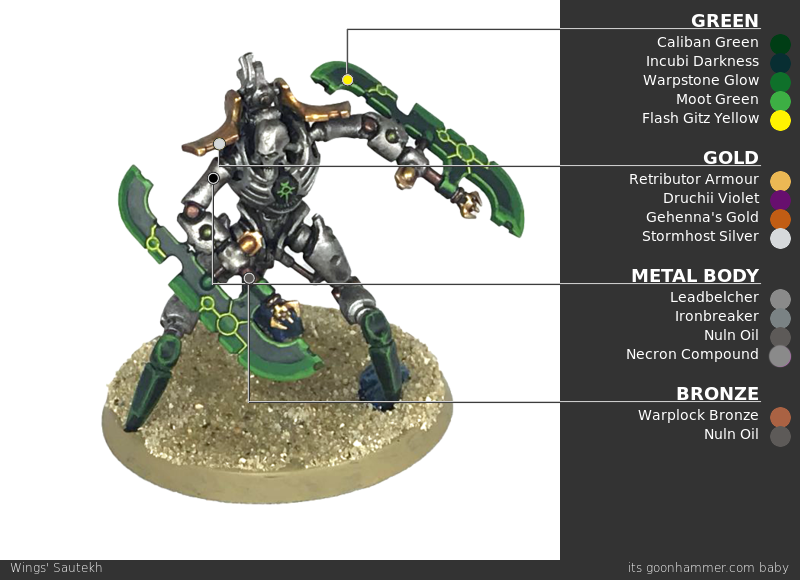
 Once the models are ready to be painted, the first step is to work out what's getting a metallic treatment, and which parts of the model are "Canoptek stuff" and get the green stone treatment. Here there are distinct design differences to the last segment of the legs that fit the latter, so that's where I decided to make the split. My recipe for energy weapons is also a modified version of the same. Once that's figured out, I based everything that was going to be metallic in Leadbelcher thinned with Lahmian Medium, and everything Canoptek or an energy blade in Caliban Green thinned with water. Previously when working on Canoptek stuff I've used Caliban Green Spray (now out of production), and what I found here was that CG paint alone was a little bit more of a vibrant green than I really wanted for the base on the legs. Here I salvaged it by darkening down with a wash of Dark Angels Green contrast, for all later models I used 2:1 Caliban Green/Incubi Darkness, which gave what I wanted straight away. Once both are applied, I then apply a layer of thinned Ironbreaker to the silver as well.
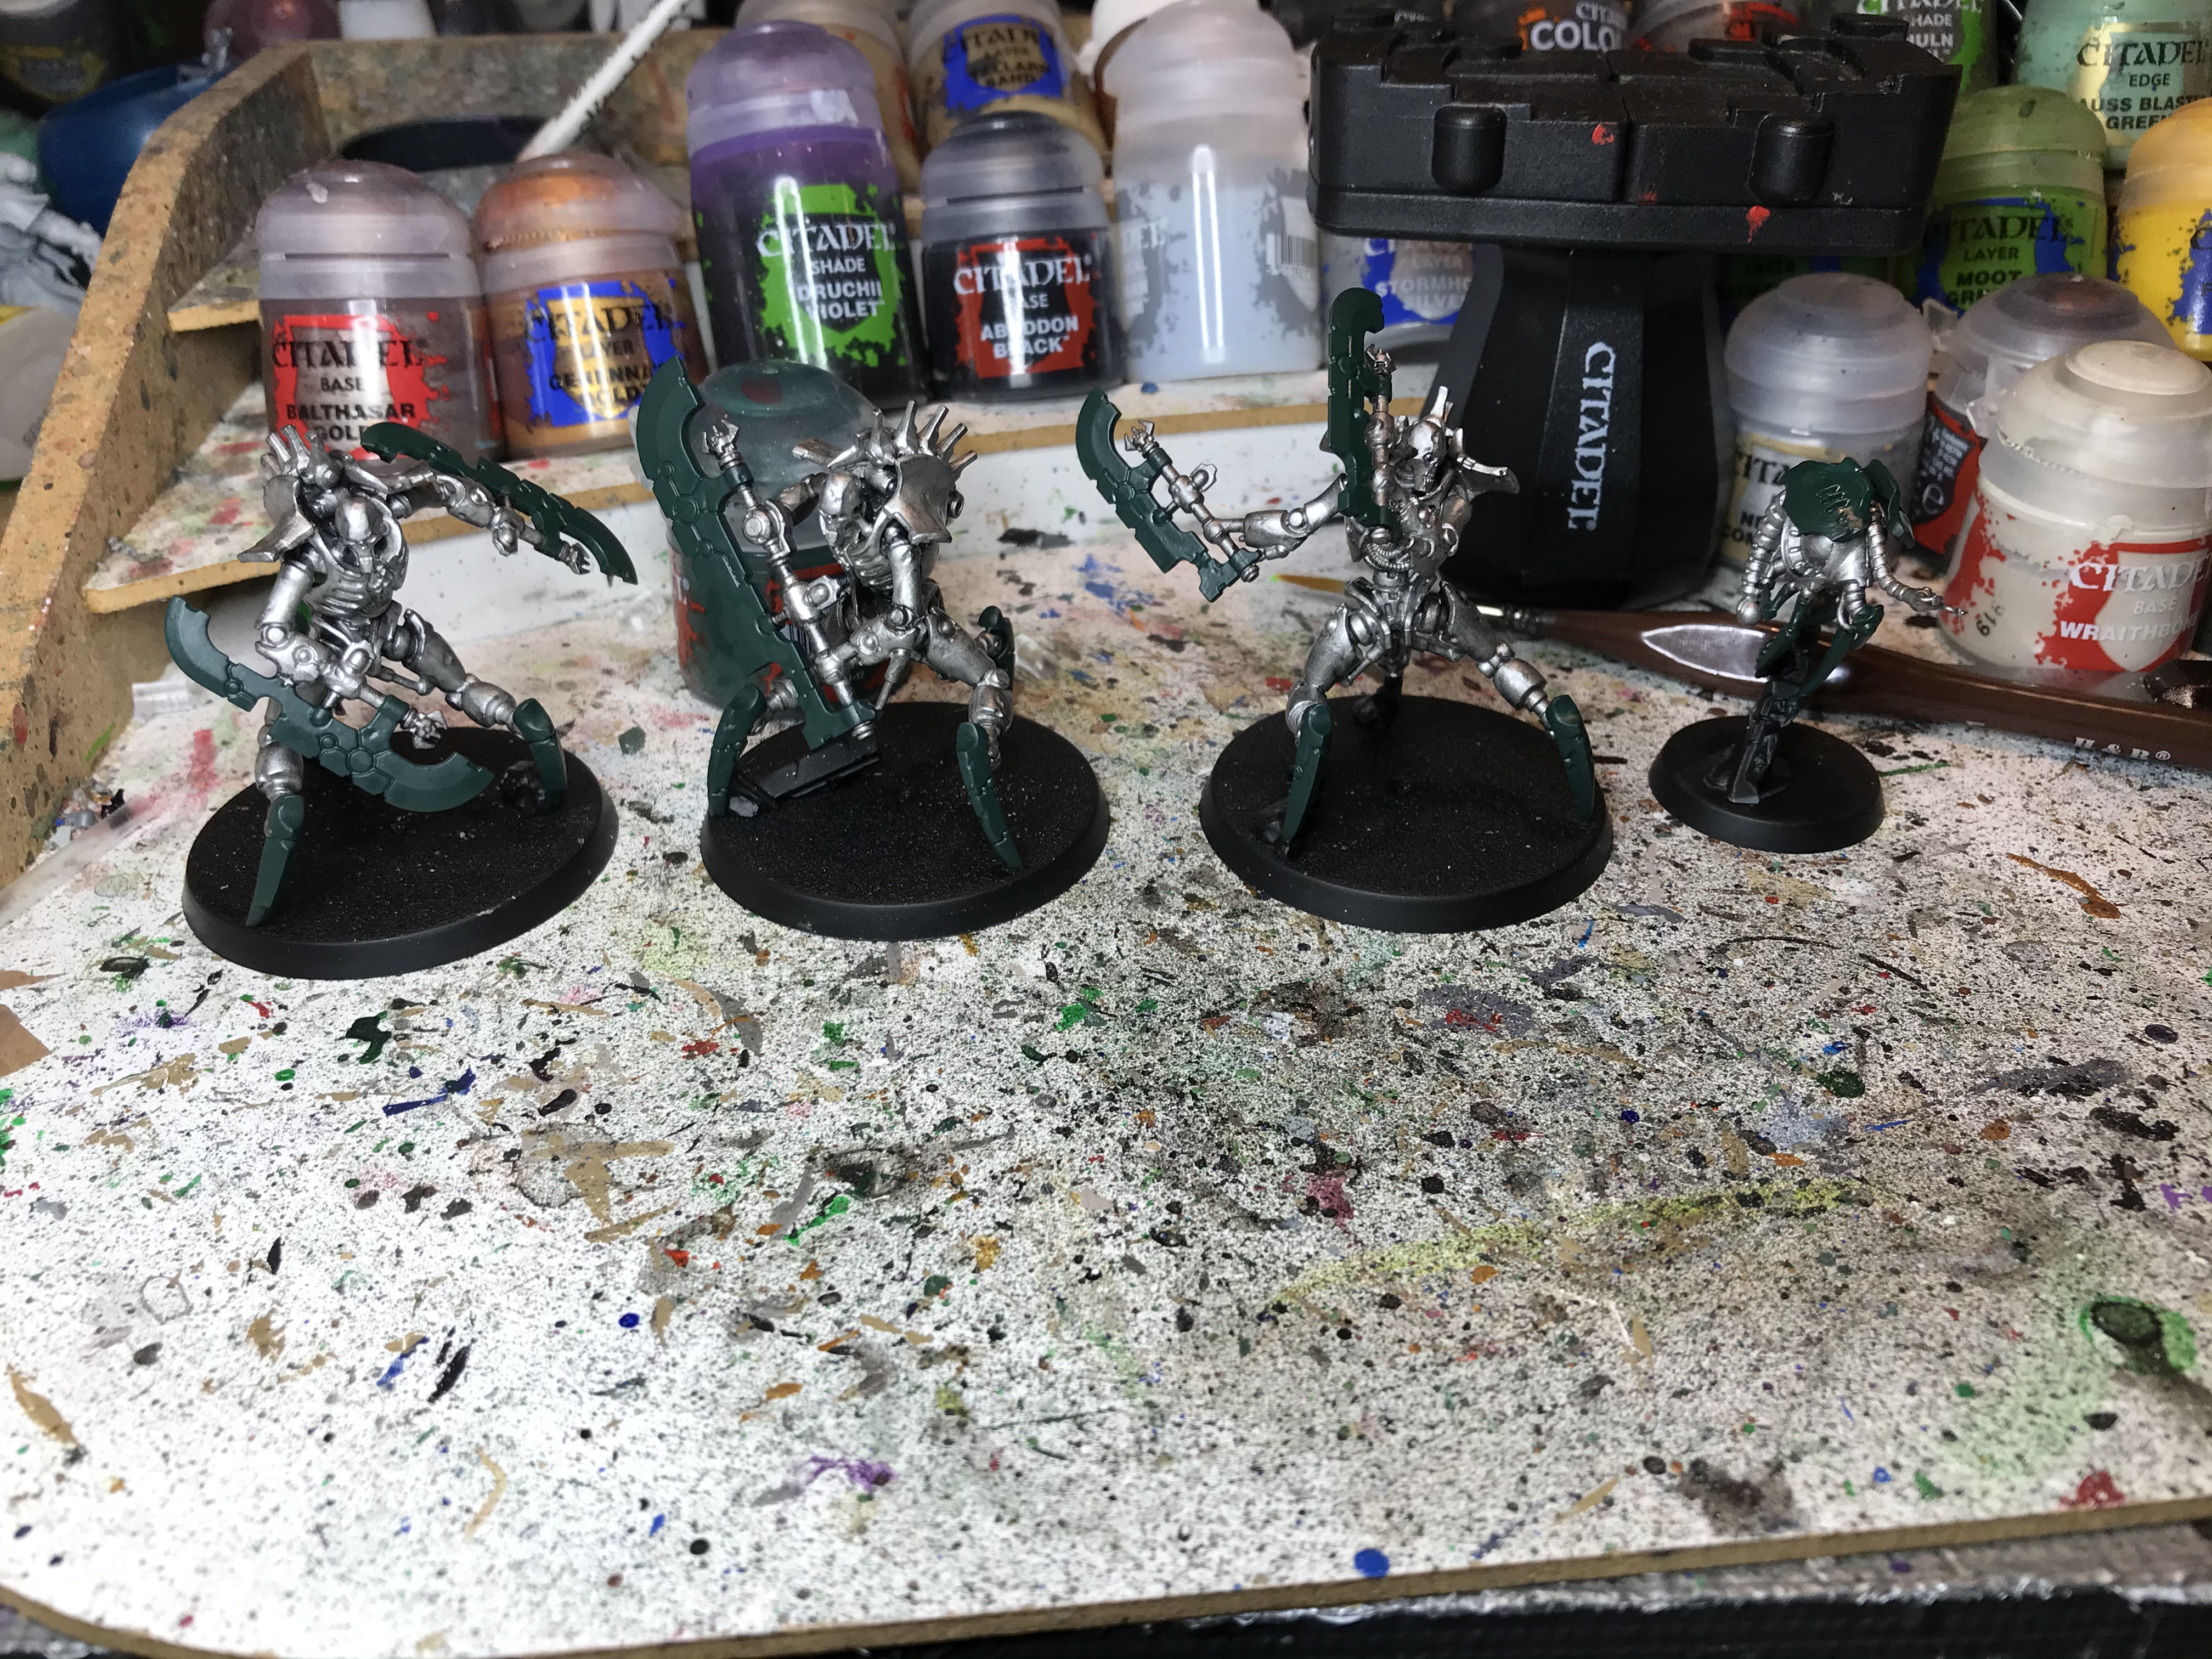 That then gets washed with Nuln Oil to darken it down, especially in the recesses, followed by a drybrush with Necron Compound on bits that are going to stay silver to complete it. I do this all now because when drybrushing such a large proportion of the model there's a risk of getting some on other areas, which I'd rather be able to correct by re-applying the base than having to redo any edge highlighting.
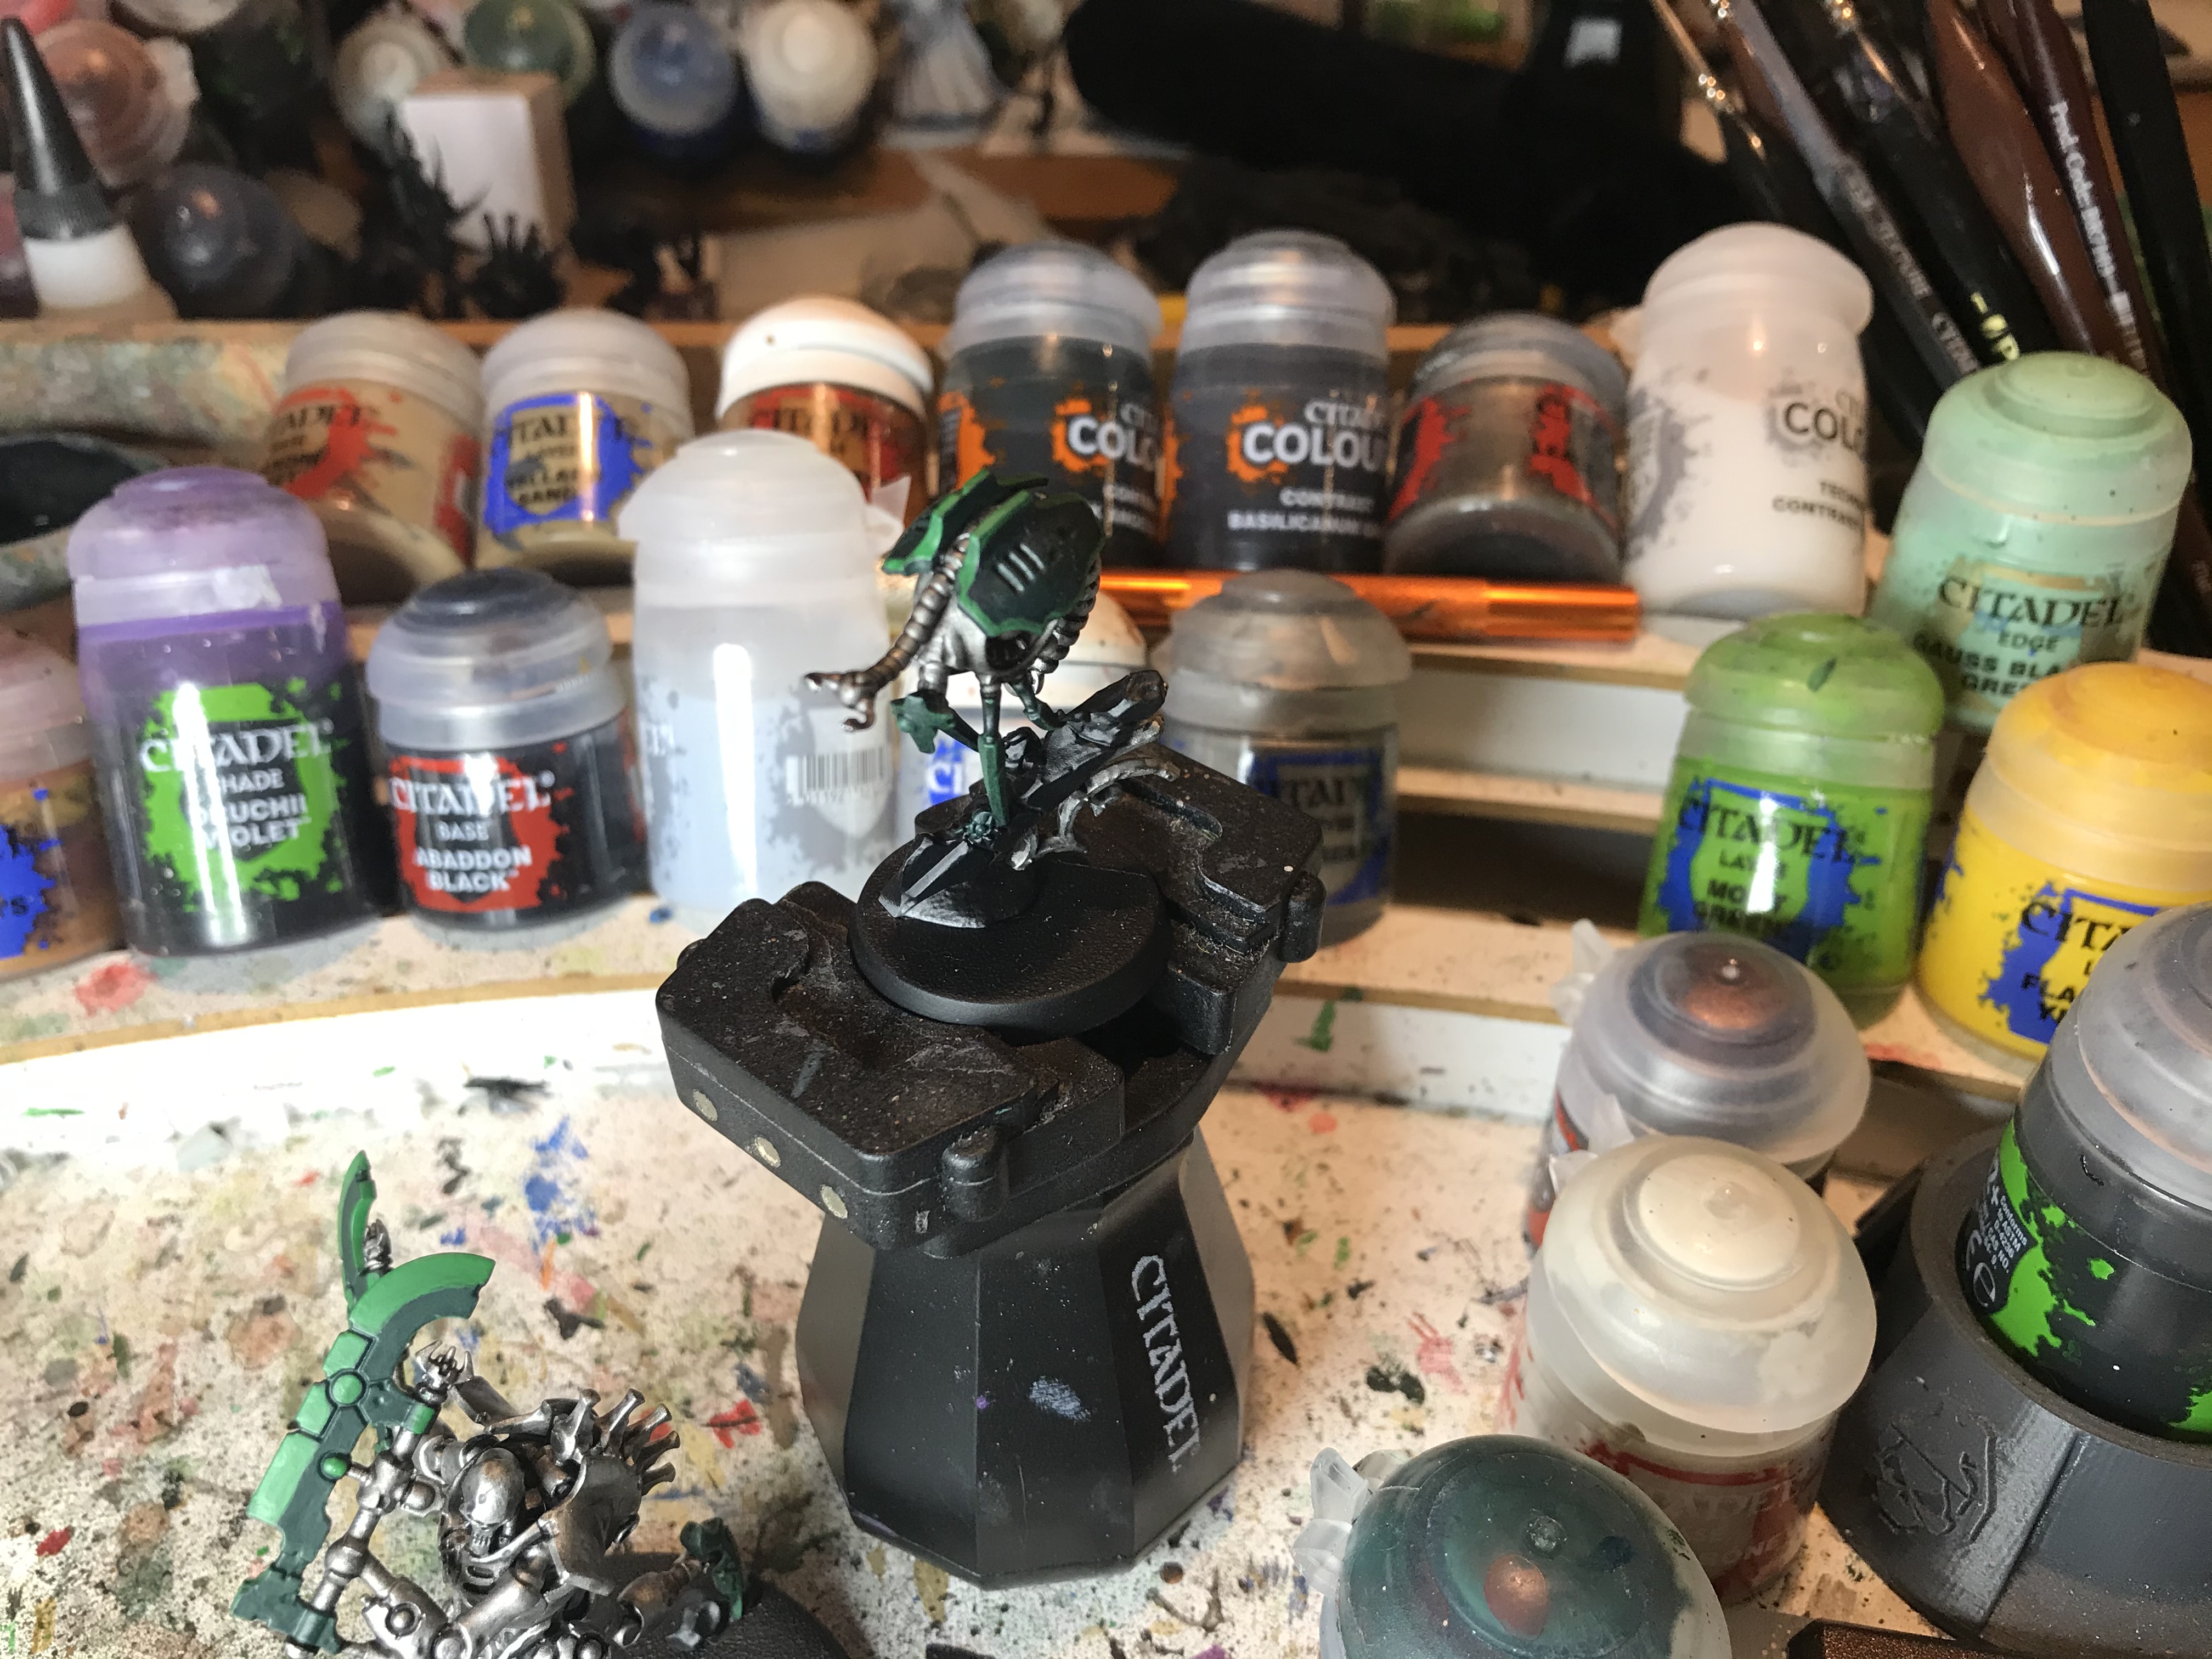
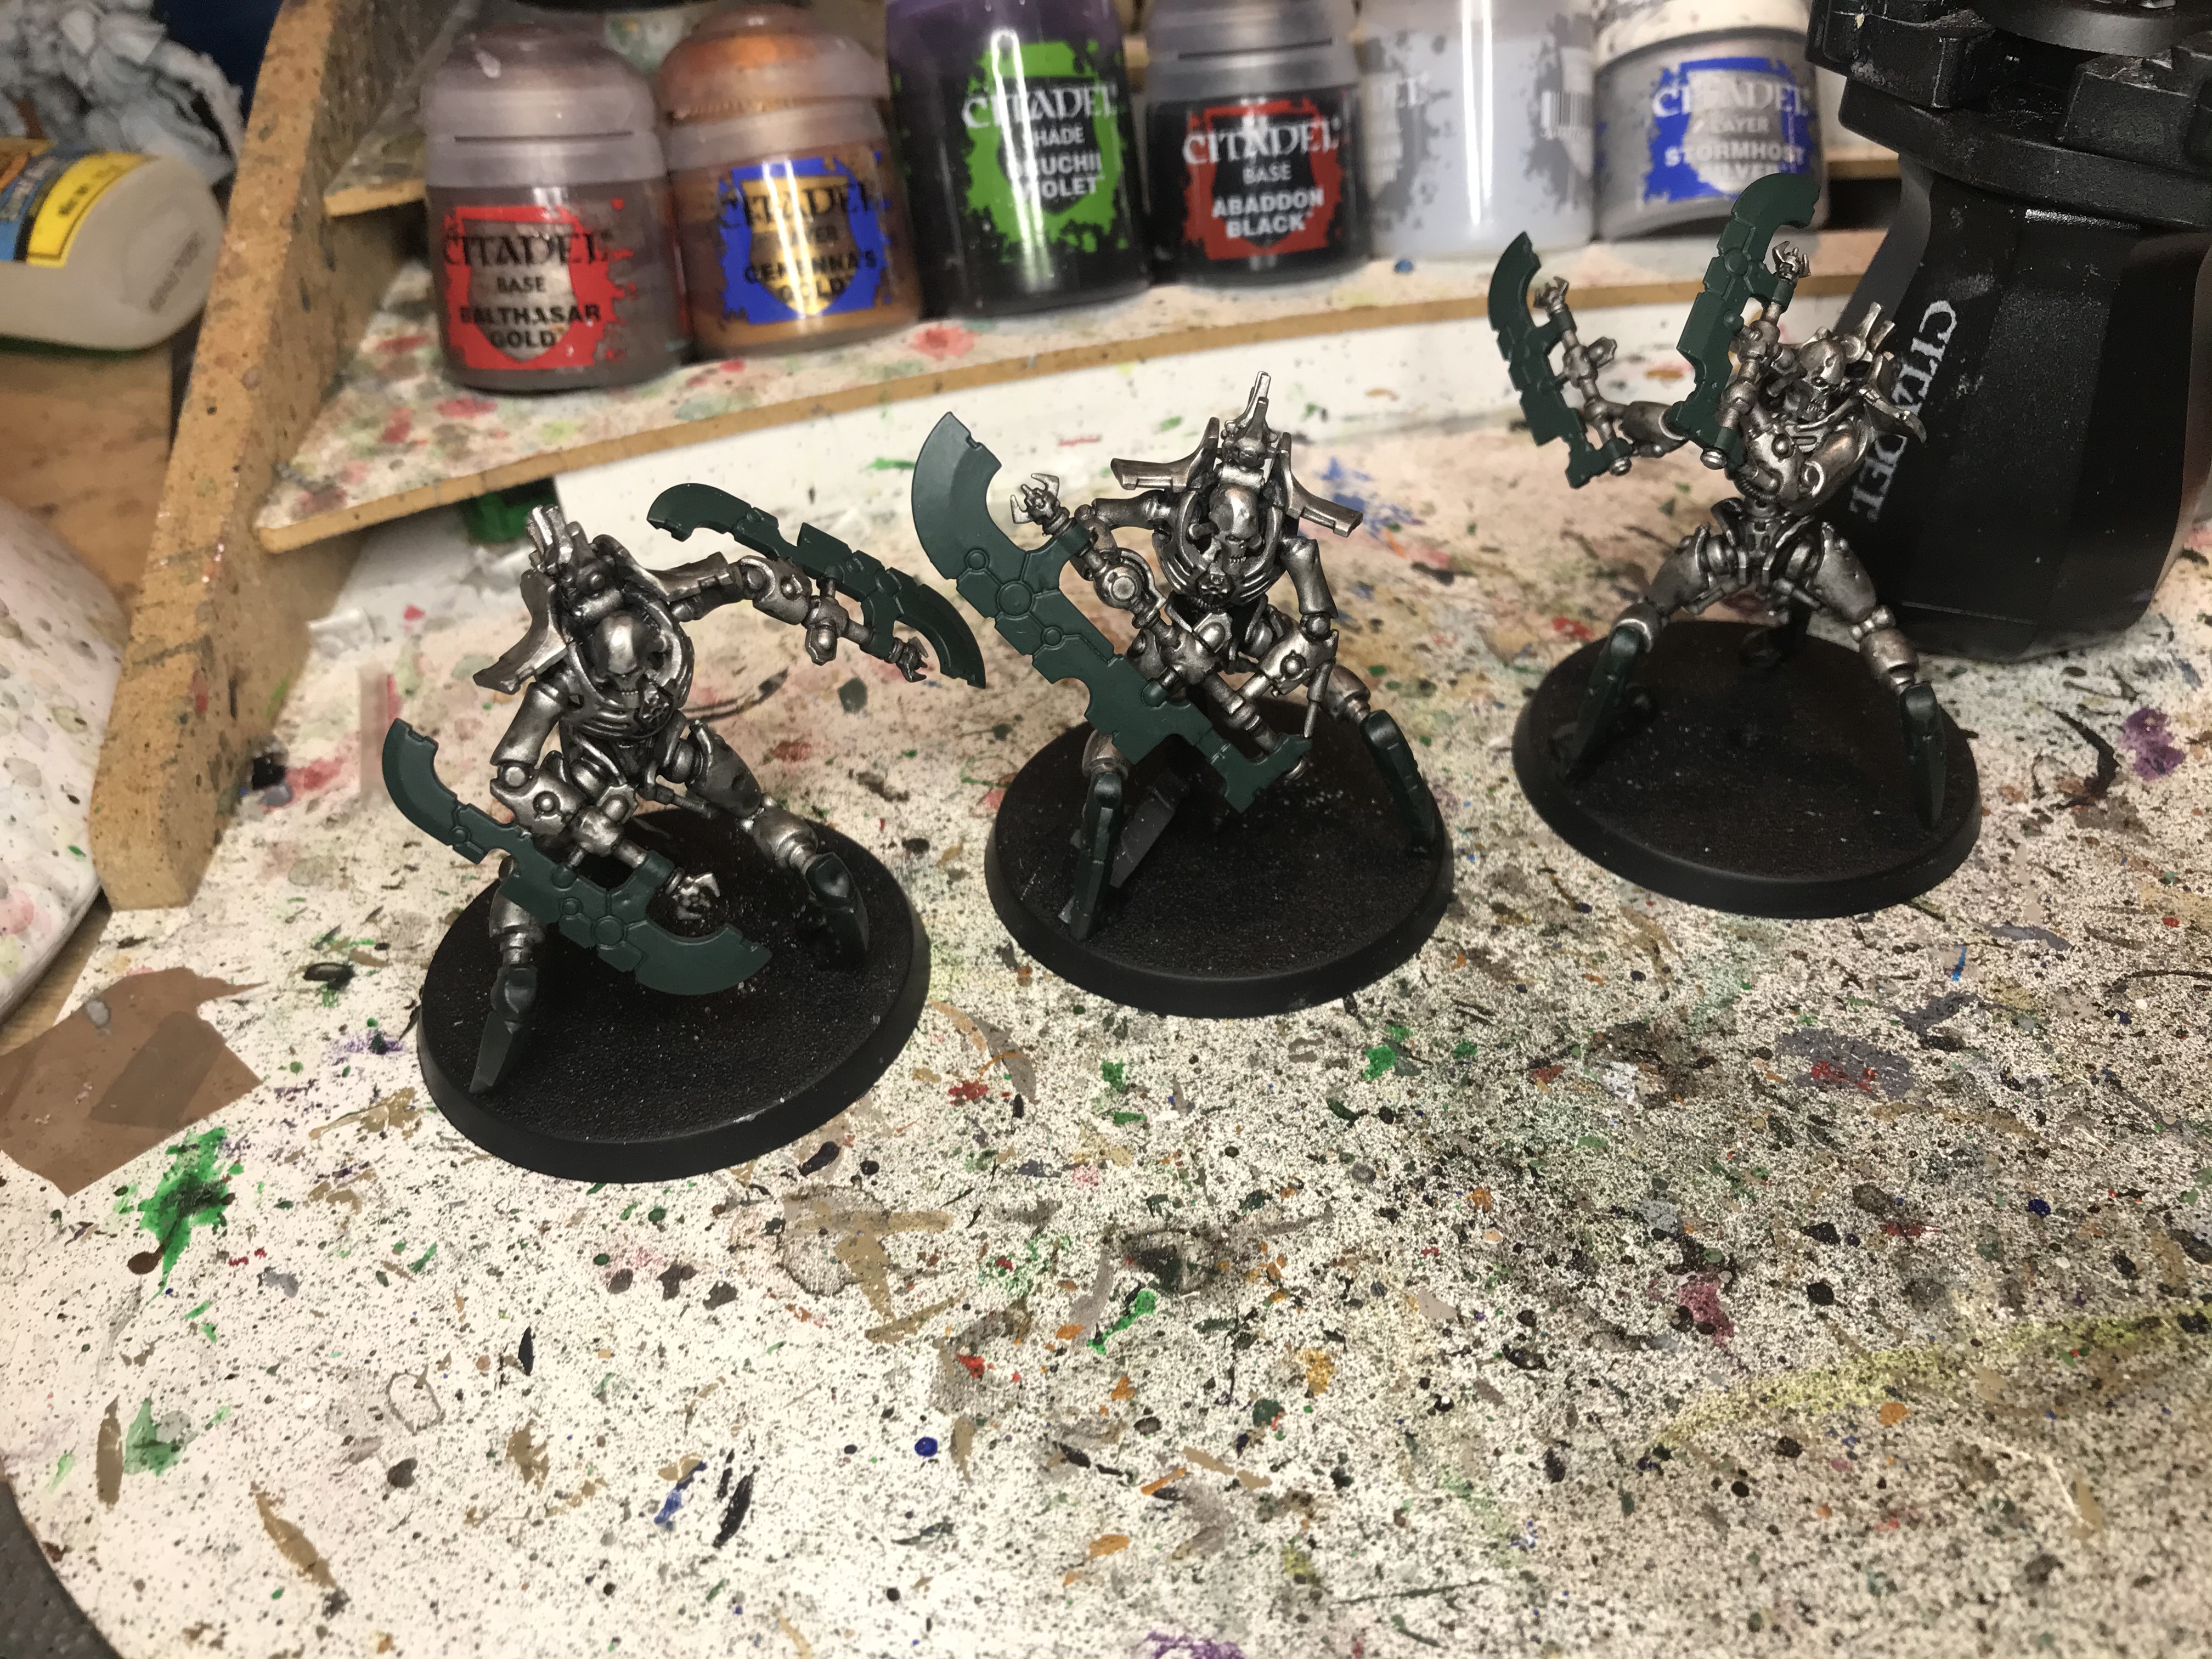 With that done, we can now work on various green things. We start off with thinned Warpstone Glow, edge highlighting the claws and doing thin two coats of it on the angled bit of the blades, plus a few other raised bits on the weapons. We also edge highlight the canopy on the little helper here.
 Now we base in some other metallic. To add some visual distinction on parts of the model, I use Warplock Bronze (later shaded with Nuln) on some other "mechanical" bits such as the weapon handles and arm joins, while using Retributor Armour to base the shoulder pads and weapon protrusions.
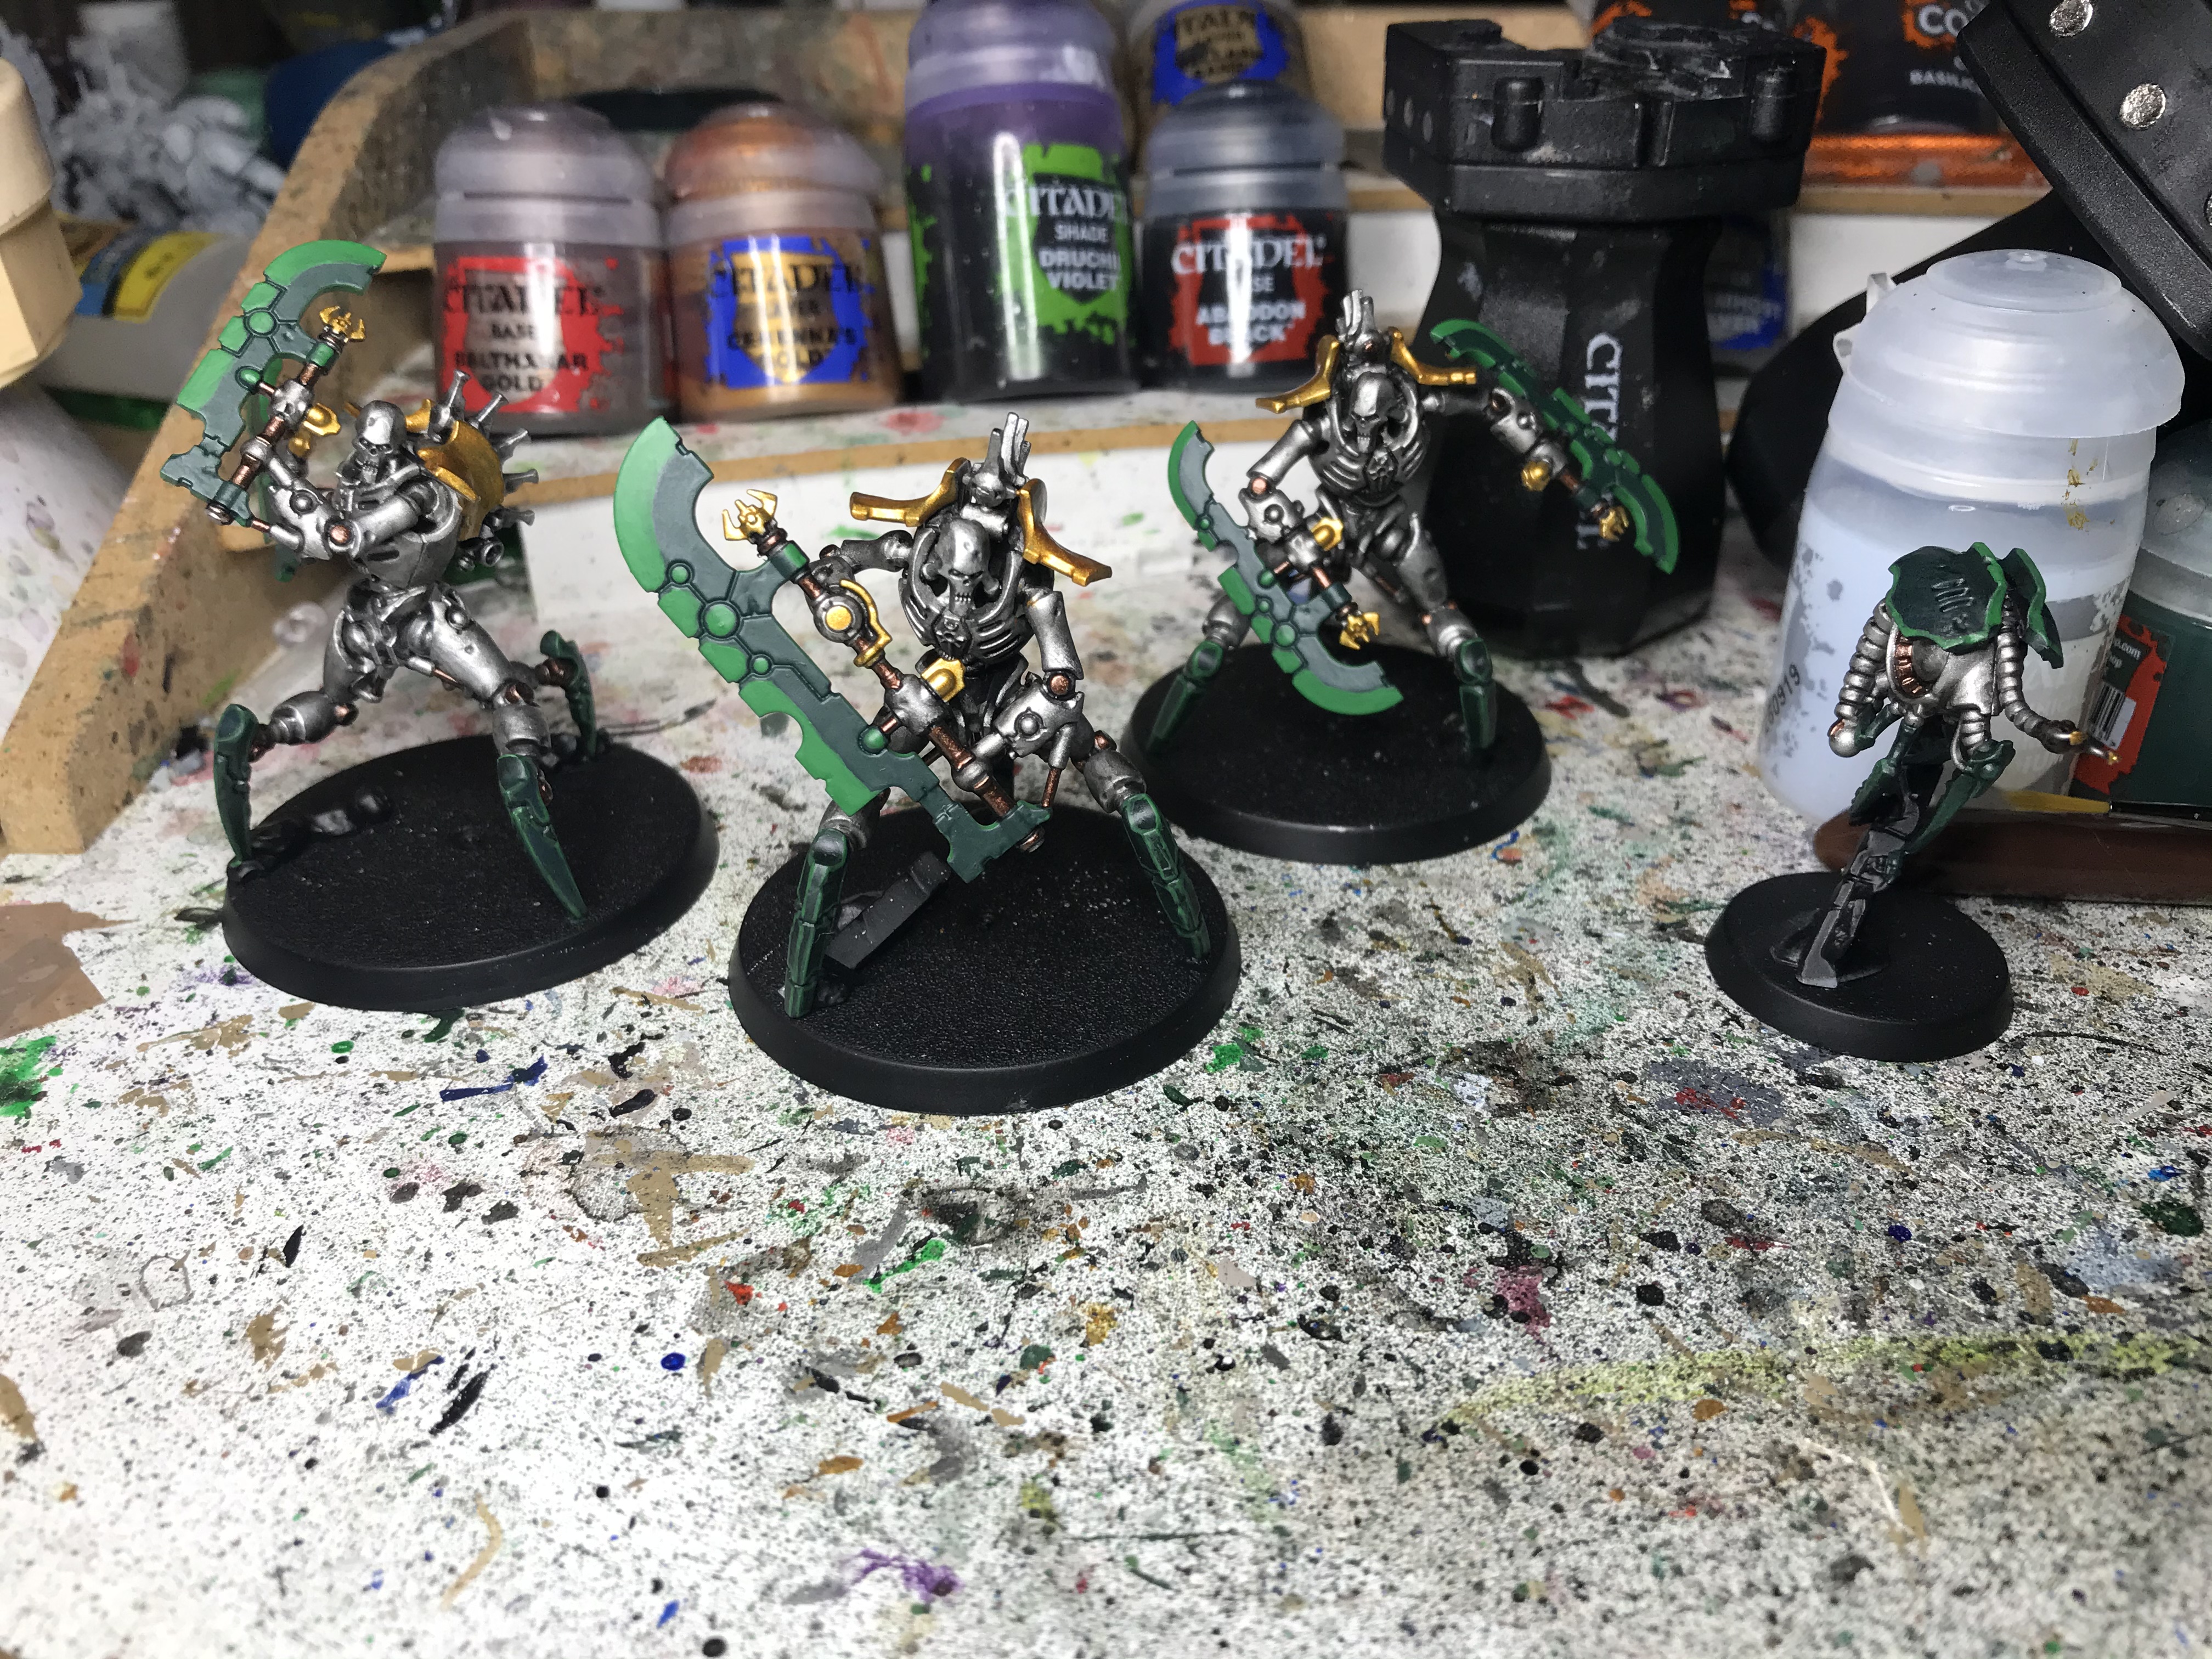 After that, now we're done with any paint applications to wide areas, we finish the legs and blades. The legs get an edge of Moot Green applied via very gentle drybrushing, while for the blades 1:1 Moot Green/Warpstone Glow is used to edge round the back of the weapon, and do a much thicker line on the blade cutting edges. The blades are then finished by a thin edge highlight of Flash Gitz Yellow direct on the blade cutting edge, and an energy glow added to the recesses. To do the latter, I mixed about 2:1 Flash Gitz Yellow and Moot Green and then thinned it down a lot with water. With a detail brush, I then applied it to the recesses, letting capillary action draw it in and wiping any that escaped away quickly with my thumb. This also goes on any of the "vents" that Canoptek canopies tend to have.
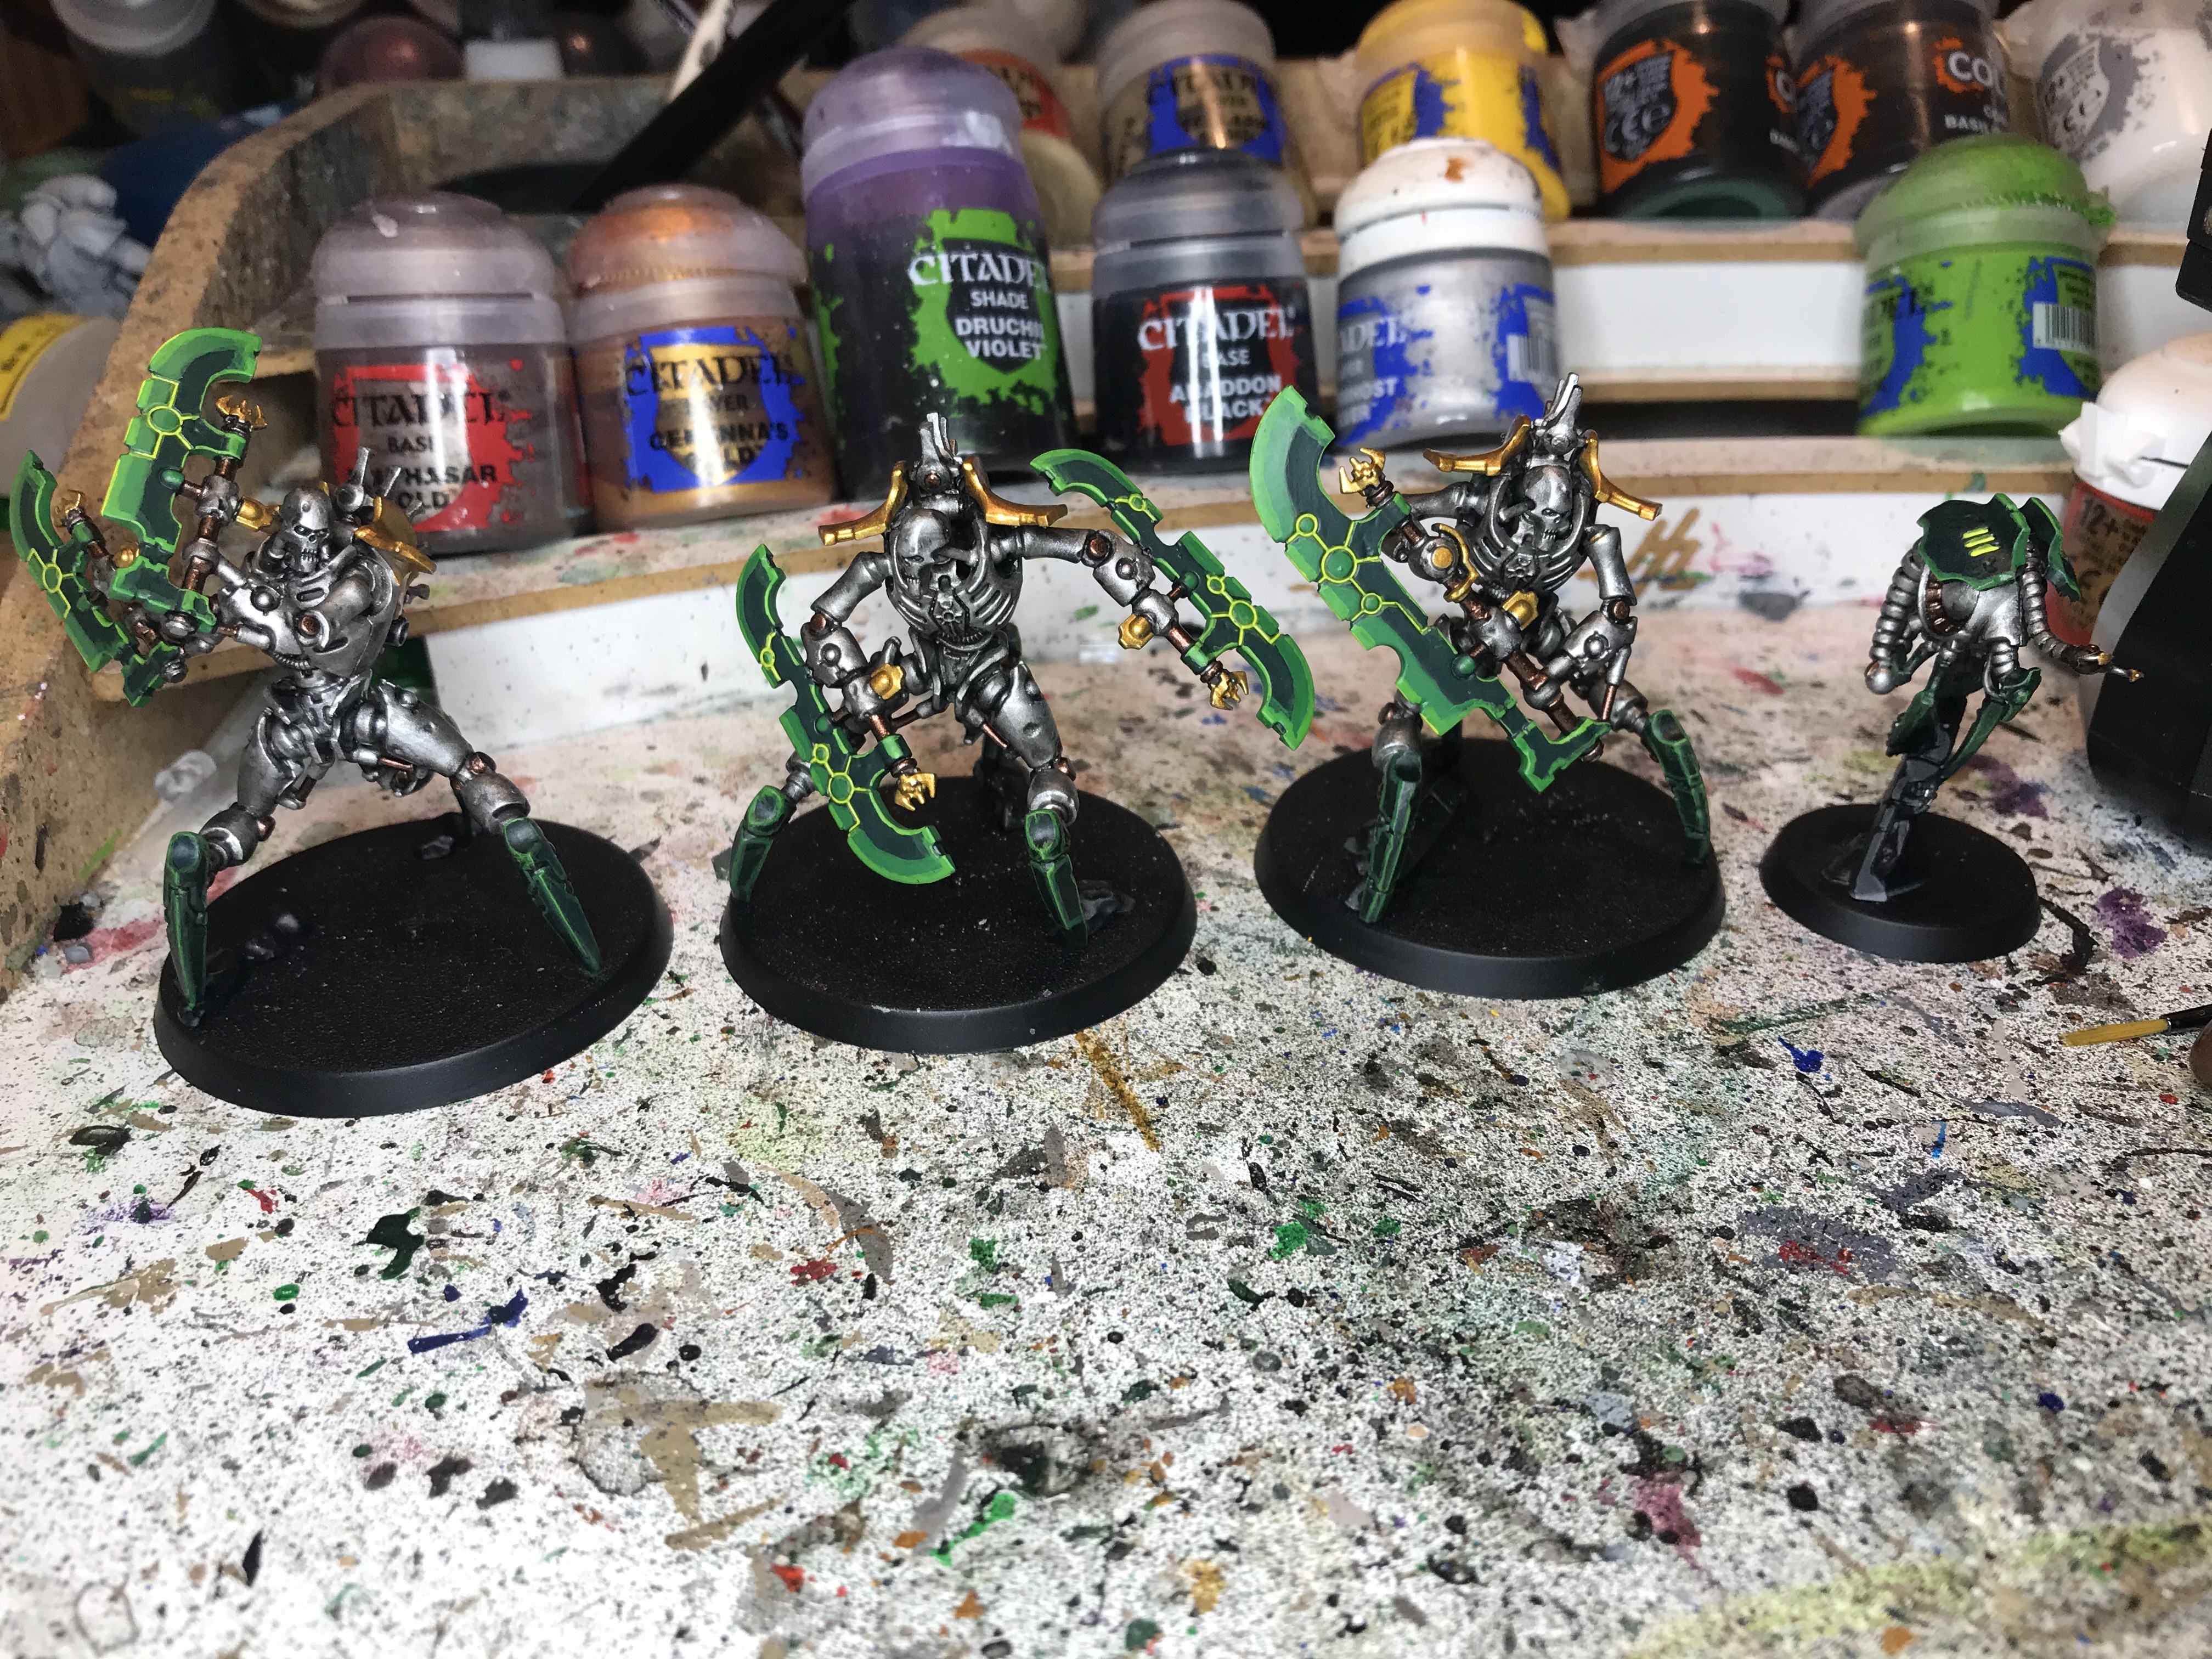 From here we're nearly done. The gold parts get washed with Druchii Violet, then drybrushed with Gehenna Gold and then lightly drybrushed on the edges with 1:1 Retributor Armour/Stormhost Silver. The models have what are clearly "energy orbs" on a few places, so these I hit with Stormhost Silver then thinned Ork Flesh Contrast. For the Plasmocyte, I gave it an evil glowing red eye using Blood Angels Red Contrast over the silver instead. Finally, as these are still non-royalty among the Necrons, they get a black chest runeplate, with the rune itself picked out with Moot Green. A dot of moot green on each of the eyes, and the models themselves are done.
 As you can see above, I've also worked on the bases. A lot of Indomitus models have some scenic parts where their legs join the bases to hide the pegs for attachment. I've done brown or grey stone on the bases of my Necrons before, but always been vaguely disappointed in how it looks. I decided to change that up for these (and will update some of my other models down the line) and do a blue marble recipe I've recently been using on statues. This contrasts much more interestingly with both the silver Necrons and the yellow sand of the bases. The recipe is:
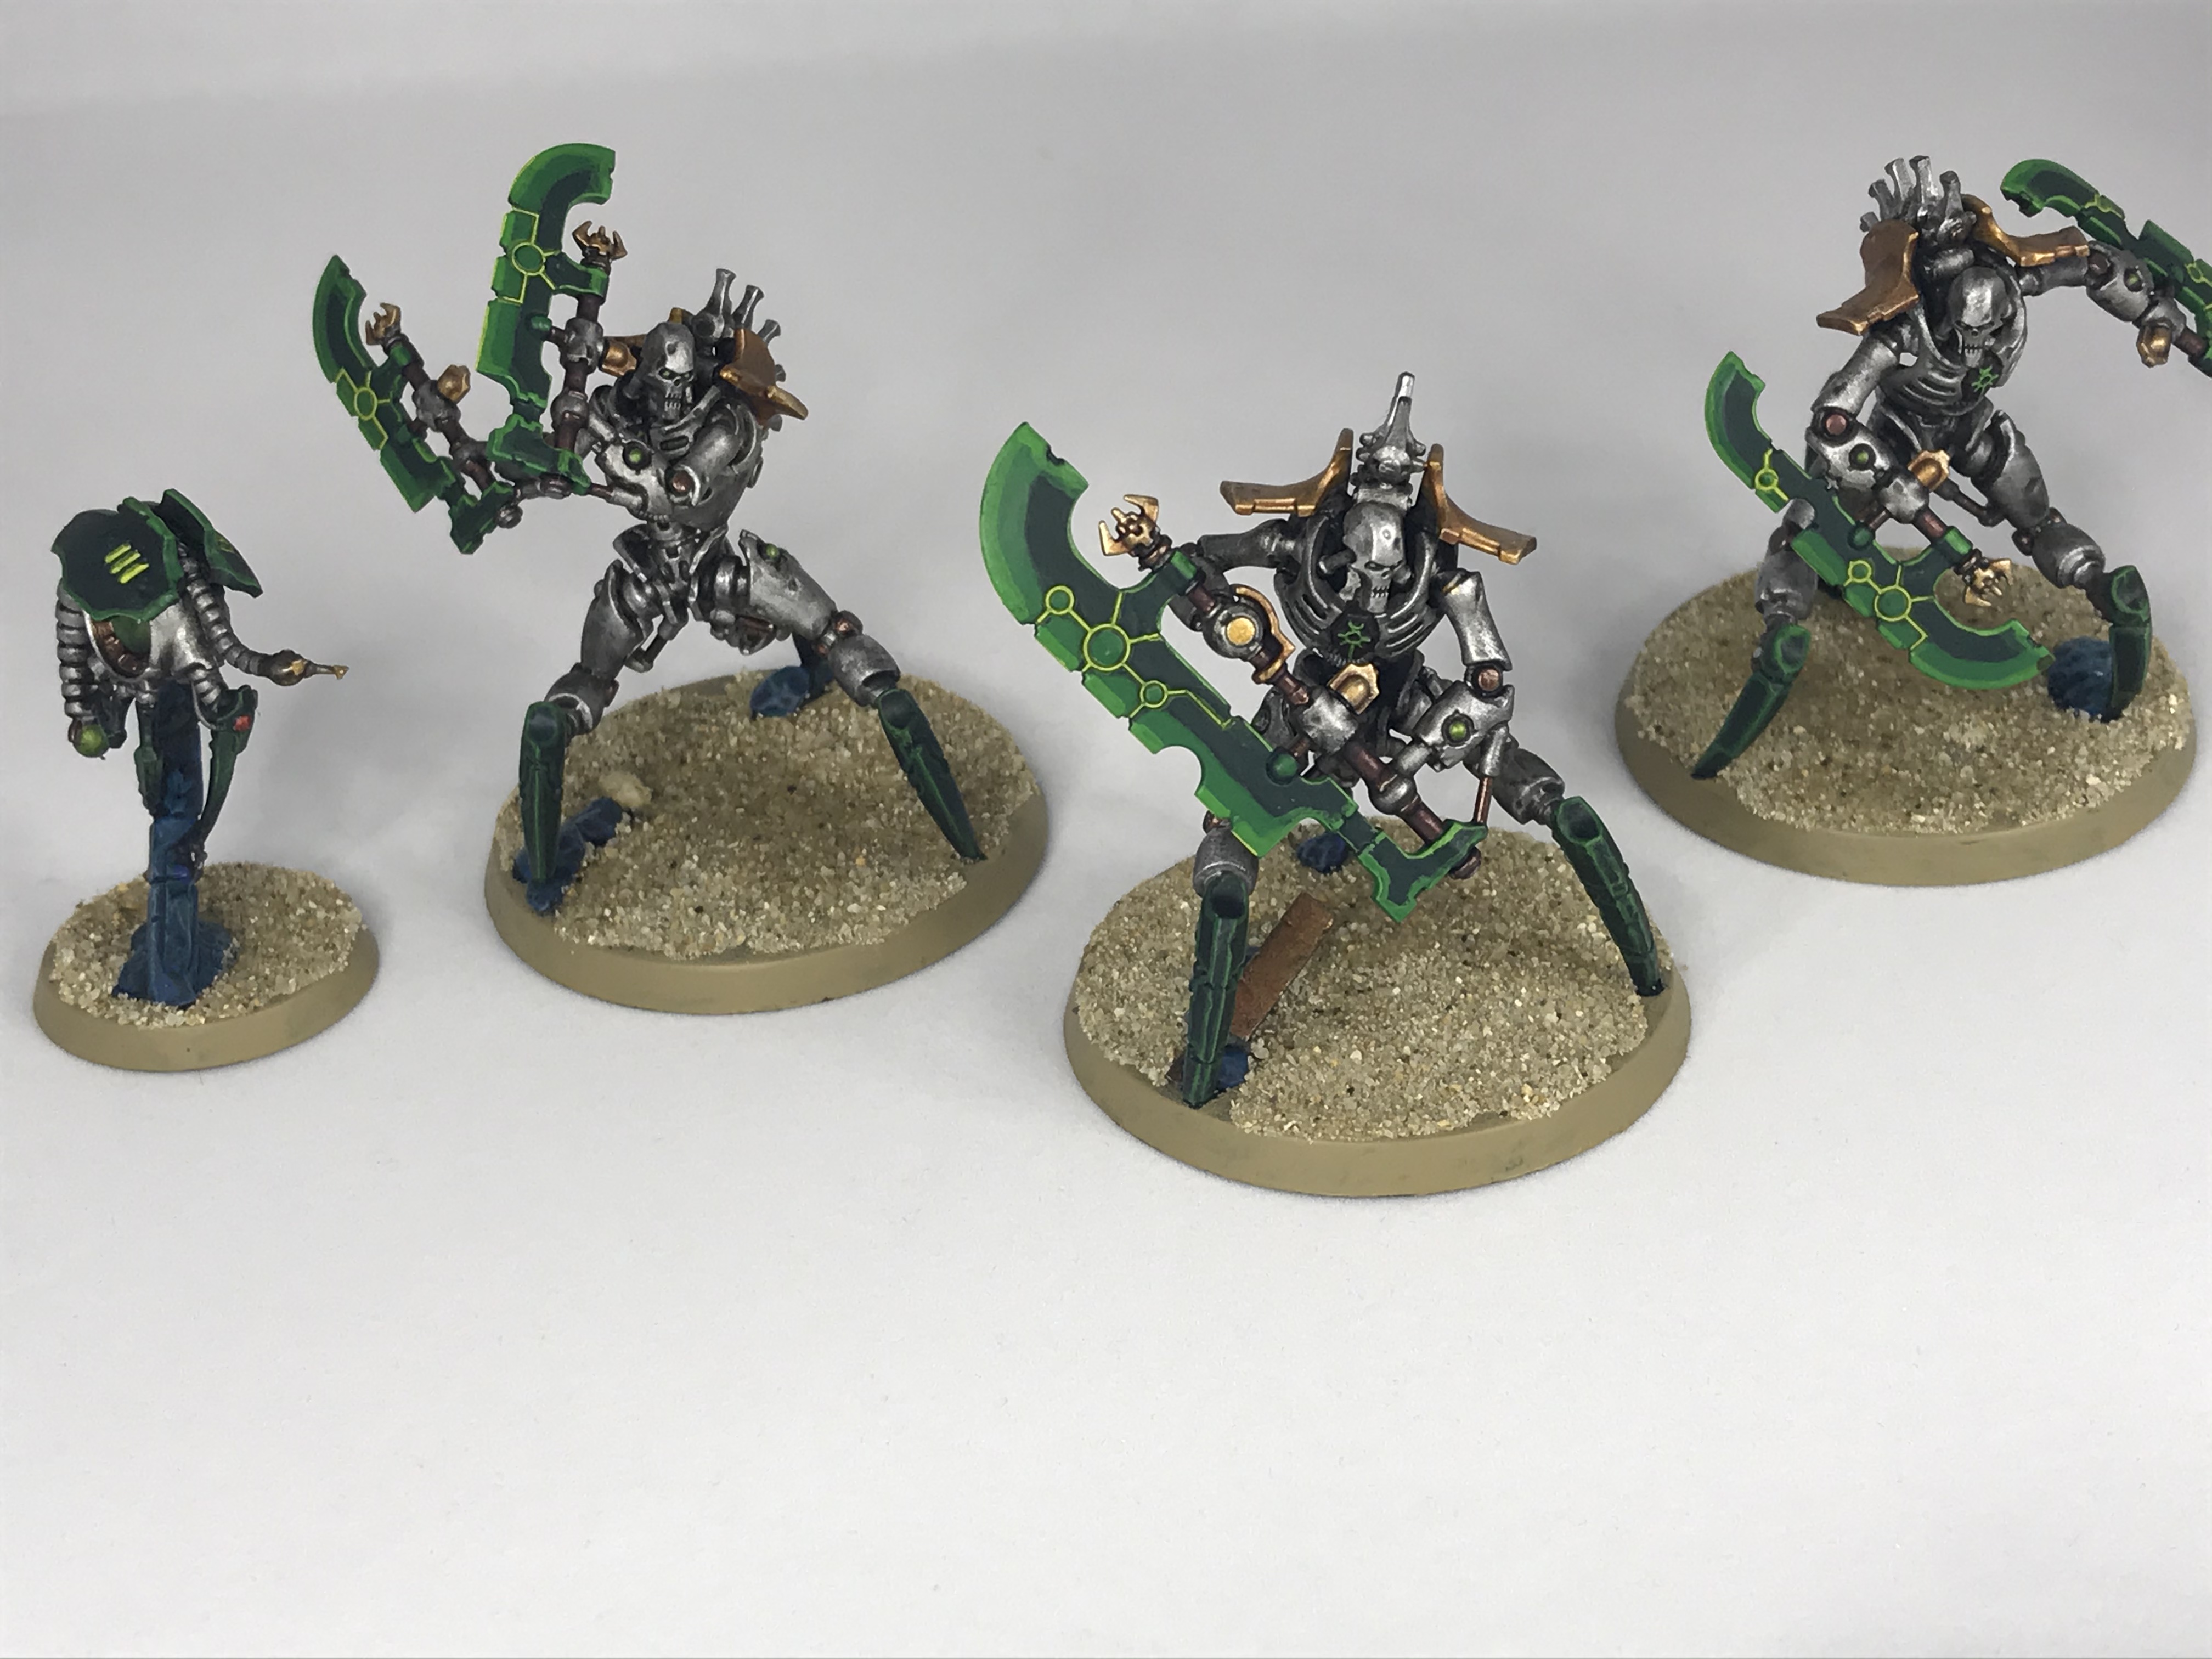 Skorpekh Destroyers. Credit: Wings
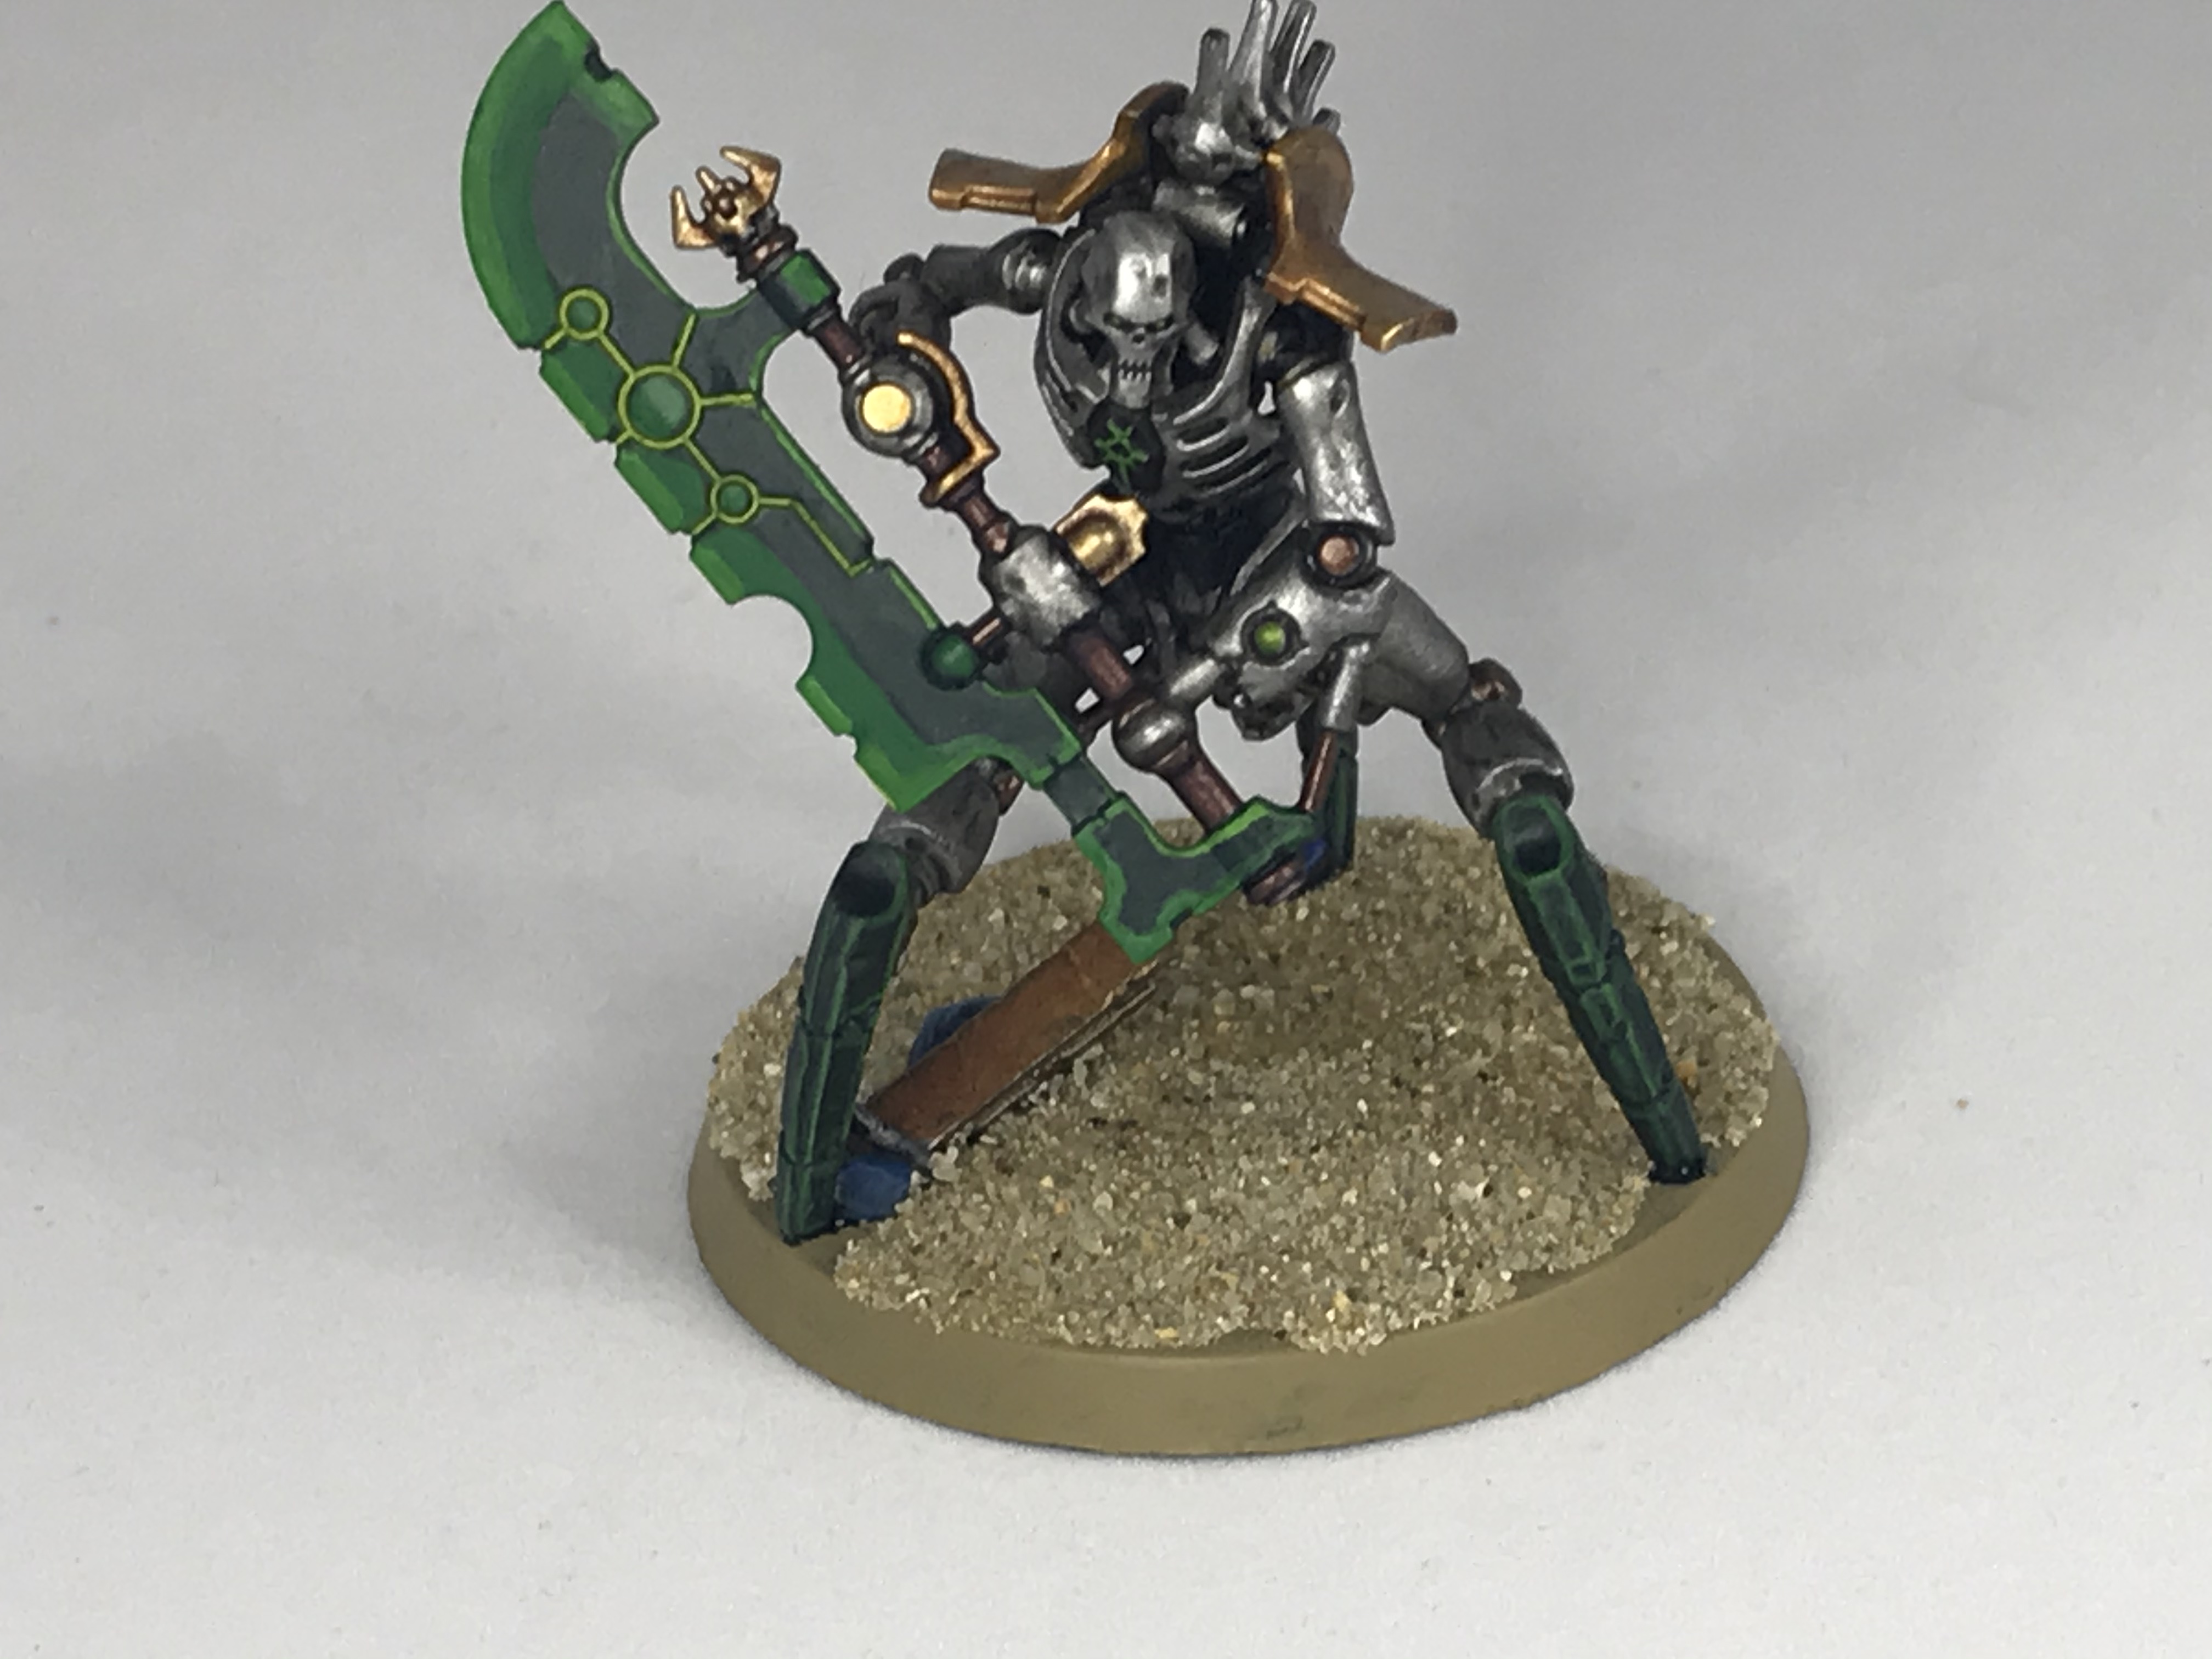 Skorpekh Destroyers. Credit: Wings
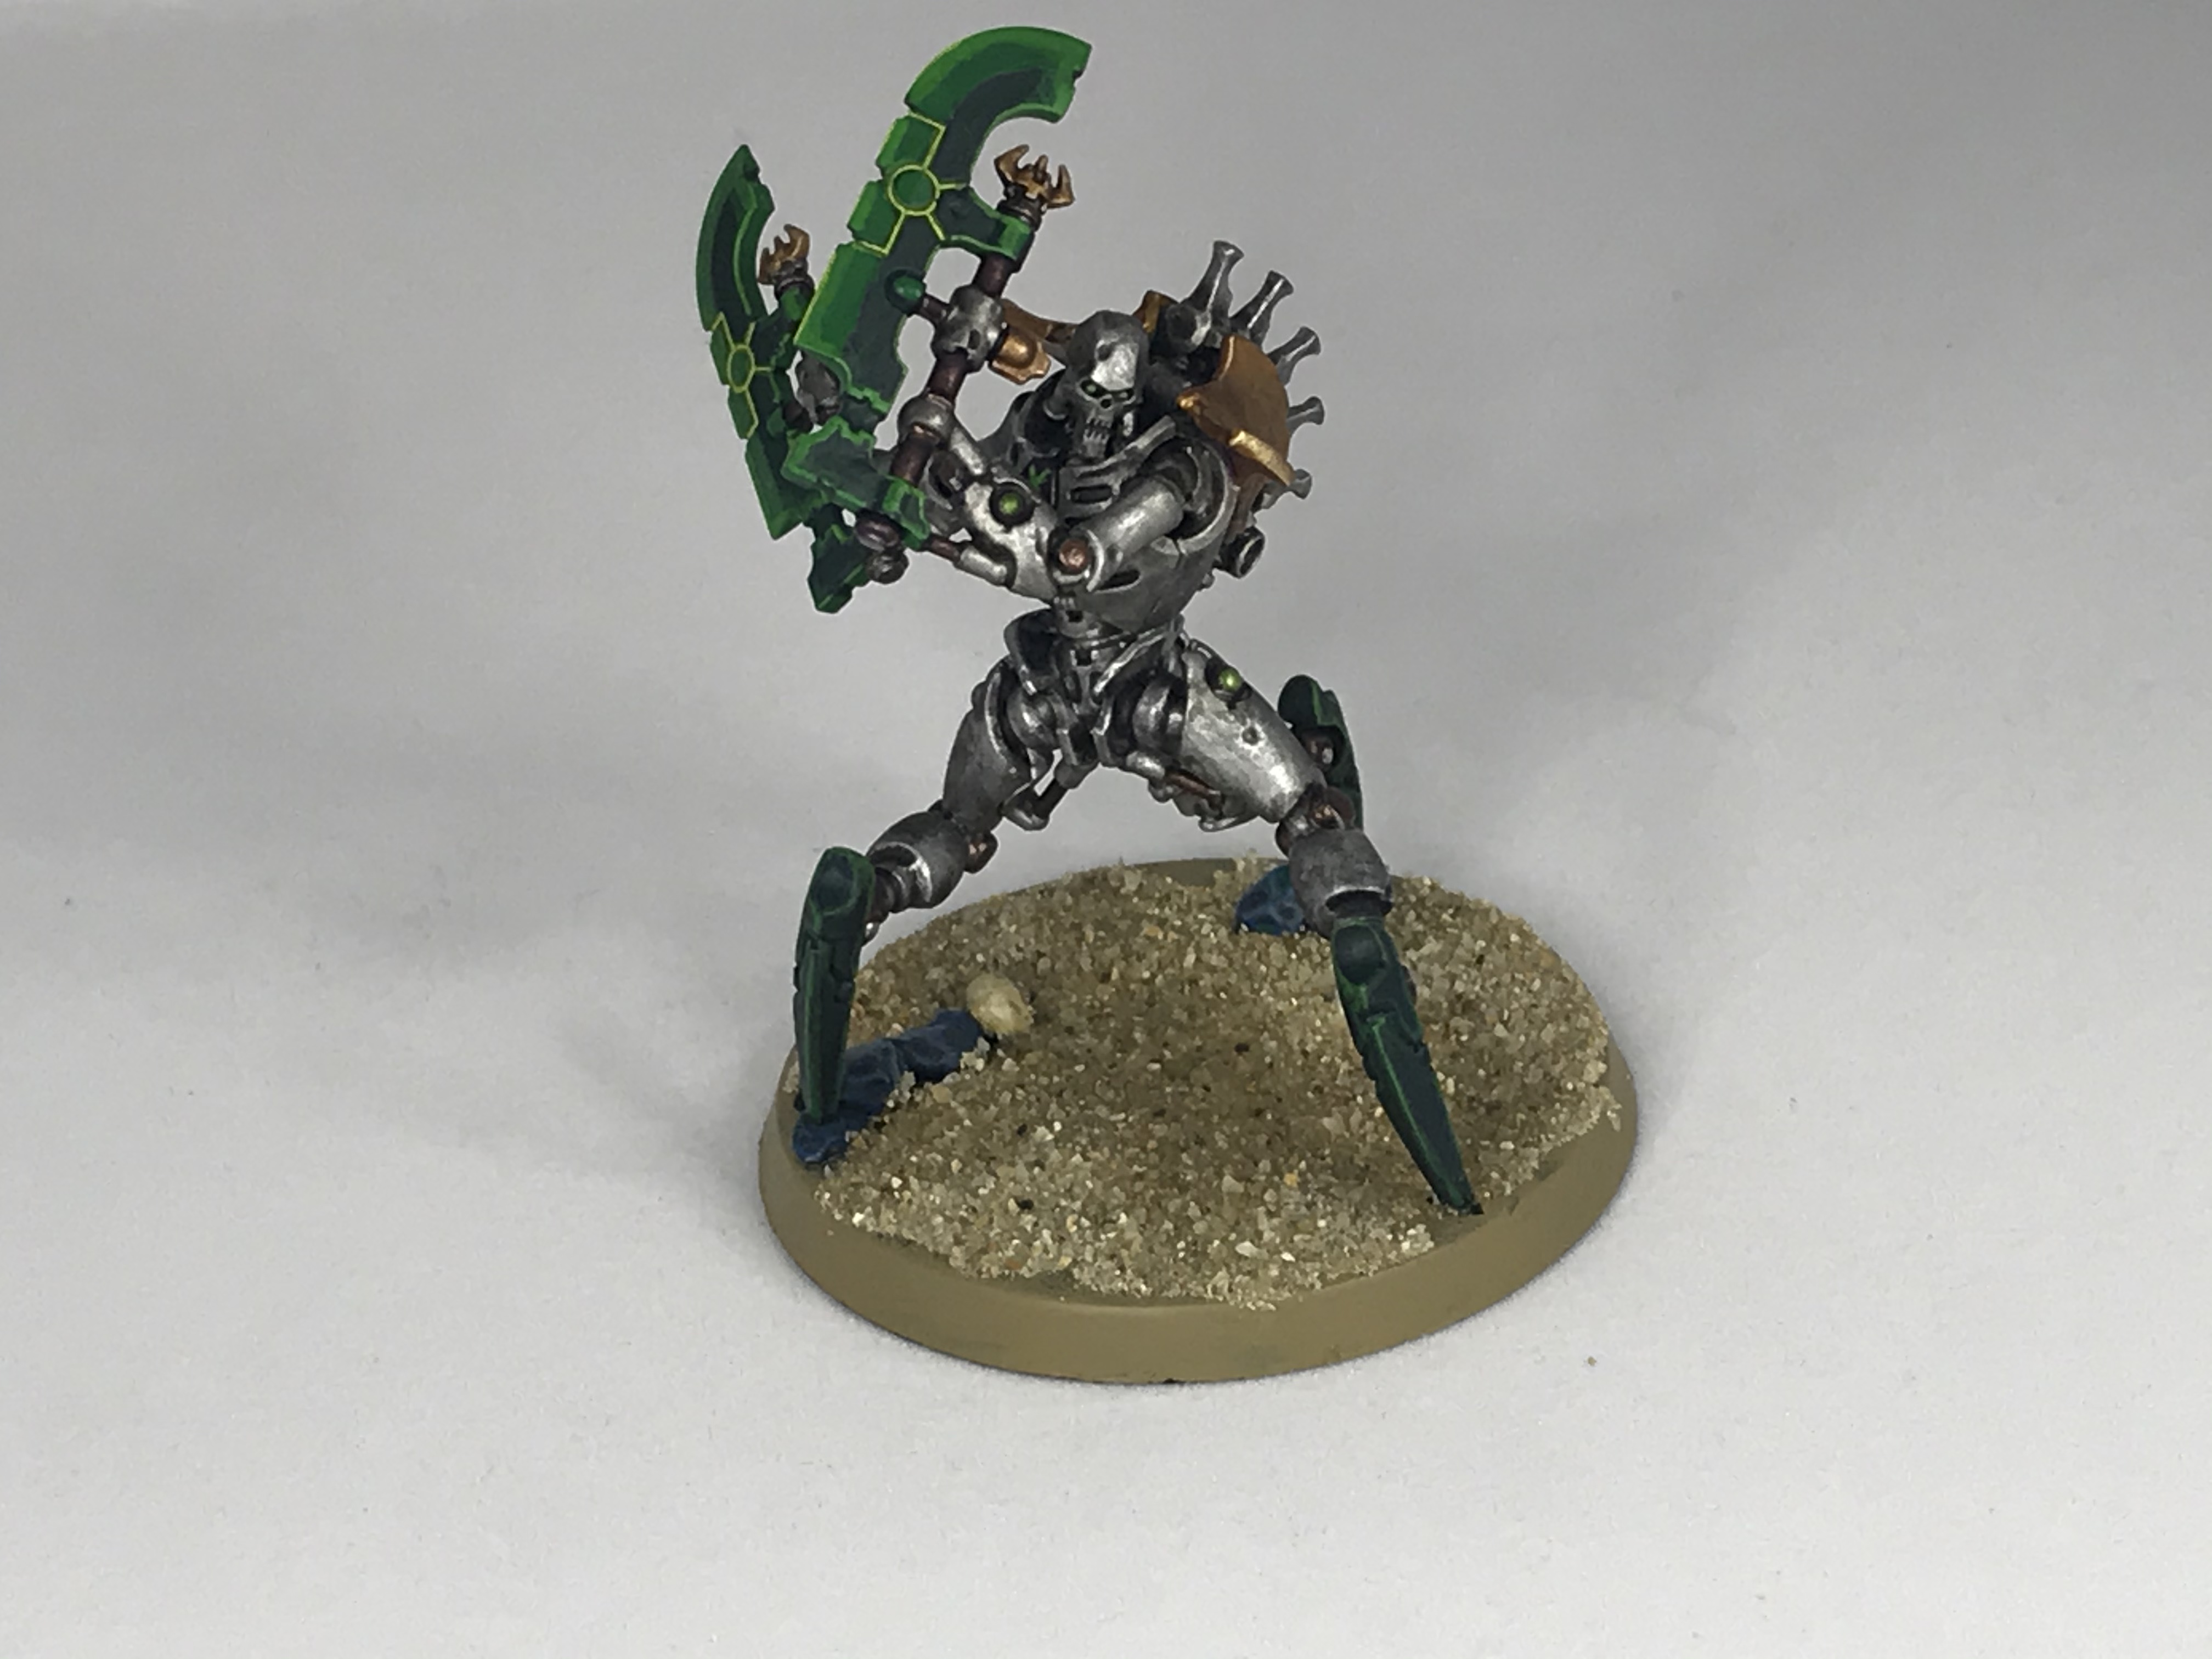 Skorpekh Destroyers. Credit: Wings
 Skorpekh Destroyers. Credit: Wings
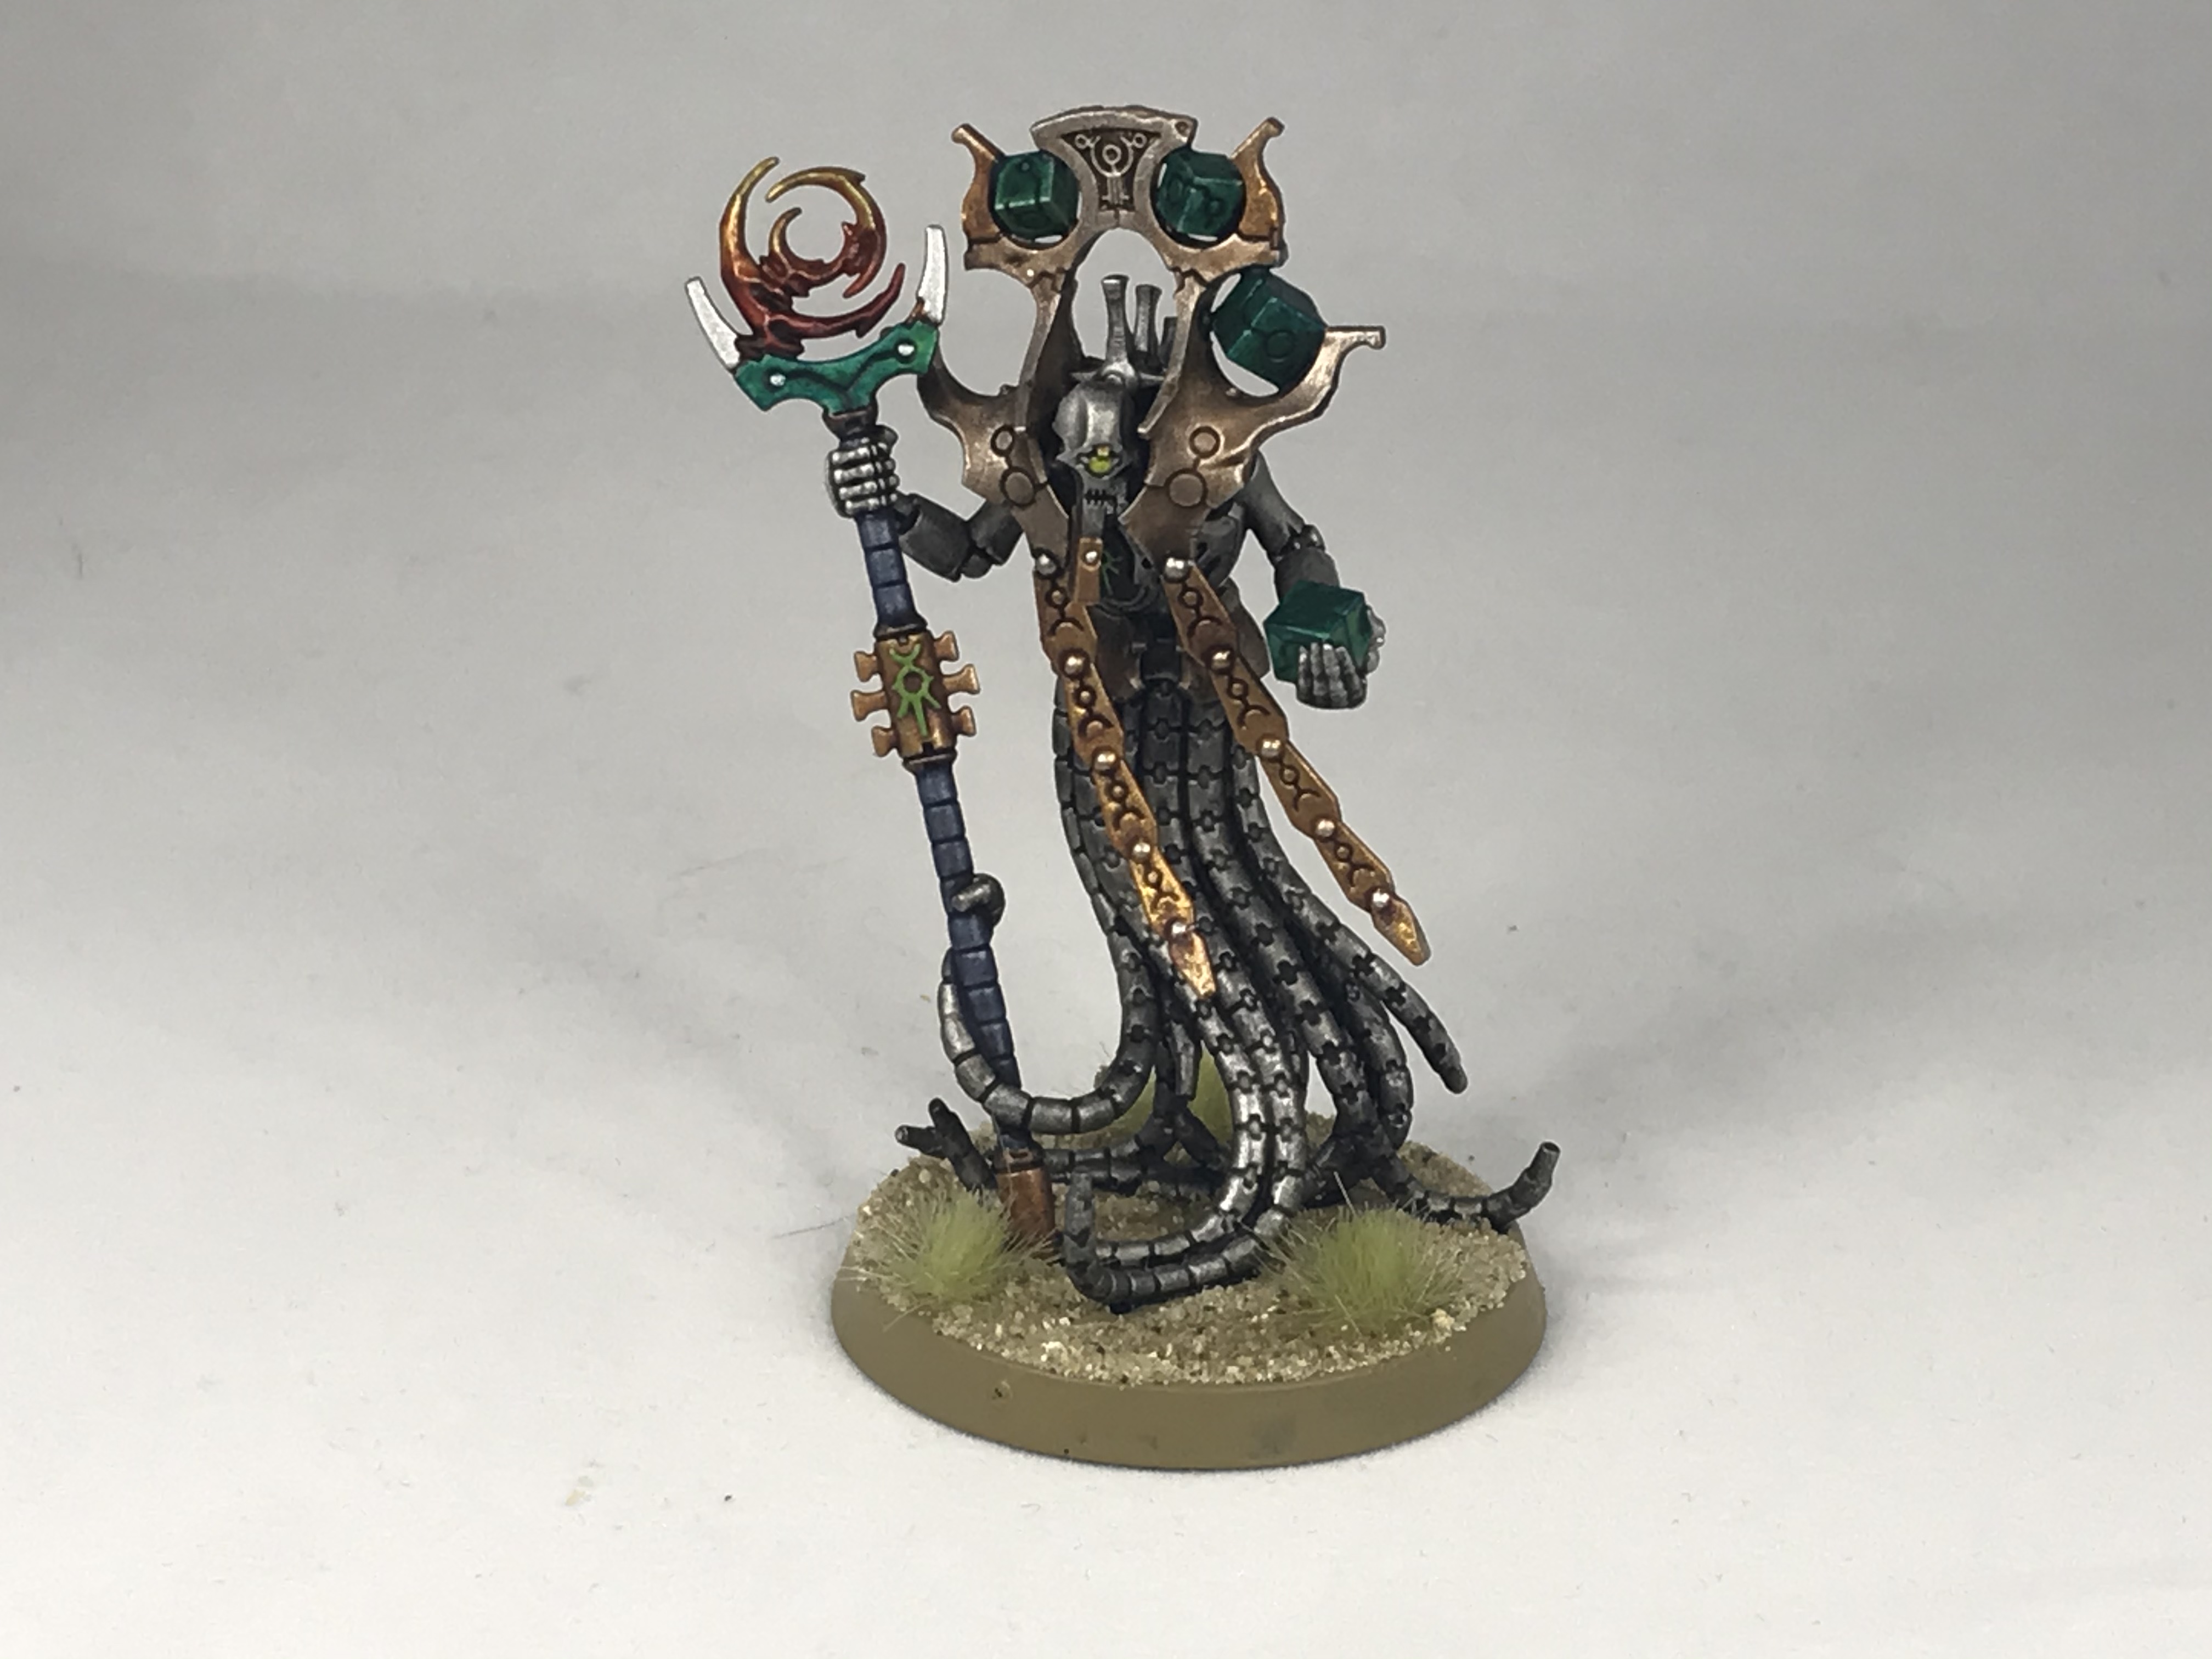 Chronomancer. Credit: Wings
Tags: Painting | 40k | hobby | Necrons | Warhammer 40k | tutorial | How to Paint Everything | Sautekh

Thank you for being a friend.
 Goonhammer Hobby Round-Up: March 2026
 Goonhammer Reviews: Tribal Conquest
 Conquest: Weaver Courts Gemred Knights and Scaile Dancers Model Review
Support us on Patreon to get access to our Discord and exclusive App features.
Thank you for being a friend.
Already a Patron? Login with Patreon.
Visit our incredibly official store on RedBubble.
![]()
![]()
Support us on Patreon to get access to our Discord and exclusive App features.
Thank you for being a friend.