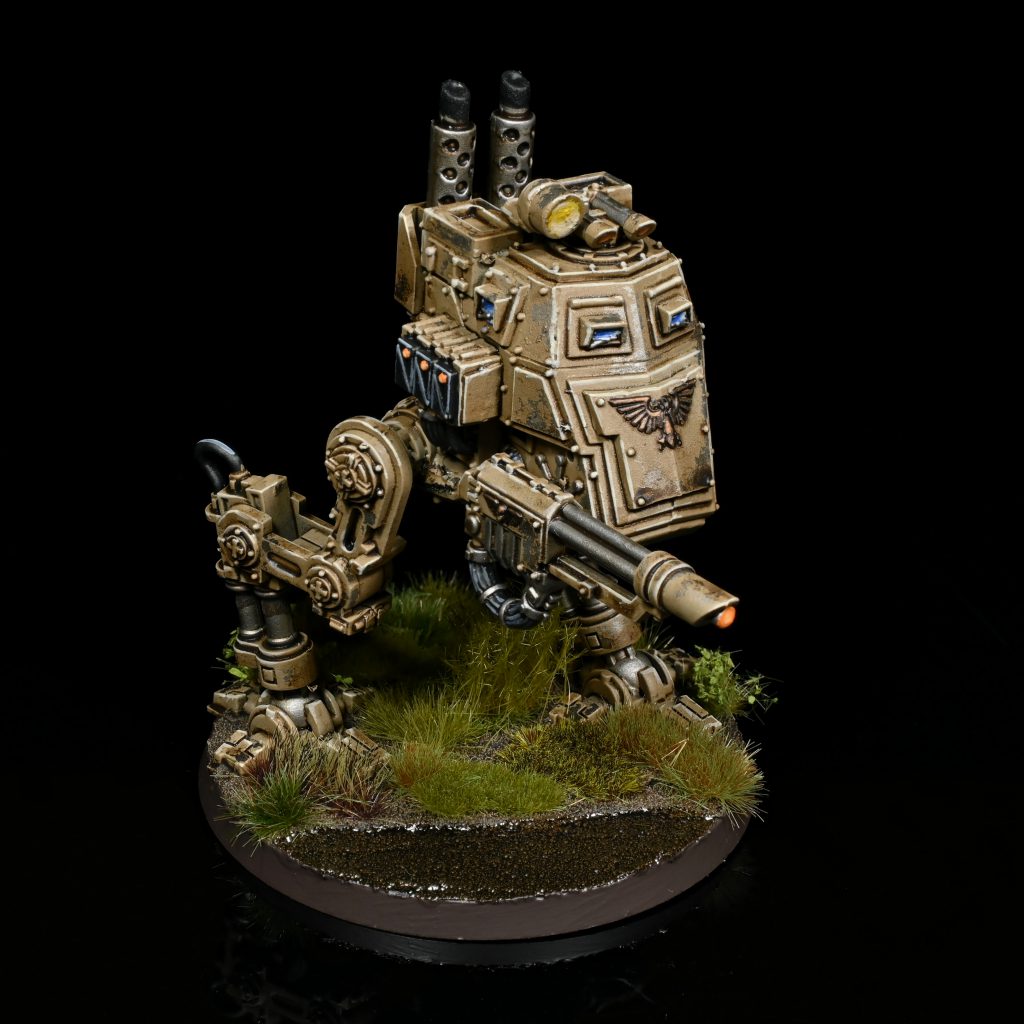
Those of you who have seen our August Hobby Round-up will have noticed that in addition to starting GSC I had a guard sentinel in the same colour scheme, this is essentially the cheat I am doing to say that technically I am not starting multiple armies at the same time. While I am using this scheme for my totally loyal guard, it would still work well for worshippers of Four Armed Emperor, in fact my plan is to make use of krieg and otherwise facially obscured models so that I can run them as loyalist guard if the whim strikes me.
Since this is a guard orientated HTPE article you will find pieces unique to them here, for example weapon effects and lens colours. If you have interest in some of the details specific to GSC scheme like webbers and tyranid gribbly bits you can find that over in their article.
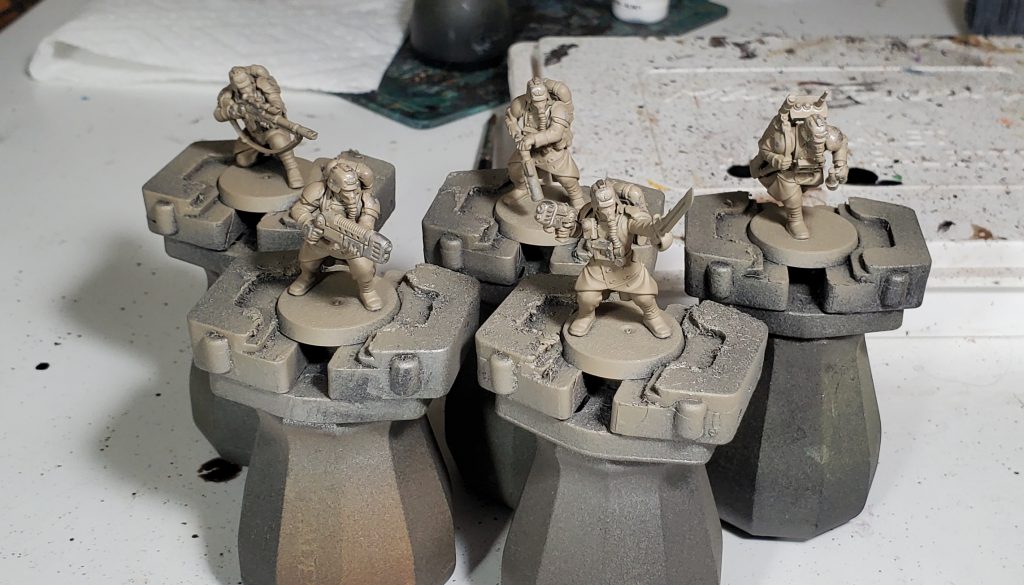
After priming black I gave the models a coat of Vallejo Metal Colour (VMC) Duraluminum, followed by two thin coats of Vallejo Chipping Medium thinned down with water. You might be able to get away with one thicker layer but this stuff is weird to apply through a airbrush, so your experience may vary. After that was just about dry, I applied a coat of Vallejo Model Air (VMA) Yellow Brown that I then chipped back in a few ways to get variety:
Once the chipping is where you want, its crucial that you seal thoroughly with varnish, otherwise washes and later paint layers can reactivate the chipping medium. In my case I am using either Vallejo Mecha Matte or Premium Air Matte, and I am not quite sure how other finishes will affect how the the scheme turns since there are a lot of washes involved.
Do note, that while I describe doing this with a airbrush you could probably do it by hand or rattle can, its just that it might take a lot longer.
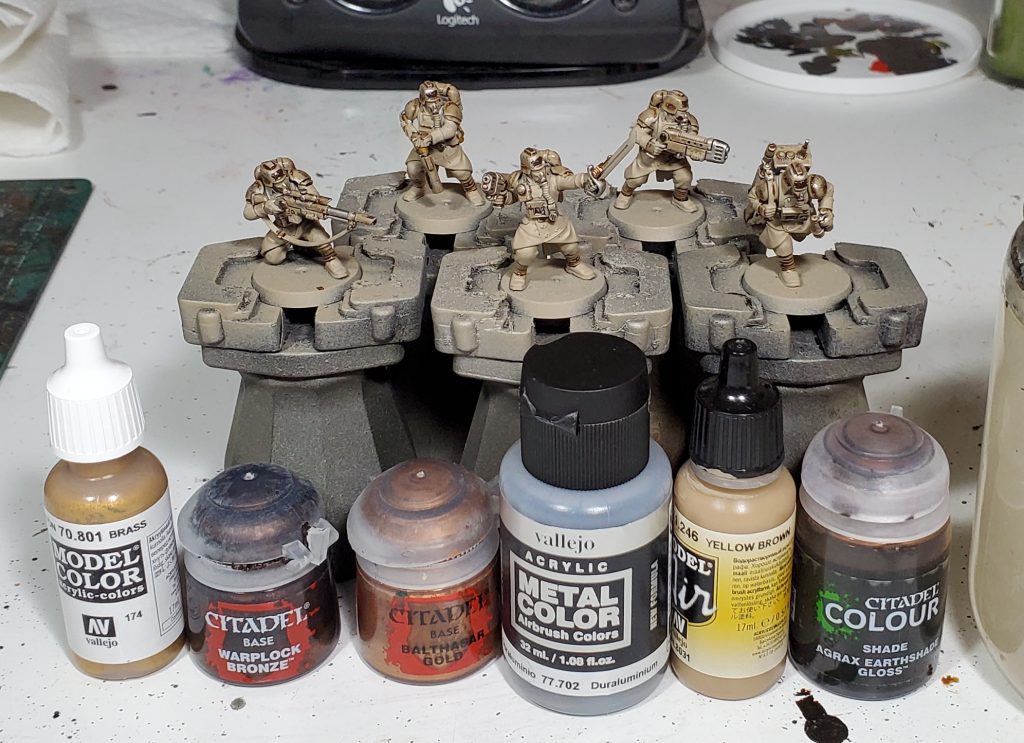
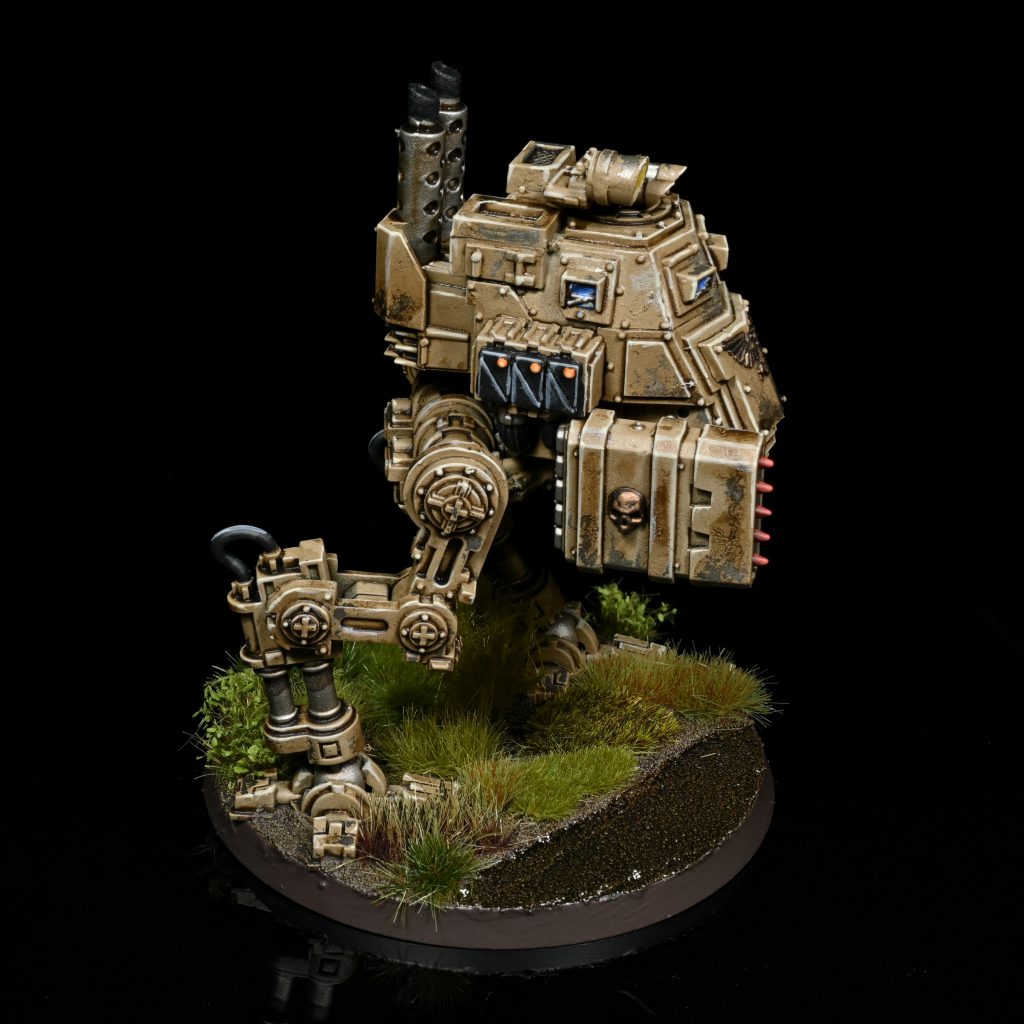
We start with getting all the metals done, the main aluminum/steel is VMC Duraluminum like under the chipping. The remaining metals are Warplock on the iconography and Balthasar on copper like the power sword power unit. Then the metal and armor panels are washed with Agrax Gloss, this will get us the final sandy beige of the main armor and recess shading on the metals.
I went over anything that will be covered with contrast and the uniforms with the yellow brown to cover up any undesired chipping.
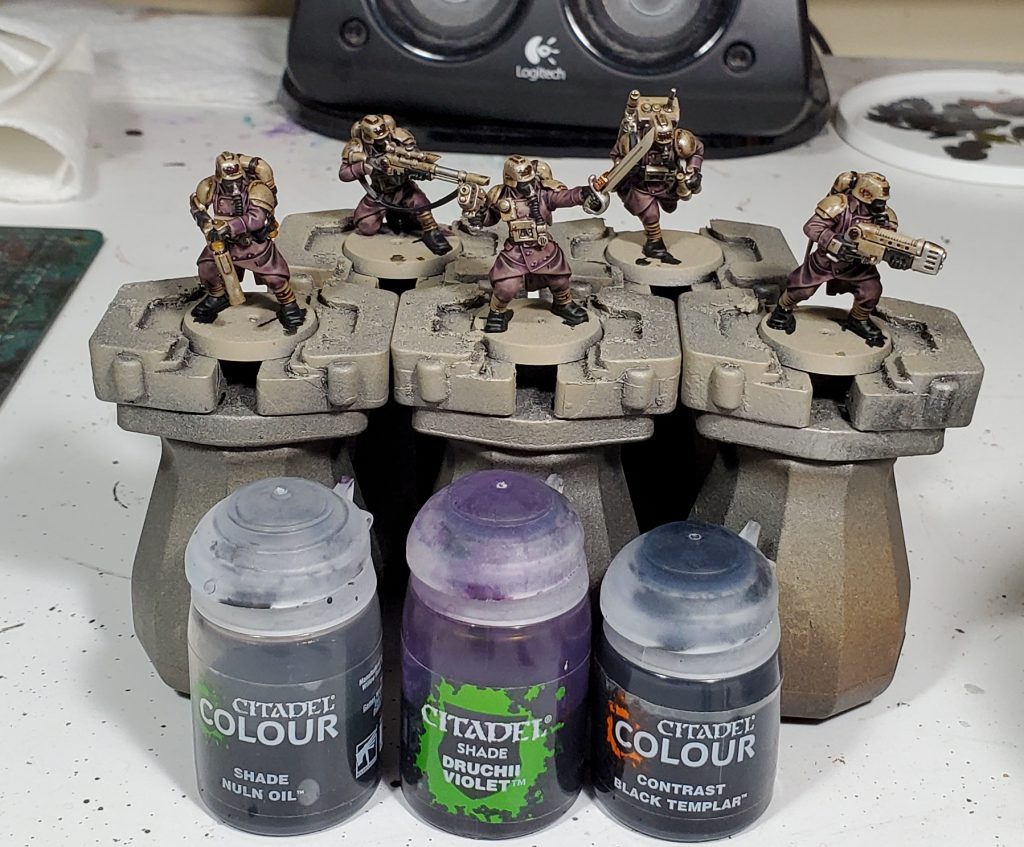
The uniforms are washed with Nuln and Druchii and the leather and rubber is washed with Black Templar.
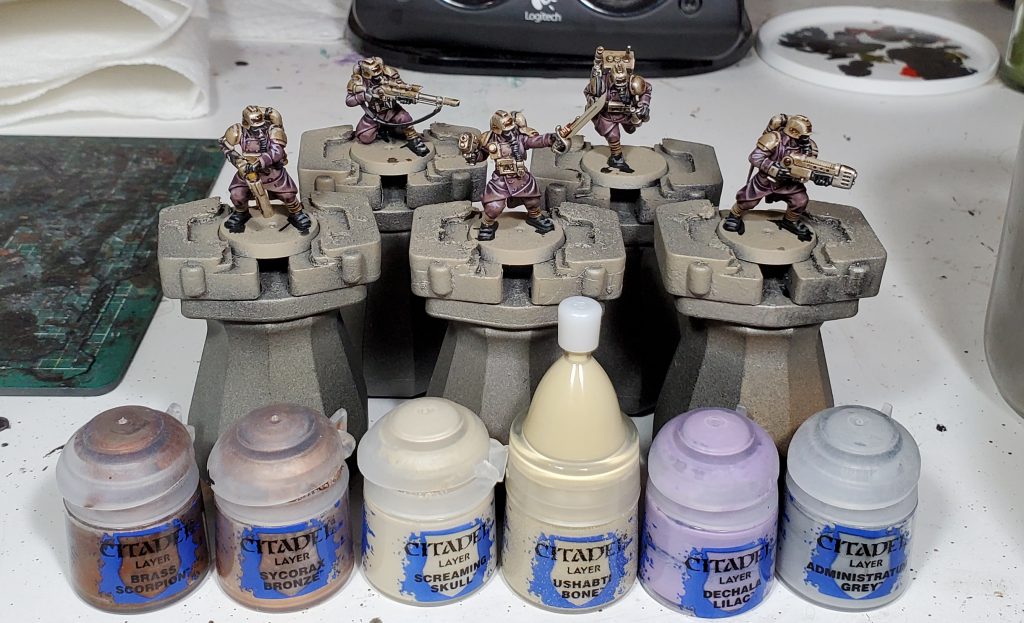
Since these are just simple edge highlights I will just list out where they go:
This step could be skipped if you want to save some time on hordes of infantry.
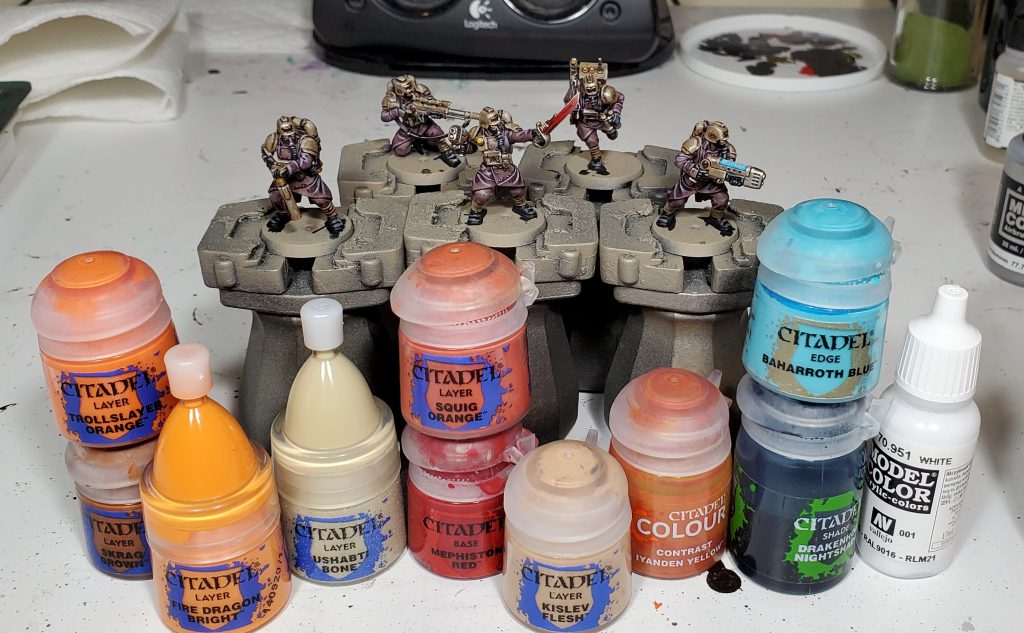
Theres a lot going on in here, most of it simpler then the number of paints would imply, for example the lights are just Ushabti and Iyanden.
The plasma is based with Baharroth then washed Drakenhof and the coils are highlighted up with Baharroth and white, both of the highlights are relatively thin so as not to be too stark.
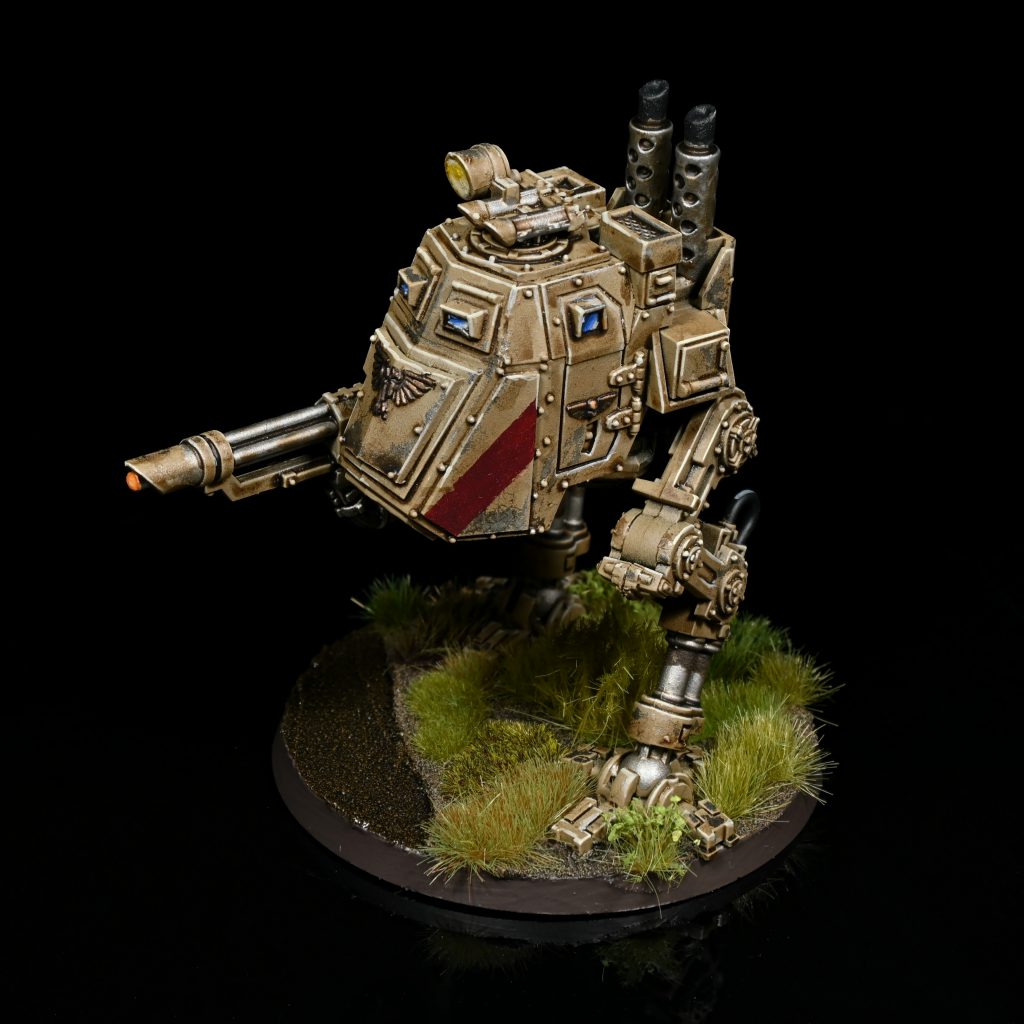
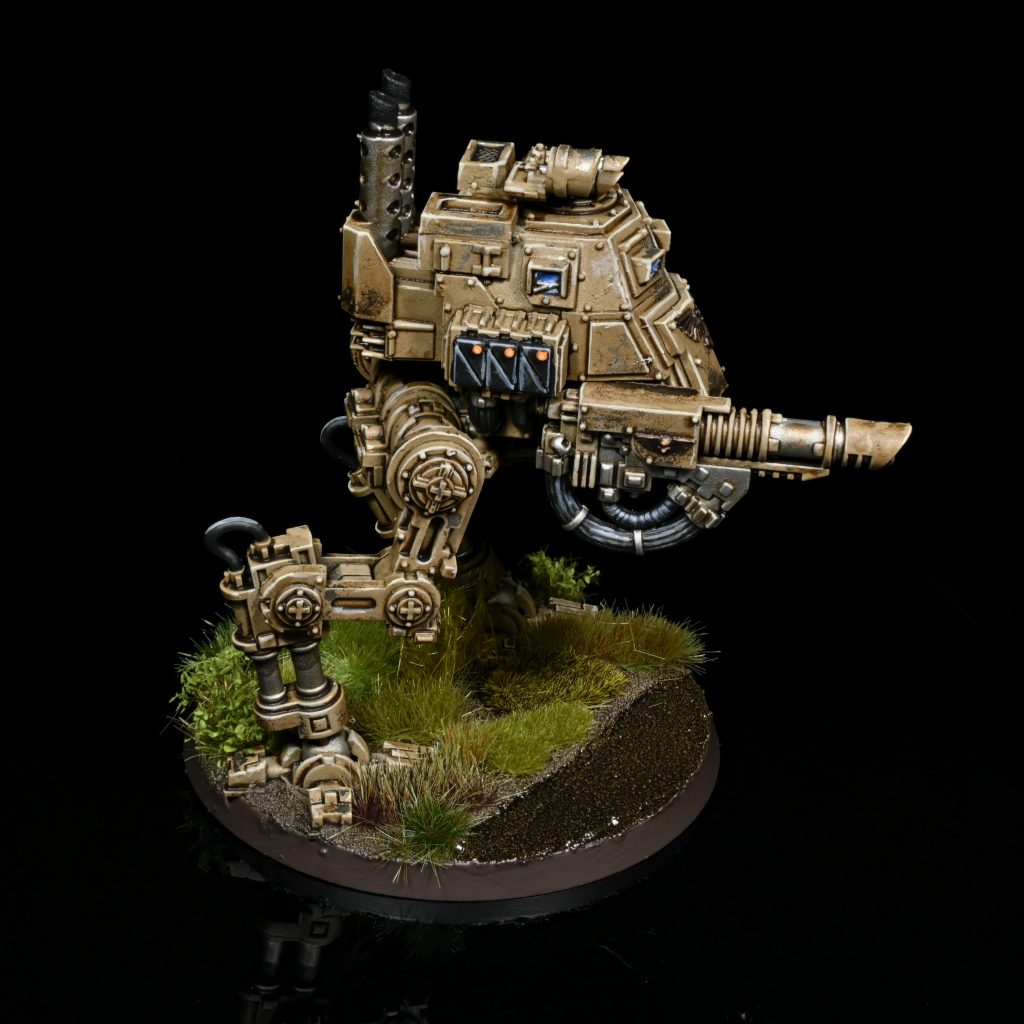
While only one type is visible on these particular models, the army also has blue lenses, like on this sentinel:
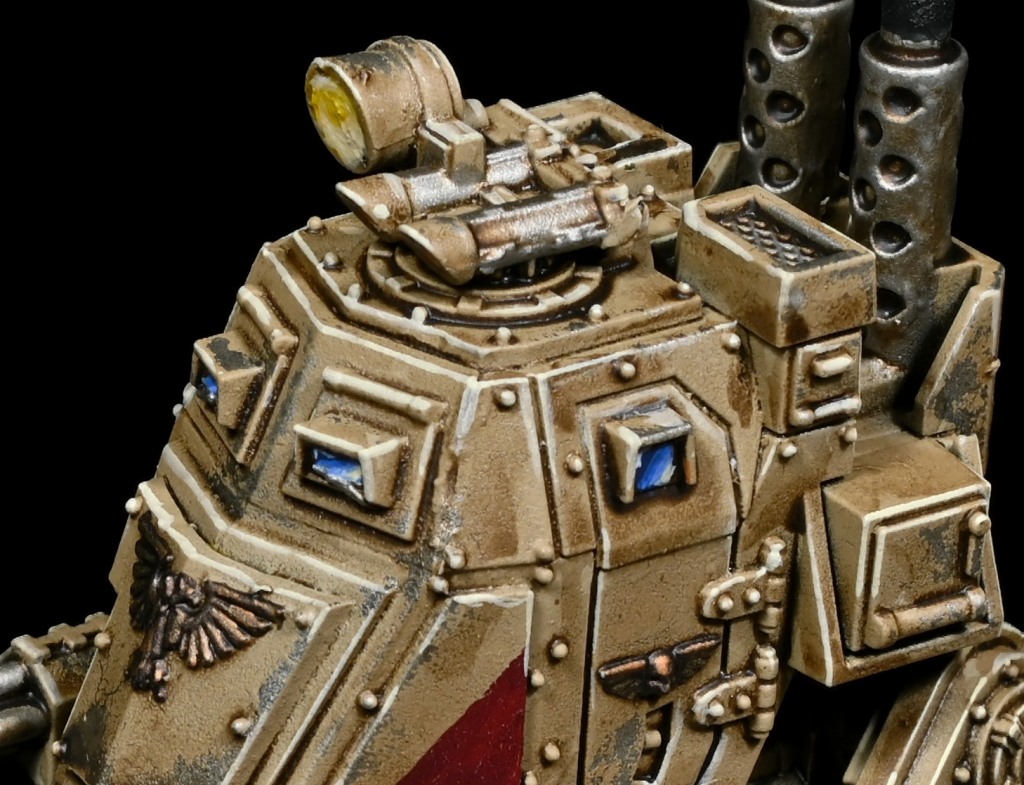
We have a dedicated article explaining Lenses and Gemstones but the general idea is painting successive crescents getting lighter towards one side with a extreme contrast in the other.


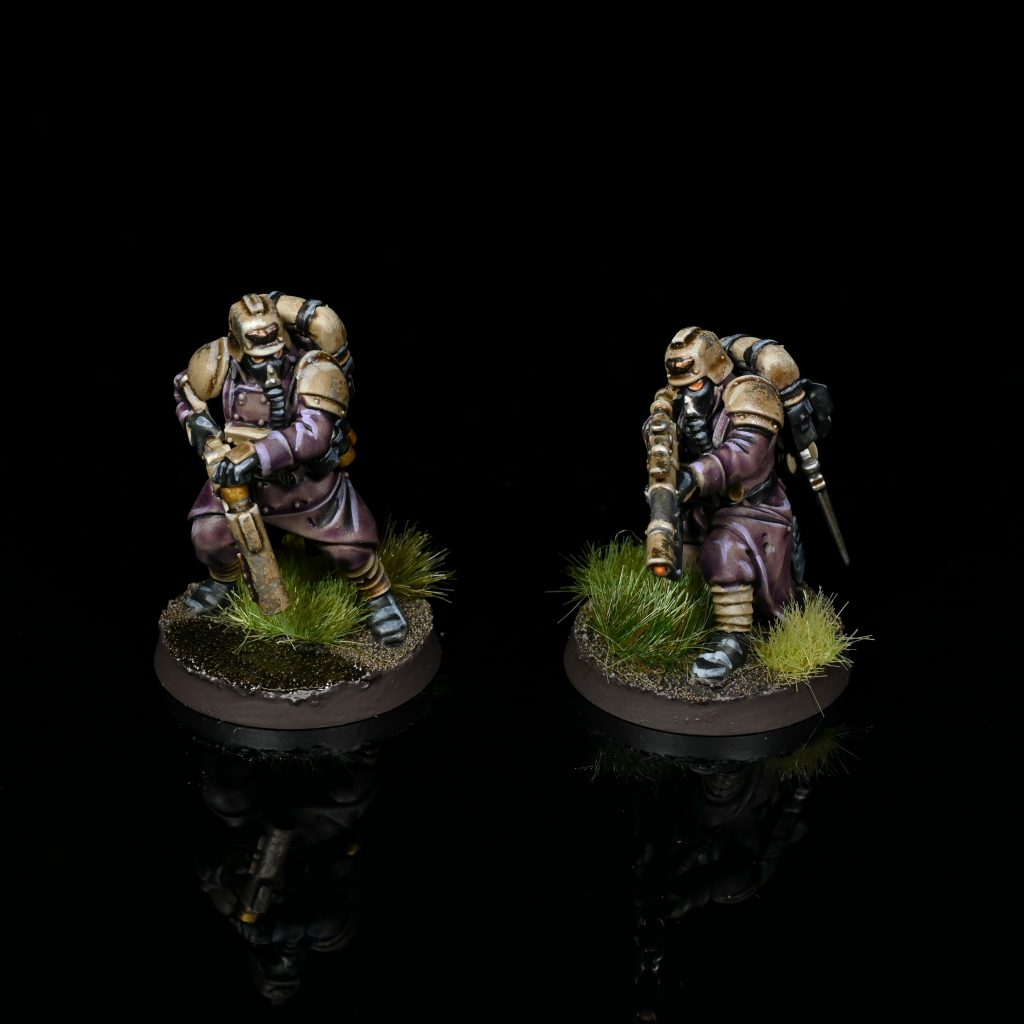
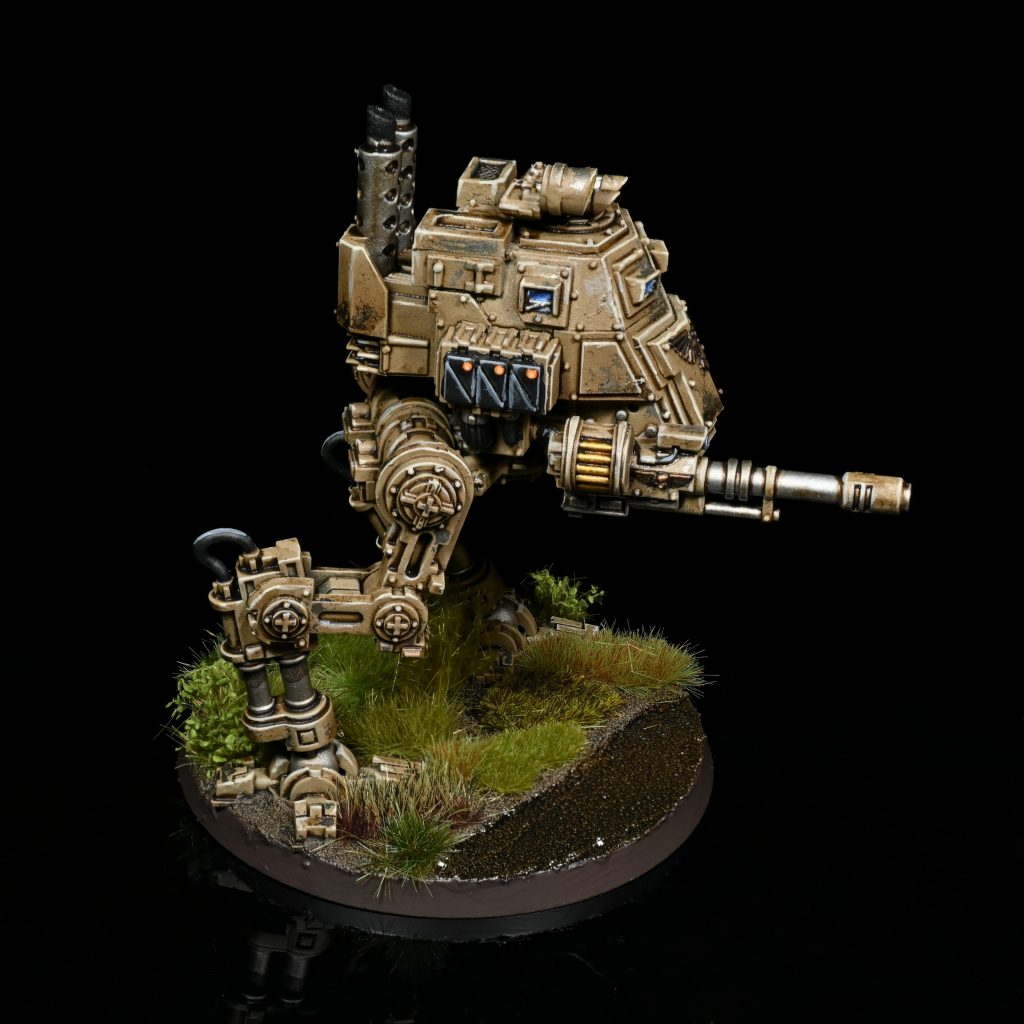
For the orange lenses and glow I used Skrag, Trollslayer, Fire Dragon and Ushabti for the main colours and a extreme reflection of Vallejo Model Colour White. The blue lenses are Kantor, Caledor, Calgar, Fenrisian Grey, and the Ushabti plus White from the oranges.
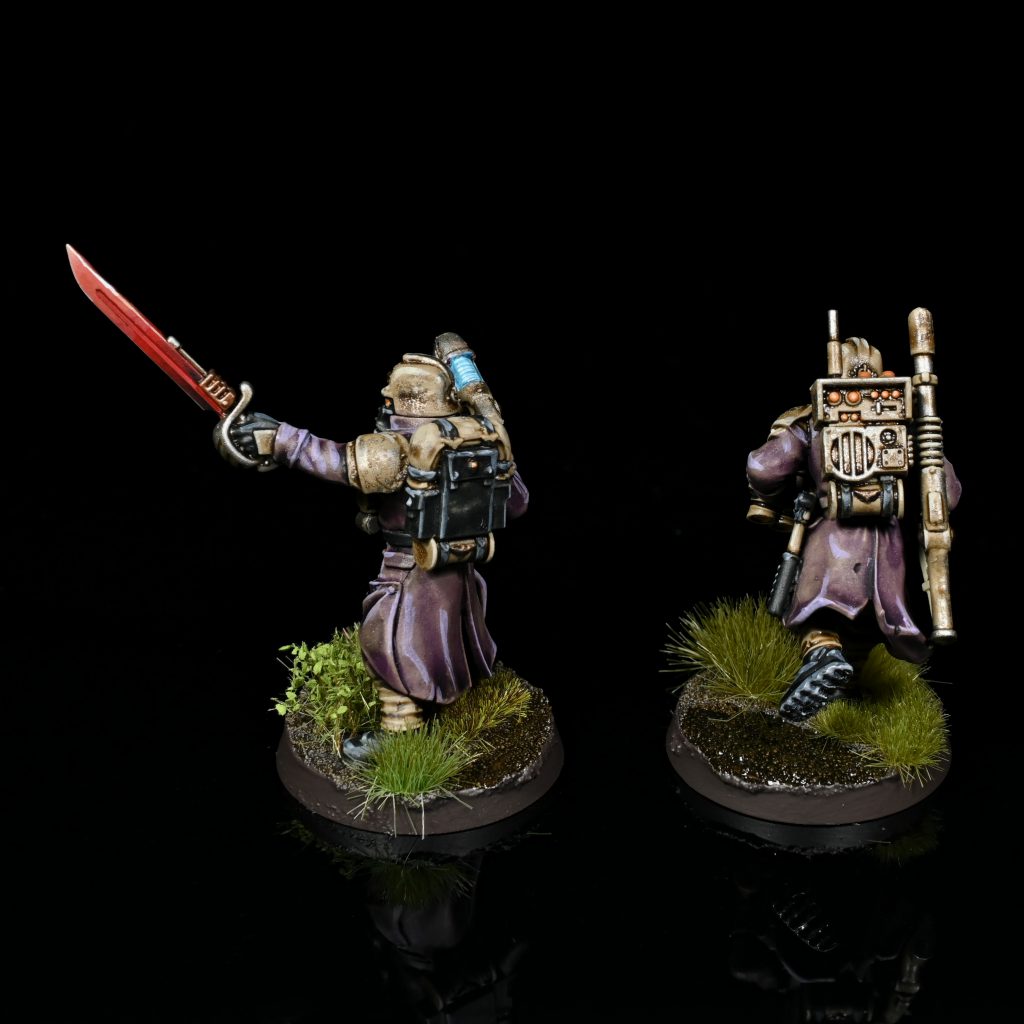
The blade is almost exclusively glazes over Mephiston, you could replicate this by just mixing on your palette to approximate the glazes.

The base colour is Mephiston as mentioned, then there are a few glazes of Squig Orange and Kislev towards the tip of the blade, and black templar glazes to the base of the blade. After the glazing is done, outline the blade with kislev, then towards the tip push the outline brighter with your choice of pure white.

The bases start with Vallejo Dark Earth in a fairly thick layer, this is so I can press it back in a few spots to form the river/lake. Once that dried I put Wyldwood on the river/lake and Agrax on the rest of the base, once dry I then drybrush only the river bank with Steel Legion Drab.
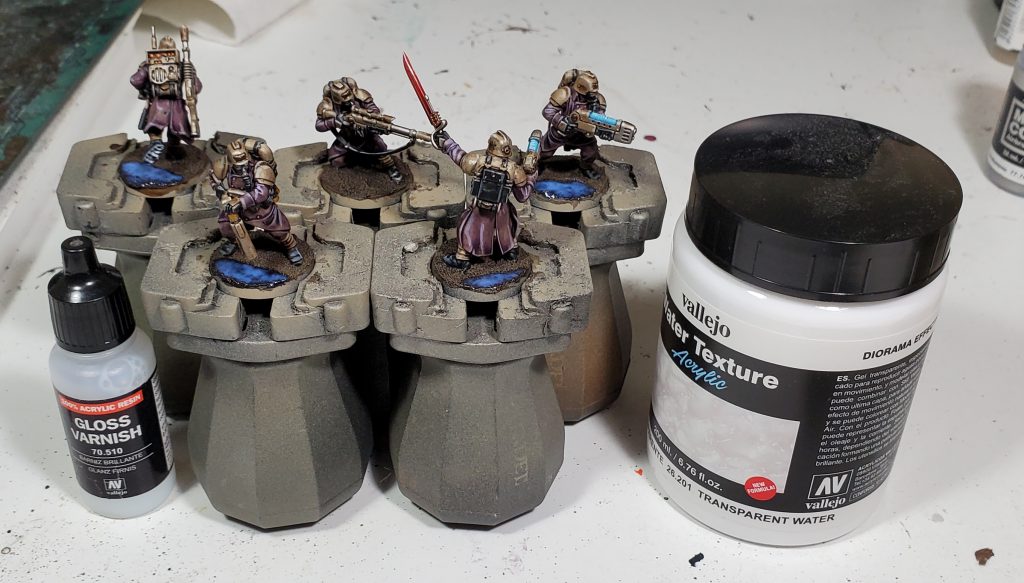
The river is just covered with gloss varnish to get it shiny looking, if you want to get a bit more texture you can use Vallejo Transparent Water Effects to add in white water that you can push a bit further with a overloaded drybrush of pallid wych. A word of warning on the thicc water, it seems to have difficulty drying completely clear which is fine for rough water but I am not particularly impressed with it.
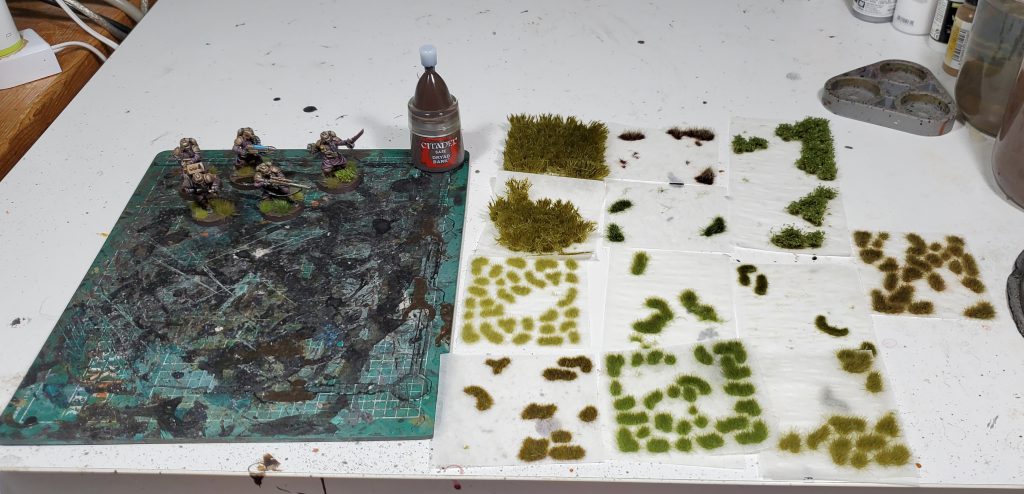
With the rest of the models done its just painting the rims in Dryad Bark and adding tufts, for this army I am using these ones from Gamers Grass:
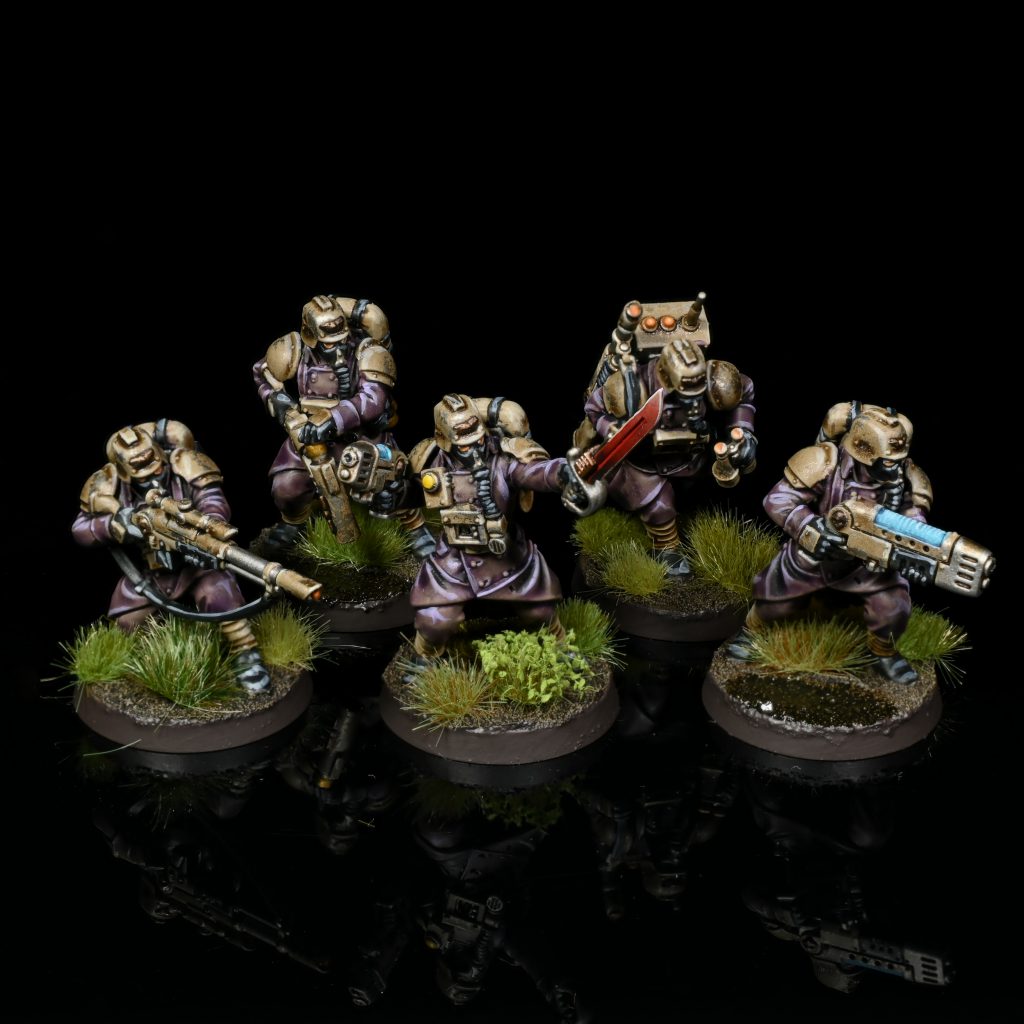
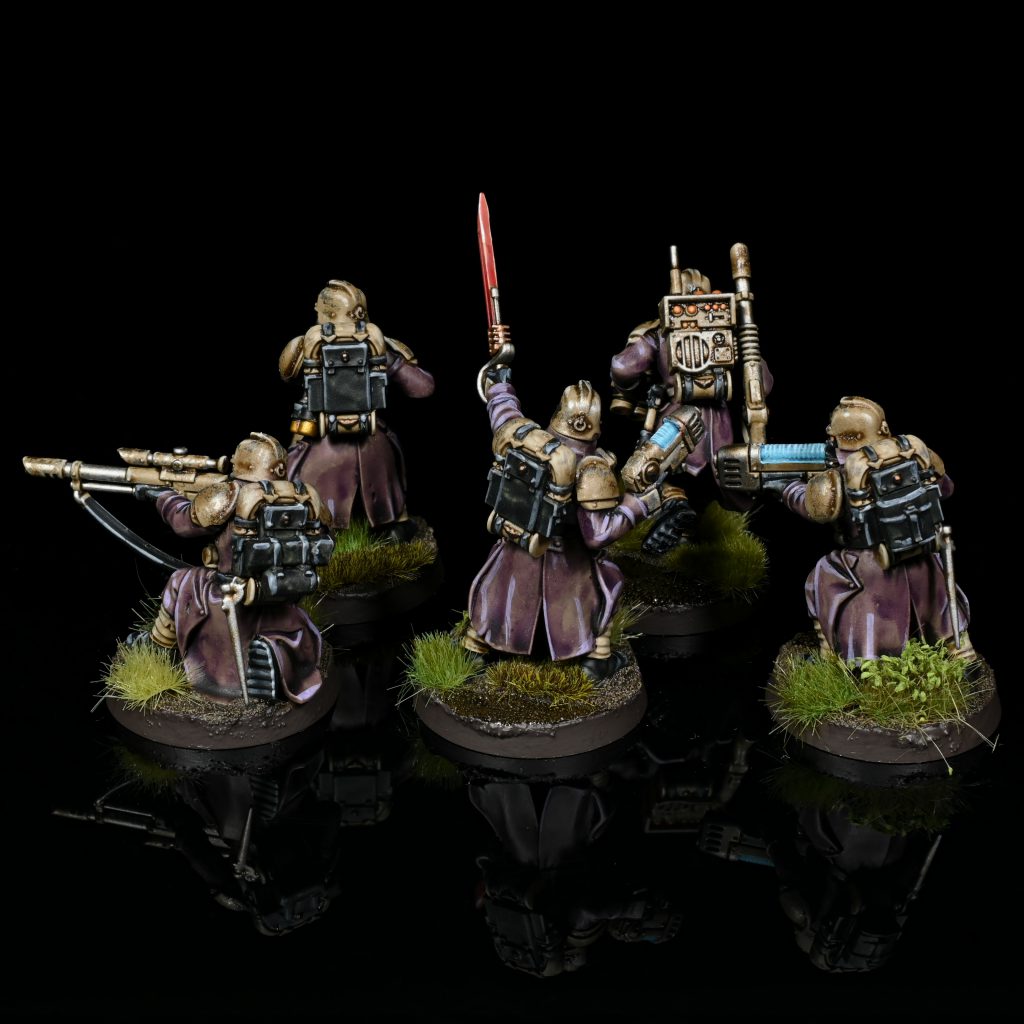
Now that we are done with the squad its time to huck them in the photo booth and get some final pictures!

Have any questions or feedback? Drop us a note in the comments below or email us at contact@goonhammer.com.
Tags:

Thank you for being a friend.
 Goonhammer Hobby Round-Up: March 2026
 Goonhammer Reviews: Tribal Conquest
 Conquest: Weaver Courts Gemred Knights and Scaile Dancers Model Review
Support us on Patreon to get access to our Discord and exclusive App features.
Thank you for being a friend.
Already a Patron? Login with Patreon.
Visit our incredibly official store on RedBubble.
![]()
![]()
Support us on Patreon to get access to our Discord and exclusive App features.
Thank you for being a friend.