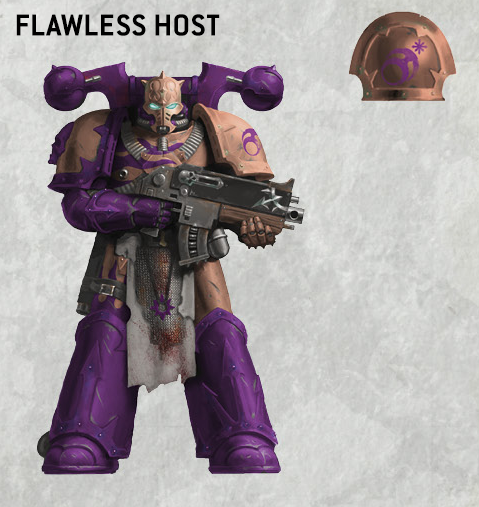
The most difficult (and important) part of painting the Flawless Host is getting the flesh tone on the armor right. I ended up testing a ton of different colors for this, using my test model of an old Possessed model.
Ultimately what I settled on was a mix of
Carroburg Crimson, Guilliman Flesh, and
Apothecary White. Specifically in a 2:2:1 mix, though it'd vary as I painted the model. On that note, shout out to
">Warpsong Games for his tutorial on the Flawless Host, which I used as a jumping off point for my color tests before settling on a very similar mix. I also added a bit of Contrast Medium during the process to thin it out. You can see it up there on the model's chest primarily. I recommend doing this yourself and playing with the ratios as you go to adjust your shades.
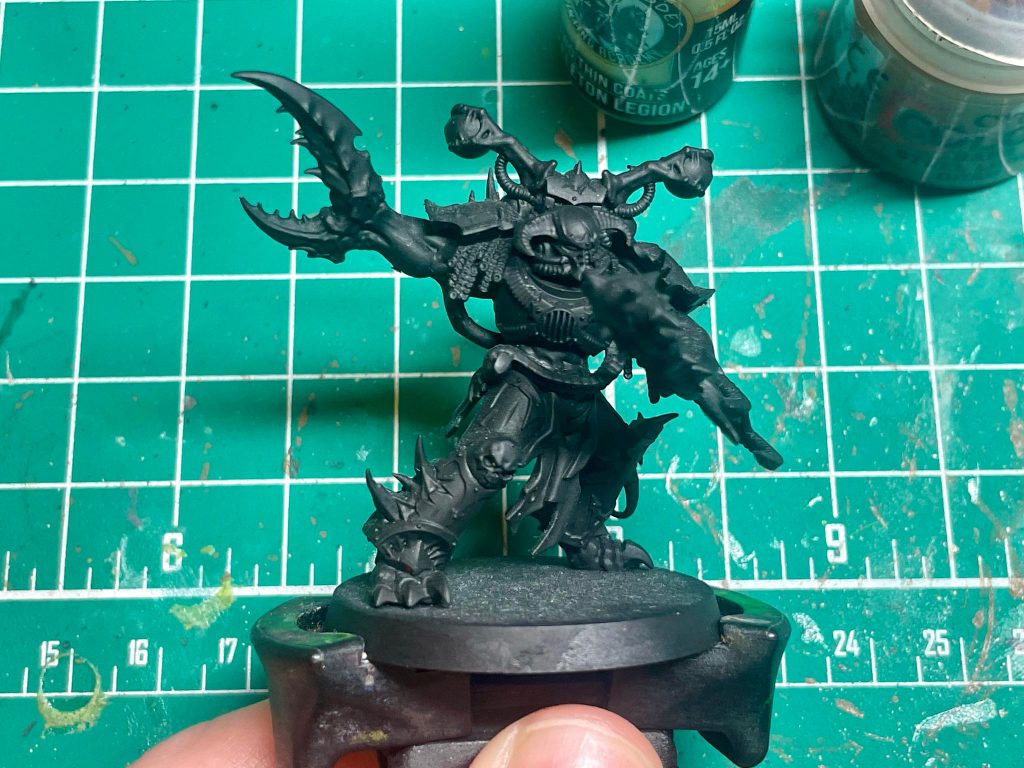
I started by priming this model with
Wraithbone primer.
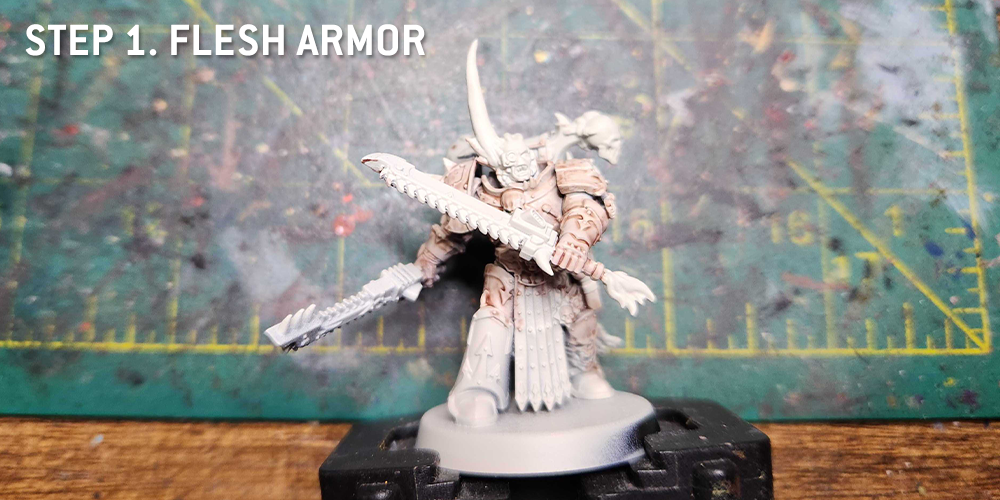
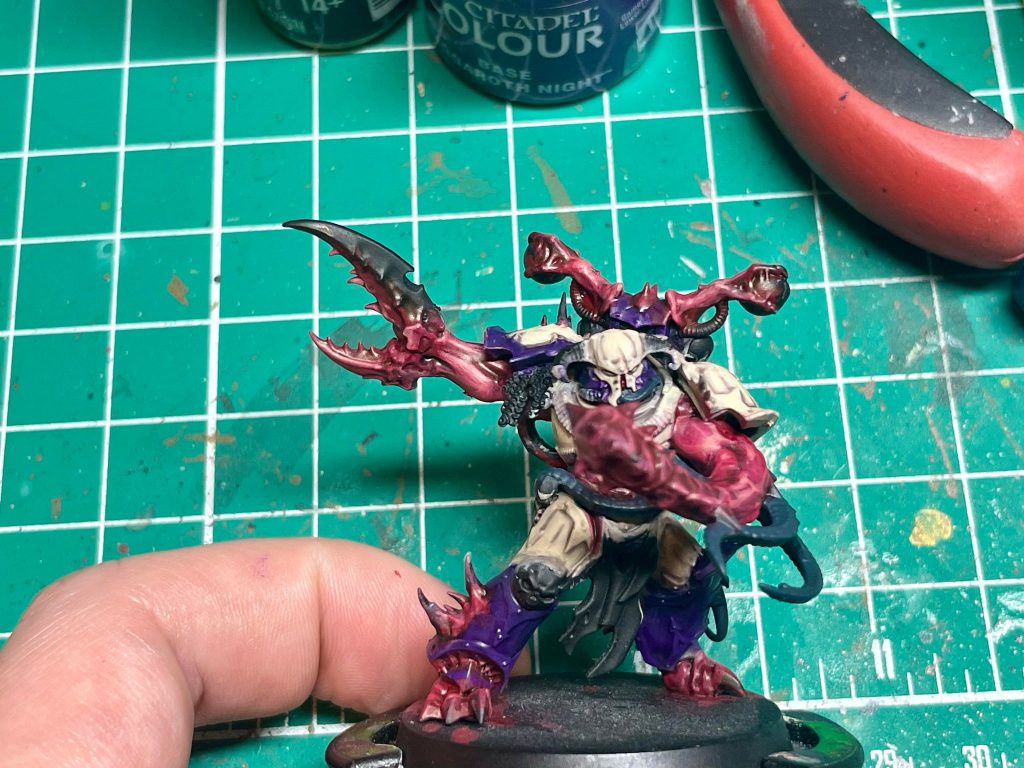
Step 1. Flesh Armor
This is the biggest stand-out part of painting this guy and it's the first step. Take that mix of Guilliman Flesh, Carroburg Crimson, and Apothecary White and slather it all over the parts of the model you intend to be flesh colored. Note that in the traditional scheme the greaves and right arm are purple, as well as the backpack.
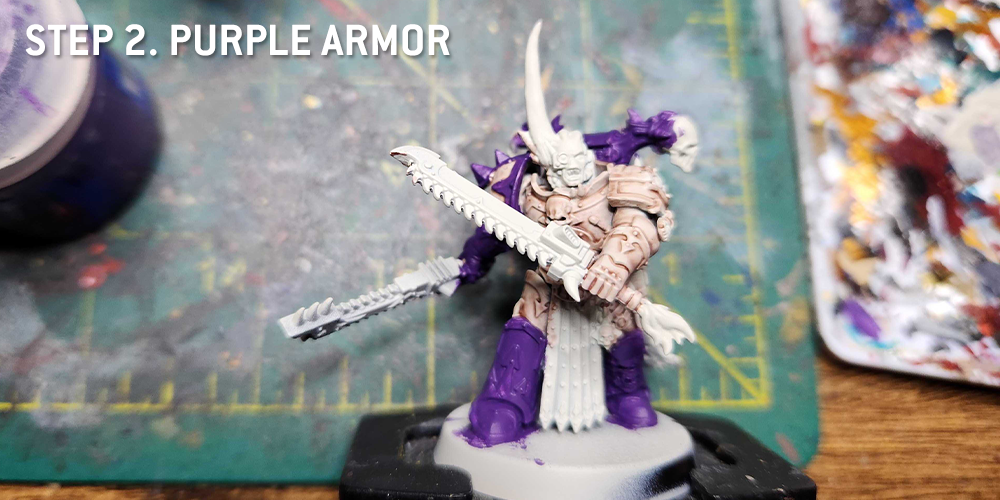
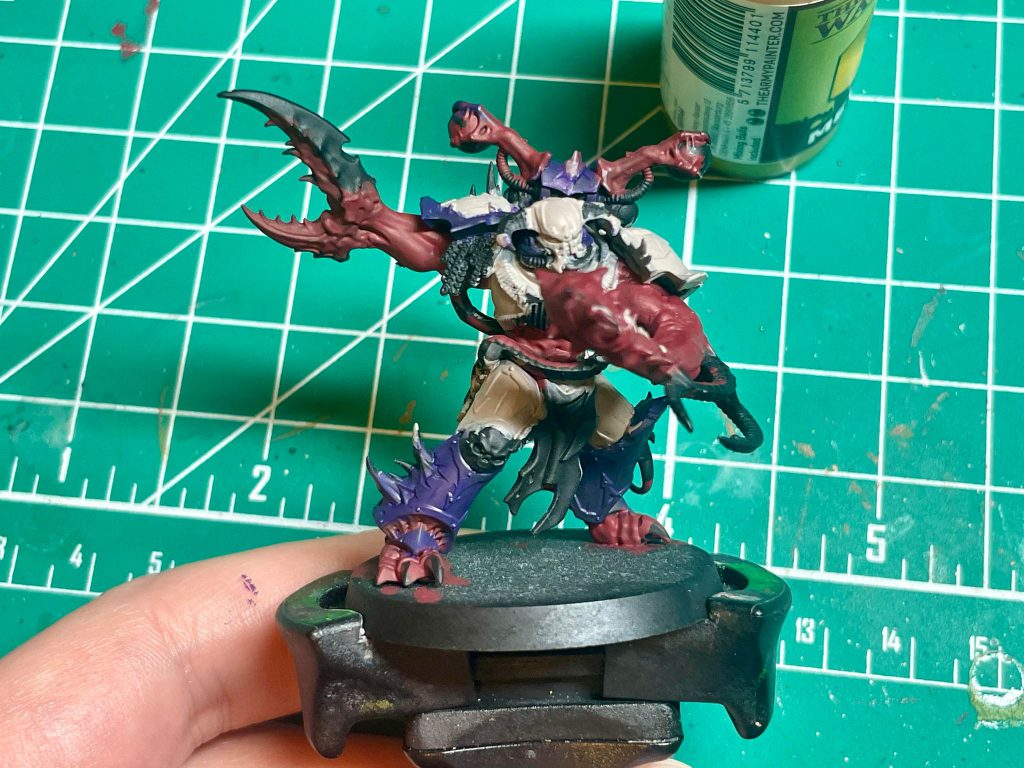
Step 2. Purple Armor
Let's hit the other half of the model. I painted the other half of the model with
Xereus Purple.
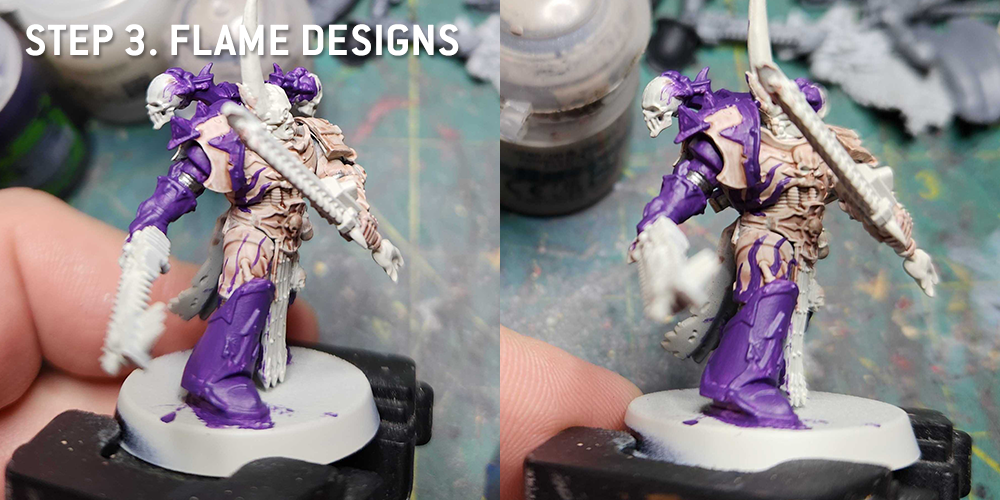
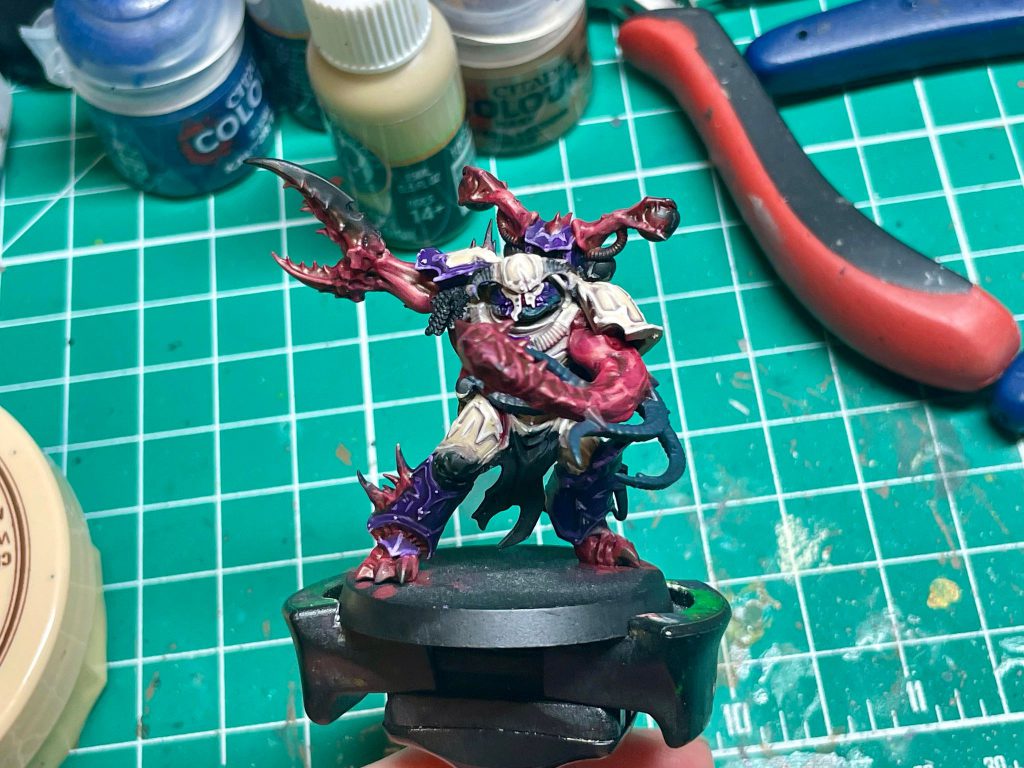
Step 3. Flame Designs
The transitions from purple to flesh can be daunting at first, but they're pretty simple - just take your time and avoid overdoing it. Painting these flames is a two-step process; start by painting the wavy lines that will loosely be the flames, then go back and flesh them out by adding width. Again, all Xereus Purple.
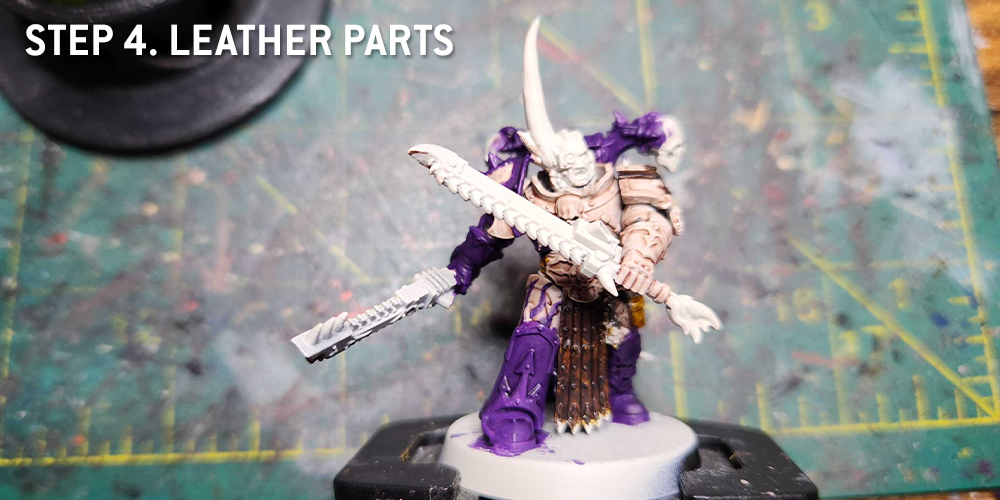
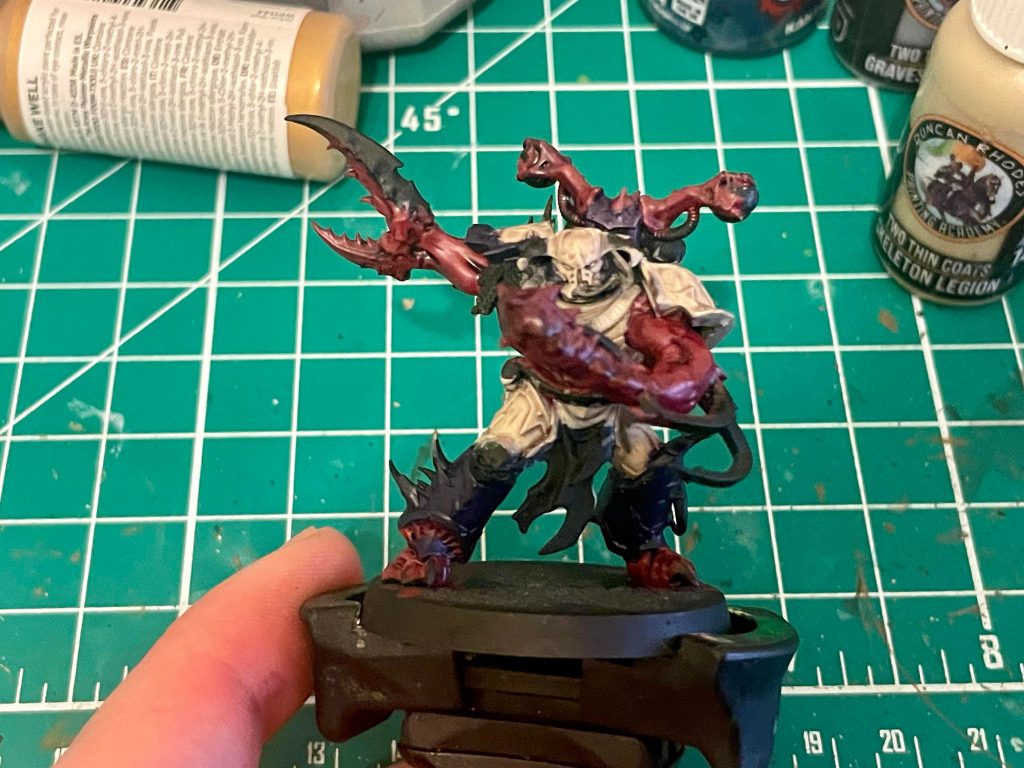
Step 4. Leather Parts
Next up come the leather parts. Snakebite doesn't really jibe here so I went with a much darker leather instead, using
Cygor Brown Contrast paint, and that worked out very well.
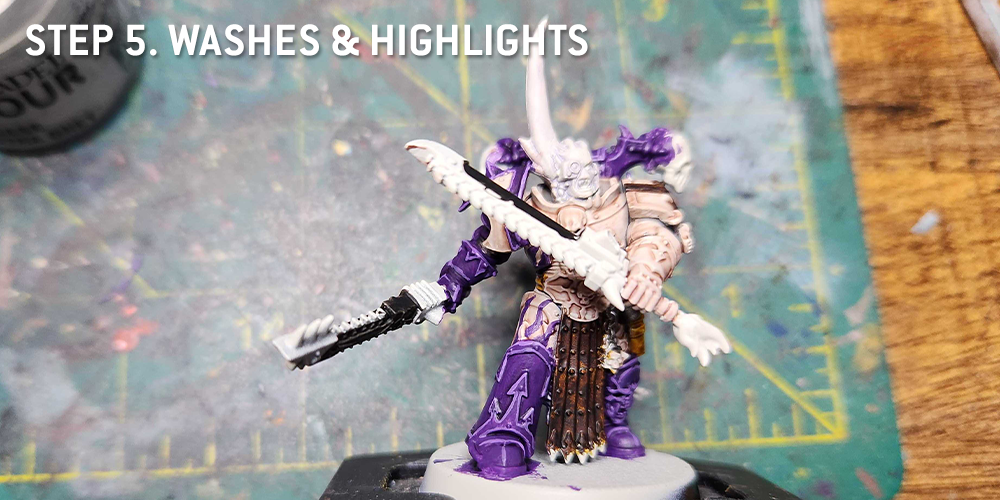
Step 5. Washes & Highlights
Now it's time to paint that purple armor and do some edge highlights. I wash the crap out of the purple with
Druchii Violet, then come back and highlight it with Xereus Purple and edge highlight it with
Genestealer Purple. I edge highlight the flesh armor with
Reaper Polished Bone.
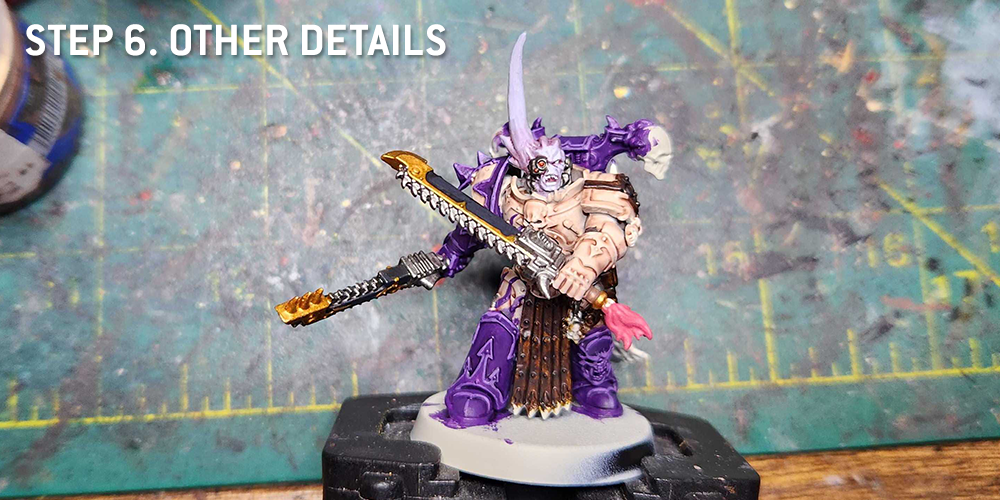
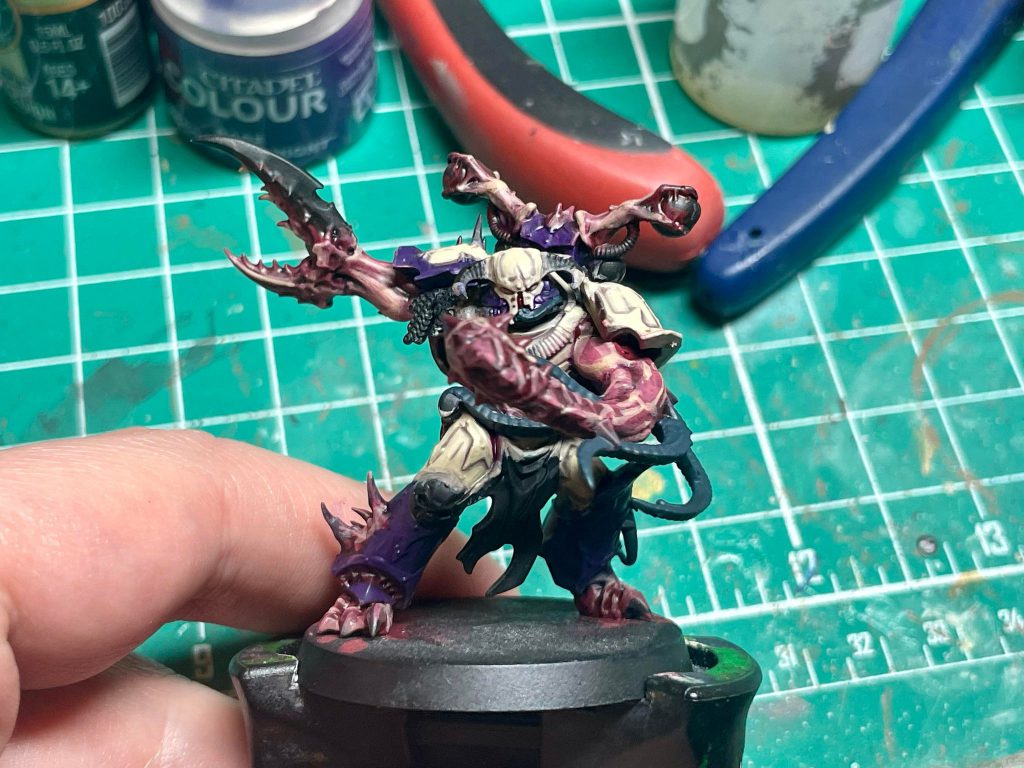
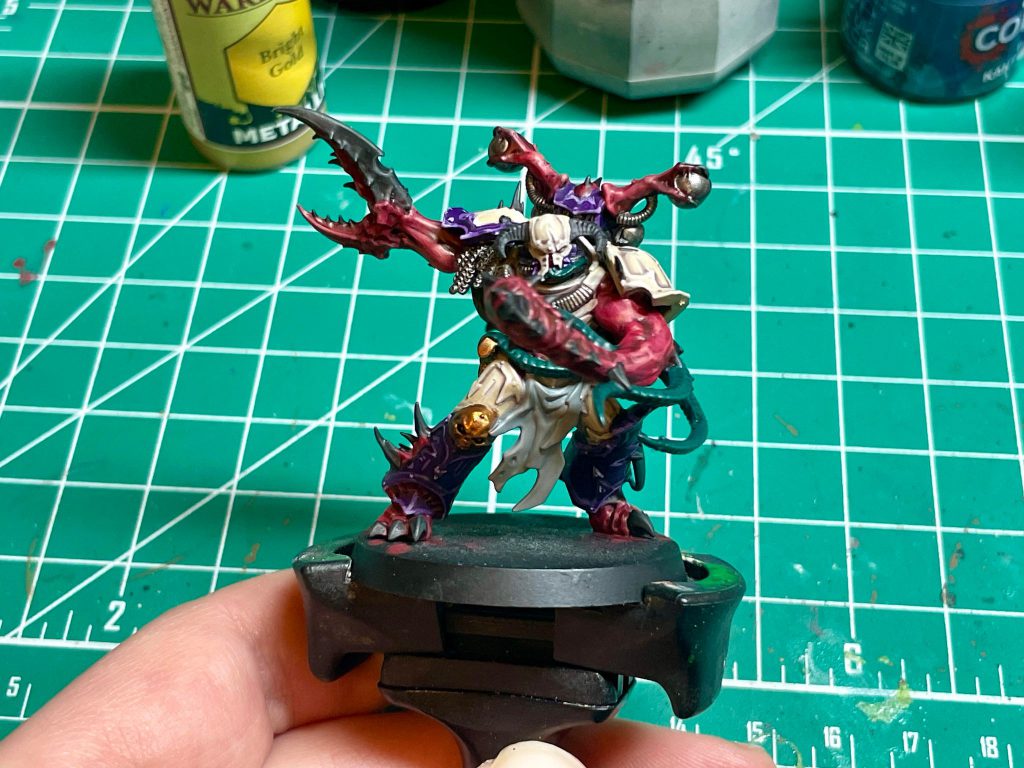
Step 6. Other Details
Lots going on here but most of it's pretty inconsequential to the scheme. All the metal parts are painted
Leadbelcher. The bone parts get a coat of
Rakarth Flesh, the swords are painted with
Black Legion and highlighted with
Corvus Black. The gold trim is
Retributor Armour, and the tuft on the blade is
Pink Horror.
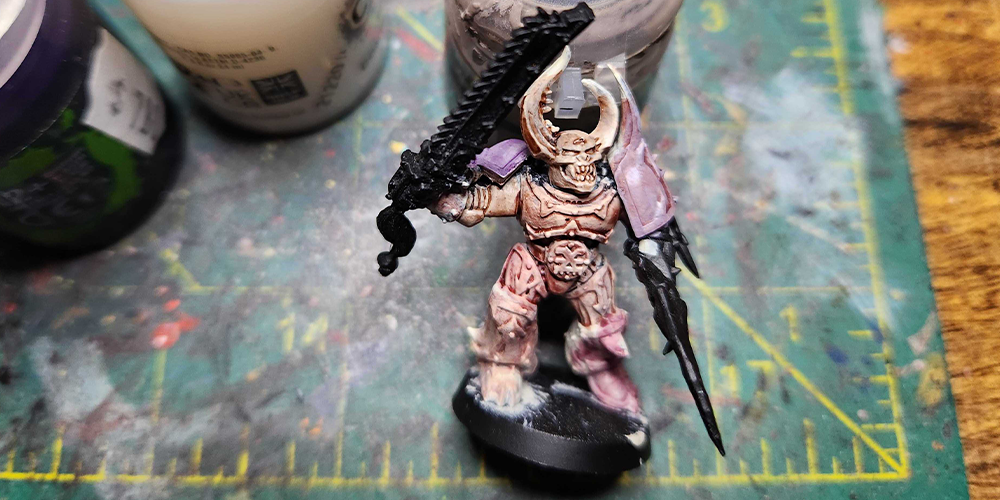
The most notable part here is the head; I used a Slaanesh champion head from the old CSM sprue for this guy. The head here is painted Slaanesh Grey and washed with Carroburg Crimson, then highlighted again with Slaanesh Grey and a mix of Slaanesh Grey and Reaper Pure White.
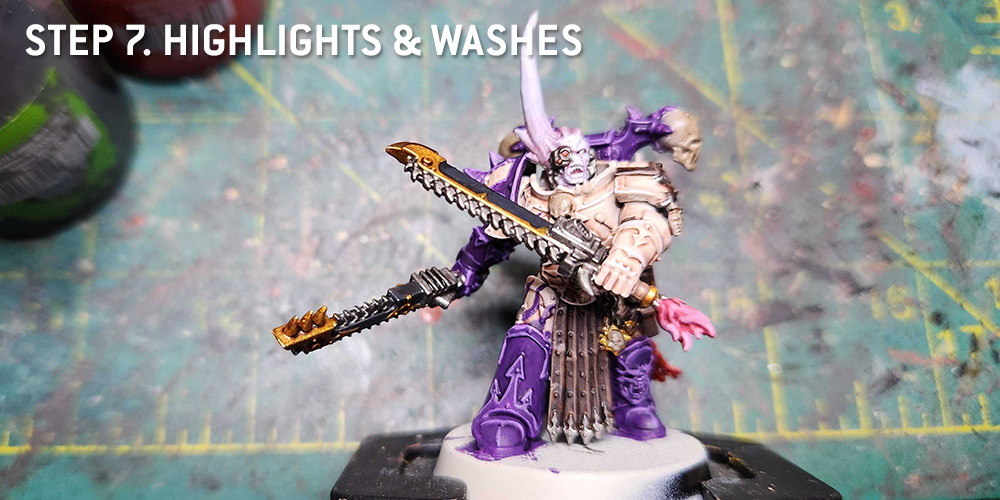
Step 7. Highlights & Washes
More highlights and washes. Wash the tuft with Carroburg Crimson, highlight with Pink Horror and Emperor's Children. Wash the gold bits with Agrax Earthshade. Highlight the leather with
Gothor Brown. Wash the metal parts with
Nuln Oil.
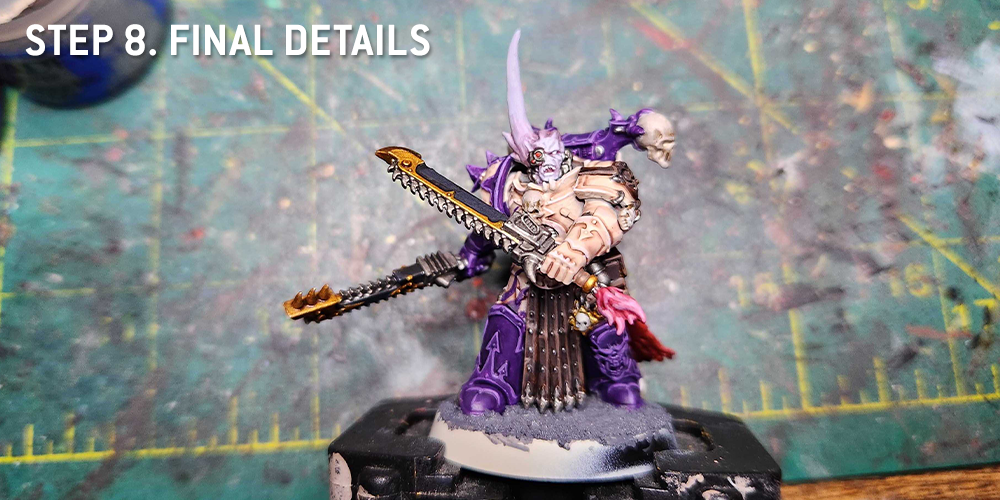
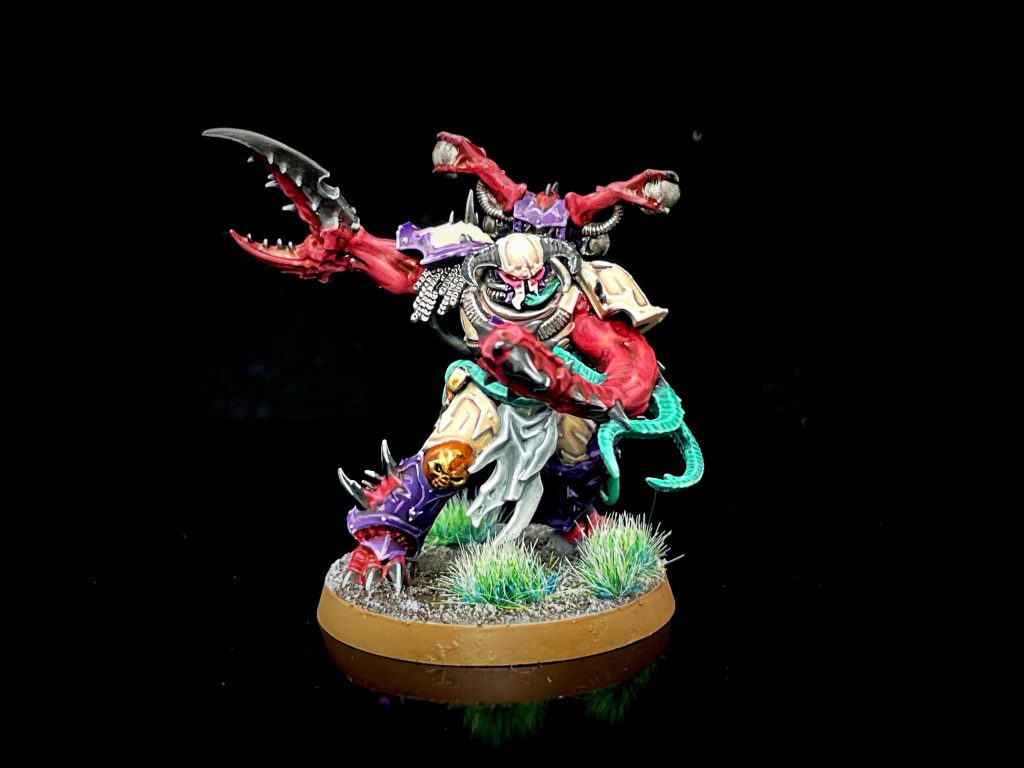
Step 8. Final Details
Some small final details. I painted the cloak on his backside - which you can't really see - red, and went back and added shading to the bone parts (
Agrax Earthshade, then highlight with Rakarth Flesh and Reaper Polished Bone), and I did a bunch of the metal studs with
Runefang Steel. Pick out the teeth and eyes with the white of your choice.
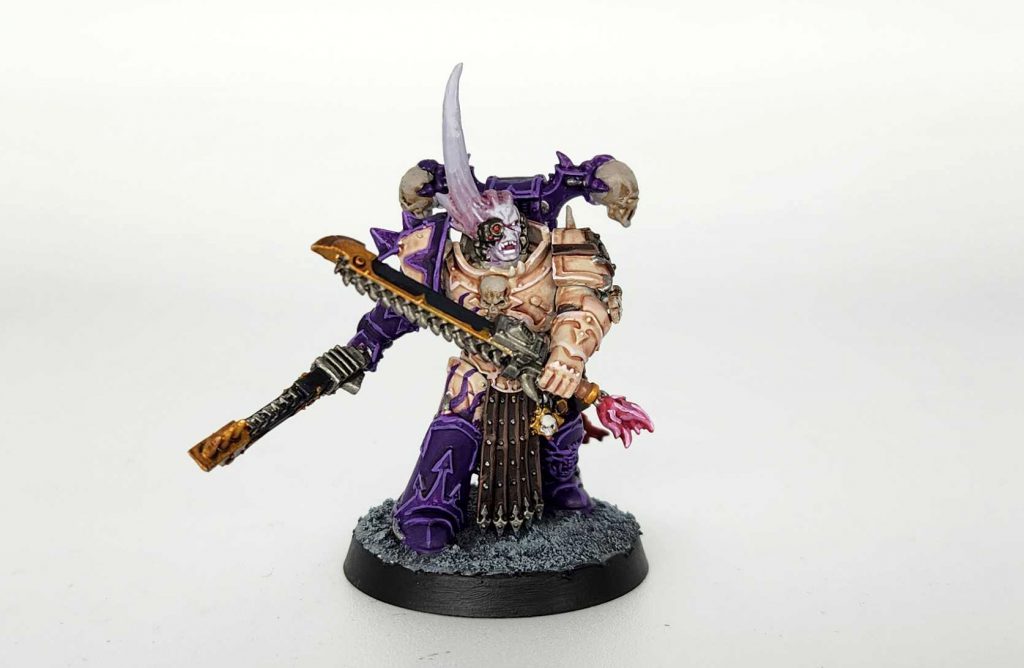
And that's it! Looks good, happy with the result, but I'm glad I'm not painting a whole army of these guys - the scheme is an absolute chore to paint. You could probably get the time down by not custom mixing the flesh tone every time and keeping a pot of it handy, and if you did that I think you could really speed this process up.
 Credit: Robert "TheChirurgeon" Jones


 Credit: Dan "Swiftblade" Richardson


 Infinity N5 First Principles: Understanding the Outcomes of Face to Face Rolls
 Tactical Feedback: Timing the Go-Turn
 SRM's Roundabout to Adepticon 2026: Curd Is the Word