A note up top: I do a lot of my painting with my airbrush, I like the speed and the result, but I acknowledge the fact that airbrushing has quite a steep learning curve and requires outlay for hardware which is out of the reach of beginners. Don't worry though, if you don't have an airbrush (or don't want to use one) and want to follow the tutorial anyway, pretty much everything I describe can be done with a brush, it just takes longer.
Cold Riftspawn Skin
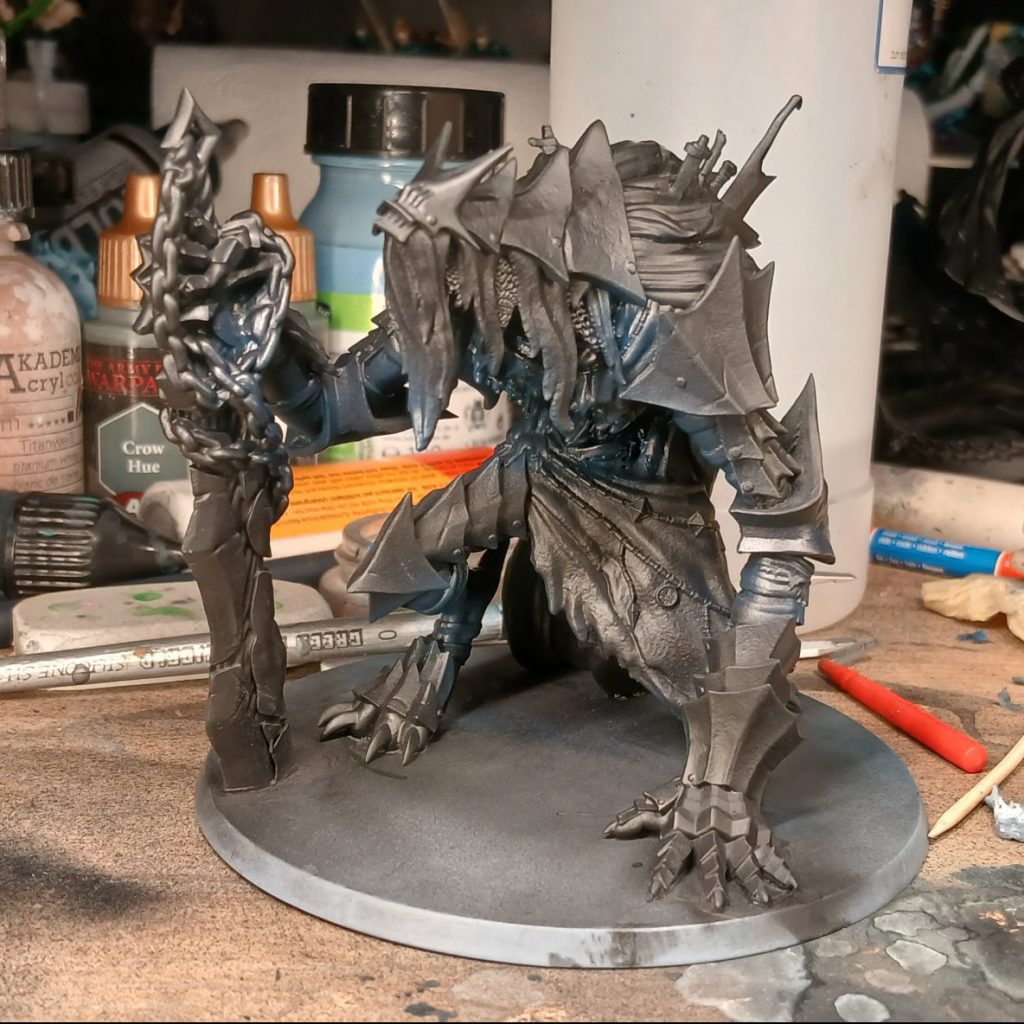
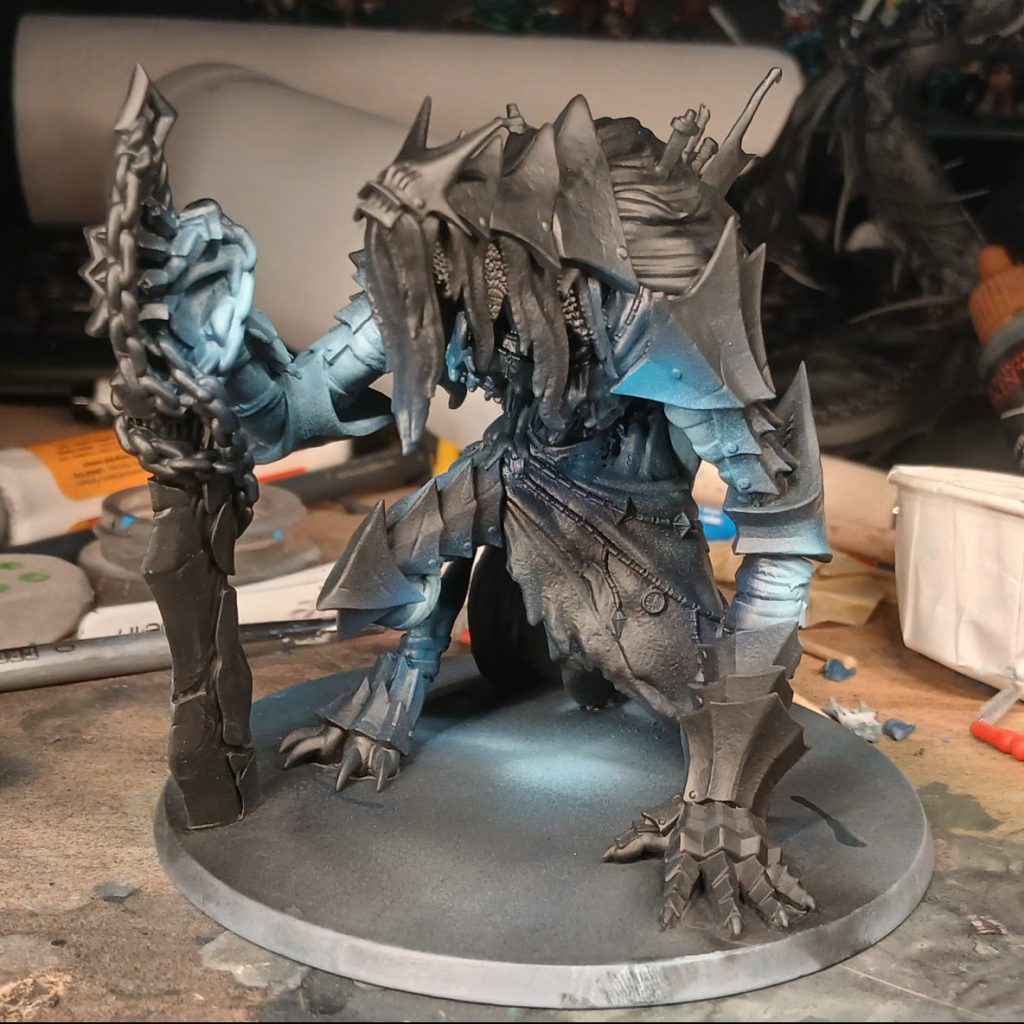
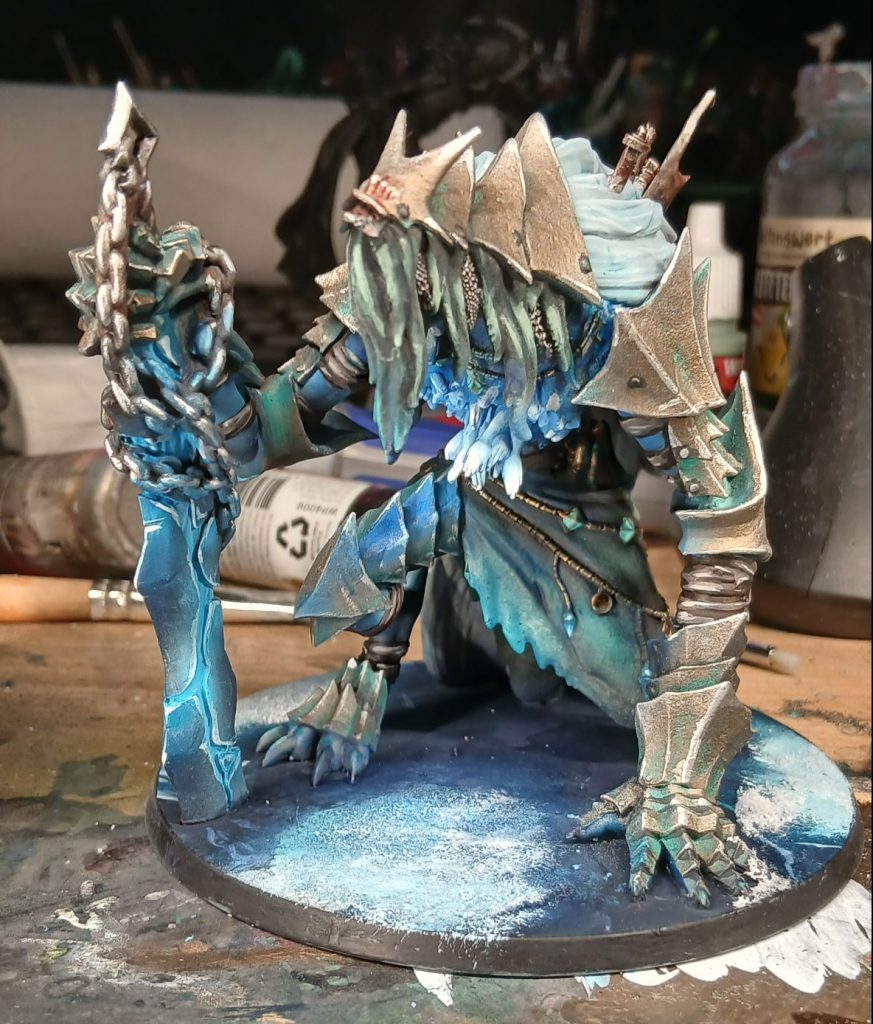
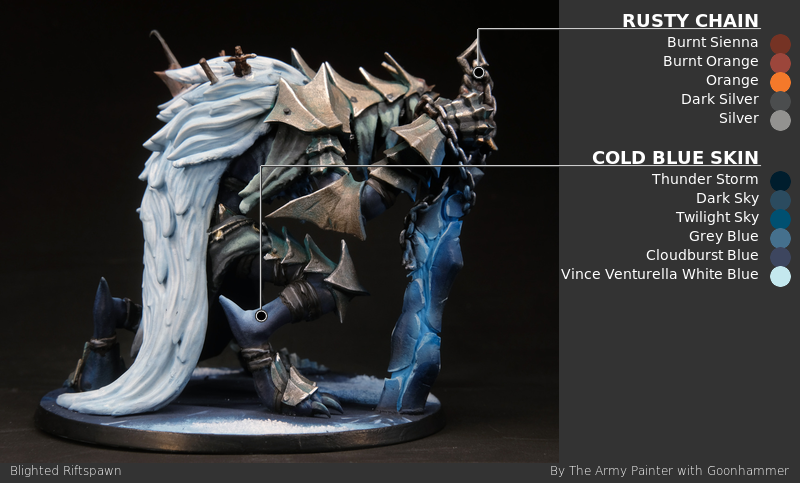
The first feature I'm going to paint on this Blighted Riftspawn is its cold blue skin. The name Northern Wind obviously conjures feelings of arctic coldness, so leaning into that iciness for this huge monster seems very apposite. I start by priming in black before spraying an all-over coat of Army Painter Air (hereafter referred to as APA)
Thunder Storm, this colour is so dark that you might not even notice that it's different to the black primer, but it is, I promise!
Tip: When you're spraying with the airbrush, try rocking the trigger a little so that you're not just spraying paint, but alternate between spraying paint and clean air, the air will dry the paint as you go (kinda like how the dentist dries your teeth with a blast of air when you get a filling), this will help you to lay down your coats more evenly without flooding the model and making a mess.
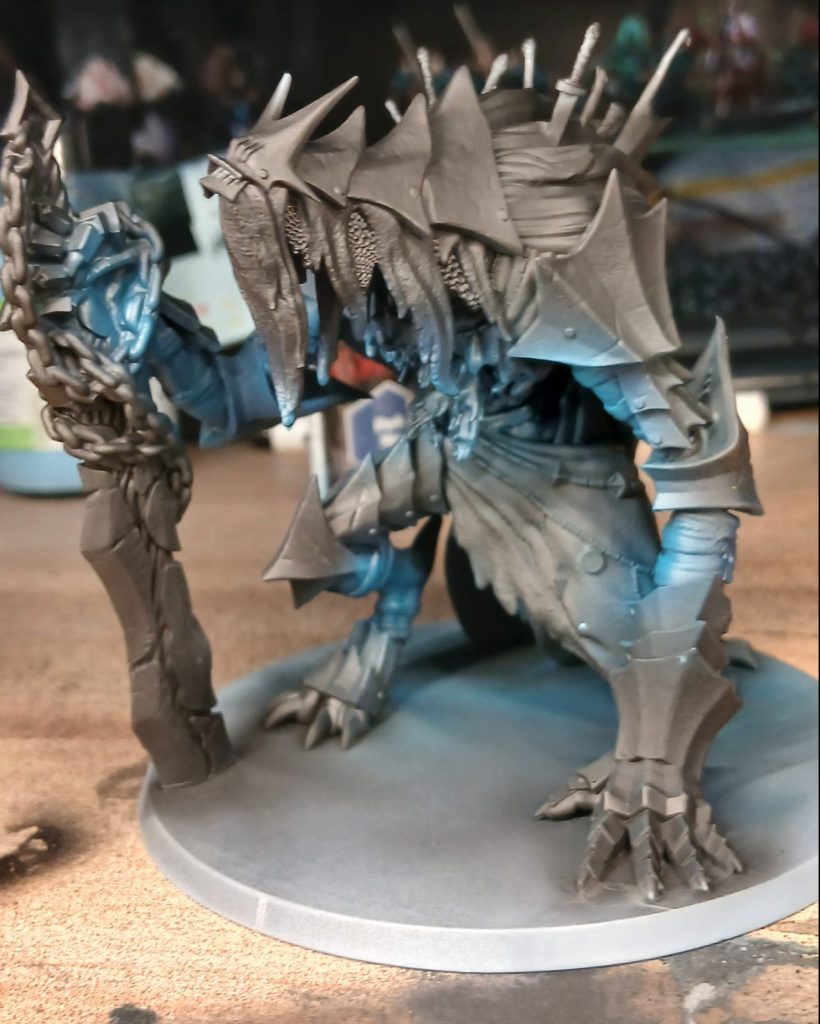
Once the Thunder Storm dries, I spray everything but the deepest darkest recesses with APA
Dark Sky. This is simply the next paint up the triad; we aren't reinventing the wheel here, just carefully moving from one rung of the ladder to the next. As we go, we'll be trying to cover smaller and smaller areas to create the illusion of more volumetric lighting. Again, once that has dried, I'll target only the upward-facing areas with APA
Twilight Sky, the top paint in the triad.
That's fine, we've reached the peak of the triad; but it's not enough, I want more contrast, so next I'll spray some ProAcryl
Blue Grey on an even smaller area facing upward (sprayed from directly above). I'll squeeze out a little bit more contrast by spraying a really small specular highlight with ProAcryl
White Blue.
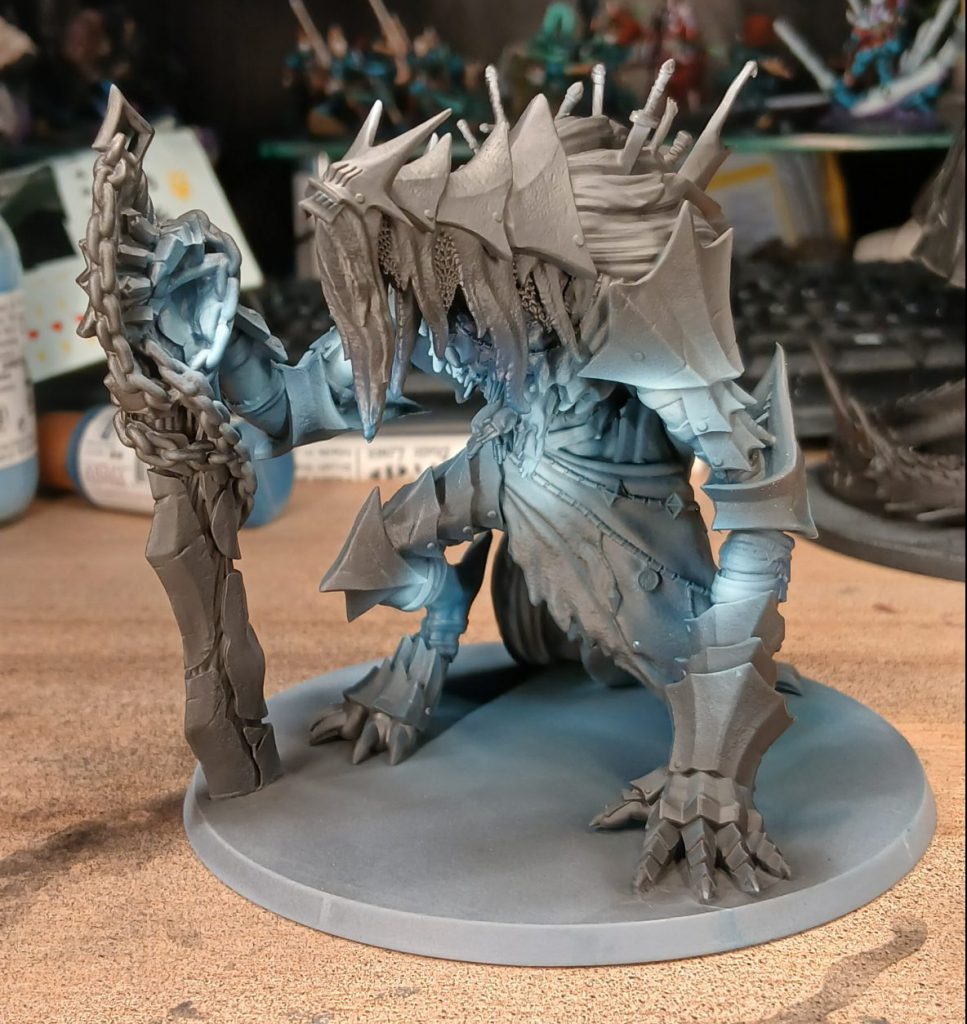
To deepen the colour in the shadows and bring it together some more, I'll blend the skin with a careful spray of AP Speedpaint
Cloudburst Blue (a really nice dark blue colour) through the airbrush. Later, I'll highlight the edges with various mixes of PA White Blue and Blue Grey.
Riftspawn Cloth
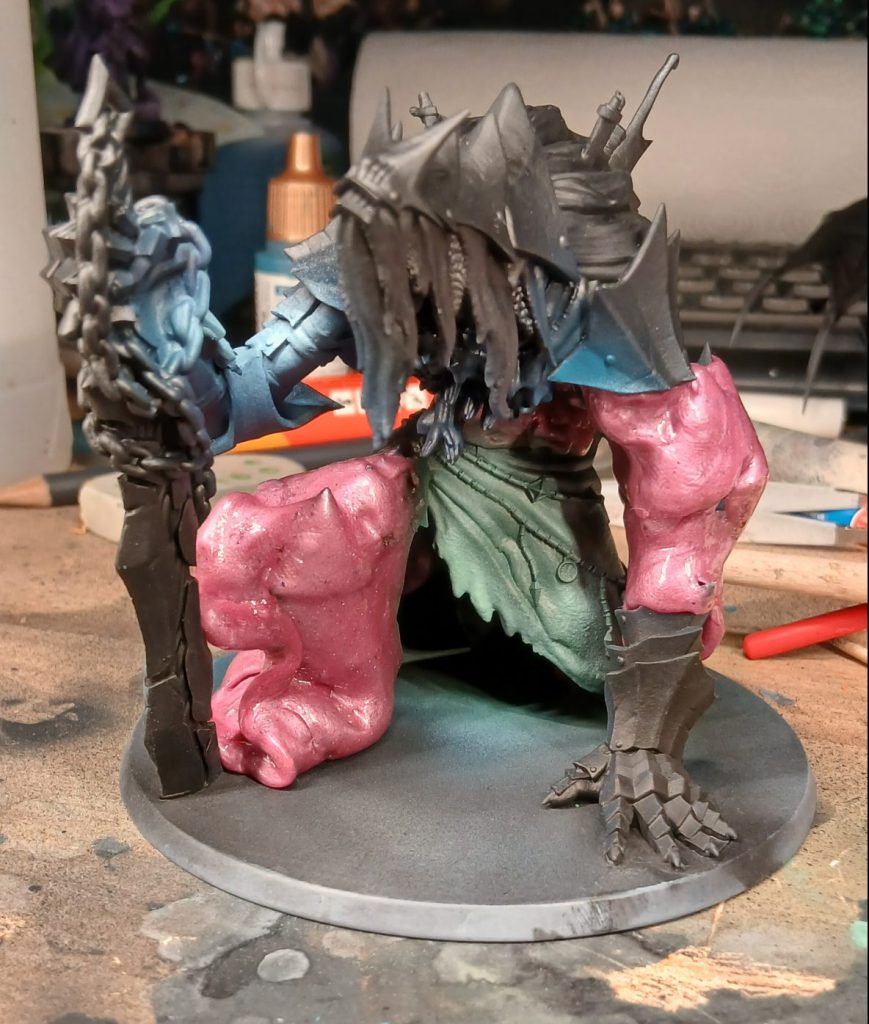
Because I'm airbrushing, I'll use a bit of silicone putty (charmingly called Unicorn Shit on the container I have) to mask the parts I want to protect from the airbrush, in this case the skin that I've already painted. Silicone putty is great for this, because it doesn't really stick to anything but itself, meaning that there's no danger of yanking the paint off when removing it (and the overspray doesn't really stick to it, either). You can use a colour-shaper silicone brush or toothpicks to get it into the edges as well. It's also easy to remove by pulling with another piece of the putty, before mopping with the putty to remove any little stubborn bits. If you're going to be doing airbrushing, I
really recommend getting yourself a tin of this.

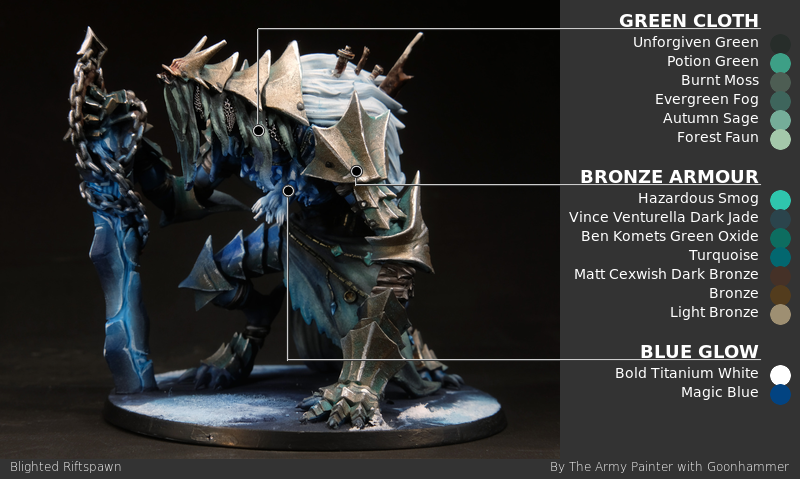
Unicorn droppings aside, once I've masked the entirety of the skin it's time to paint the cloth skirt and pieces hanging off the helm and neck armour. I'll start with a coat of APA
Unforgiven Green, a green so dark it's very nearly black, all over the cloth parts. After this I'm going to make a bit of a jump to a lighter colour, APA
Potion Green, on the highest parts, those facing upward. With that done, I'll blend them together with a spray of AP SP
Burnt Moss. With that done, I'll move to using a brush to highlight the cloth parts with some of the Army Painter Fanatic cold desaturated greens triad, in this case
Evergreen Fog,
Autumn Sage, and
Forest Faun, trying to keep the rough texture so that the cloth doesn't look too smooth.
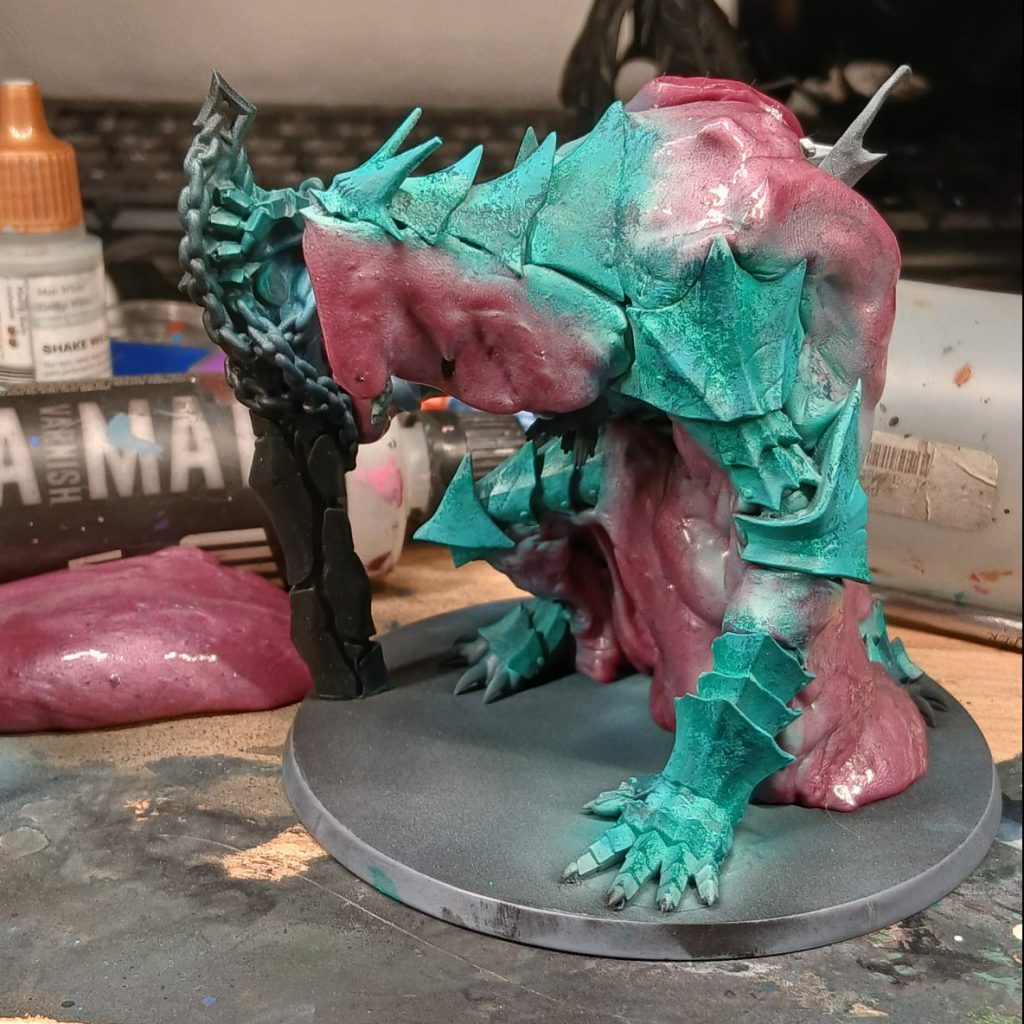
Riftspawn Armour
For the Riftspawn Armour, I decided to try something a bit different. My first instinct was to go with a sort of dark steel, but I changed my mind and settled on an ancient, aged bronze. I worked from a starting point of Verdigris, when Bronze is heavily oxidised, the oxide will rub off from the most exposed parts while remaining in the recesses. To that aim, I airbrush all the armour with either APA
Psychic Shock or
Hazardous Smog (I can't remember which, but both are perfect colours for a light verdigris!) If you're going to do this it's essential that you mask the parts you've already done somehow, since this method makes heavy use of messy techniques like stippling and drybrushing.
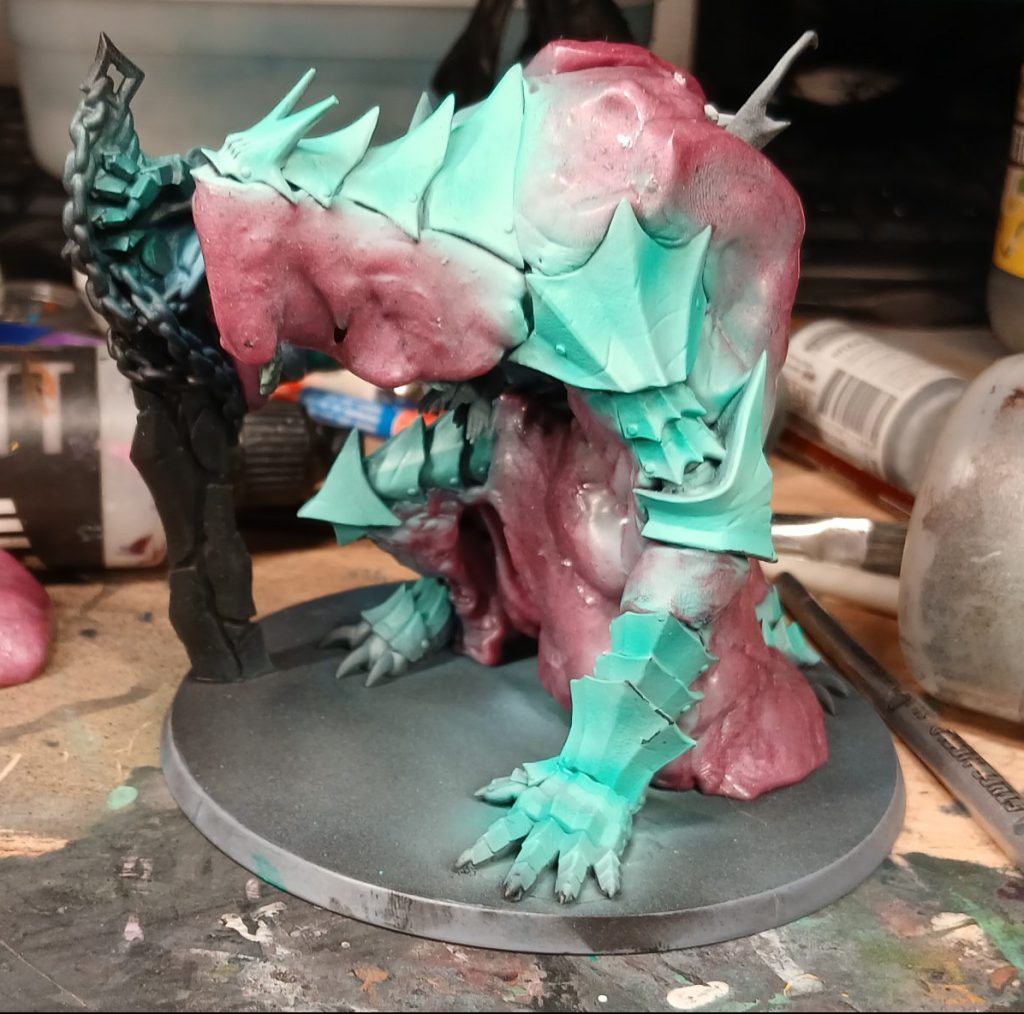
With that done and dry, I stipple all over the bronze armour panels with ProAcryl
Dark Jade with a large drybrush, trying to get the patterns as random as possible. Note: I don't drybrush here, although the brush I used was a large, round, soft brush, the paint is very wet. I repeat this step with ProAcryl
Green Oxide and ProAcryl
Turquoise. The random, almost Jackson Pollock-esque nature of the heavy oxidation looks sufficiently dirty and horrible.
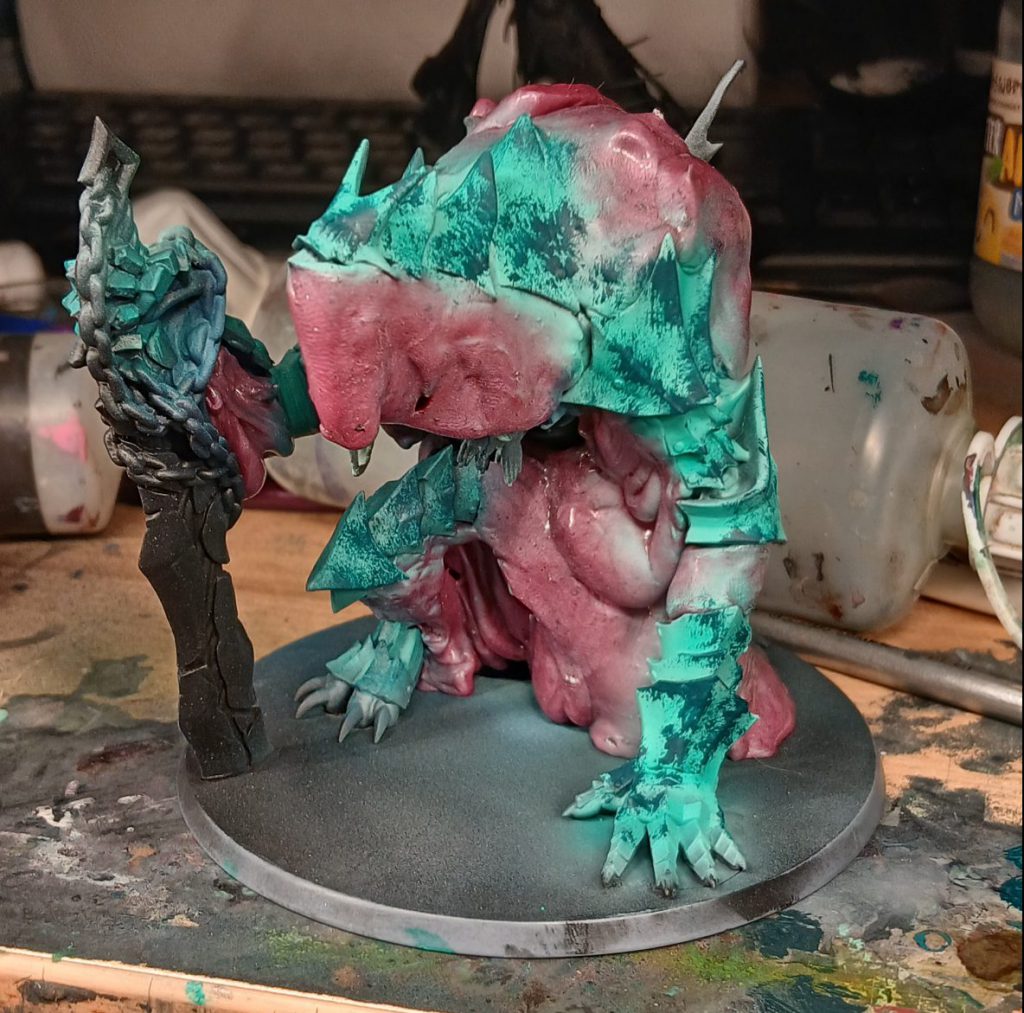
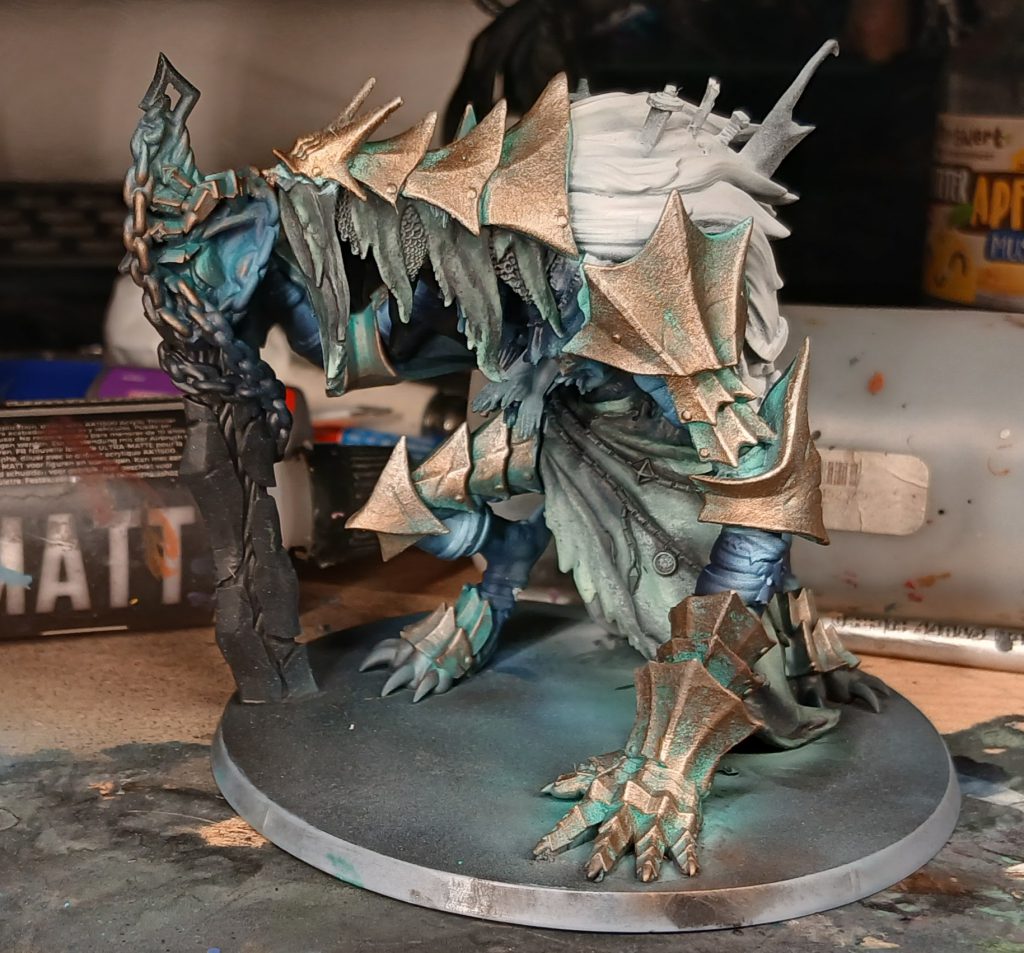
Once that's done, I start to drybrush with the metallic paints, beginning with ProAcryl
Dark Bronze all over the armour panels. It's important to build the colour up slowly and softly, like you're buffing actual metal. I repeat the process with ProAcryl Bronze, ProAcryl Light Bronze, and some
Vallejo True Metallic Metal Sterling Silver, drybrushing smaller and smaller parts each time, ending with the light silver just on the very sharpest edges.
Rusty Chain
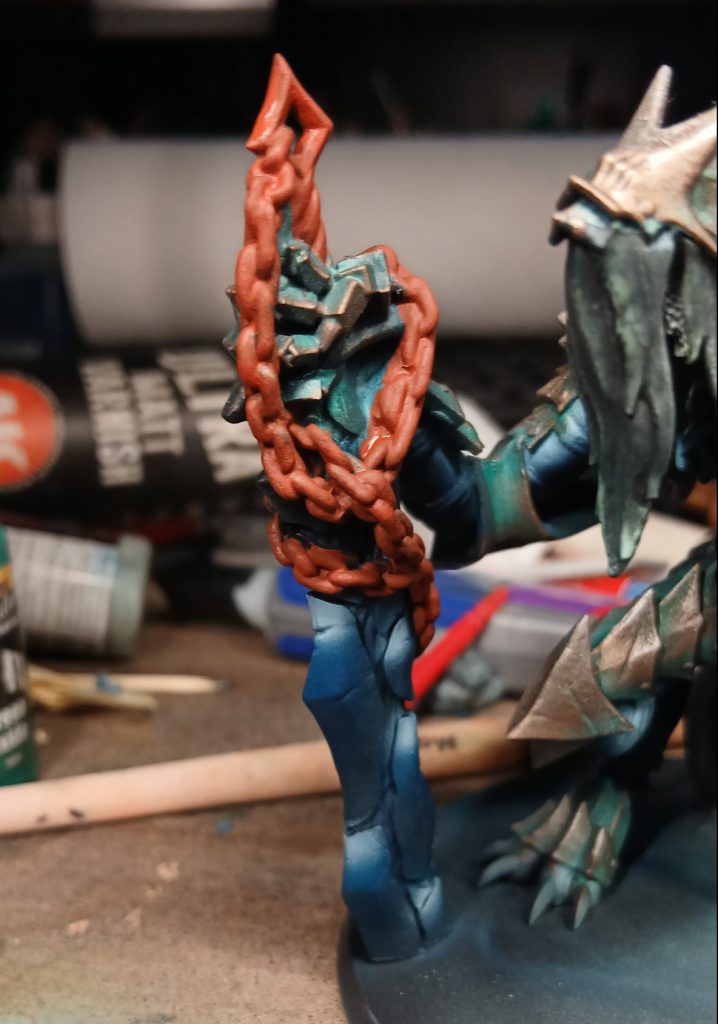
To add a little colour contrast to the general cold ambience of the model, I decide to paint the huge chain around the wrist and sword a rusted orange colour, beginning with ProAcryl
Burnt Sienna. Once that's dry, I paint large highlights on the chains with ProAcryl
Burnt Orange on the upward-facing parts, further increasing the contrast with another smaller highlight of ProAcryl
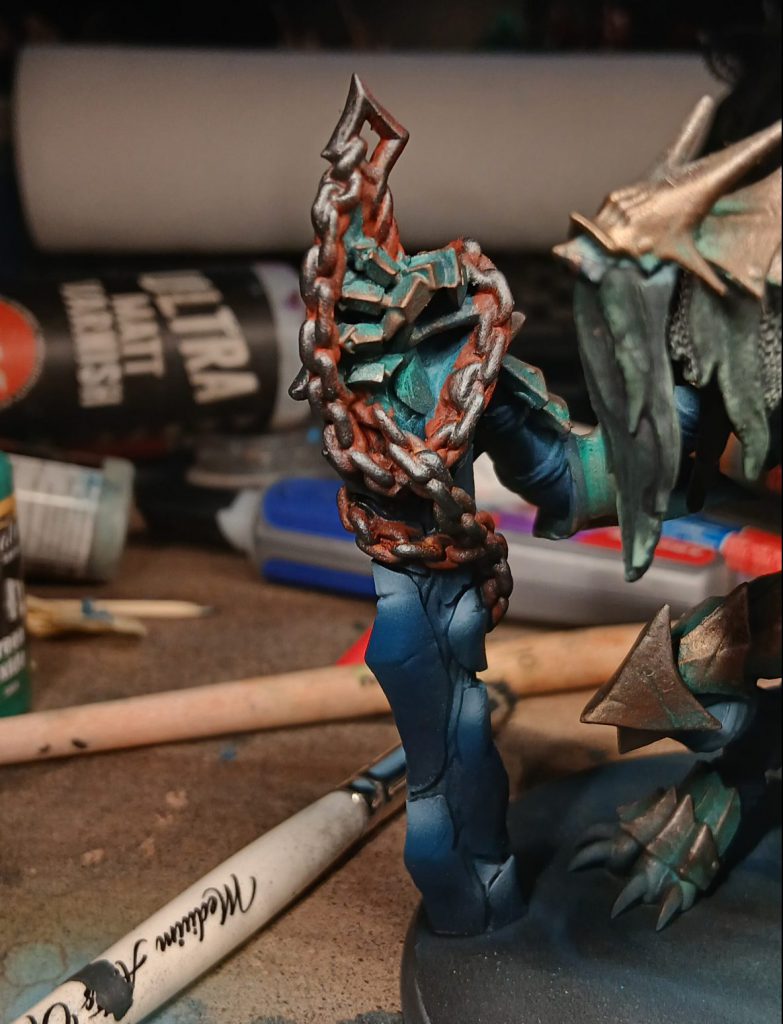
Orange. Now that the chain is sufficiently rust coloured, it's time to make it look like metal via a drybrush of ProAcryl
Dark Silver. i finish off the metallics with a final highlight drybrush of ProAcryl
Silver.
Sword
I paint the sword in a somewhat similar fashion to the skin, using the same paints but a different method. I create a gradient with the highlight at the top of each "shard" section of the blade, then with the darkest colour at the bottom of the next section, I achieve this through the same use of masking putty I mentioned before. I mask the bottom of each section with the putty and then spray the highlight on the section below it to create a quick and easy boundary. I then edge-highlight each shard with ProAcryl
Grey Blue and
White Blue.
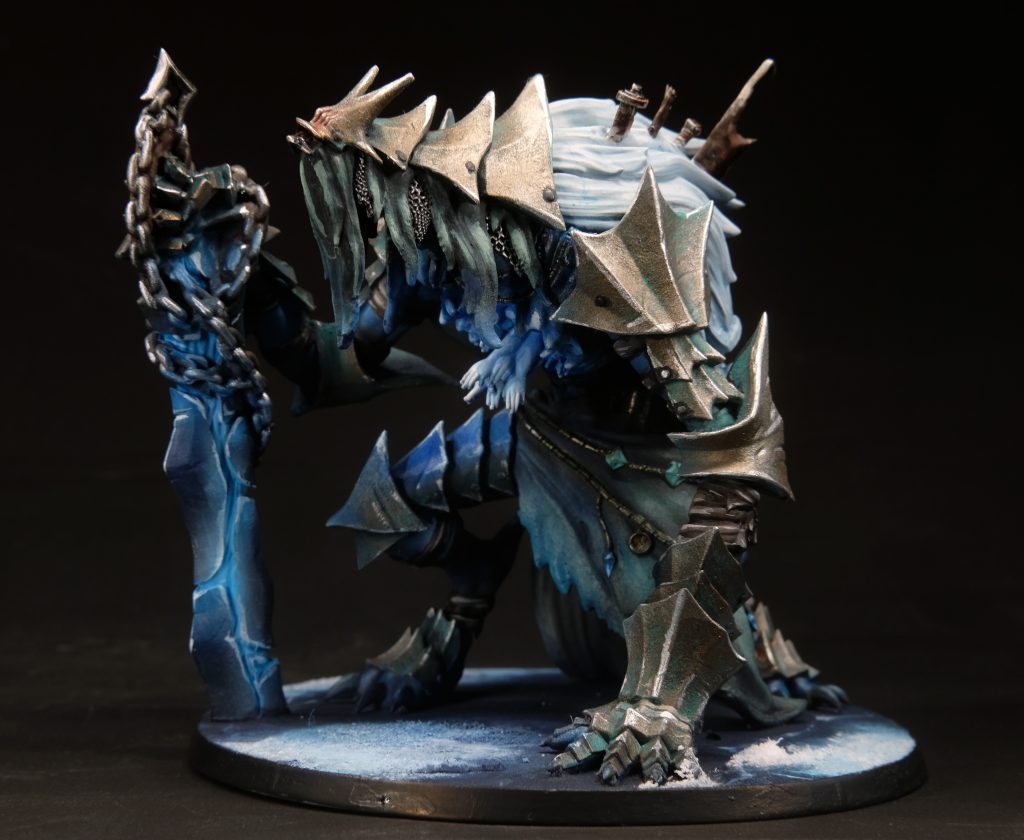
Spectral Hands and OSL
The spectral hands reaching out of the Riftspawn's chest are pretty important to sell the whole Dark Souls vibe it's got going on, so I want them to really stand out. I basecoat them with ProAcryl
Bold Titanium White and while I'm at it, I paint a line of white in the cracks between the ice-shard-ish bits of the sword. To create the glow and colour blend the white hands into the body, I use AP SP
Magic Blue. This is something of a high-wire act as, by this point, I've already painted pretty much everything, but fortune favours the bold after all. Using the airbrush and with very, very tiny trigger movements, I very carefully spray the Magic Blue at the point where spectral hands erupt from the monster's chest, intensifying the colour with more coats at the boundary.
To create the OSL effects, I spray more
Magic Blue on surfaces with a direct line to the hands. In order to figure out which parts would be affected by the OSL I move the model around a lot and draw lots of imaginary lines in my head. I really think that a good OSL can really boost a model to the next level, and using contrast-style paints as filters is a super-easy way of doing it.
Ice Base
Continuing with the frozen Northern Wind theme, I turned the flat base into a sort of frozen lake using, once again, the colours
AP Air Thunder Storm, Night Sky, and
Twilight Sky. Coupled with some cracks painted in with ProAcryl
Grey Blue and some
Krautcover Powder Snow.
 Have any questions or feedback? Drop us a note in the comments below or email us at contact@goonhammer.com. Want articles like this linked in your inbox every Monday morning? Sign up for our newsletter. And don’t forget that you can support us on Patreon for backer rewards like early video content, Administratum access, an ad-free experience on our website and more.
Thank you for being a friend.


 Goonhammer Hobby Round-Up: March 2026
 Goonhammer Reviews: Tribal Conquest
 Conquest: Weaver Courts Gemred Knights and Scaile Dancers Model Review