I loved the original Dawn of War and false started several times when it came to building a Blood Ravens army. I eventually scratched the itch by painting Jansus Natorian for my Deathwatch - and if you're doing a Blood Ravens army I'd recommend hunting down that mini because he's great - but when the chance came to paint a Blood Raven for this tutorial I took it.
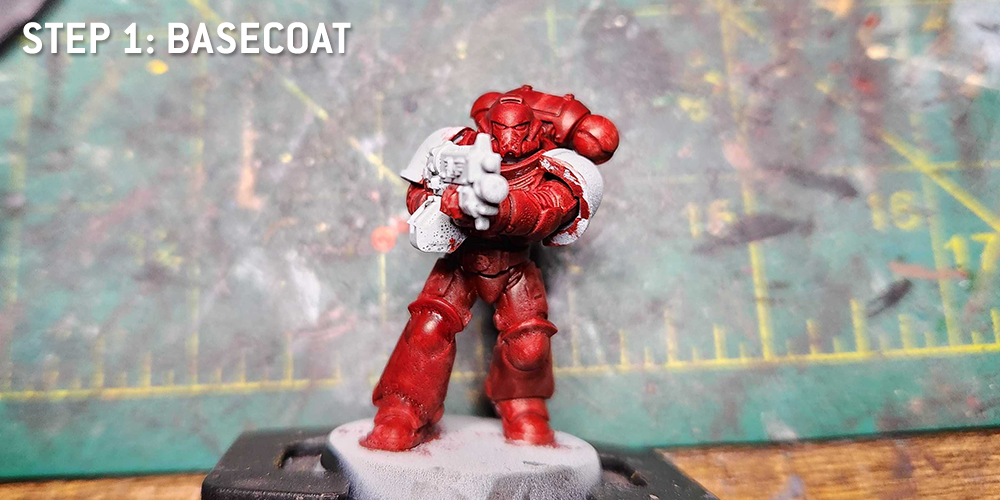
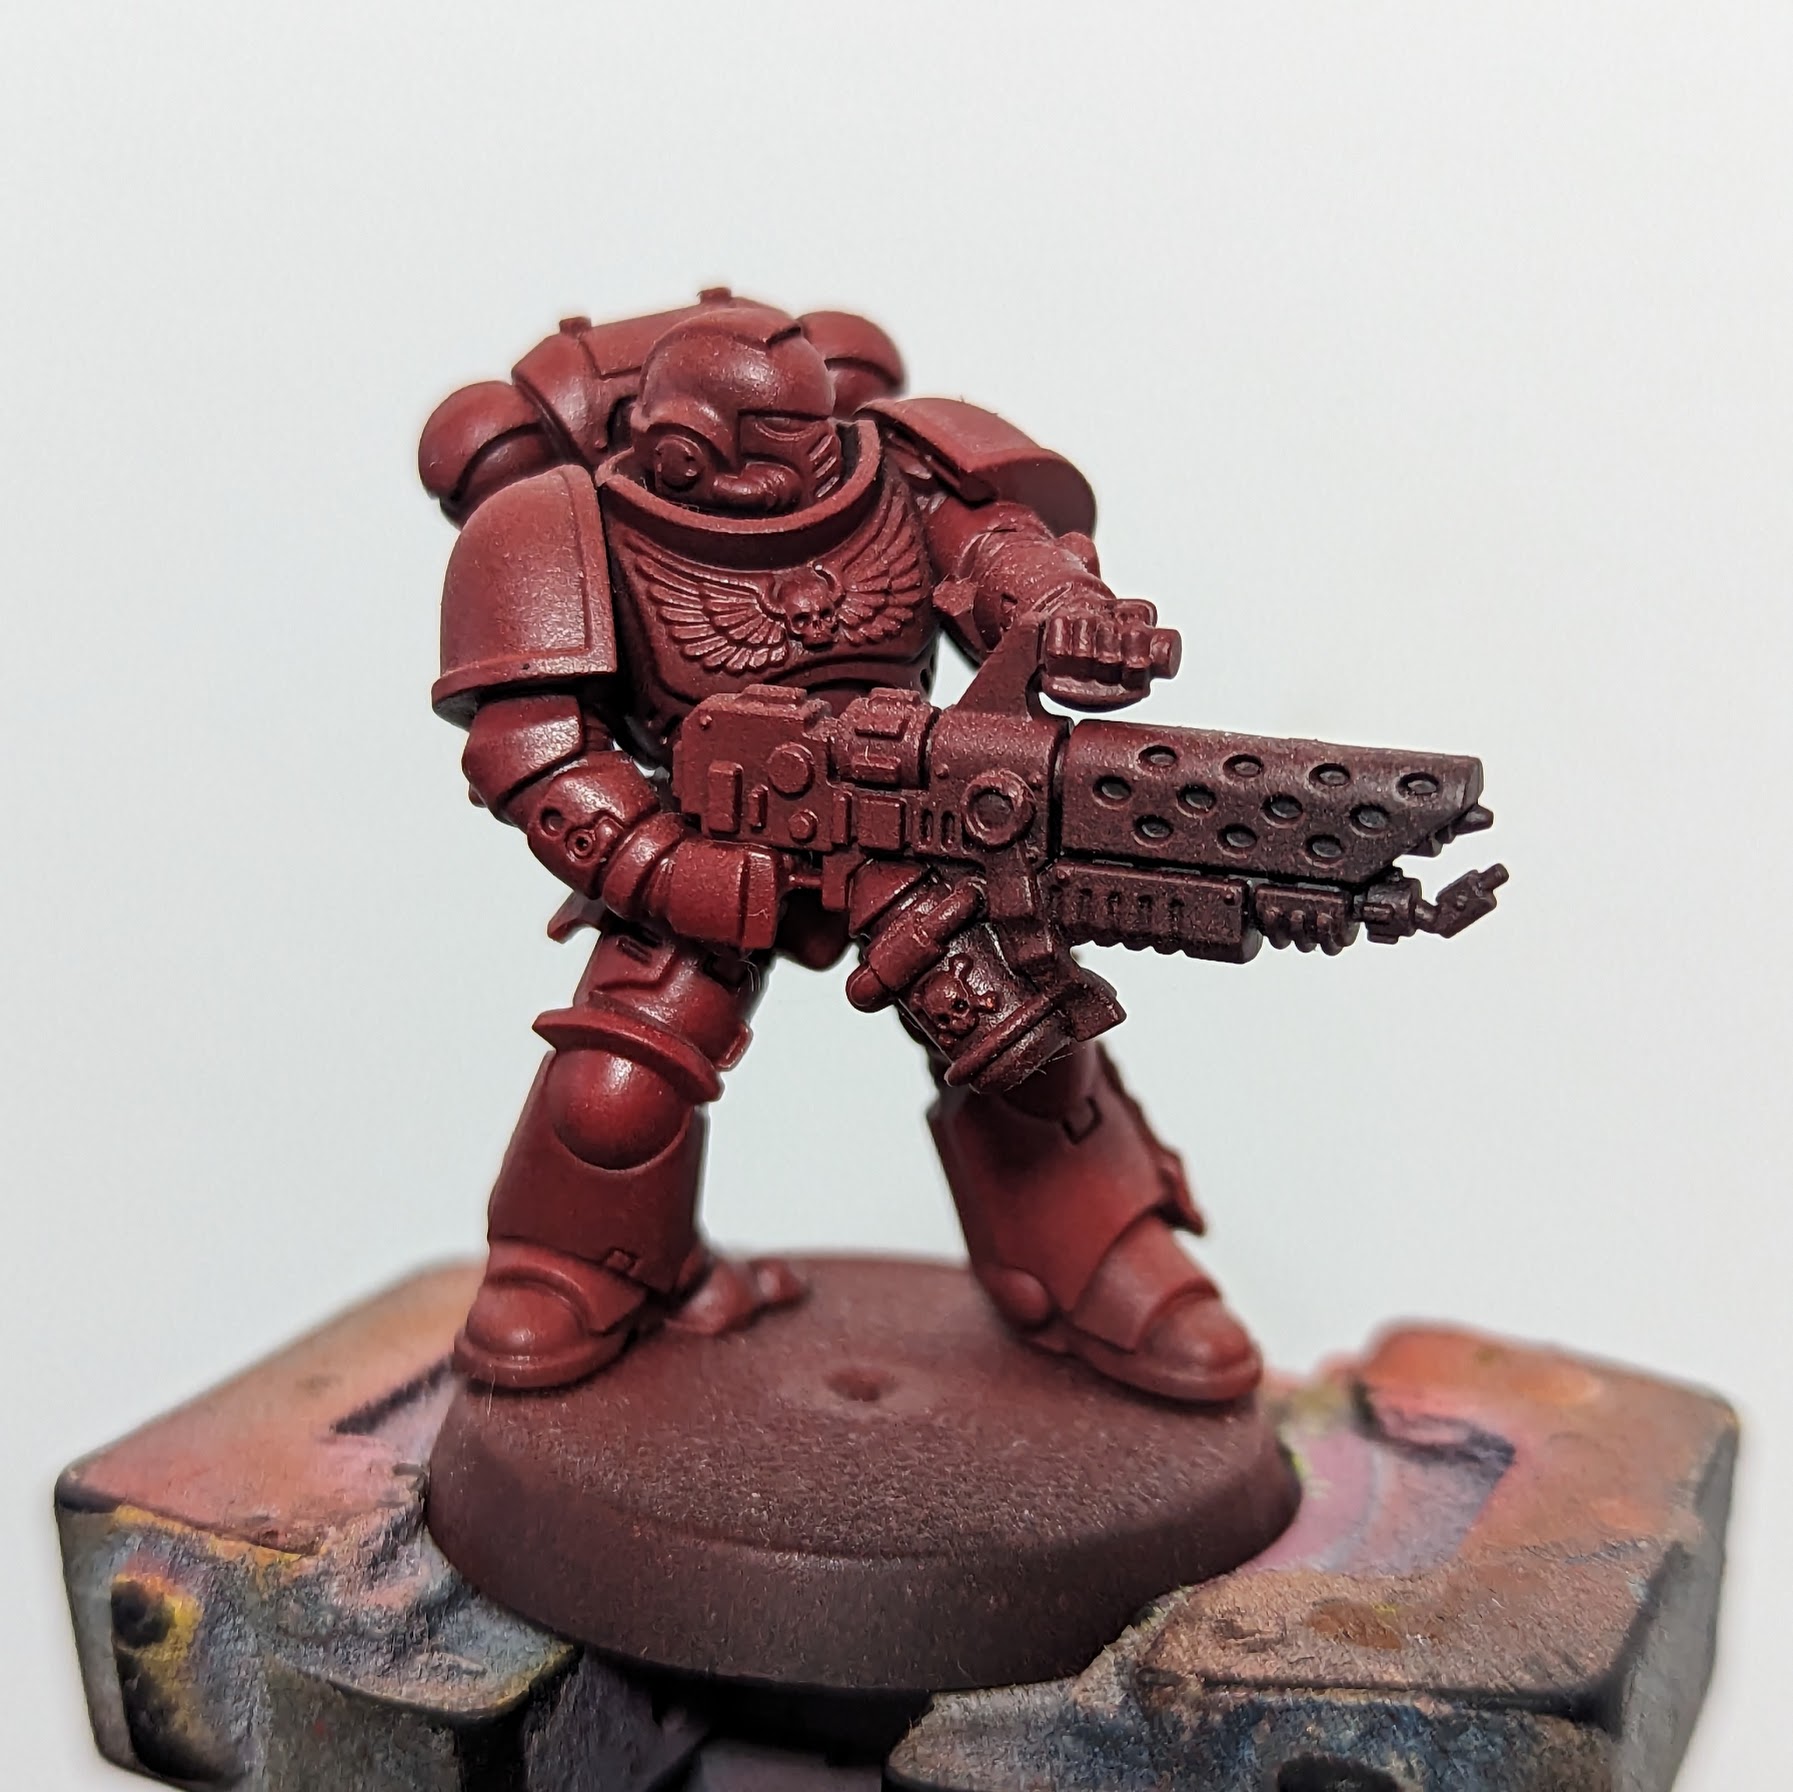
Step 1: Priming and Basecoat
This guy wasn't originally going to be a Blood Raven, so I primed him with Grey Seer and then painted the whole model with
Flesh Tearers Contrast Paint. If I had known he was going to be a Blood Raven from the start, I'd have instead primed him Mephiston Red and washed the whole thing with Carroburg Crimson, and saved a little bit of time and effort. I'm happy with how this turned out anyways, but a note for future painters.
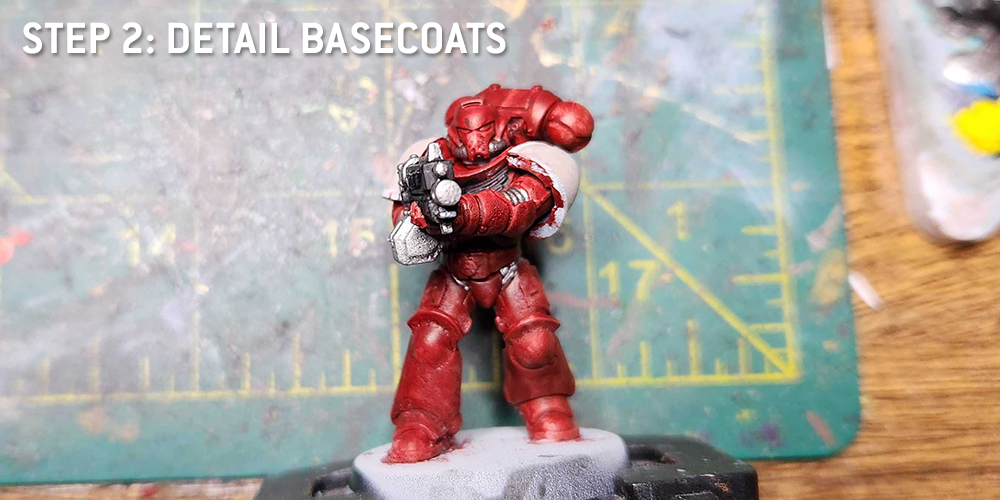
Step 2: More Basecoats
Next up I started adding in other basecoats, doing the metal parts of the bolter and underarmor with
Leadbelcher while the bolter itself received a couple of coats of
Black Legion Contrast Paint. The chest aquila was painted with Black Legion as well, and the shoulderpads were painted
Rakarth Flesh.
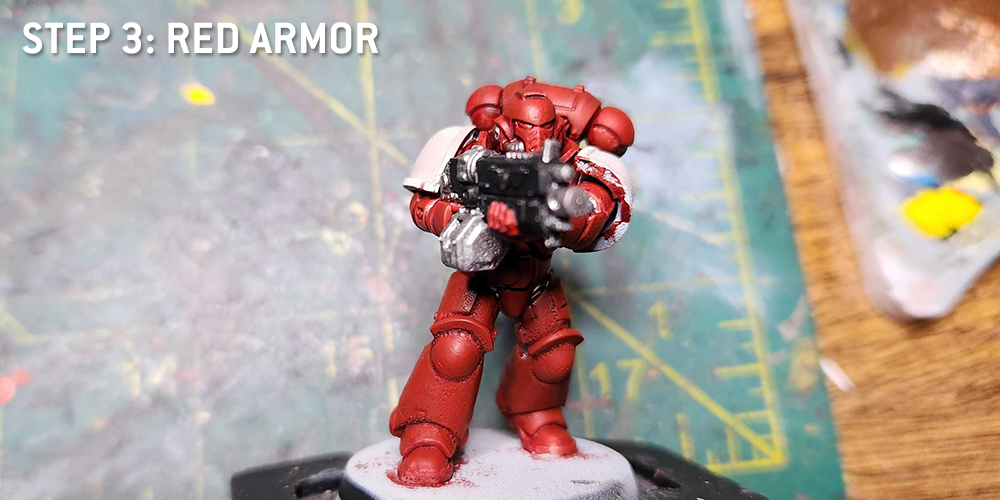
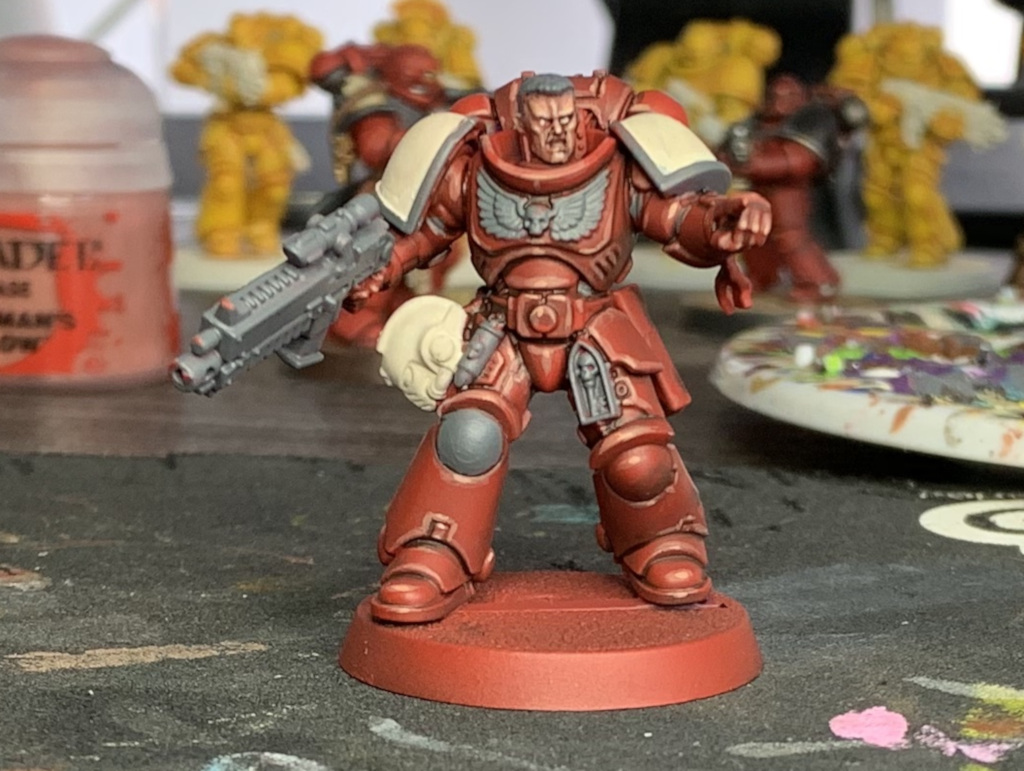
Step 3: Painting the Armor for Reals
Here's where my dumb plan came together - I painted the bulk of the armor with
Mephiston Red, leaving some spots - primarily recesses - darkened with Flesh Tearers. In the alternate method where I prime Mephiston and wash Carroburg this is largely the same.
This is also the step where I did some washes. I washed the metal parts with
Nuln Oil and did a thin line around the rim of the shoulderpads with
Agrax Earthshade. I also did lines of
Carroburg Crimson and
Nuln Oil in the armor recesses where I needed them a bit darker.
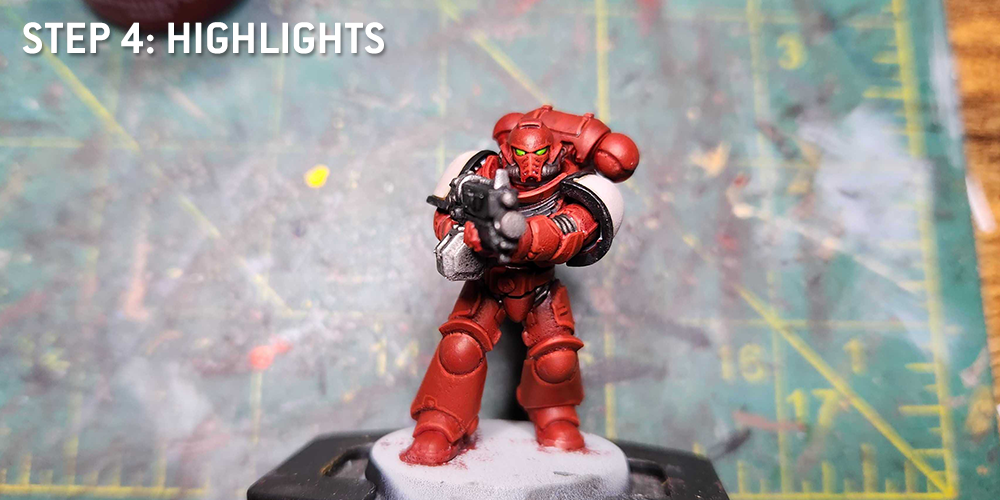
Step 4: Highlights
Time for the magic. I hit the edges on the power armor with
Evil Sunz Scarlet. I edge highlighted the bolter's black parts with
Mechanicus Standard Grey. The shoulder pads I hihglighted up in a gradient from Rakarth Flesh to
Reaper Polished Bone (Wraithbone also works for this), in 4 steps mixing in more and more Polished Bone. Then I painted the rims with Black Legion Contrast paint, highlighted them with
Corvus Black, and edge highlighted them with Mechanicus Standard Grey.
This is also where I painted the eyes, doing a base layer of
Warpstone Glow and putting in some
Moot Green over top of that.
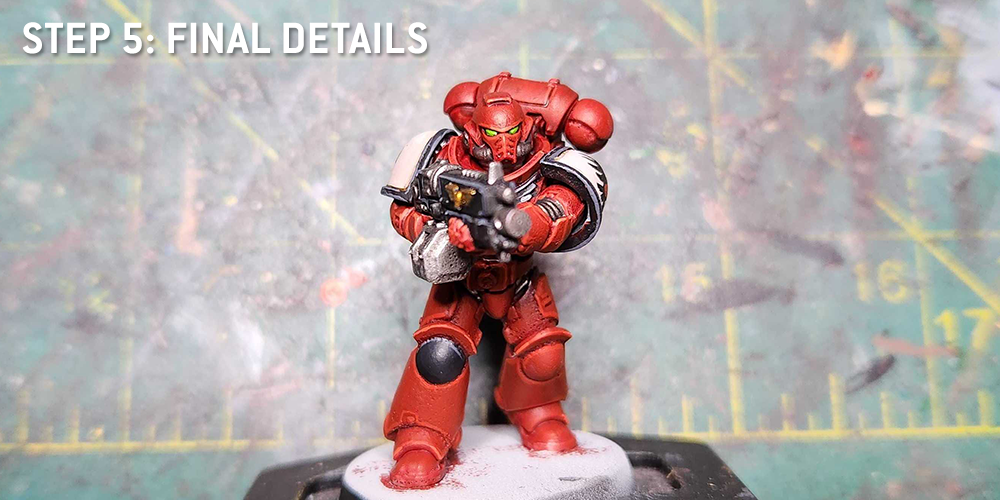
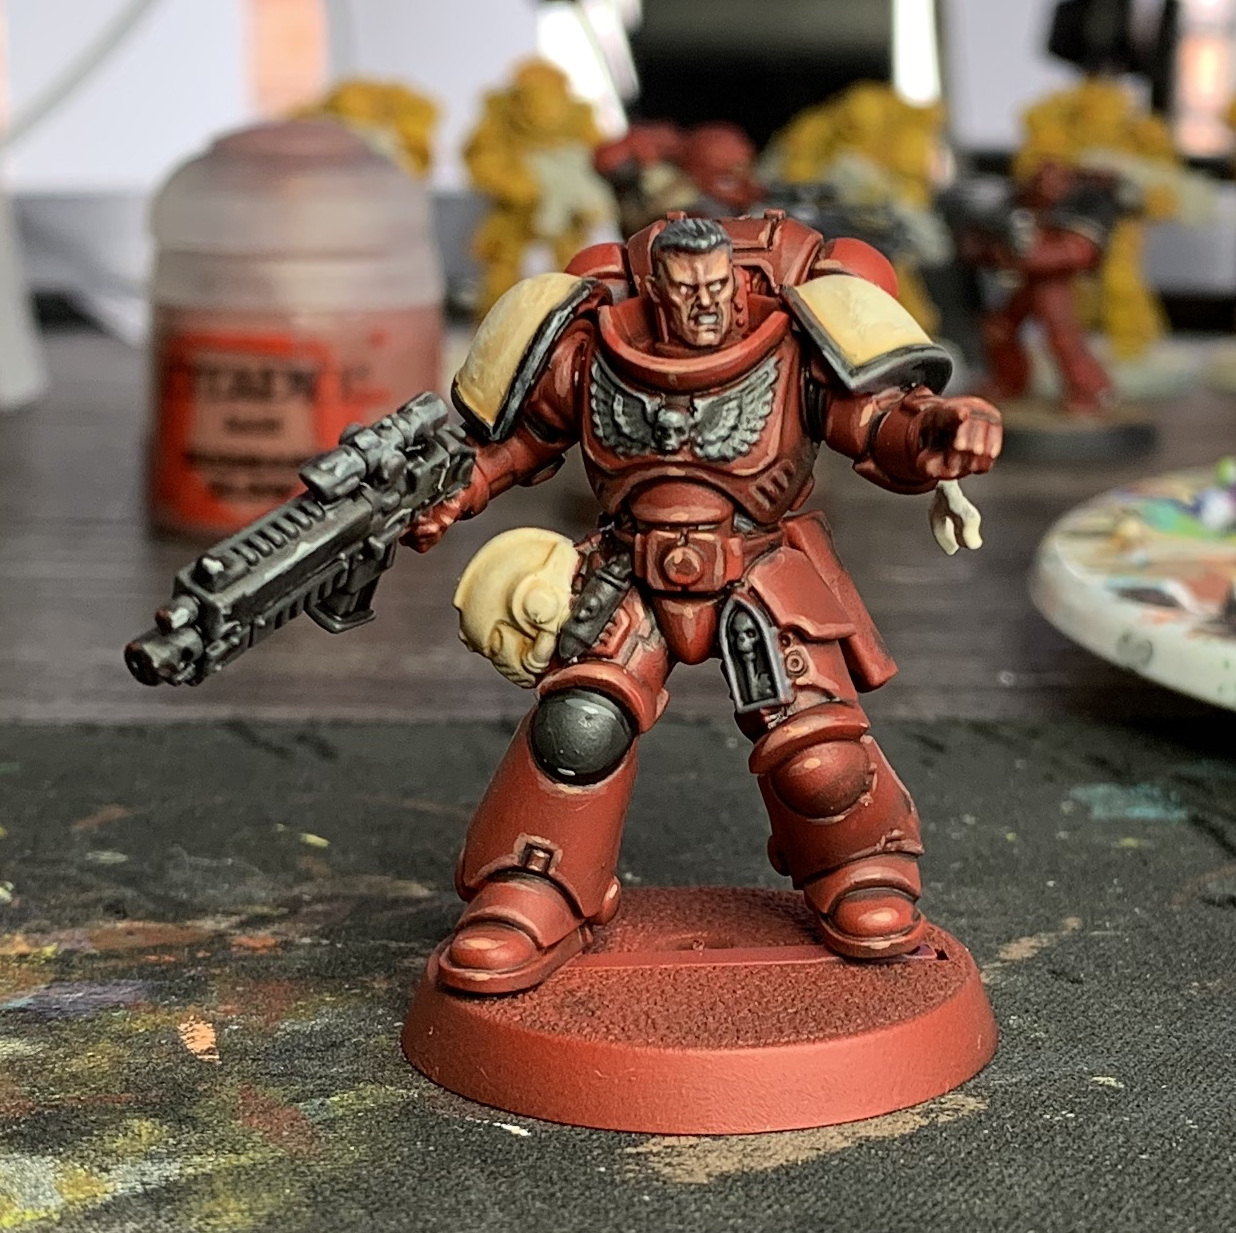
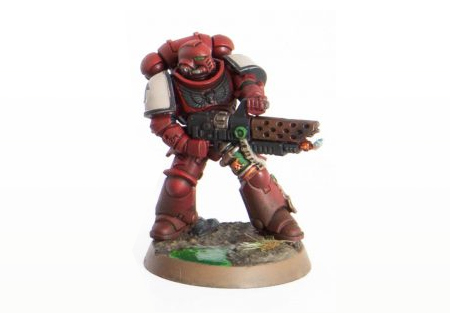
Step 5: Final Details
Just a few final details in this step, and it's lots of minor things. I do some final, corner edge highlights on the red with
Wild Rider Red, giving it some extra pop, and do corner highlights on the black parts with
Celestra Grey. I also paint the right kneepad here, using
Black Legion Contrast Paint, then shading that up to Corvus Black and doing a line highlight of Mechanicus Standard Grey. The Aquila also gets some Mechanicus Standard Grey highlights and the bolter aquila is
Retributor Armour.
 Credit: Robert "TheChirurgeon" Jones


 Credit: Games Workshop
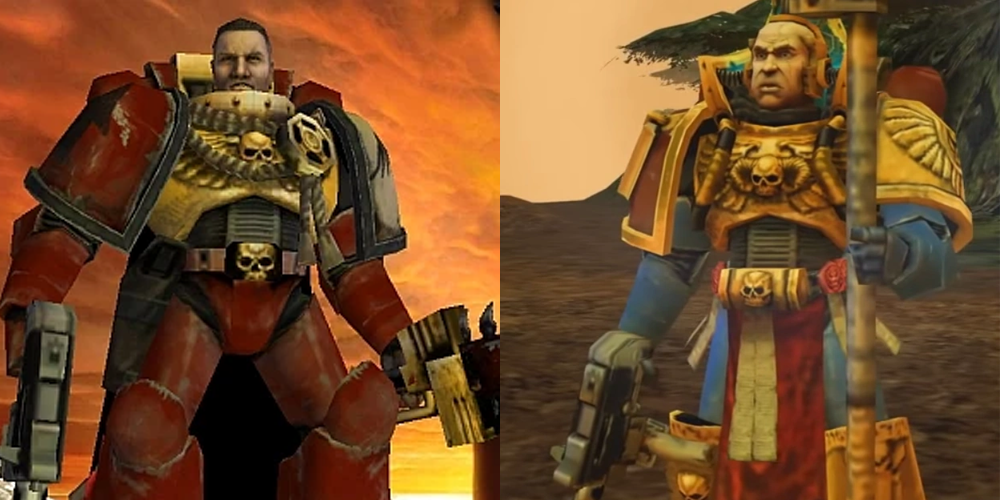 Credit: Relic

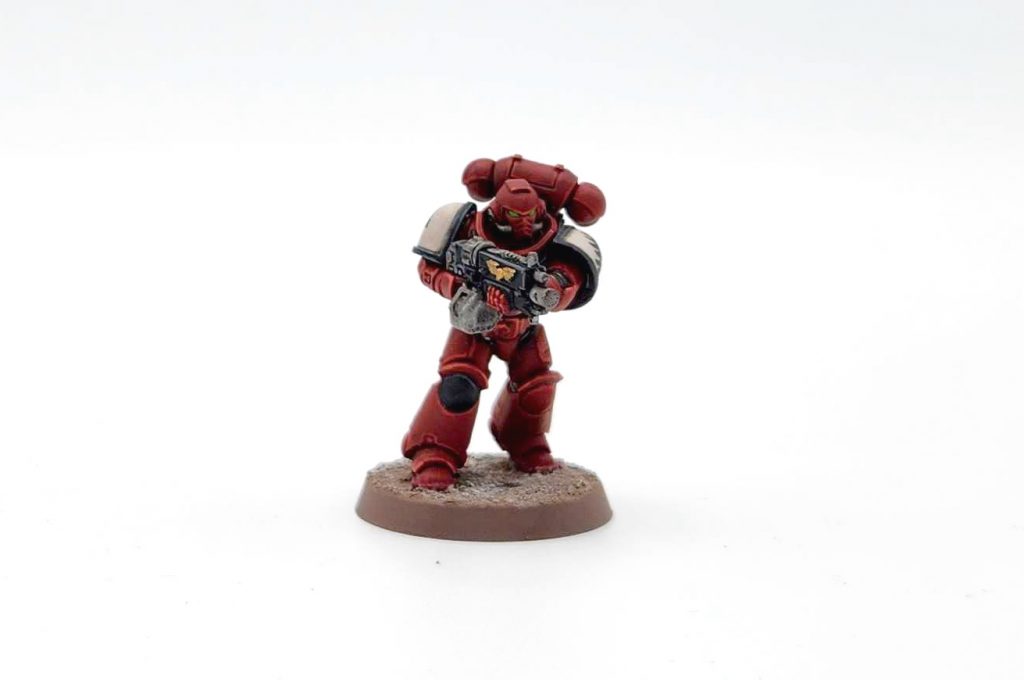
 I miss those guys… Anyway on to the Contrast version.

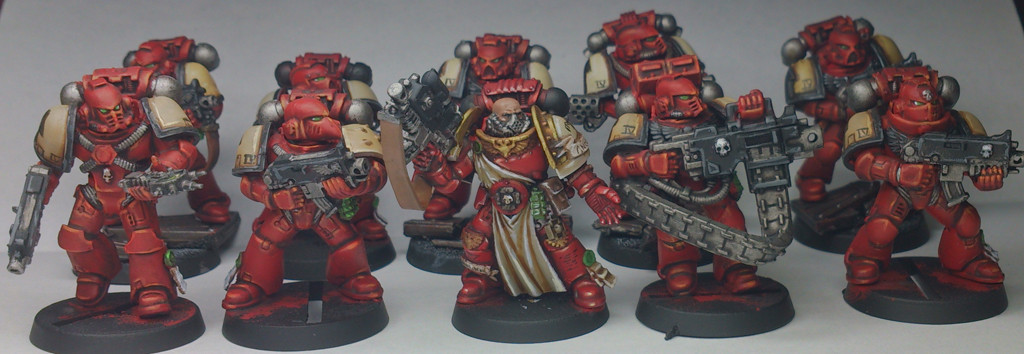
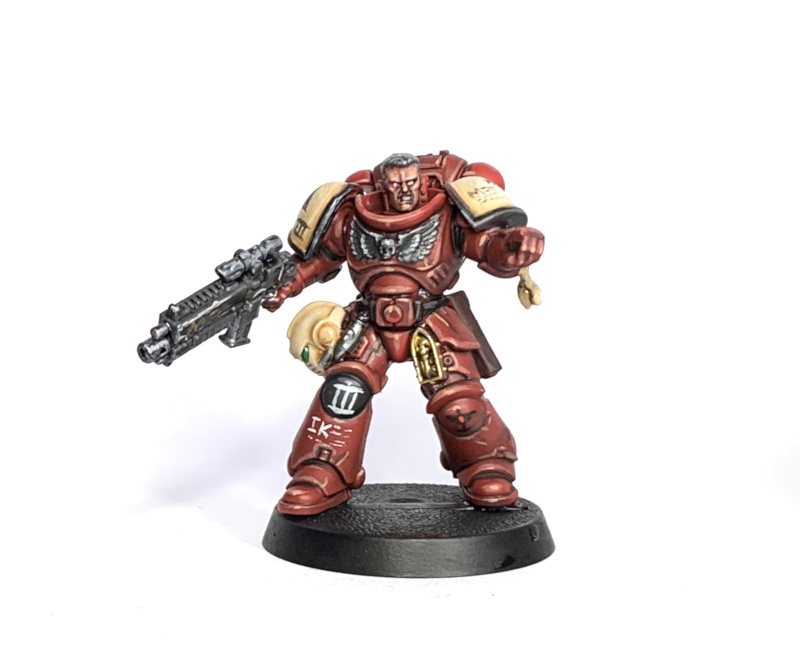 Credit: RichyP

 Credit: Robert "TheChirurgeon" Jones

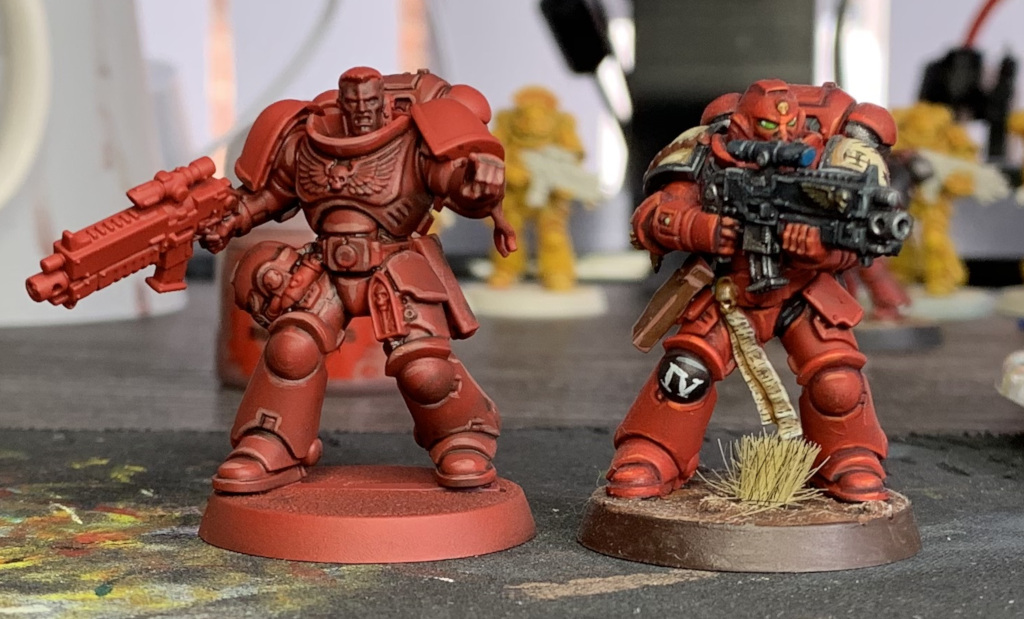
 Getting started
 Credit: Soggy
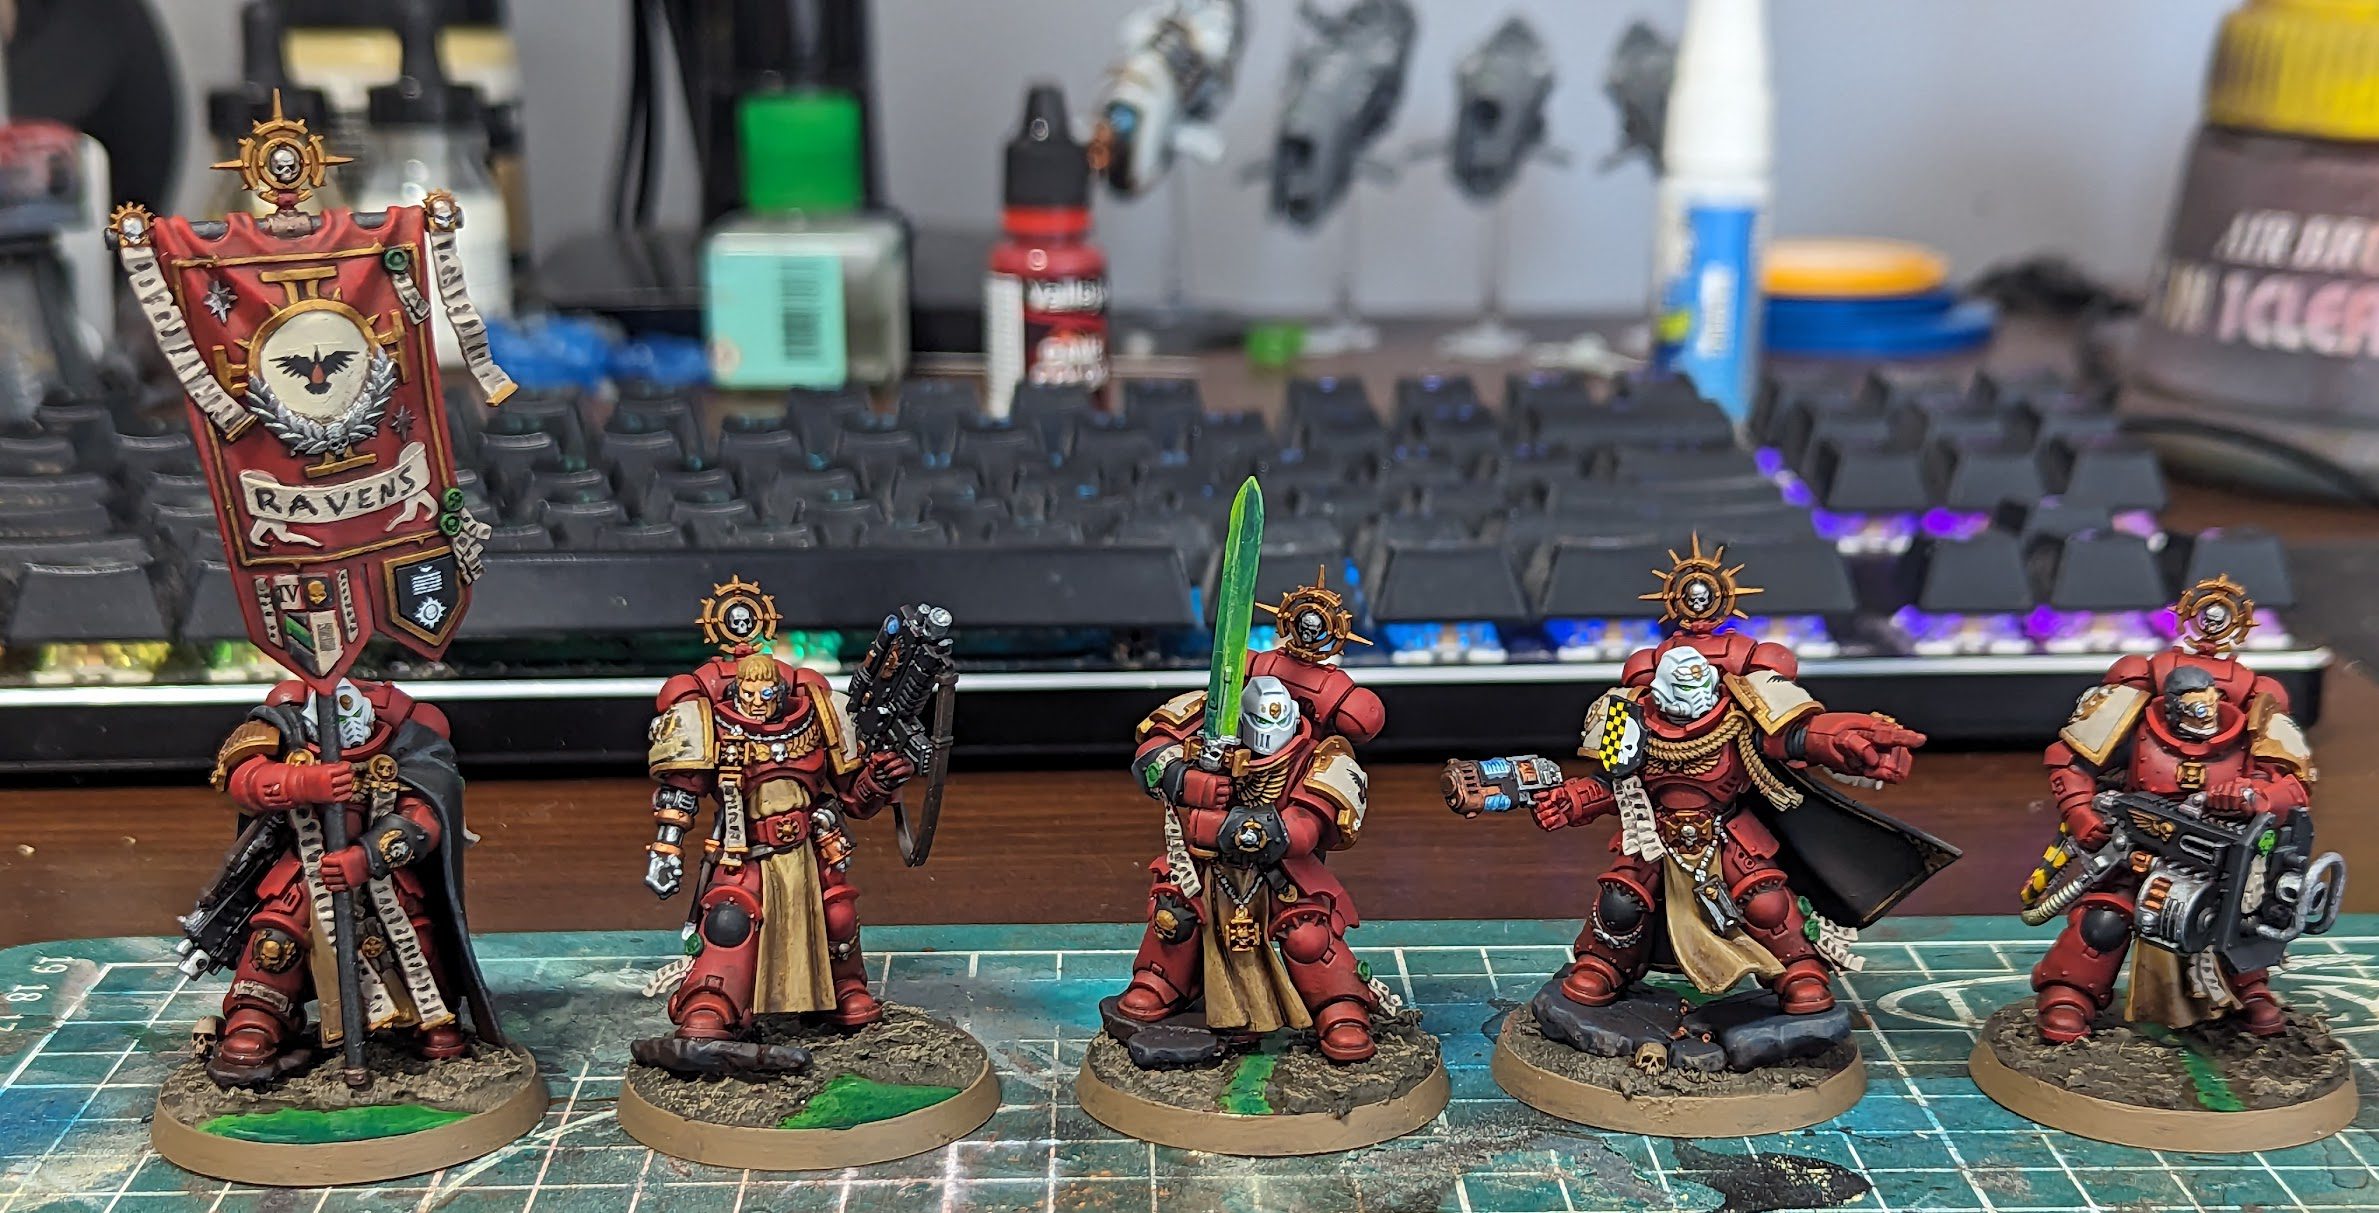
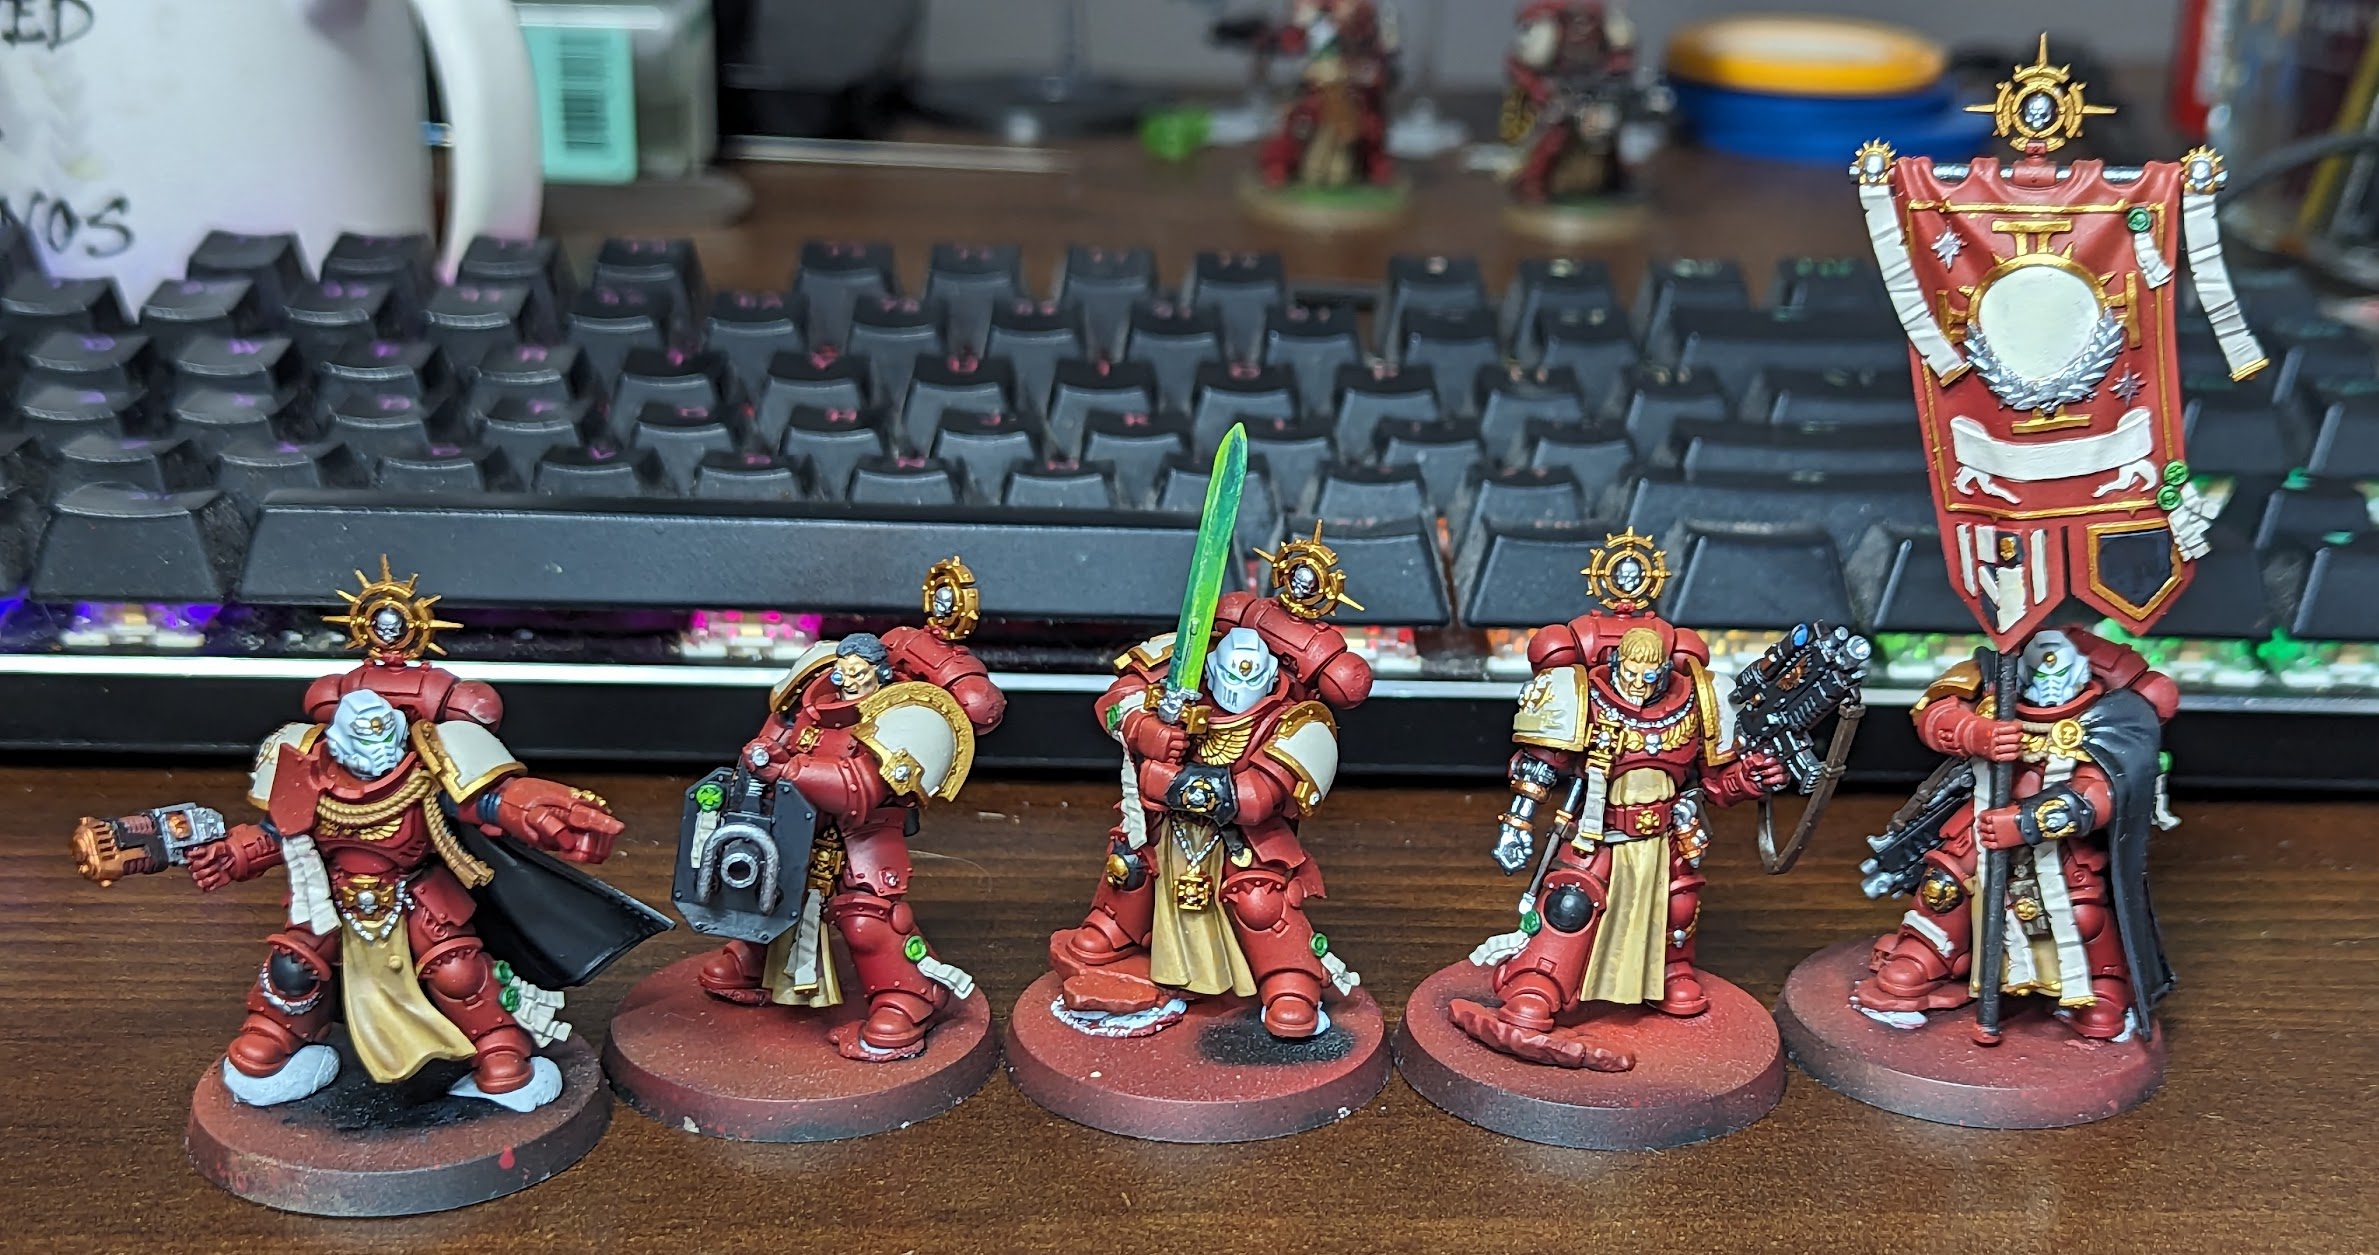
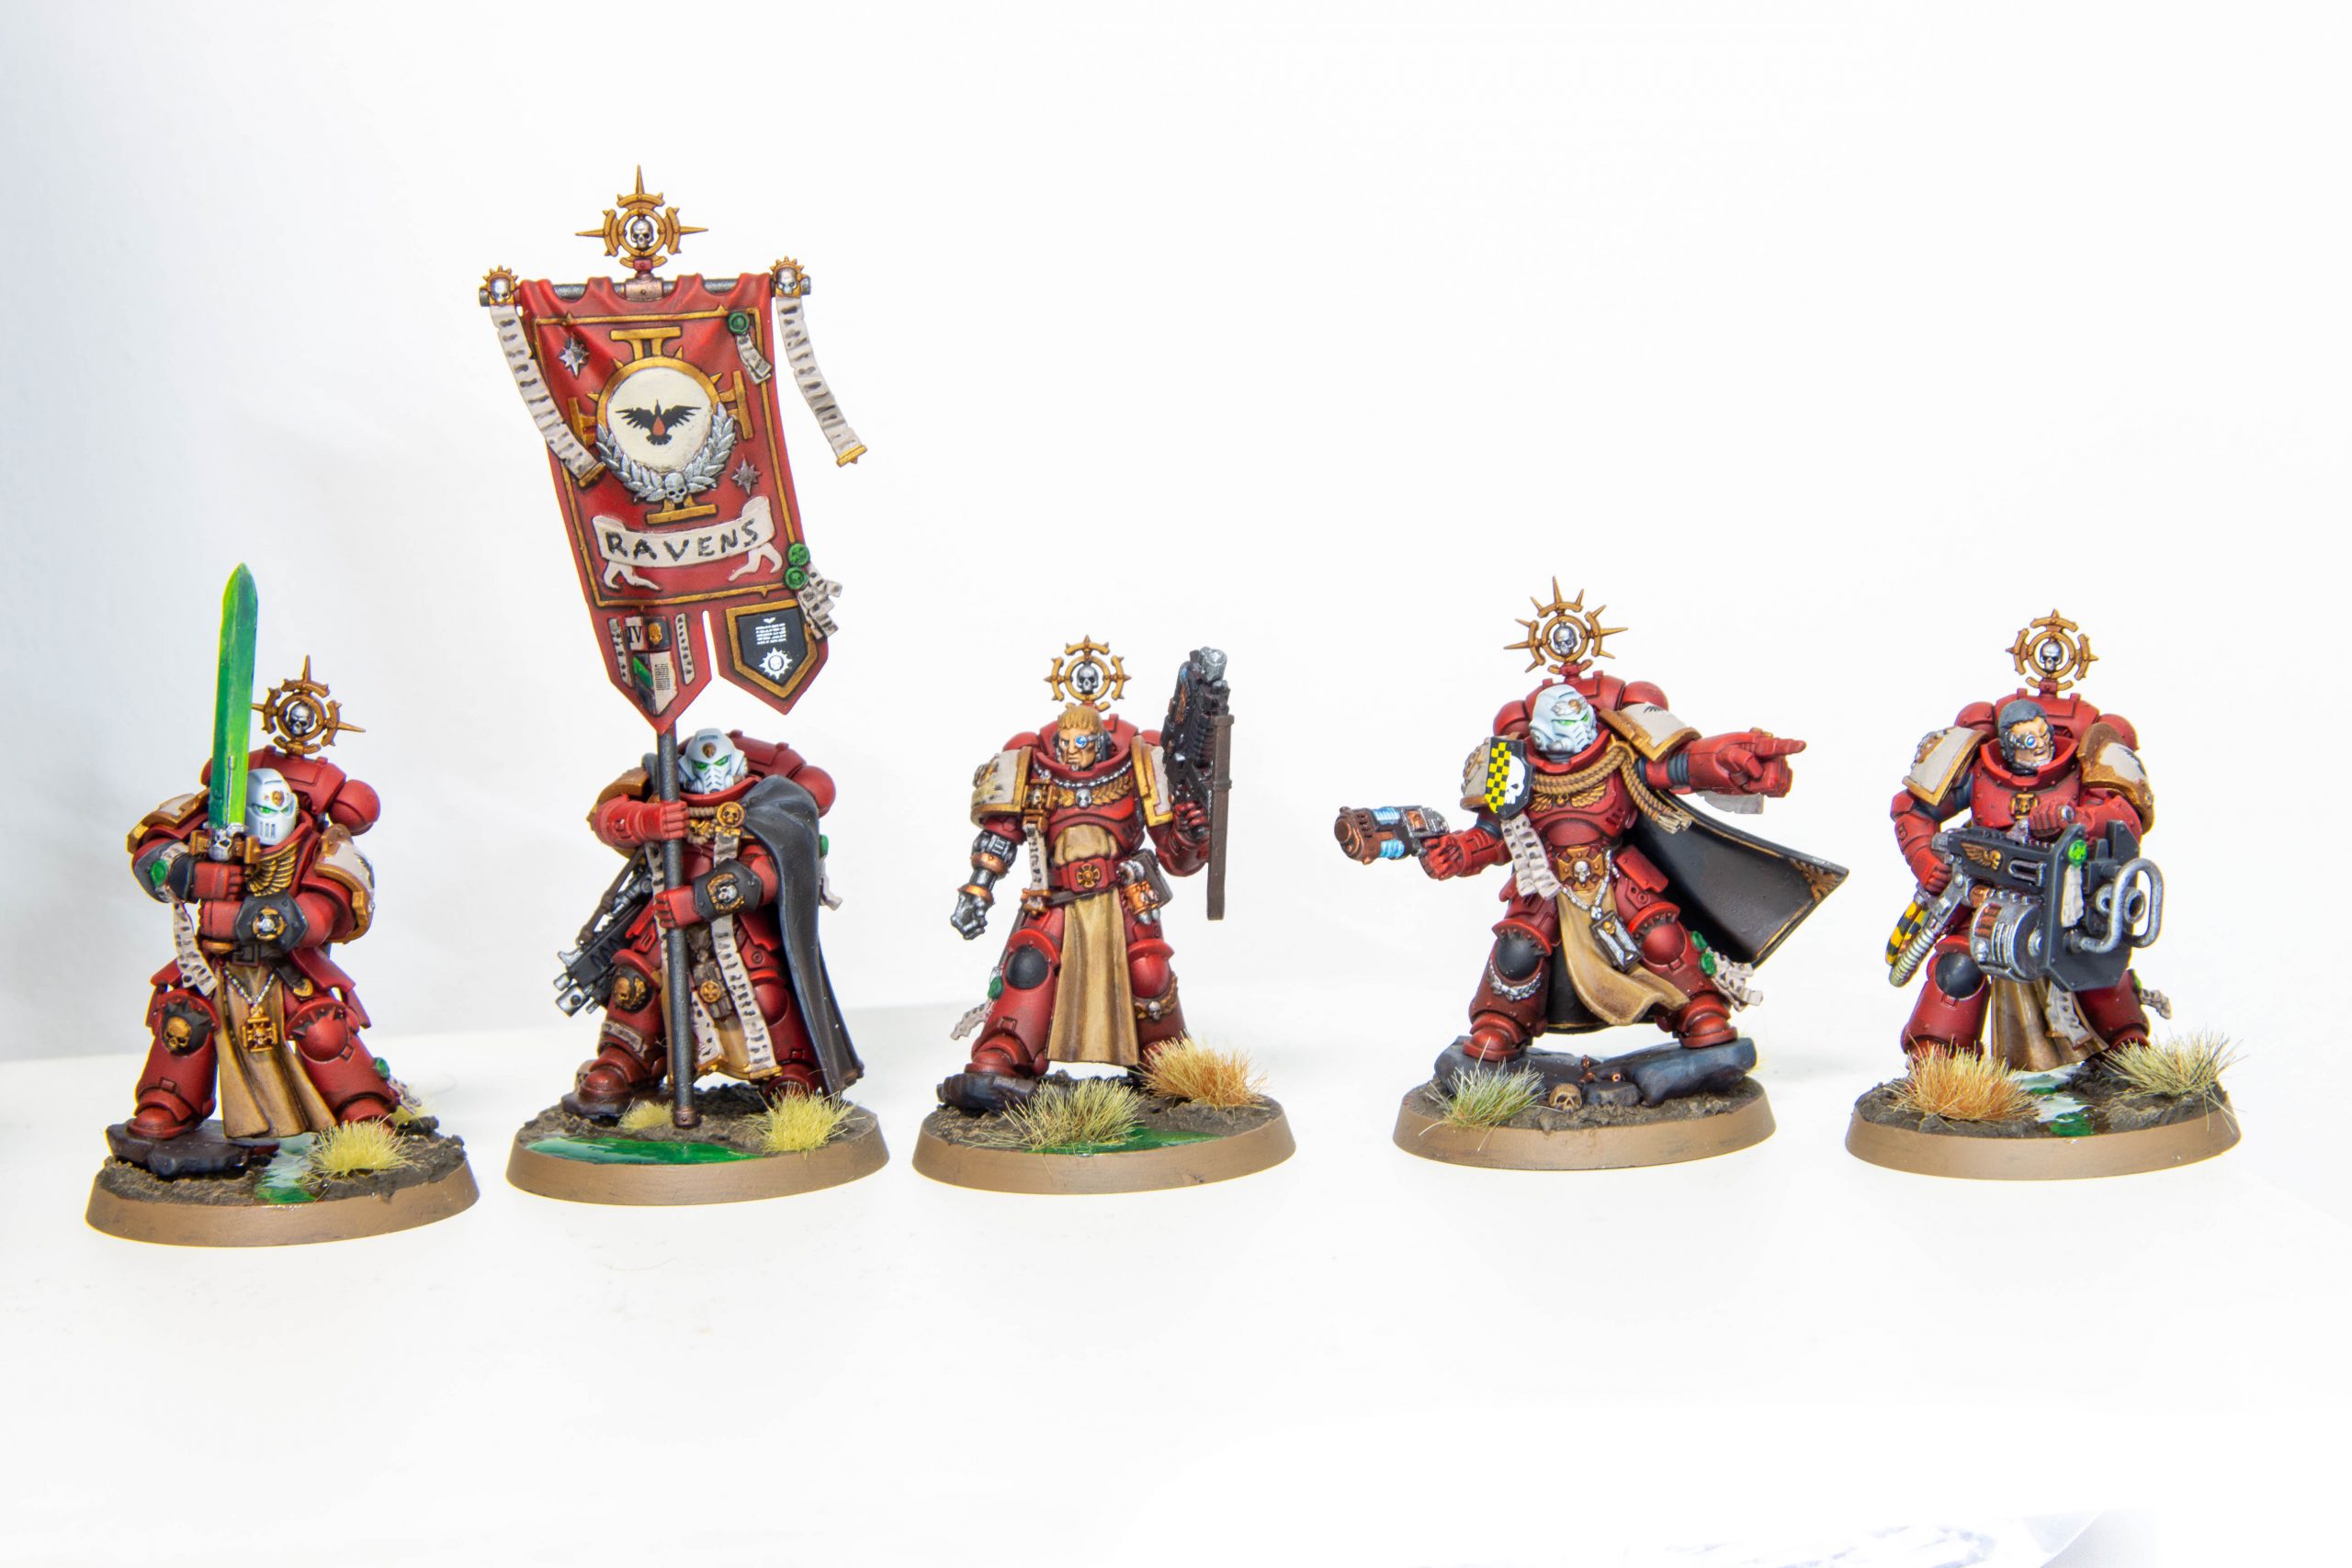 Blood Ravens Company Heroes. Credit: Soggy

 Goonhammer Hobby Round-Up: March 2026
 Goonhammer Reviews: Tribal Conquest
 Conquest: Weaver Courts Gemred Knights and Scaile Dancers Model Review