Painting | Tutorials | How To Paint Everything | Age of Sigmar | Necromunda | Kill Team | Hobby | Warhammer 40k | Core Games | Horus Heresy


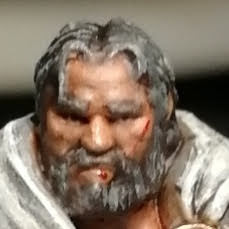
This step-by-step is for minor bullet pings on armor. My base color is unbleached titanium, which looks like it falls somewhere between screaming skull and ushabti bone in GW paint. The brown is burnt umber, it looks like it could be between Rhinox Hide and Mournfang Brown.

1. I laid down Rough spots of brown with irregular spacing. On darker or more colorful armor I would try gray or Leabelcher on this step, depending on the look you want.
2. Smaller spot of black (thinned 1:1 w/ satin glaze medium) put in middle of brown spots.
3. Thinned base color dabbed on bottom edge of black spot.
4. Another dot of black put in center of mark. Dot of white put underneath black. This is to pop the contrast a bit.


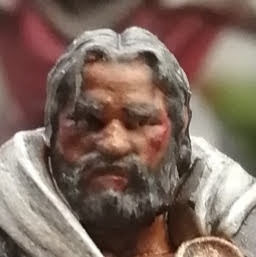
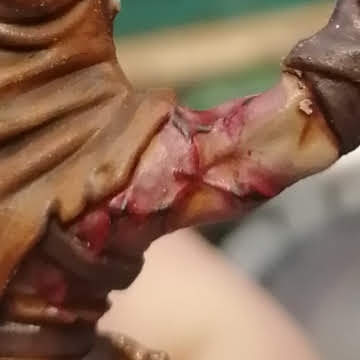
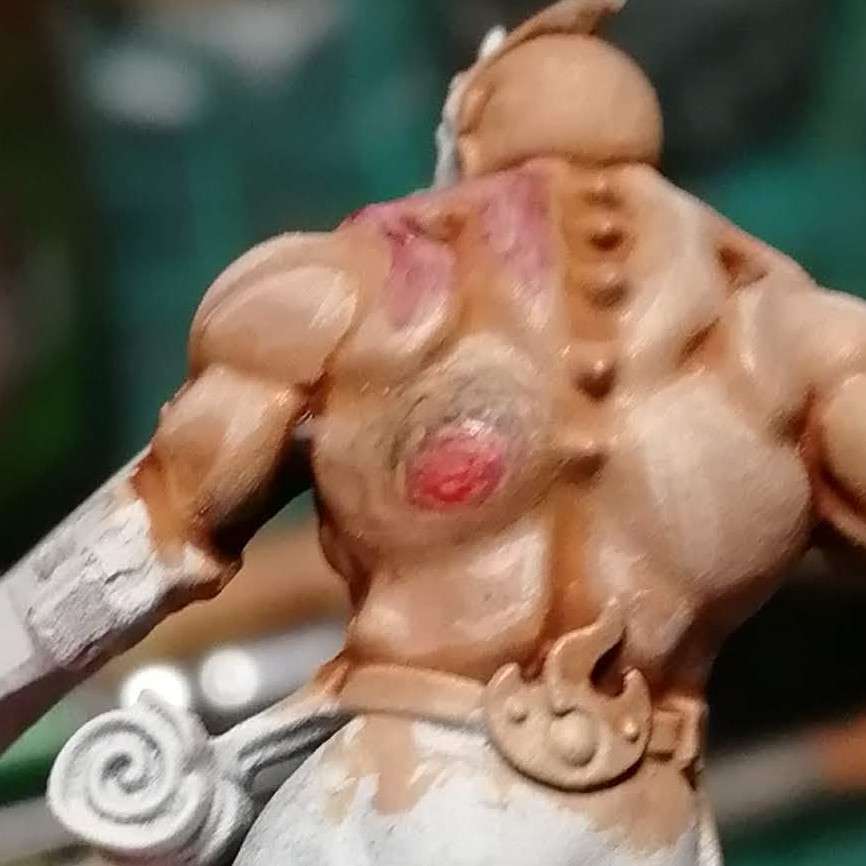

This is a short step-by-step for painting on an explosive blast mark. It's based on the effect of a mortar shell impact on concrete. It could also represent acid spit/splash corrosion with some green or yellow mottled into the scarring. Here is the visual reference I'm working off of for this process:


1. Body of scarring laid out in 1:1 base color and brown. I try to keep it irregular.
2.pitting added around main scar in same color. Most of the pitting is pointing in direction of main scar.
3. Mixed black and glaze medium (using Golden brand satin glazing liquid) 1:1 and traced top edges of scarring. Also added some to top half of main scar in from edges. Pitting has a black dot or line on top edge. A few more pits added with black+medium.
4. White line added to bottom edge of scarring and pitting, basically like a type of "false" edge highlighting to give the impact a three-dimensional appearance.

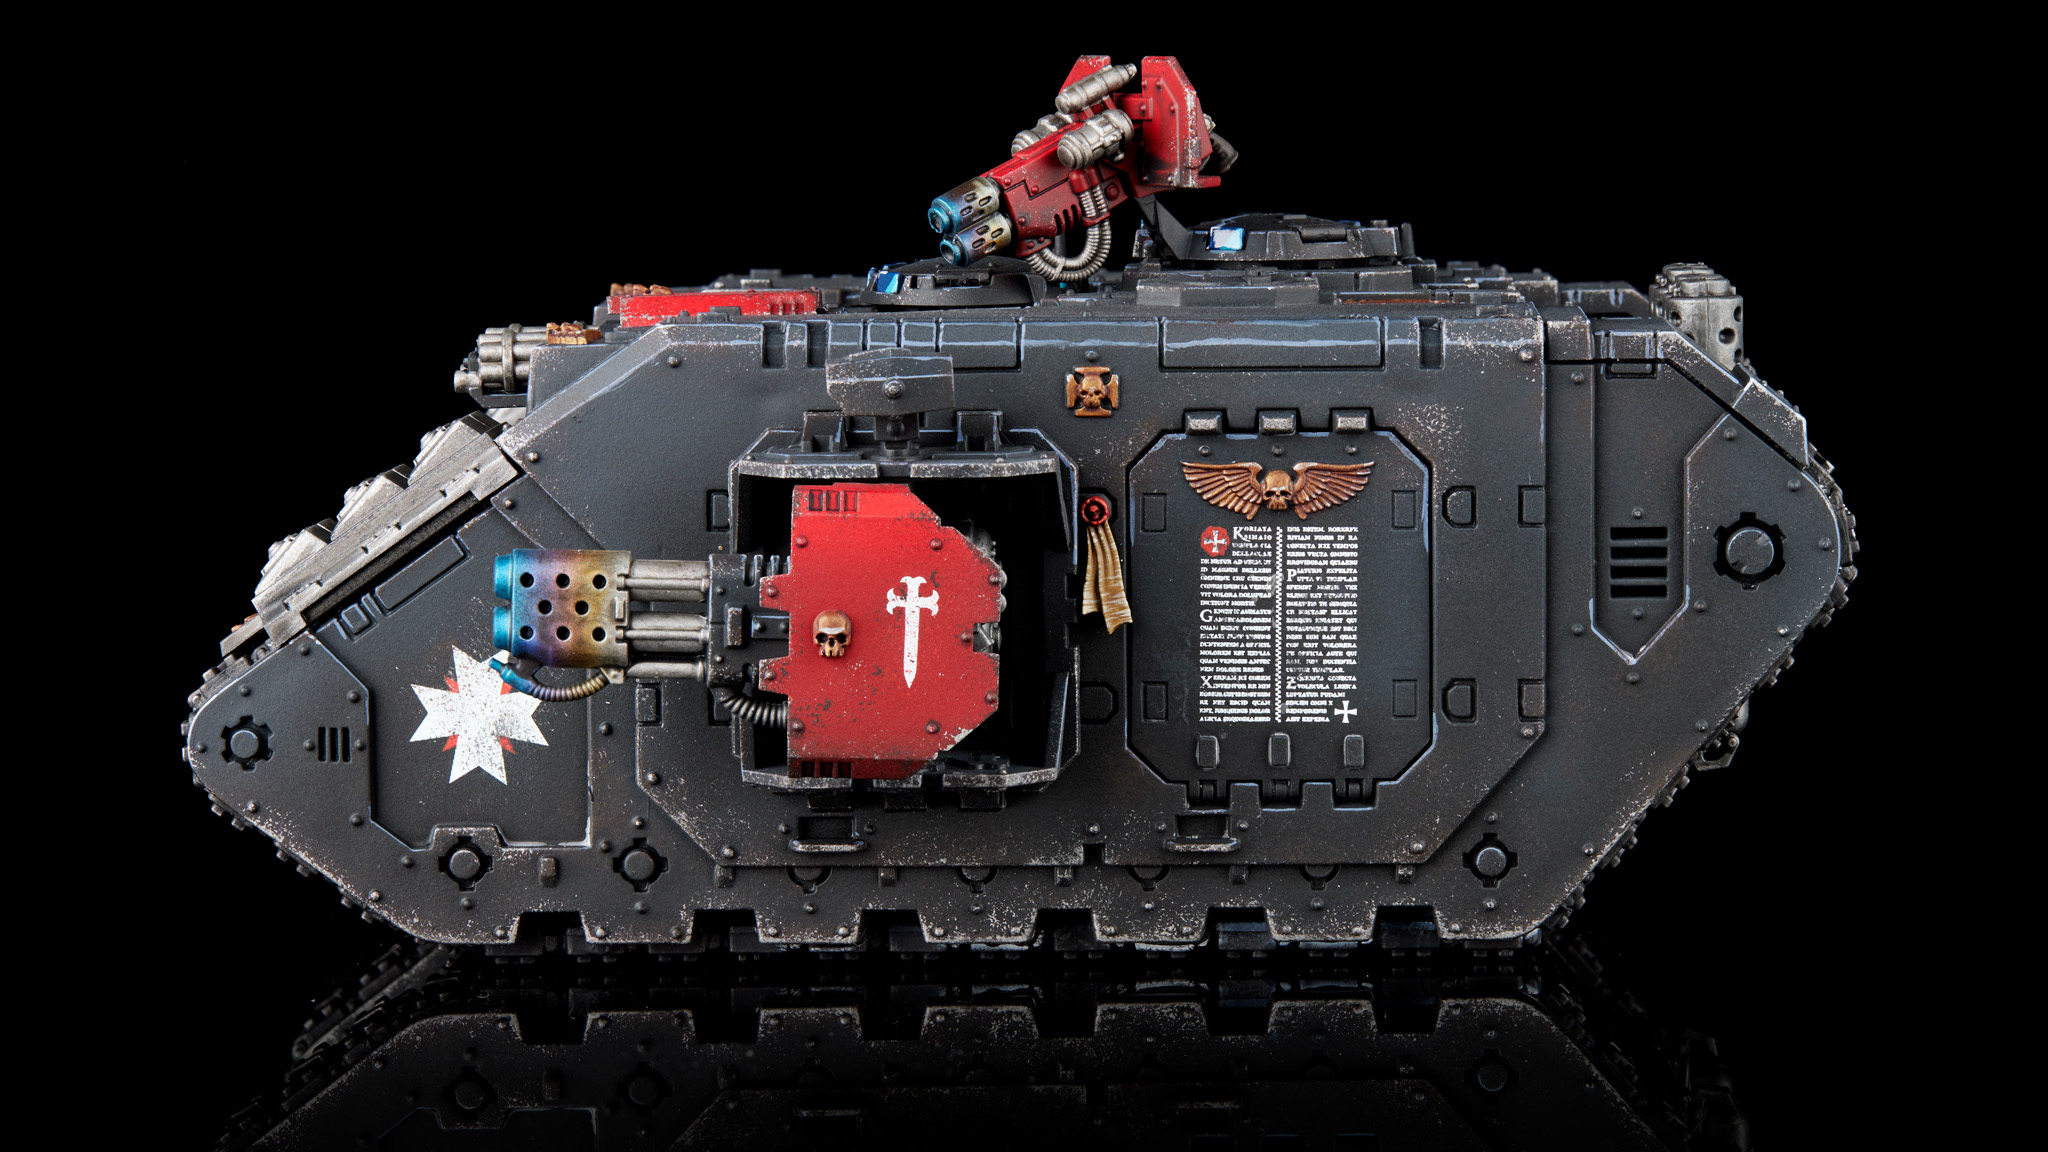 Black Templar Land Raider Redeemer. Credit: Jack Hunter
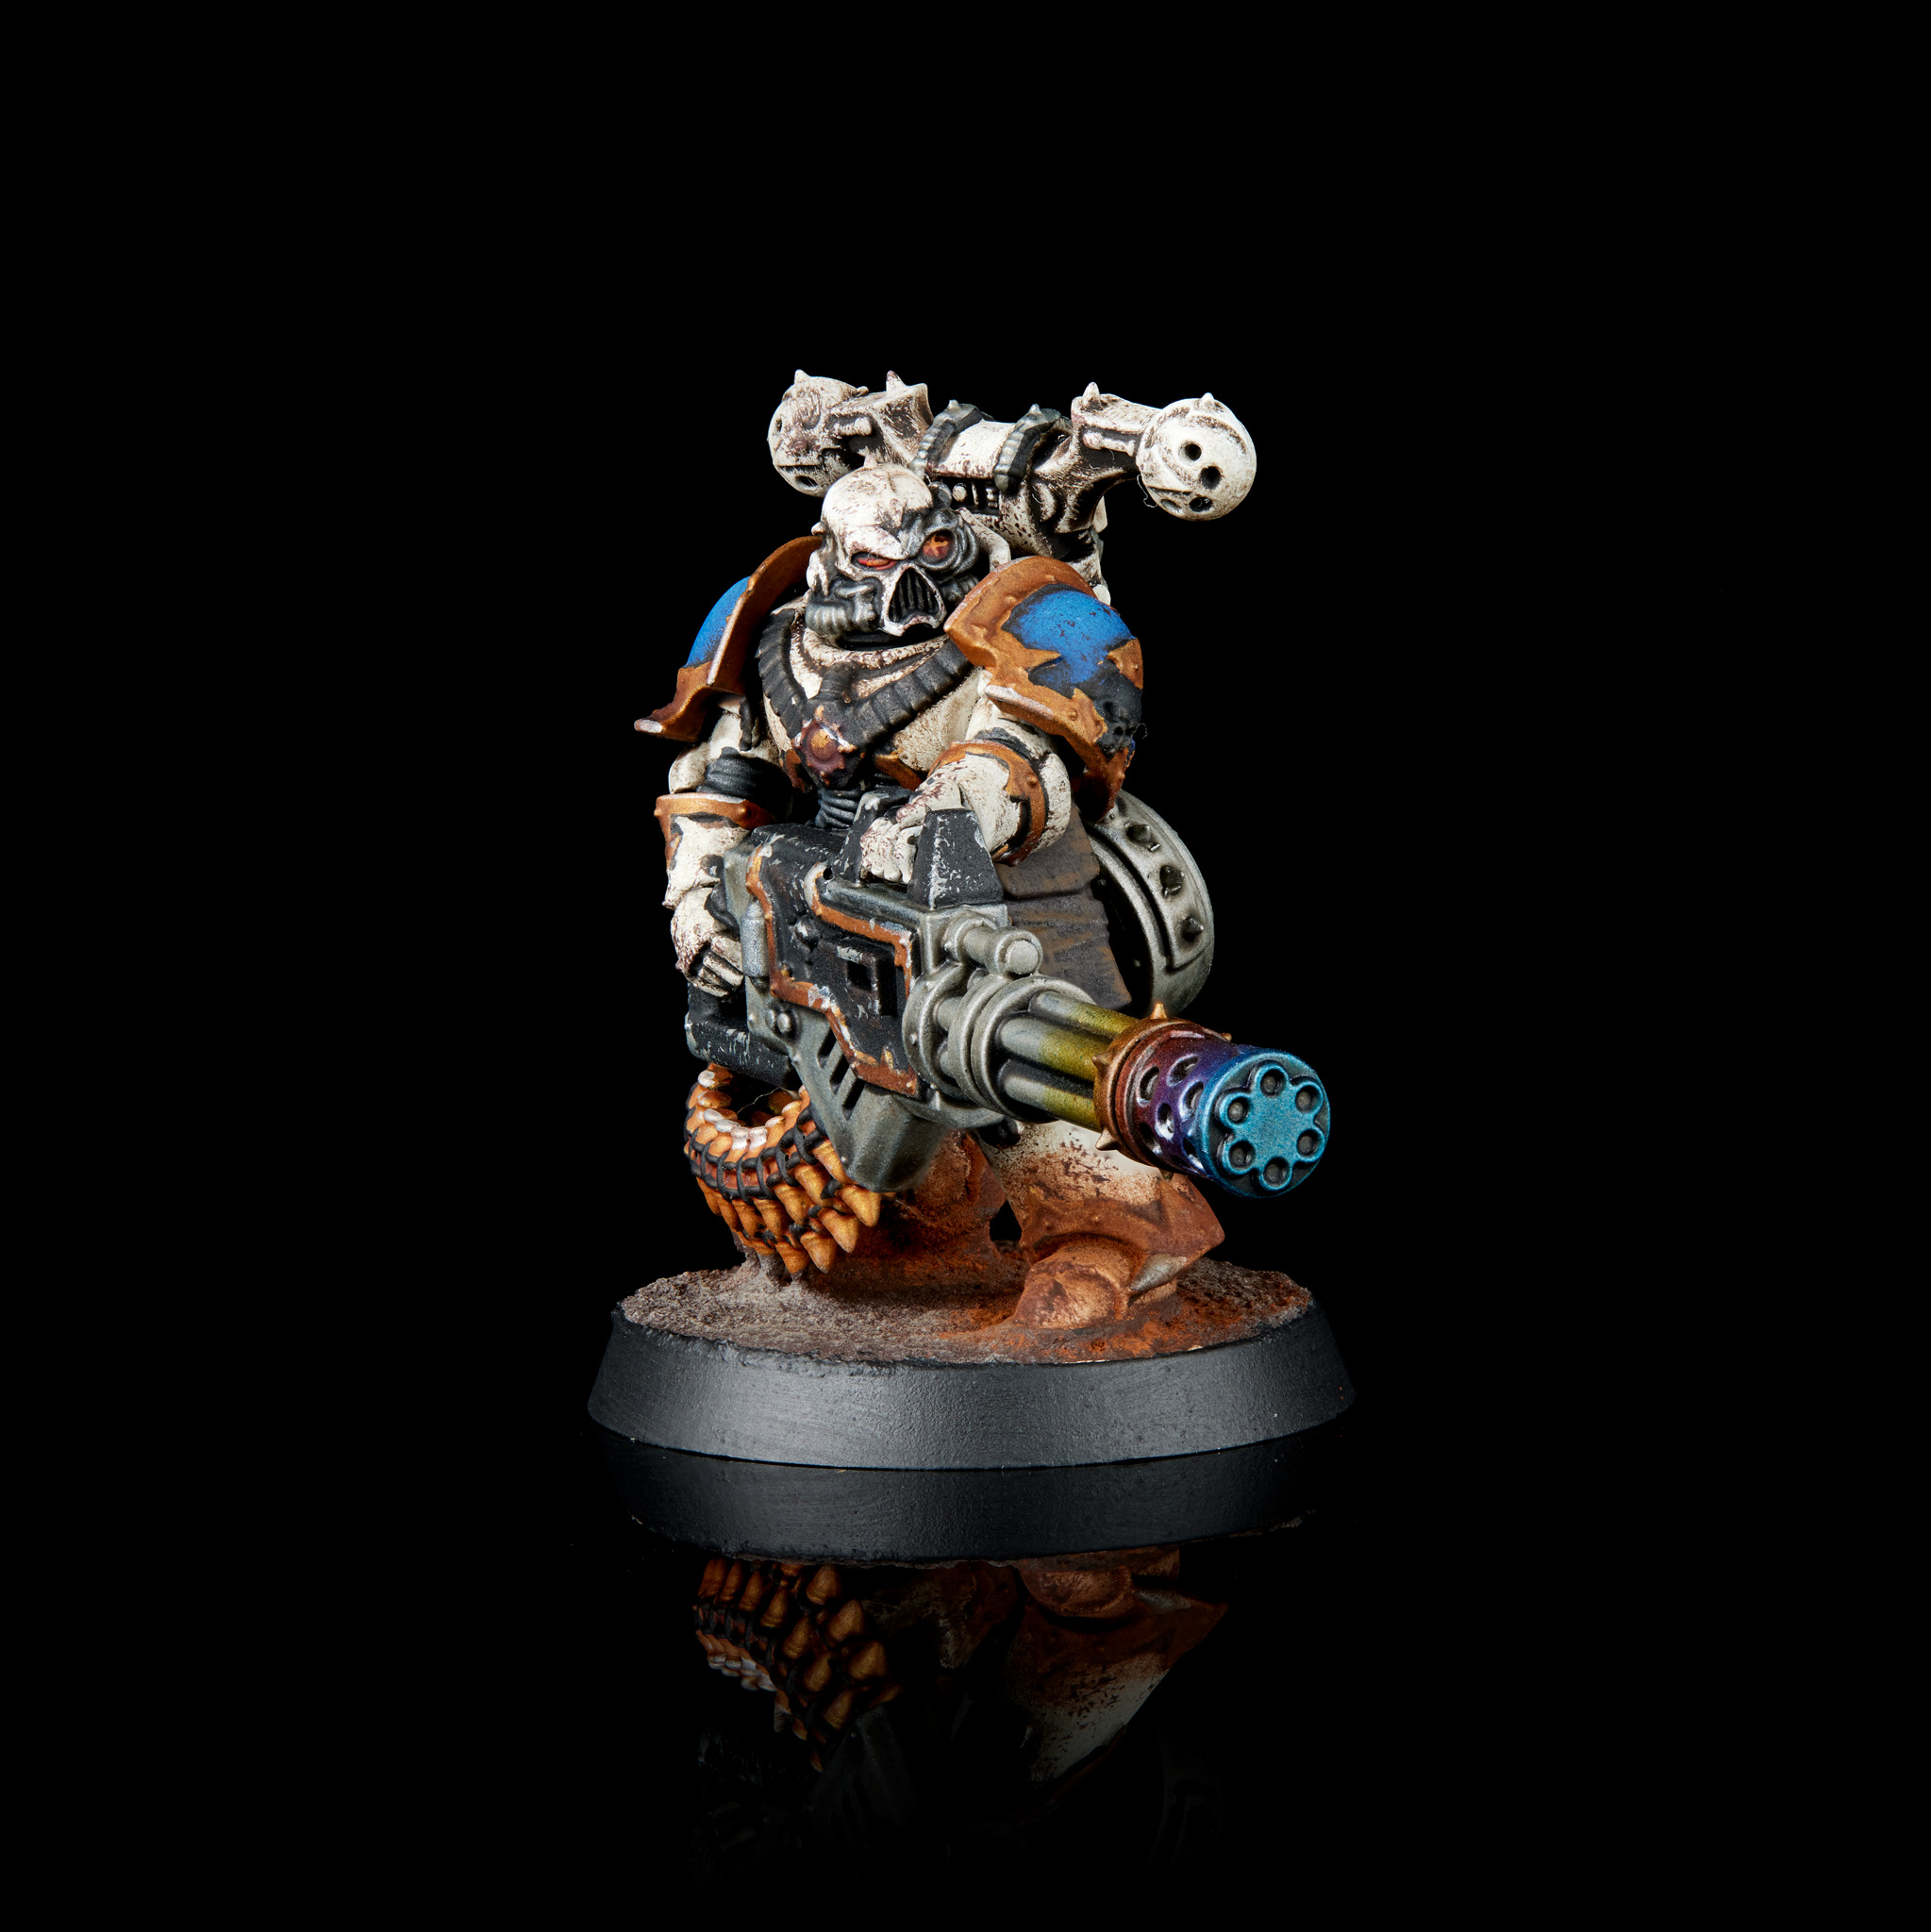 World Eaters Heavy Gunner. Credit: Jack Hunter

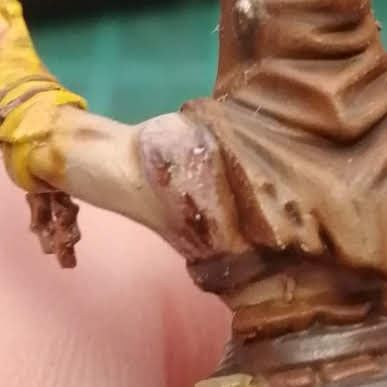
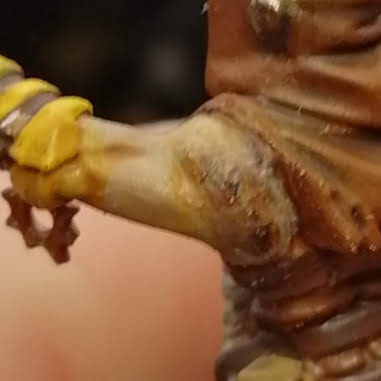
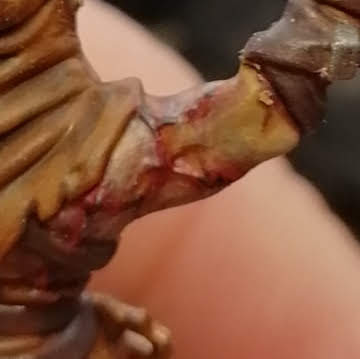
This is a step-by-step tutorial of how I'm doing impact craters on their armor.
My thought was for the impact to resemble concrete or ceramic plates. A few visual images helped. Particularly the top right.

Some helpful tools in this process are:
I'm using Liquitex heavy body acrylics with a wet palette made from tupperware/paper towel/parchment paper.
Burnt Umber looks close to Mournfang Brown, and the model has a basecoat of Unbleached Titanium which is close to Screaming Skull best I can tell.

1. Made a rough circle with burnt umber.
2. Added rays across circle of random length/spacing. A mix of short and long lines gives a dynamic look.
3. Colored top half of circle with about a 1:1 mix of unbleached titanium and burnt umber, then bottom half with 1:1 mix of unbleached titanium and white.
4. Added a rough spot of burnt umber near to middle of circle and connected the inside ends of rays to spot.

5. Put a dot of black where the rays touch the circle and a dot near the middle.
6. Here I put a line of white along the bottom edges of circle and rays (photo is unfortunately on blurry side, blame phone).
7. Did a mix of 1:1ish unbleached titanium and burnt umber- dabbed around top edge inside circle and top edge of bottom half of circle. also added a couple secondary cracks to rays.
Final thoughts: The secondary cracks in step 7 aren't necessary, I like the look without them. The inside of the circle can also be broken up with more lines at random. I will add another smaller layer of white to the underline I did in step 6, especially close the the black dots. Any lines that look too thick can be made thinner or with the base color. Fading the ends of lines with base color can make them look sharper too.

Tags: Kill Team | Painting | 40k | hobby | Warhammer 40k | tutorial | age of Sigmar | Horus Heresy | How to Paint Everything | aos

Thank you for being a friend.
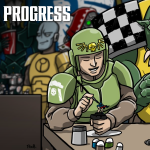 Goonhammer Hobby Round-Up: March 2026
 Goonhammer Reviews: Tribal Conquest
 Conquest: Weaver Courts Gemred Knights and Scaile Dancers Model Review
Support us on Patreon to get access to our Discord and exclusive App features.
Thank you for being a friend.
Already a Patron? Login with Patreon.
Visit our incredibly official store on RedBubble.
![]()
![]()
Support us on Patreon to get access to our Discord and exclusive App features.
Thank you for being a friend.