It is my firm belief that "Let's have a big siege battle!" is a siren call in the heart of every miniatures wargamer. The practicalities of that have been, shall we say, an ongoing discussion in my local club. But smaller scale games open up some doors for these kind of large, set piece battles by being...well...smaller.
Combine this with my current interest in the Thirty Years War, and it doesn't take a whole lot of imagination to figure out how I ended up with the Sarissa Precision 15mm ECW Star Fort Kit.
But how is it?
Pricing and What You Get
The kit is made up of two kits - L501 "15mm ECW Sconces" which will get you the four corners, three normal walls, and one gated wall that makes up the star fort proper, and L502 "15mm ECW Ravelins" which gets you four separate triangular Ravelins. Seperately the kits cost $39 and $21 respectively, and together, the combined kit is $56.
Side note: As someone who is distinctly disinterested in the English Civil War, the Thirty Years Wars' little, geographically limited brother, it pains my soul that all the terrain for this period is labeled ECW.
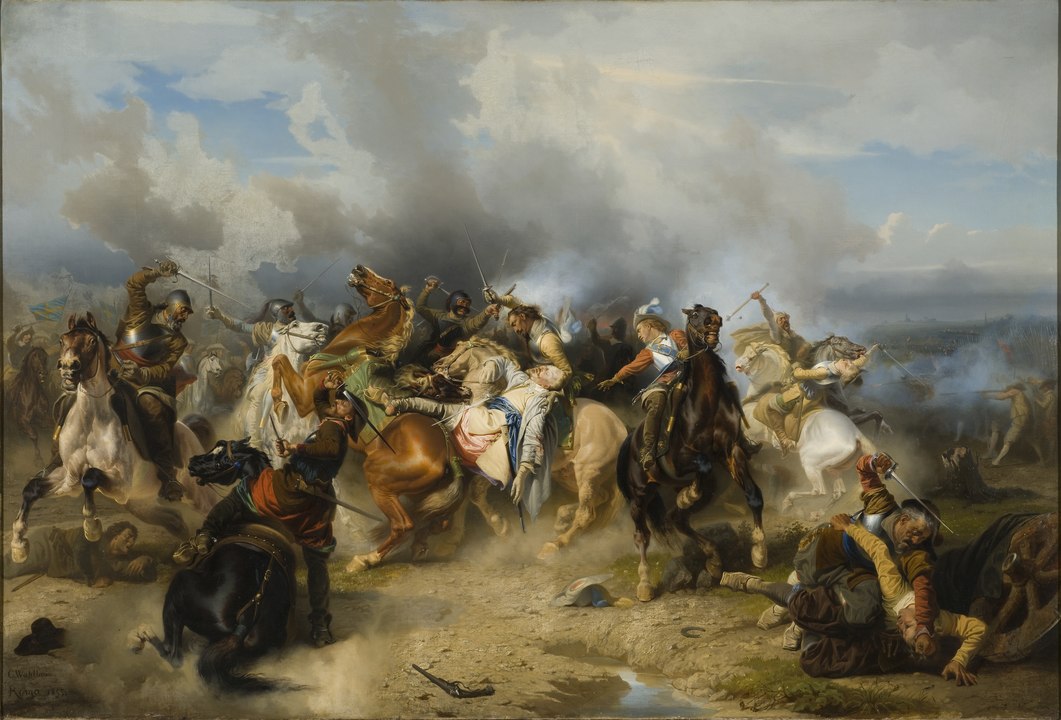 Gustavus Adolphus failing a 2+ re-rollable armour save. Carl Wahlbom, Public domain, via Wikimedia Commons
Strictly speaking, you can probably get away without the ravelin kit, but I like that it's included and it gives you both more heft to the fort itself and more flexibility, so I think it's well worth essentially a $17 add-on to the core fort.
The kit is also available in several of Warlord's Pike & Shotte Epic Battles sets.
Assembly
I often joke that halfway through any MDF kit, I decide that the designer doesn't know what they're doing, and start freelancing assembly. This is one of the few kits where that
didn't happen. With only four real major component types: Triangle, Different Triangle, Wall and Wall With Gate, all of which are fairly simple given the 15mm scale, it was easy enough to follow Sarissa's minimalist but perfectly adequate instructions.
It was honestly a nicely meditative experience over the course of an evening watching TV.
The one place where the limitations of MDF really showed their head was at the intersections of the triangular parts of both the fort itself and the ravelins, where two flat surfaces join and leave a small "V" shaped gap between them. The gap was a little too large to rely on PVA glue to fill all on its own - enter Perfect Plastic Putty.
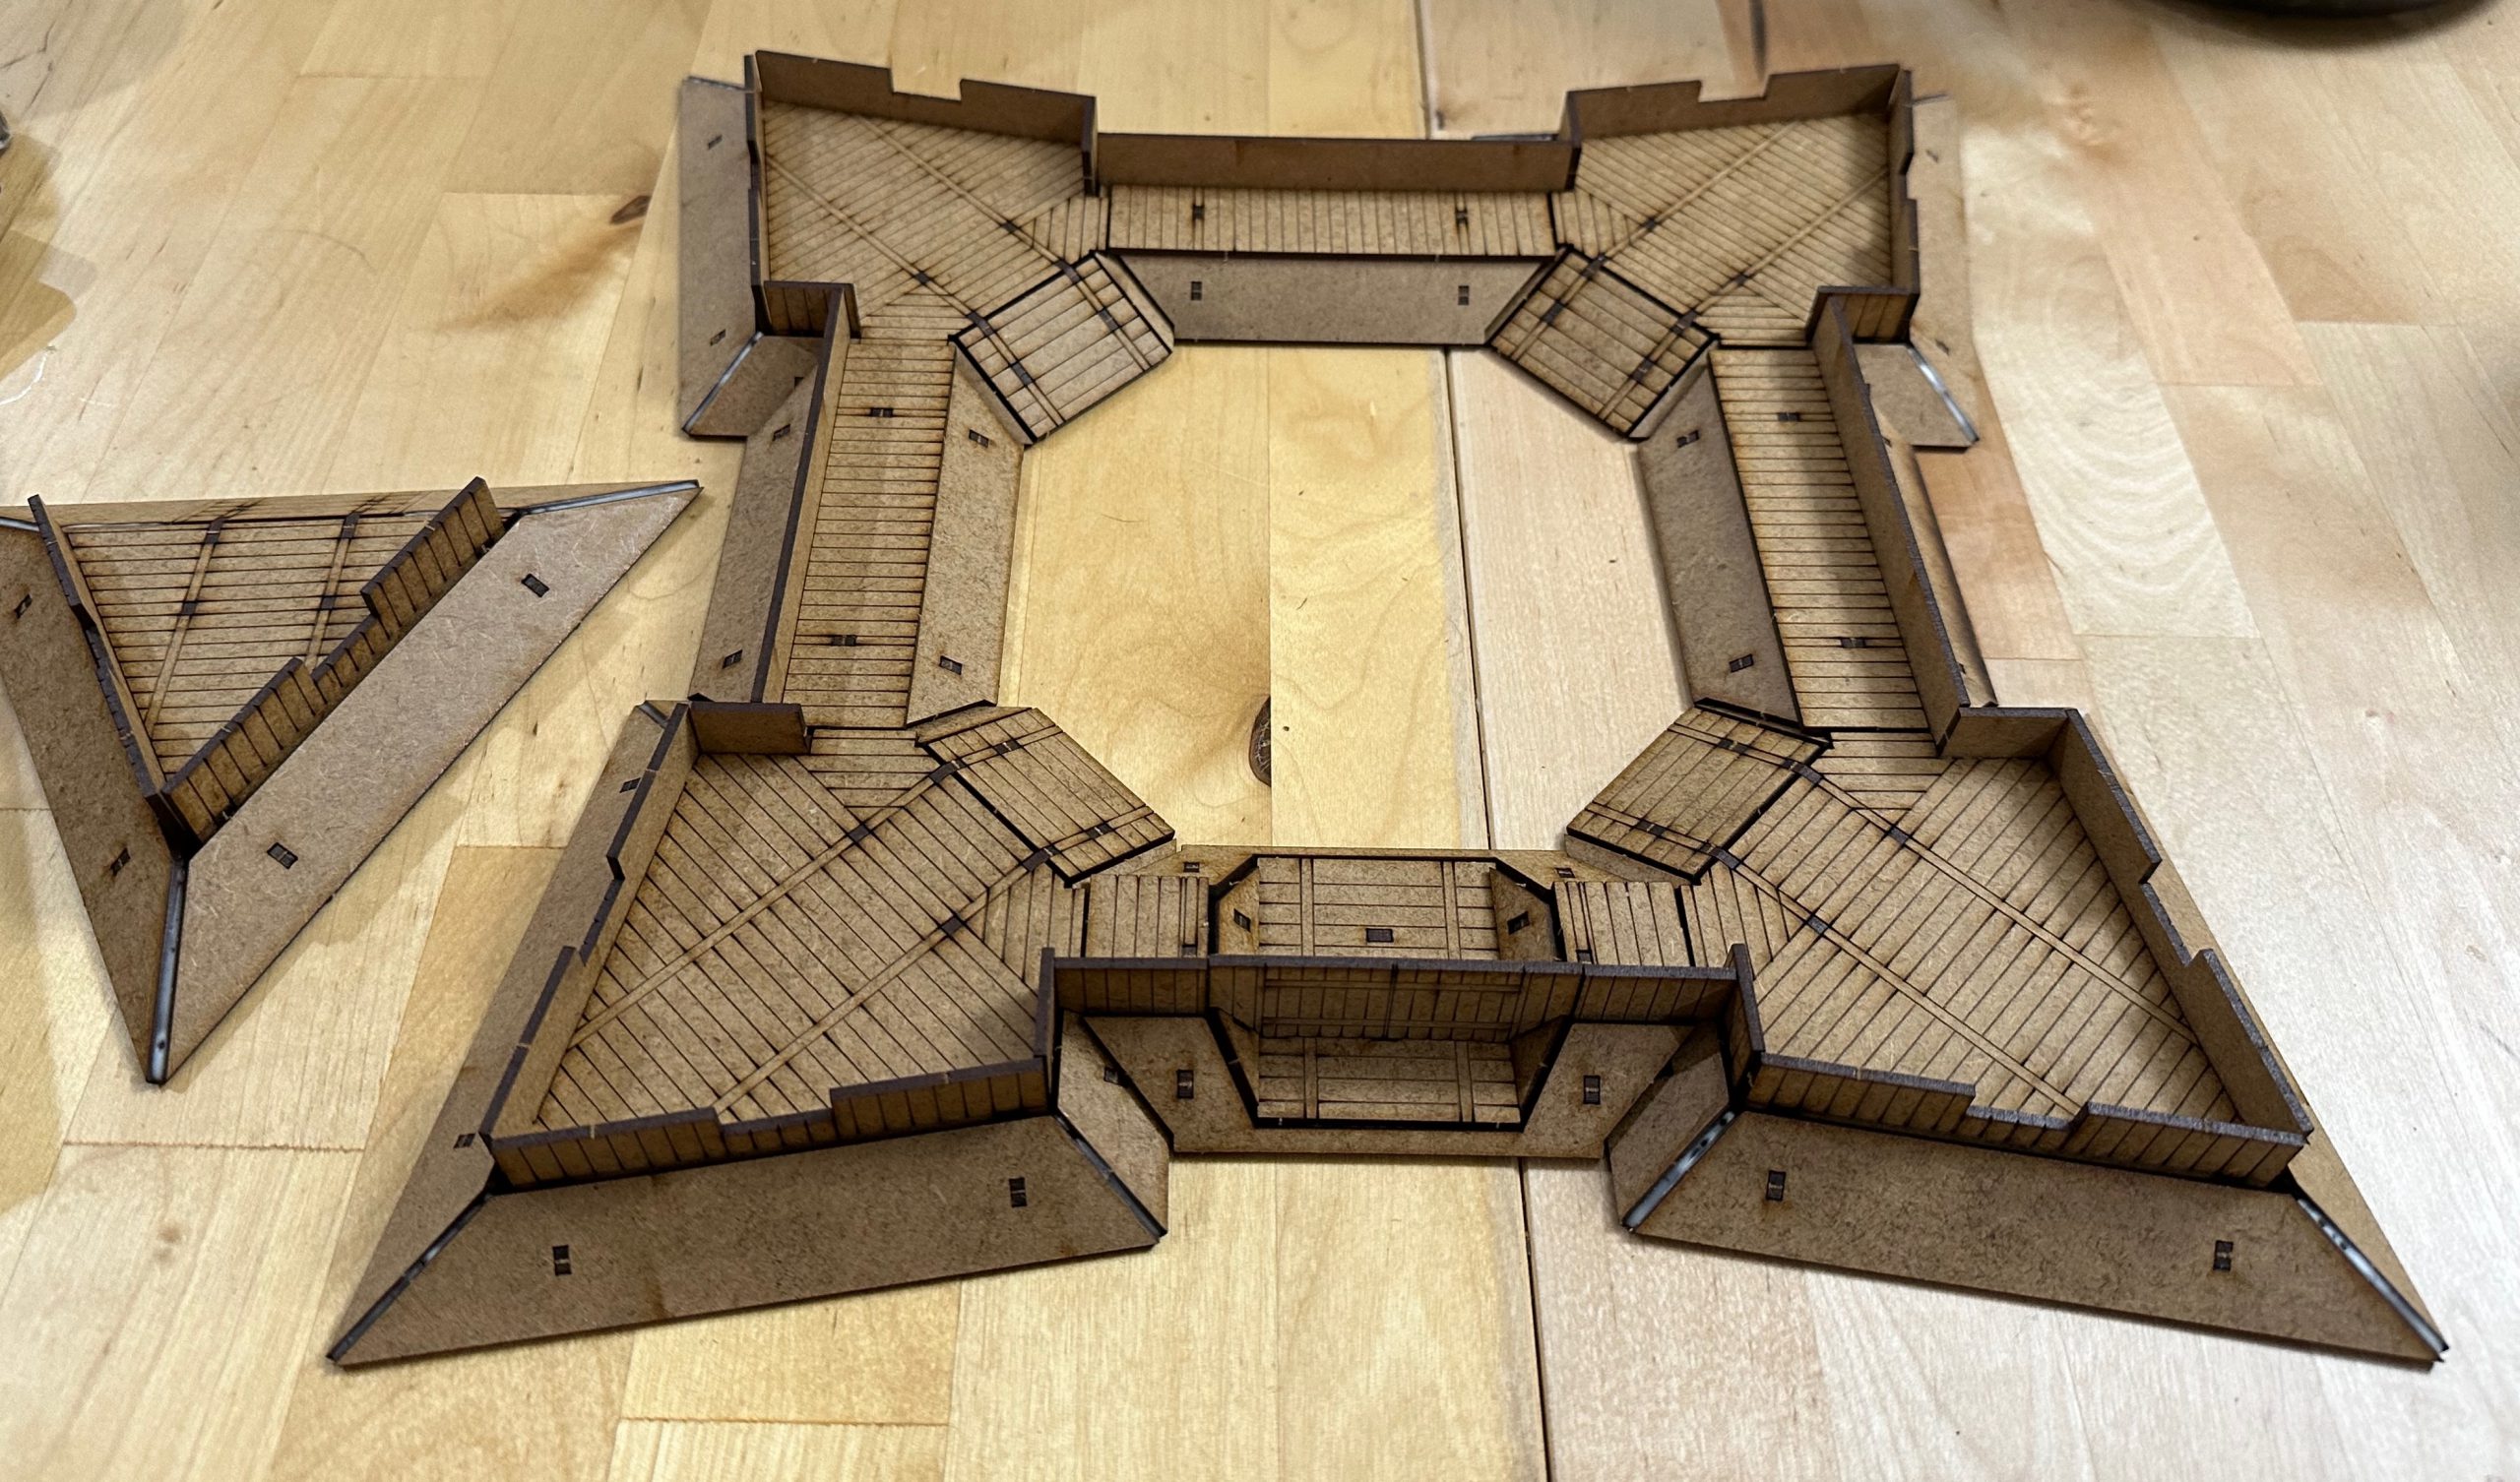 The completed fortress just using PVA for gap filling.
This is probably the easiest possible gap filling projects to ever cross my desk, but it did result in a nice, far smoother transition between the surfaces of the fortifications.
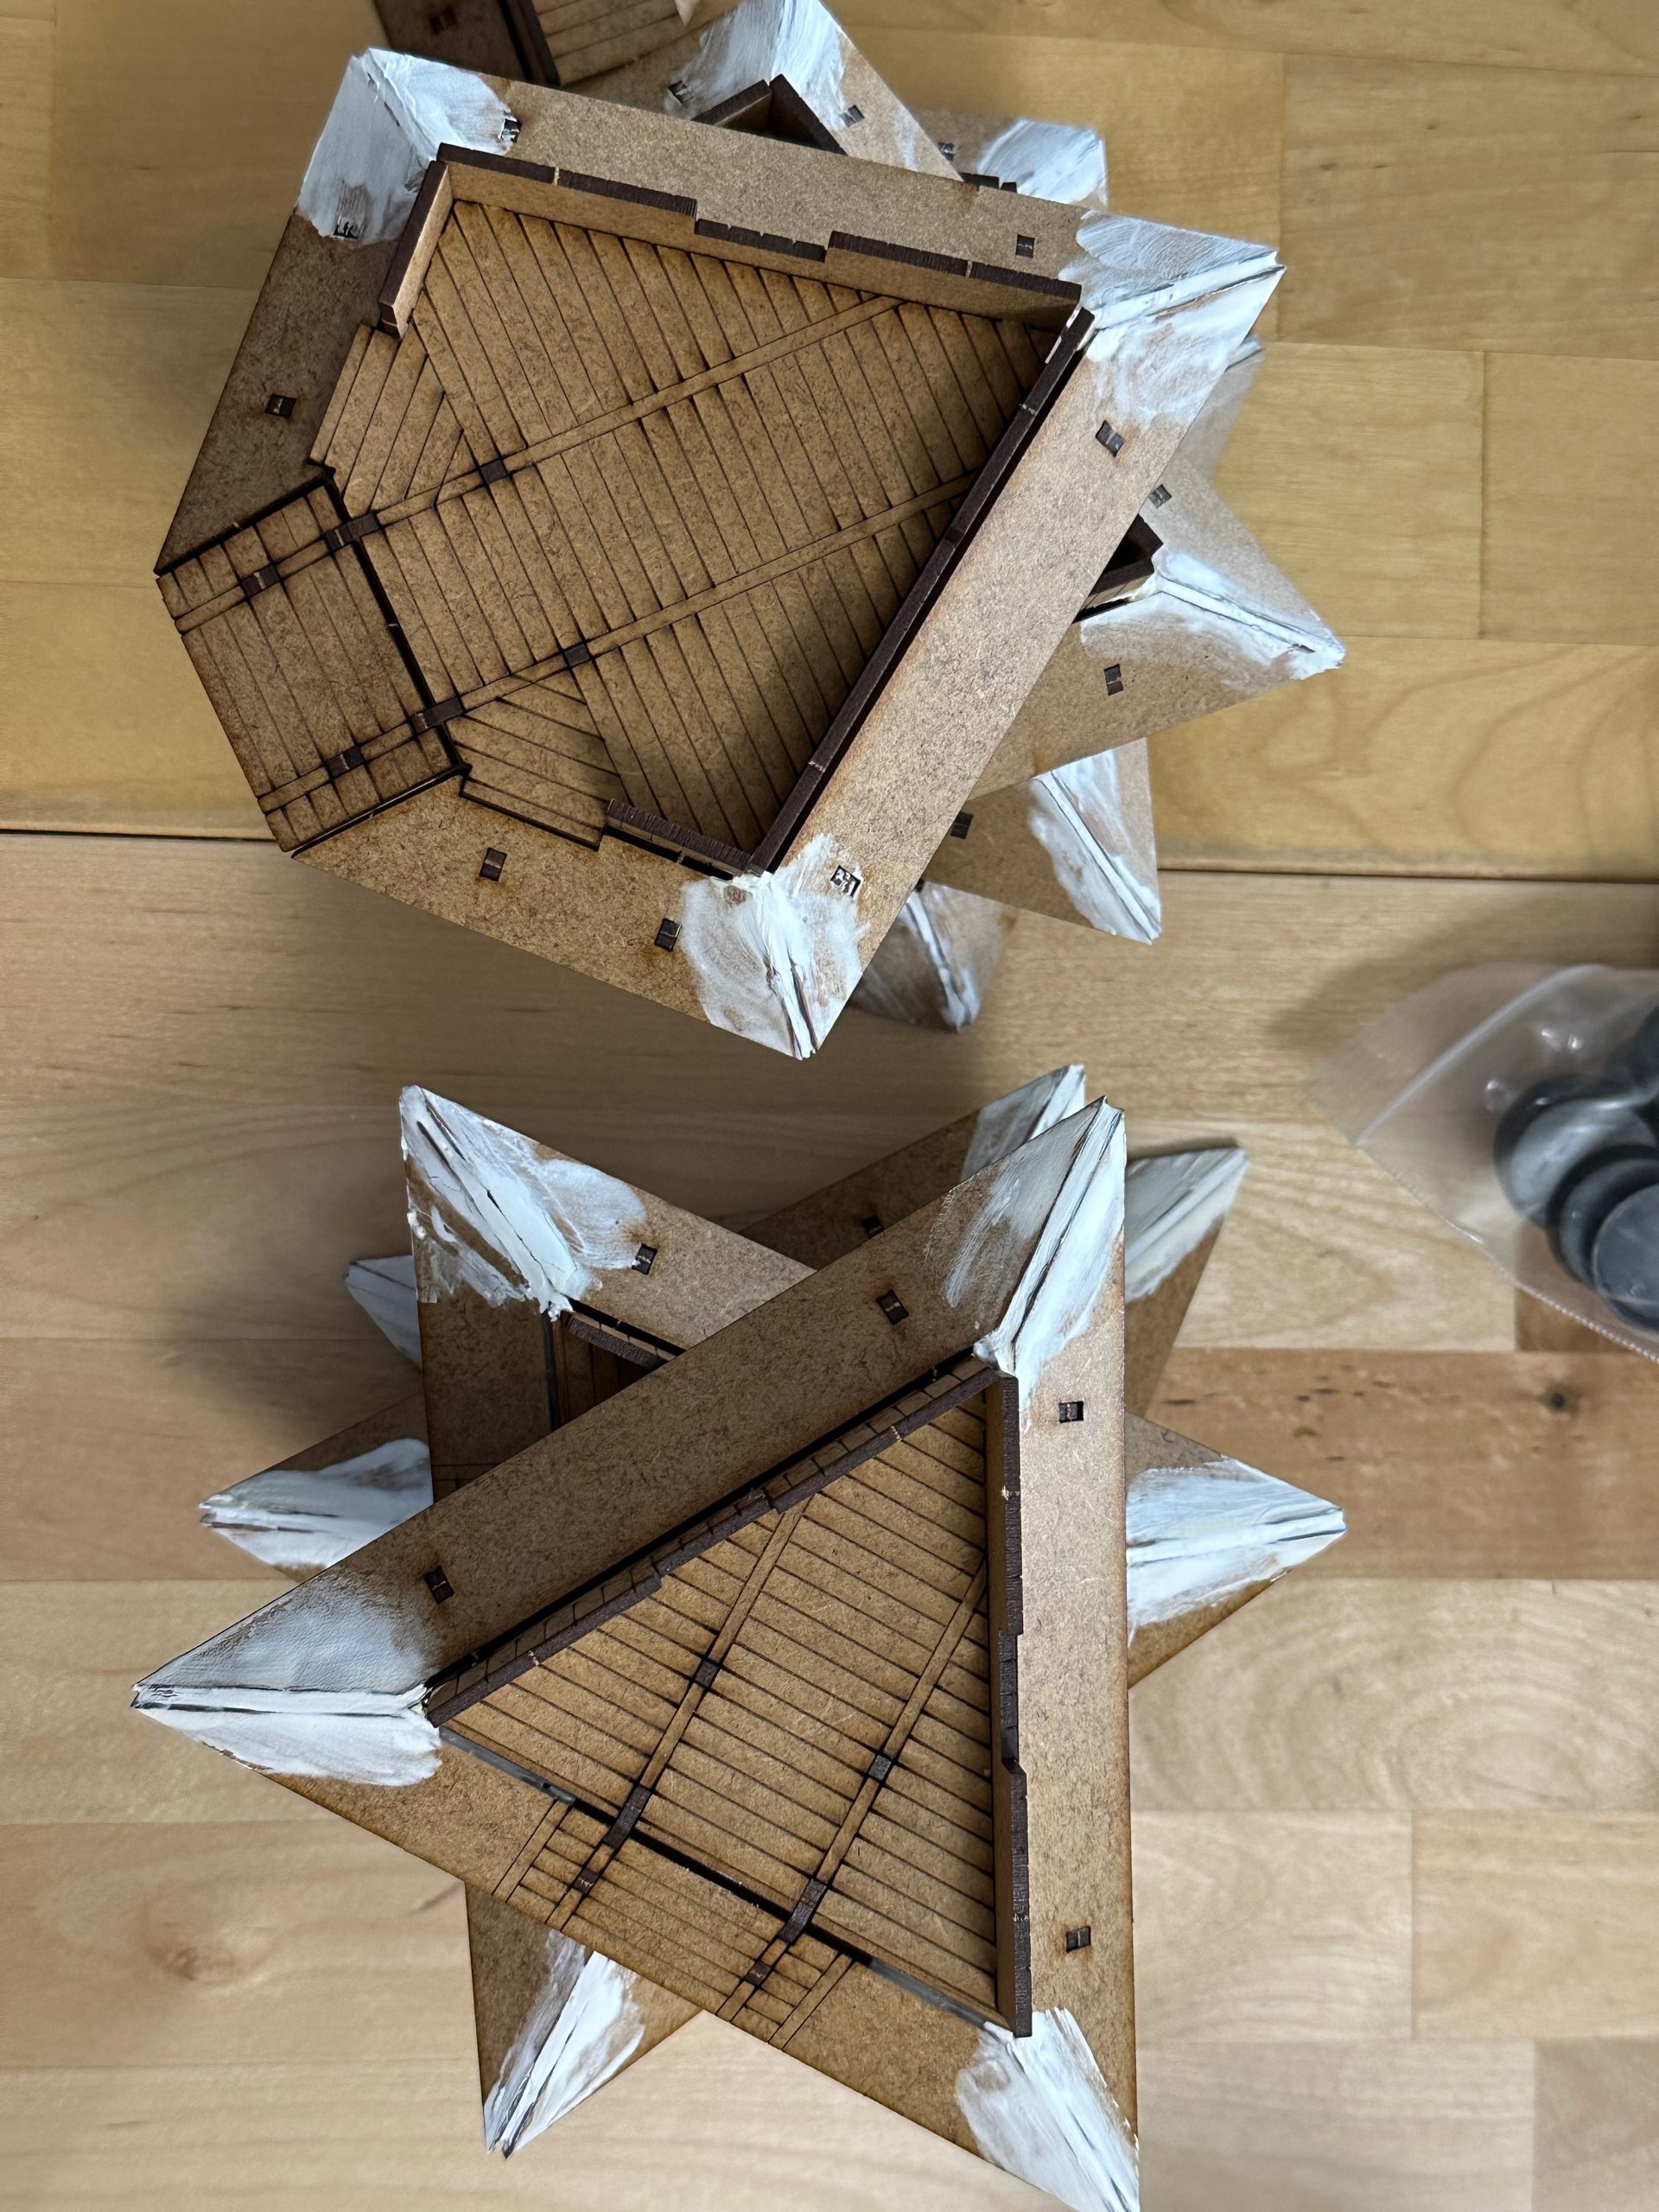 Gap-filled fortress parts await priming.
Painting and Basing
After priming the fortress with a black rattlecan primer (and not suffering the occasional problem with MDF of the material aggressively absorbing primer), I hit it from overhead with white primer to give the surface some contrast and allow my intended us of...well...Citadel's contrast paint line.
The detailing that Sarissa burned into the MDF, even at a smaller scale, lasted through the priming process. Like assembly, this was a straightforward and fairly relaxing evening of hobby work. The wood plank surfaces got a layer of Citadel's Wyldwood contrast paint, my default wood base paint, followed by a light drybrush along the same lines as the burnt-in planks of some old Secret Weapon Handle Wood, which is a sort of neutral khaki-wood color that's especially good for weapon hafts and the like, and in this case was just used to evoke wood grain, scratches and the like. Another lighter drybrush of Ancient Wood from the same line added some whiter streaks to suggest the wooden walls were starting to age.
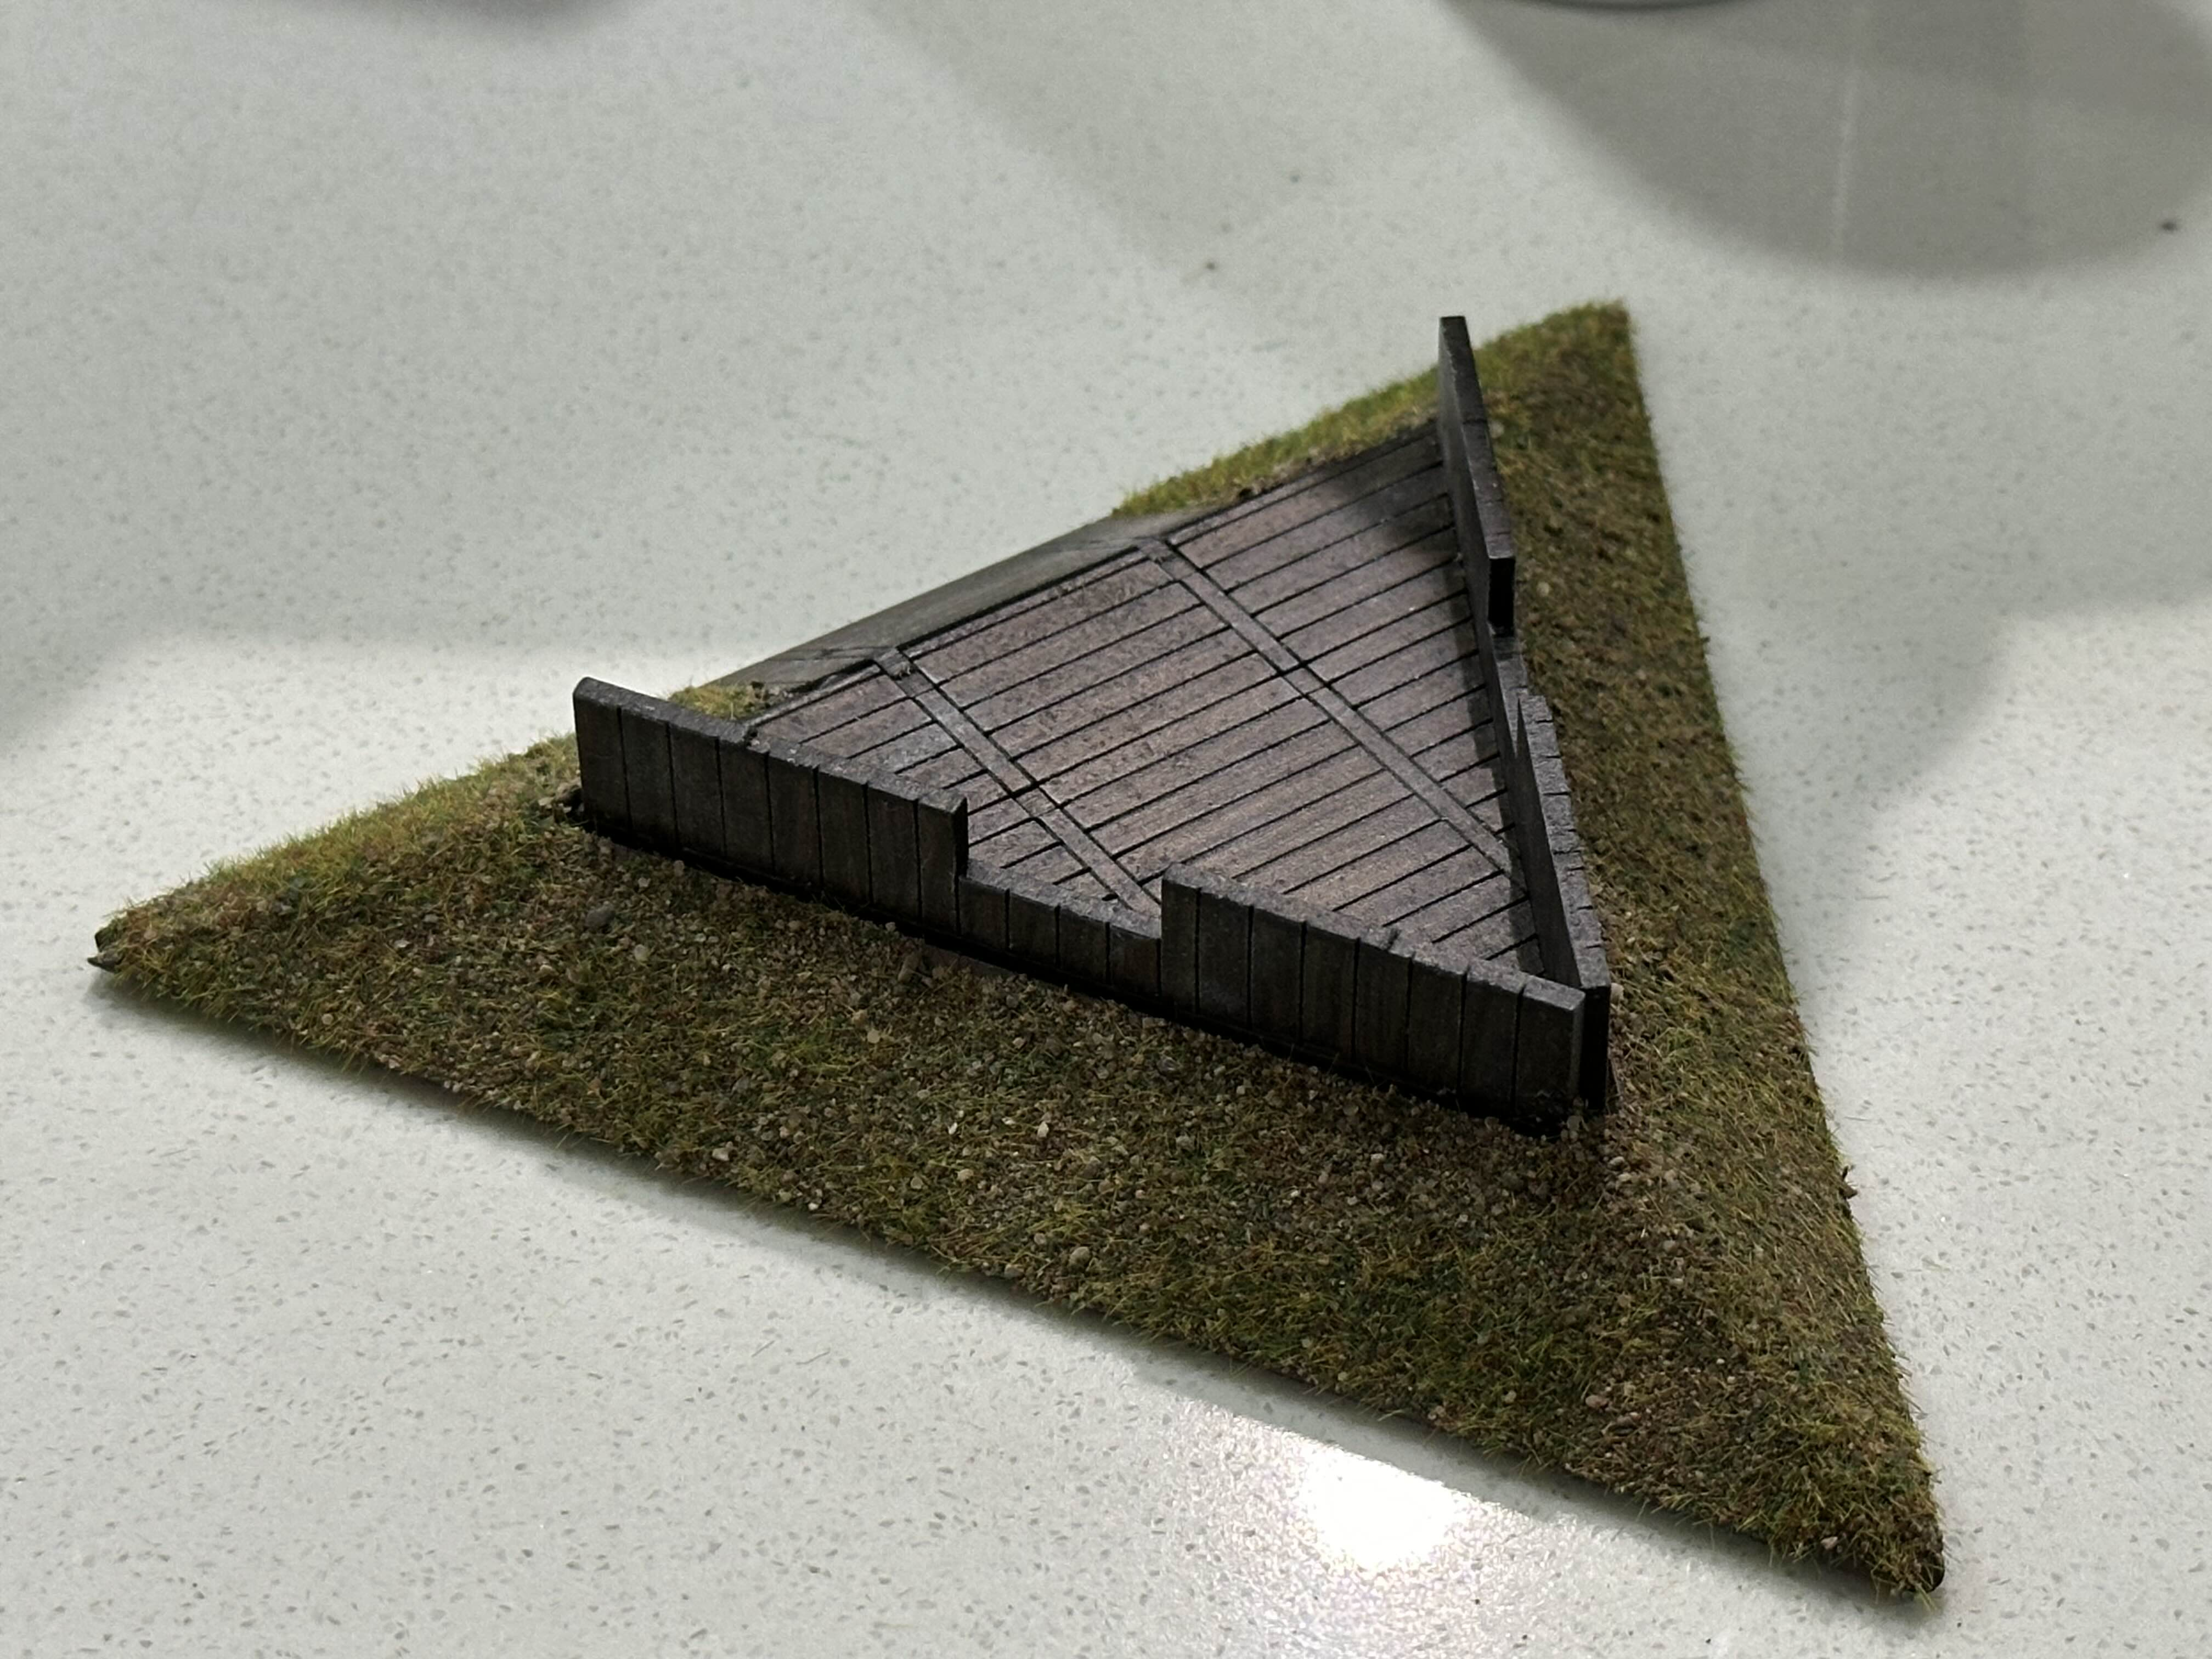 The Forbidden Dorito.
Unlike a lot of miniatures terrain, which is just
the building, the star fortress is actually a fortification sitting atop some earthworks, so in addition to painting the hard surfaces wood color, we need to do some basing of the earthwork sections.
The slopes of the fortress got two coats of Two Thin Coats Ancient Forest, just to give a solid layer of an earthy brown color as a foundation. Over that came a layer of watered down PVA, and Geek Gaming Scenics Small Scale "Patchy Plains" base ready basing material. For those who haven't seen it, that is essentially a pre-made mix of rocks, flock, static grass etc. to work as a foundation for basing. It's been hard to get in the U.S. recently, so it involved dipping into my strategic reserve, but it was a nice one-and-done approach to getting a durable finish on the earthworks portion that, at least to me, felt like the fortress hadn't been here for ages, but also wasn't finished yesterday.
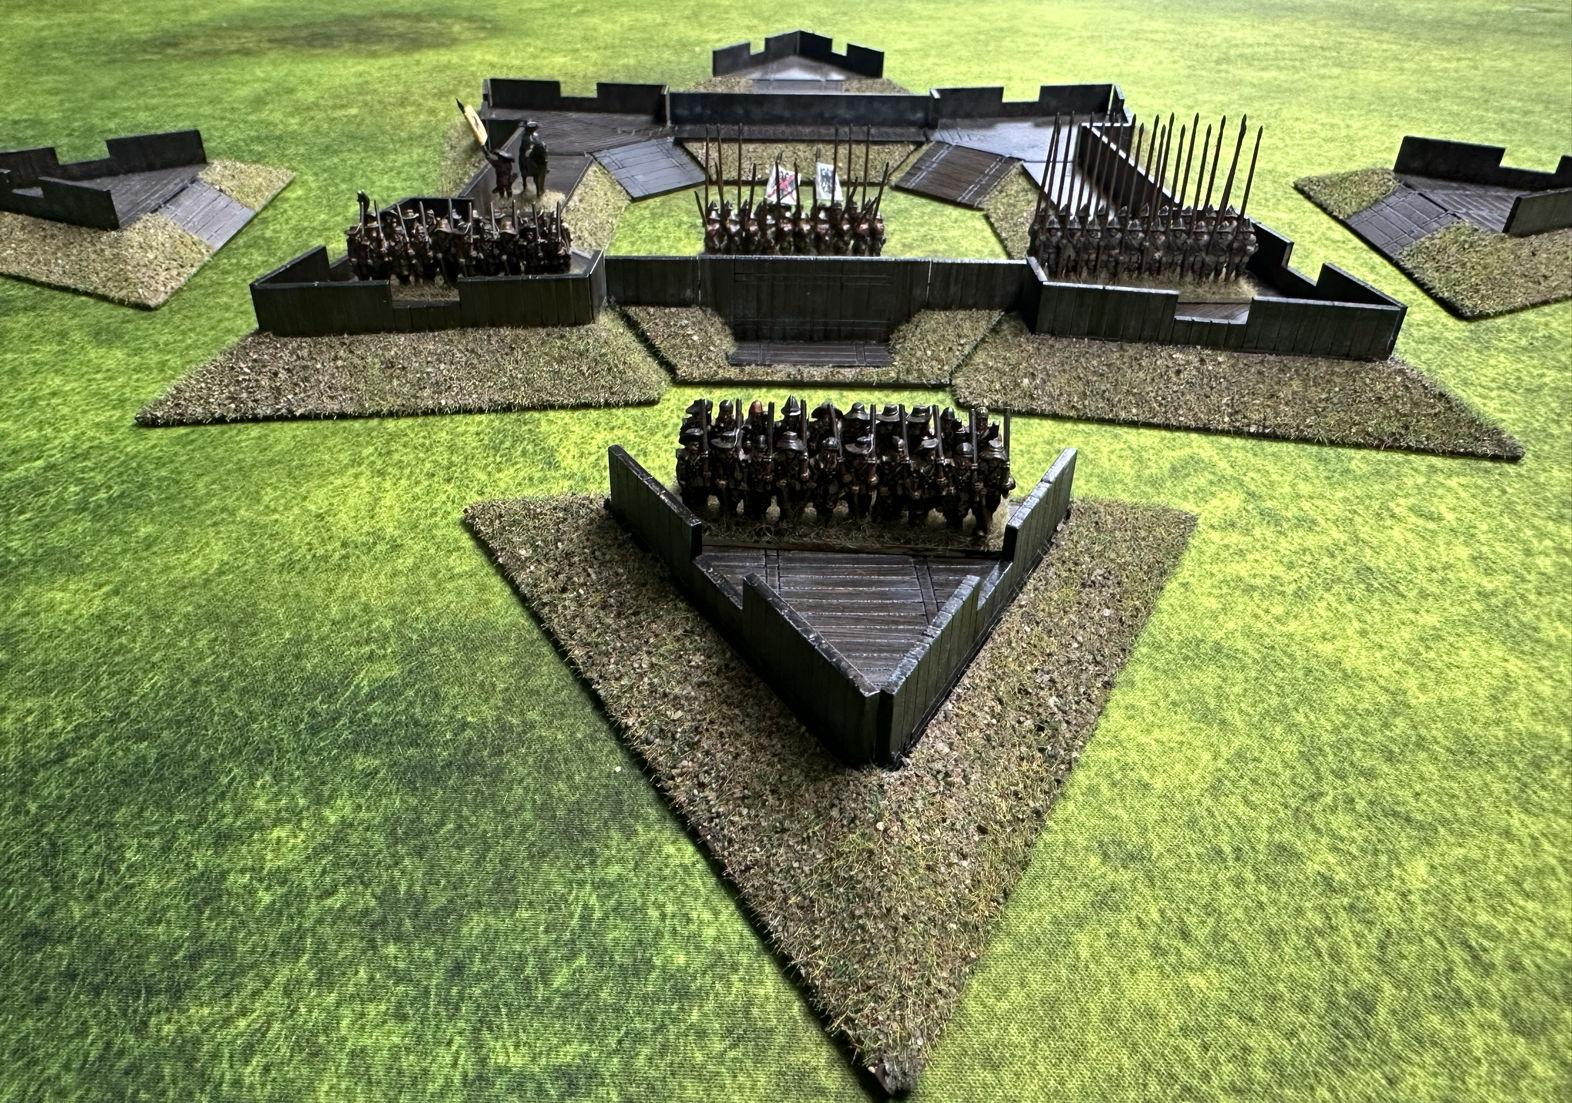 The finished star fort with a small garrison of Imperial troops.
There's definitely more you
could do, because MDF is one of those materials that can take as much effort as you want to put in. More work with the basing material with small patches of static grass or flowers, green stuff sculpting craters from missed cannon shots, etc. could all elevate the kit, but I was definitely chasing the high of starting and finishing a project in what for me is a reasonable amount of time.
The one irksome part of this is that the fortress fits together by sections lining up against each other, and basing material created some small gaps there where the fortress doesn't fit perfectly. There's very good odds that you won't notice this during gameplay, and if it really bothers you, and you have the means to store it, you
could just glue the whole fortress together before painting and basing.
Gameplay Thoughts
So the kit itself is easy to assemble, straightforward to paint, and very much "does what it says on the tin". But this is also intended to be game terrain - how well does it serve that purpose?
From "tip to tip" from one point of the star to its neighbor, the fortress forms a 1'x1' square, which is a good amount of space on a standard table, but it doesn't fill the table completely, which is often the problem with siege and wall-defense games generally.
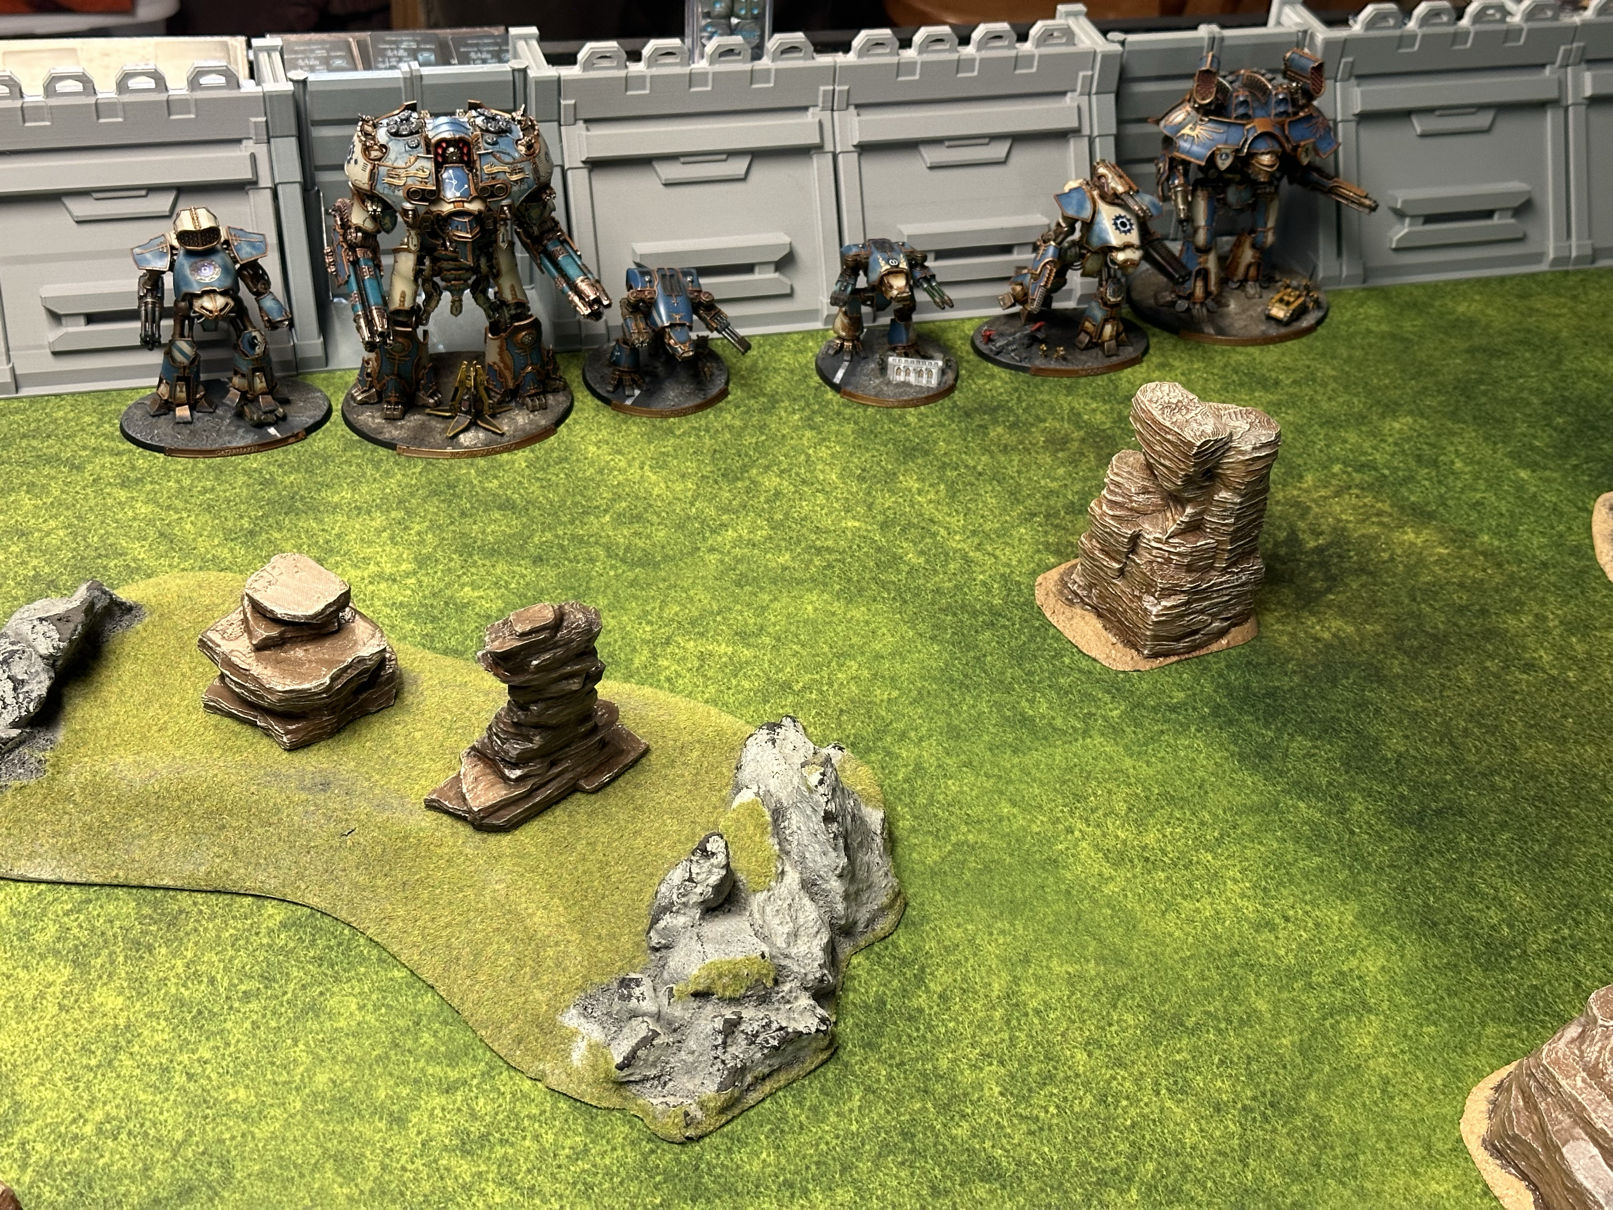 One of the authors *other* attempts at "small scale" fortresses.
The modularity of the kit means you can also dial this down. For example, if you want to concentrate on a game of reaching the gates of the fortress, storming out of it, etc, where the whole fort isn't needed, just a single wall section is an extremely reasonable five inches from front to back.
If you want to increase the footprint of the fortress? That's where the ravelin kit comes in. How much of the board they take up will, of course, vary based on how far you place them out. Sarissa Precision says that with the ravelins the fortress takes up a 2'x2' area, and placing the ravelins at what feels like a reasonable distance to me, that's about the same as what I get.
 An understrength garrison prepares to defend the fortress.
For garrisoning the fortress itself, you can fit a modest but not unreasonable number of figures inside. A good rule of thumb is about one "width" of Warlord's epic-scale figures per wall section or ravelin, with perhaps enough room to share a cannon as well. The central courtyard would handle a somewhat larger force should the gate itself fall.
For gameplay, there may be some necessary abstractions owing to positioning, and I might consider the basing of units, especially in the somewhat more crowded ravelins to represent "Yeah, guys are garrisoning this", rather than an exact measure of unit positioning.
To my mind the major limitation of the kit is the same as one of its major appeals: it is what it is. There's not really much room to expand - I struggle to see the purpose of a second ravelin kit, and the way the modules of the main fortress are designed, it's a square with single wall sections connecting the "points" of the star. The straight wall sections don't neatly connect to one another, there's no means to not simply have right angles, etc.
All of this adds up to the kit representing an inherently fairly modest fortress. In fairness, it's also one made out of
wood, which sort of commits it to being a modest fortress already. While again, there is the siren song of trying to recreate a massive siege battle, I think this somewhat more modest fortress is probably better in gameplay terms?
Why?
Because it's stormable. The amount of defenders you can pack inside isn't insurmountable. The earthworks can be shelled, or scaled, at doubtless tremendous cost, but its doable. One of the great problems with wargaming sieges is, realistically, the attacker is going to spend most of the game shelling the walls and dying of various enteric pathogens, while the defender is going to spend most of the game hiding behind the walls and dying of various enteric pathogens and possibly also starvation.
This kit, instead of pitching you into either that, or forcing you back to games representing assaulting a single ravelin, or trying to storm the gates after a breach has been made off-screen, somewhat limits the scope of what you can justify gameplay wise in terms of the strength of both the fort itself and it's garrison, while also visually very much giving the feeling of "Star Fort".
Final Thoughts
Overall? I think the kit is a lovely addition to the terrain collection of anyone who is interested in both the period and ~15mm gaming, and represents a great way to play games with heavy fortifications on the table without it fully dominating the table in a way that either bogs down gameplay, or only gets trotted out every couple years. If you're looking for a fun weekend project, this is a solid pick.
Have any questions or feedback? Drop us a note in the comments below or email us at contact@goonhammer.com. Want articles like this linked in your inbox every Monday morning? Sign up for our newsletter. And don’t forget that you can support us on Patreon for backer rewards like early video content, Administratum access, an ad-free experience on our website and more.Thank you for being a friend.

 Infinity N5 First Principles: Understanding the Outcomes of Face to Face Rolls
 Tactical Feedback: Timing the Go-Turn
 SRM's Roundabout to Adepticon 2026: Curd Is the Word