Howdy everyone and welcome to a very interesting installment of BattleTechnical. This weekend, tomorrow at time of publishing, the Goonhammer Competitive Crew (Excepting yours truly), are heading over to the Carolina Classic tournament to, presumably, drink too much and then win the entire event the 4th time in a row. As I am unable to attend, I figure that this is a golden opportunity to sabotage Liberty as hard as possible by walking through the missions for this event, how to win them, and using this pack as a case study in how to approach and play missions.
Overview
There are three missions in
this pack and the list building restrictions brought some interesting considerations before this. Forced Withdrawal specifically was the main consideration here, effectively removing the downside of XL engines by forcing anyone with a missing side torso to leave the table and back down from the fight. I am going to assume a list consisting of some sort of backline sniper assault, a pair of midline brawlers, and a pair of mobility elements. This is an exceptionally common list archetype at competitive events, and while it isn't what I built before I was forced to cancel, it is a generally effective list structure if you don't know what the event is going to look like. Liberty's list for
Richmond Open 2025 is fairly close to this archetype and won the whole thing, so it is a strong way to build a list in general. This events placements are by total VP scored.
The missions are limited to two hours and eight turns.
Mission One: Knock Down
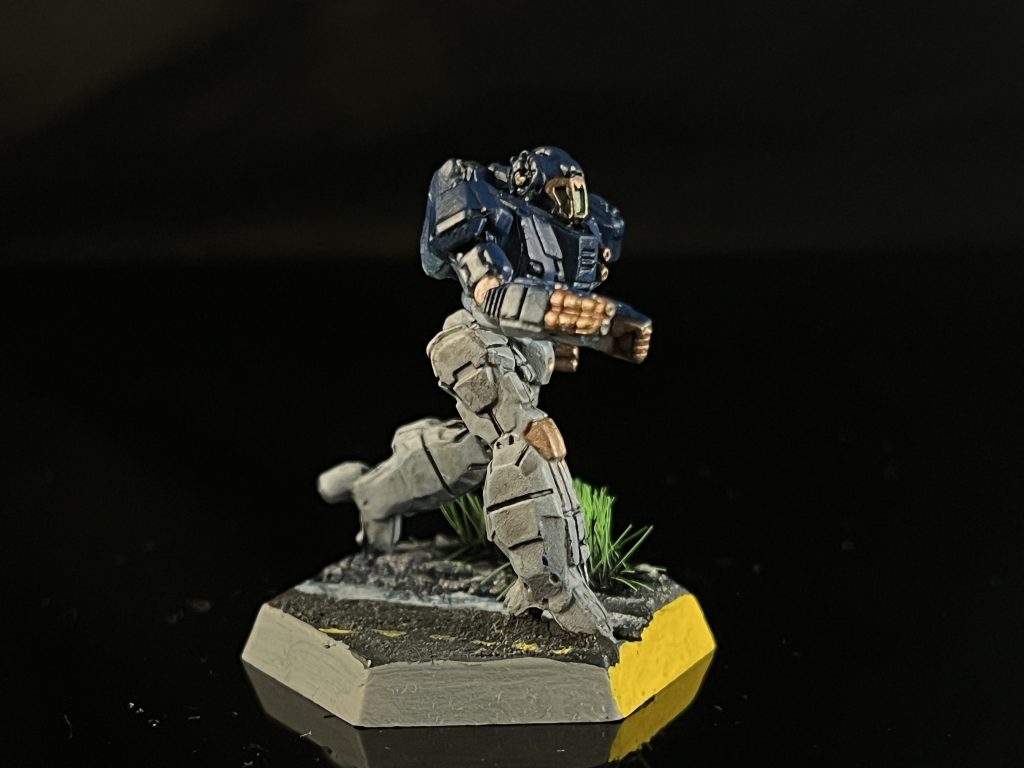 General Motors Generalist Mercenaries Wasp, Credit: Liberty
This mission is played short edge (ew) with a 3 hex deployment zone. The objective is a CF-100 (meaning it can take 100 damage before being destroyed) building that is one level tall. The buildings are considered to be in heavy woods, which means you have an effective -2 to hit them from any ranges due to the -4 from being immobile and the +2 from heavy woods. This is an extremely easy objective to hide on most official maps, so in practice you are going to need to run directly adjacent to it to hit it against an uncooperative opponent.
As a secondary objective, you need to nominate one of your units (clarified by the TO to have to be a Mech, not a BA squad) as a commander. You can identify which mech is the commander on a 7+ if you are either adjacent to them or within active probe range during the END of a turn, so you cannot identify before you shoot. If you successfully identify the commander and then shoot them dead, you get 30 victory points. If you do more damage to the opponent's building, you get 30, if you tie, you both get 15.
You also get 5 VP for fully destroying the enemy building, and 5 VP for physical attacking the opposing commander two times. Kill points are also in effect at BV/200, for a maximum of 40 VP.
Assessment
There are multiple problems with this scenario, but they are all things that can be worked around. The only major issue that can't be played around is the bonus for active probes not having been called out in the list building section. If you are going to incentivize specific equipment at your event, it is best practice to let people know what sorts of equipment are going to be favored before they have to submit their lists, rather than forcing them to guess if having hands or an active probe is going to matter.
Issue one is that CF-100 is not a lot of CF. Even with the heavy woods and how easy it is to hide a building here, a decent cavalry mech will be able to destroy this building in 2 turns. It seems likely that most players are going to tie on this objective with primary points. If you have a list without maneuver elements, this is going to be a rough scenario and you will need to play very aggressively to get at the enemy's objectives.
Issue two is the entire commander section here. First, this forces you to track how many times you have physically attacked each enemy unit because any of them could be the commander and retroactively give you 5 VP. The second problem for most people is the wording on the primary objective. You need to successfully identify the enemy commander
first, and kill them
second. This means that you do not want to finish off any enemy units until you have identified them, and identifying a commander in, say, a light mech before you delete them with your frontline might be difficult. It also specifically says that you have to kill the enemy command unit, so if they leave from forced withdrawal you do not score those VP.
So to recap on the commander section, you need to successfully scan every single mech that your opponent has before you kill them or you might screw yourself out of 30 VP. In addition, even if you have scanned and identified everything BUT the commander, you still need to scan and identify the commander. The mission is very clear about the order of operations here in its wording, the commander must be identified and
then killed, not killed and then identified.
This is a weird mission, but it seems likely that the best option is, actually, to make your commander the mech that is far and away the easiest to kill in your list. Stay out of probe/identification range with your command Wasp or whatever and provoke the enemy as hard as possible to kill it before they identify it. Under no circumstances should you take obvious "KILL ME" bait in this mission unless you can get a mech into position to identify them before you kill them. Once you have rolled a successful identification on the enemy commander, go nuts and kill everything.
As for the building component, most competent light strikers, medium strikers, and heavy cavalry mechs should be able to 2 turn the building either alone or in a pair. Remember that you automatically get maximum cluster hits for firing at an adjacent building, so something like a pair of Javelin 12N's could put 60 damage into an adjacent building per turn between 4 SRM 6s and 2 kicks. Don't forget to kick the building, its free damage from the effective -4 to hit.
Priority One here is to hide your building in the position where the smallest amount of valid hexes on the map can see it. As it is only one level high, putting it next to any L1 or higher terrain at all is going to seriously constrain your opponent's ability to see it. Priority Two is to keep some sort of backline mech watching your objective in good ranges from its guns to deter the enemy away from just diving it. Priority Three, then, is to dive the enemy objective with your fastest assets and try to burn it down. If one of them is your commander, bait with it as hard as you possibly can without getting inside of identification range. Priority Four is to keep all of your mechs out of identification range if at all possible. Priority Five is to identify every possible enemy mech and then stage dive the command unit with everything in your list once you have identified it.
Mission Two: Drag Out
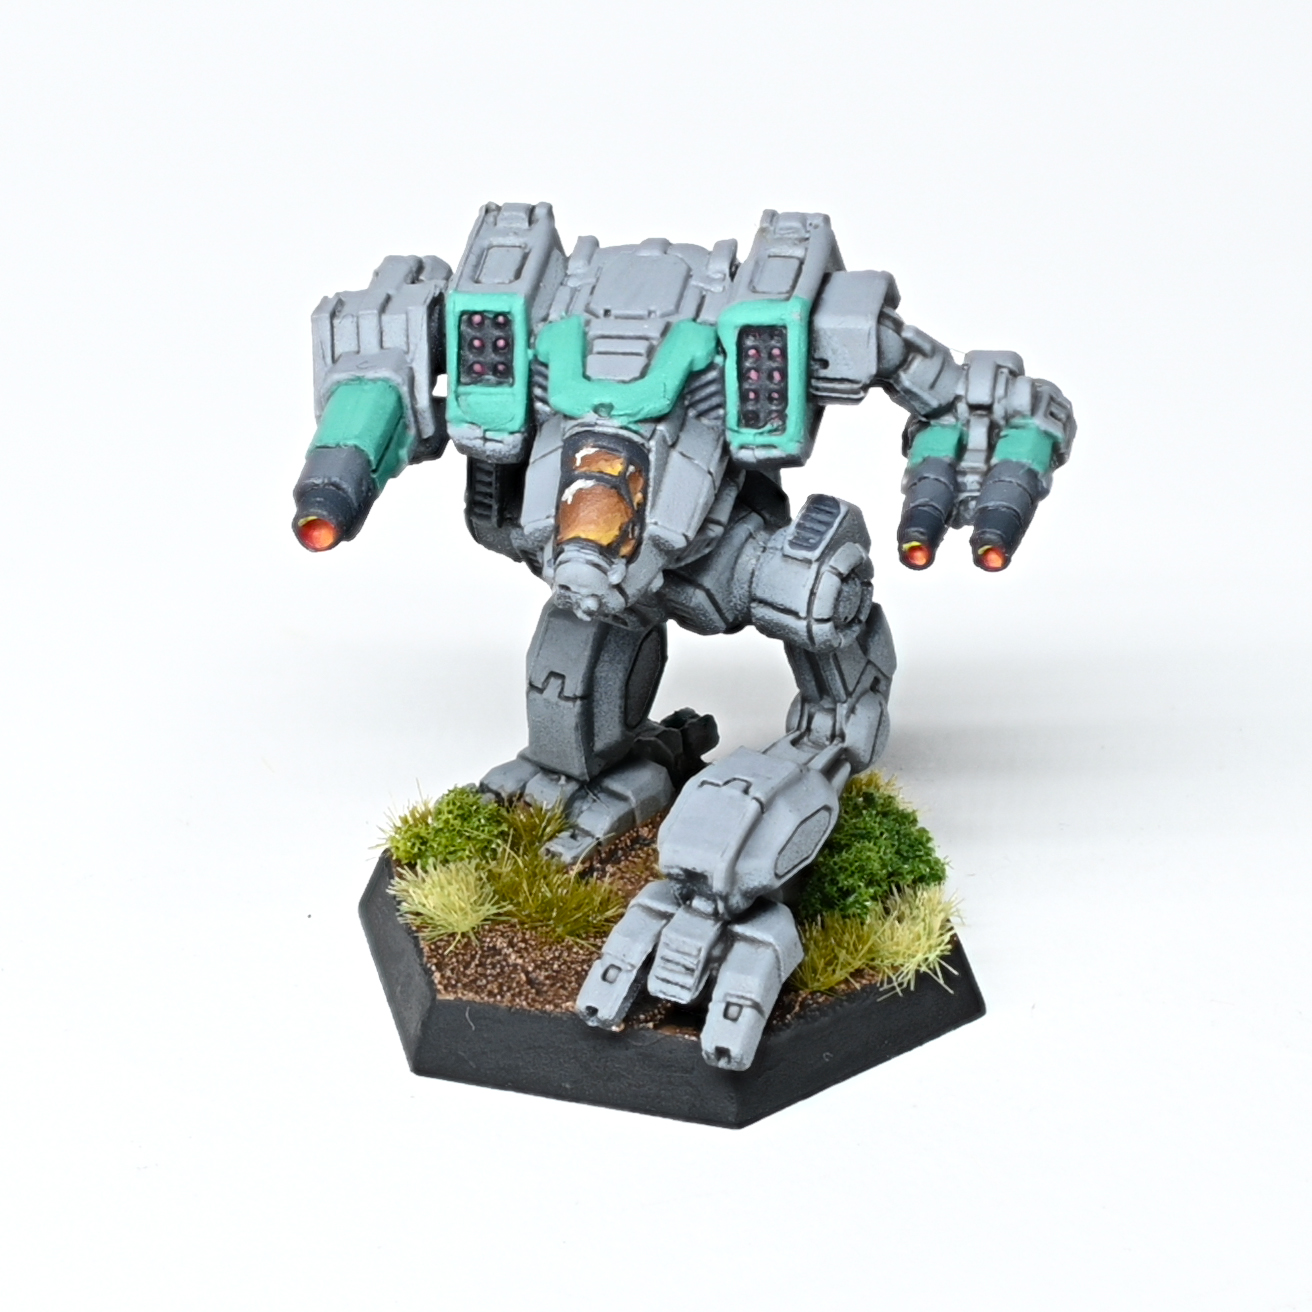
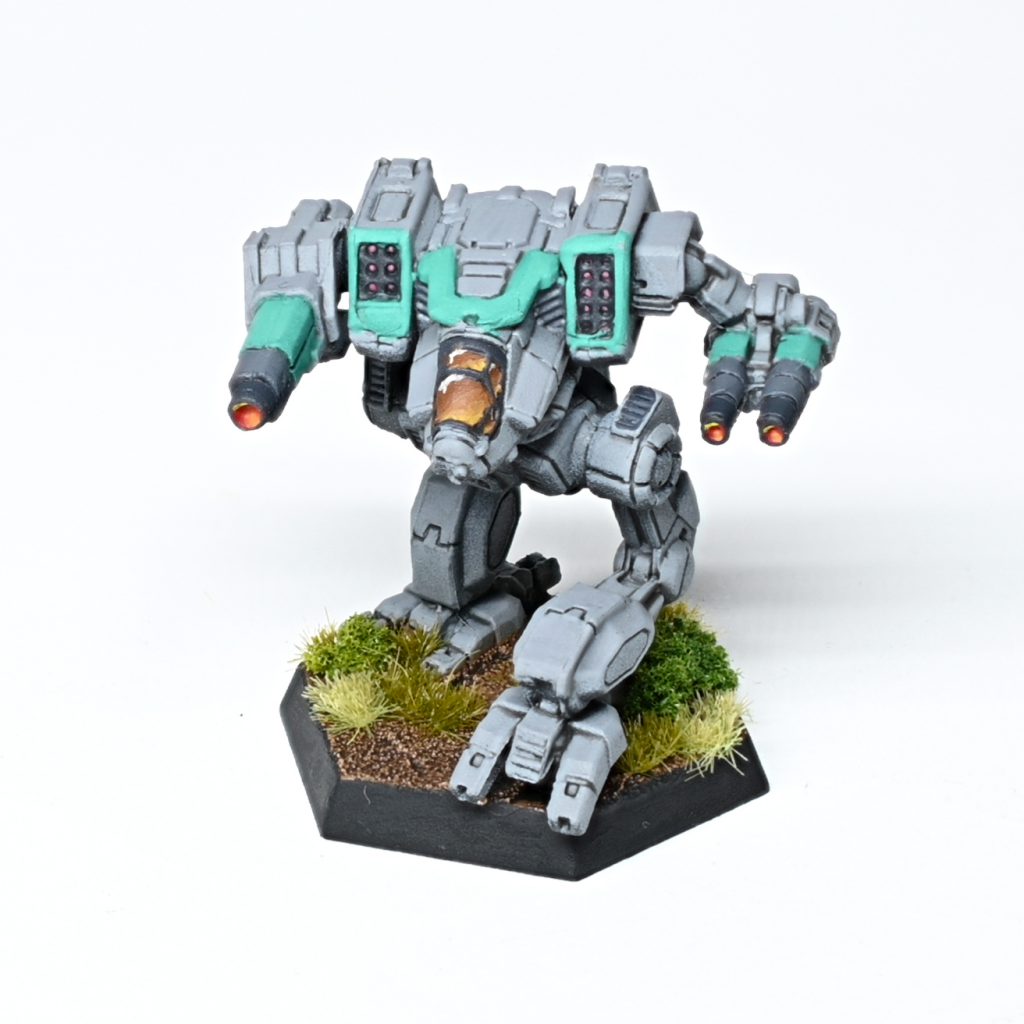 Black Lanner. Credit: Rockfish
This mission is also played short edge with a 3 hex deployment zone. Each player places two objectives on their side of the map 6 hexes apart. The objectives on your opponent's side of the board can be picked up with a PSR modified by that mech's current TMM. Each mech can carry one objective at a time, and cannot attack with arm mounted weapons while carrying one. If you fall or are crippled, you need to roll a PSR to retain the objective. If you lose both arms or die, you drop the objective.
You score 30 Victory Points per objective returned to your deployment zone, 5 Victory Points per objective that your opponent doesn't get their hands on, 5 Victory Points for attempting a DFA, and kill points are in effect at the same BV/200, with a maximum of 40 VP.
Assessment
This is a kill mission with extra steps. Needing to run into the middle of your opponent's list to grab the objectives under their guns, then make a PSR that will either be rather difficult (A 9+ for, say, a Jump 8 mech or a Fire Moth whipping in on the ground) or will be easy but extremely likely to get you killed (anything less than 3 TMM), while avoiding getting intercepted or murdered by the enemy's frontline.
If you have high speed, high durability assets like Black Lanners, Ice Ferrets, or Phantoms, making a play to grab the objectives can be worth it because they are likely to get multiple passes at the objective. Low durability assets like Fire Moths and Locusts are likely too risky to make a play on an objective with, they are very likely to fail to pick up the enemy's objective, and then very likely to die either on the spot or on the following turn when they have to get less TMM and try again. Your frontline and backline assets should, genuinely, find a good woods hex with short range to an objective and just camp and wait for the enemy to come to you. If the enemy actually gets their hands on one of your objectives, fire every gun you have at that mech and send your fast movers to kick, shoot, and chase them down.
Having to cross the entire map on short edge twice with an objective after making a tough PSR to grab it is a big ask for most lists, particularly with a time limit. It is probably safer to just camp and hope that your opponent makes the mistake of running their list forwards to try and shove you off of your objectives. Fighting from prepared positions in cover and woods will help you win the game of better numbers, and denying your own objectives has a higher expected value here than trying to get after the opponent's objectives. It is boring to play cagey like that, but unless you are playing a high durability, high speed cavalry list it is absolutely your best play. It is rough from a points maximization standpoint, seeing as that is how the event is scored, but most people who aggressively try to get the objective here are just going to trip, fail, and end up scoring basically nothing. The expected value is a lot higher if you just kill everything your opponent tries to send to your objectives and rack up kill points.
Mission Three: Fight
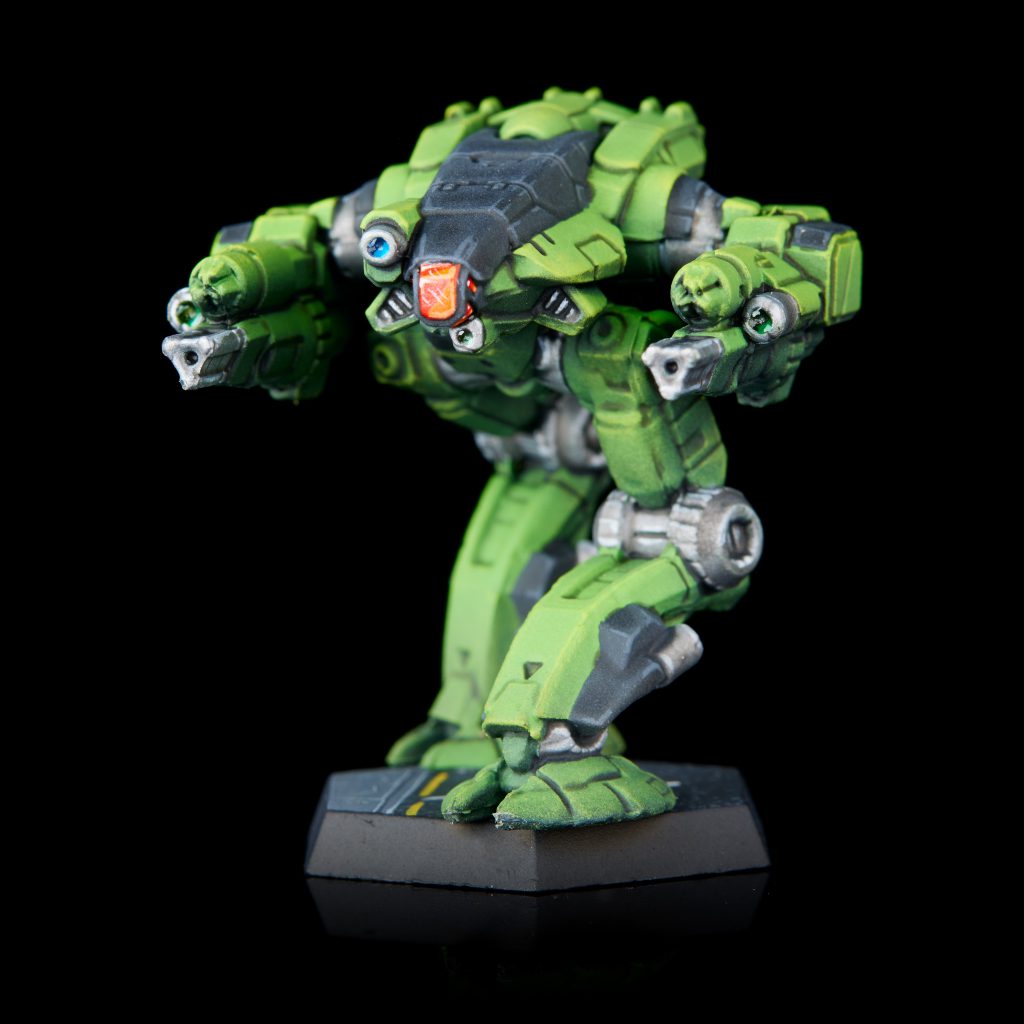 Nightstar. Credit: Jack Hunter
This is a kill mission on purpose. This mission is played long edge. Kill points are in effect and more thandoubled compared to the previous mission - it's now BV/80 with a maximum of 80 VP. You can score 20 VP by getting half of your starting list by unit count on the opponent's side of the map by turn 4. You can score 5 VP for saying a phrase to your opponent, and 5 VP for making a charge attack.
Assessment
So the first thing you do is say that phrase to your opponent the moment you start deploying so that you can get your free 5 VP. I have no idea why that is an objective, it is only going to not be scored by people who completely do not read the mission at all. Following that, park your slow movers in the nastiest woods hexes you can find in a clump all next to each other, and pick your 3 fastest (or toughest if you have no speed) units to make a run onto the opponent's side of the map on turn 1 or 2. After getting the 3 of them onto the opponent's side, run back to the clump you have made with your slow movers and buzz around them to pick off enemy units who make the mistake of trying to approach your castle.
Aggression is a bad idea in pure kill missions like this. You are advantaged in the game of better numbers if you just camp in a woods hex and force your opponent to come to you. If you are playing a pure high speed/cavalry list, that really sucks. You will need to try and stage dive the enemy clump while your fast movers and their fast movers probably pass by each other to get the 20 VP early. Hope that you can kill one or two of them before their fast movers are freed up to come and respond to you. After that, pull backwards while trying to kill the enemy maneuver assets, do not get baited into an extended fight with enemy mechs that are able to stand still. For 90% of lists the best option here is turreting up in whatever the best terrain on your side is for the whole game. If your opponent is also turreting up and playing optimally, this is going to be a very dull game, but running into the enemies guns is a fantastic way to lose the game of better numbers and completely punt the game while feeding your opponent a huge amount of points.
Conclusion
These missions really incentivize a couple of things. If they had been made available before lists were due, the ideal mix of mechs would be a trio of fast moving, tough medium striker mechs with acceptable damage and TMM that also mount Active Probes, in addition to two of the nastiest turret tech sniper mechs on your chosen availability, things like Nightstars, Hellstars, Warhawks, the like. Different missions will favor different things, but these missions very specifically want a combination of those two things specifically.
Generally when reading a mission, if an objective seems difficult to score like the moving objectives in Mission 2 that need to be picked up with a random PSR and then hauled back 30 hexes to your deployment zone, if you feel like your list is going to have a bad time scoring it it is better to instead prevent your opponent from scoring while getting the points you can from other sources. It is bad from a points maximization and scoring perspective, but if your list doesn't have the tools to make a play for those objectives (High durability high speed assets in Mission 2's case), you are way more likely to just punt your game and feed your opponent points by trying to score there.
Straight up kill missions are generally rough at events because of how much they favor TurretTech and camping, something like a King of the Hill mission would provoke far more violence out of both players to maximize their expected value. They are fine when you are playing casual games, but I have never played a straight up kill mission in a competitive context (Either at an event or at practice) and had it not favor some boring and unfun play patterns. Giving bonus points for killing enemies while moving, while not in woods, or at short range could help with this, but most of what you can accomplish in terms of keeping people ready for an honest fight is done better by King of the Hill over Kill.
Have any questions or feedback? Drop us a note in the comments below or email us at contact@goonhammer.com. Want articles like this linked in your inbox every Monday morning? Sign up for our newsletter. And don’t forget that you can support us on Patreon for backer rewards like early video content, Administratum access, an ad-free experience on our website and more.Thank you for being a friend.

 General Motors Generalist Mercenaries Wasp, Credit: Liberty
 Black Lanner. Credit: Rockfish
 Nightstar. Credit: Jack Hunter

 Infinity N5 First Principles: Understanding the Outcomes of Face to Face Rolls
 Tactical Feedback: Timing the Go-Turn
 SRM's Roundabout to Adepticon 2026: Curd Is the Word