Greetings, freebirths. As a newcomer to the Goonhammer BattleTech crew, I have a confession to make: I am Jade Falcon.
[pause for booing]
…I'll take that as permission to drop the “no contractions” schtick. Anyway.
A very consistent lesson I’ve learned while playing my beloved Emerald Parakeets has been that, no matter what the BV allotment for the scenario is, it’s never, ever enough. Even scaling down to a partial Star of 3-4 ‘Mechs will often leave me at a significant tonnage disadvantage, which then turns into an activation economy disadvantage at the slightest of errors. The solution? Deploy the Great Father’s most alien, budget-friendly weapon: mechanized battle armor.
A few years ago, Peregrin wrote an article for you Spheroids about how the most common Clan battle armor, the Elemental, is built and how they generally operate. However, that article was written with the intent of learning how to counter and kill Elementals. Today, we learn how to turn those hunters into the hunted.
Weapon Select
Peregrin’s article has already provided a broad overview of how Elemental Battle Armor interfaces with BattleTech’s game mechanics, but I’ll provide the Chistu’s Notes version for those of you who haven’t read it:
- Each trooper has their own health. For Elementals, you get 10 armor and 1 “structure.” Eliminating all pips kills the trooper, removing them and their suit’s weapons from the unit’s total. Excess damage applied to a trooper who was killed does not transfer to another trooper.
- All battle armor has a native +1 defense modifier against incoming fire due to their size and dispersion across the hex, but take no movement modifiers of their own when firing, regardless of movement type.
- When in the same hex as an enemy ‘Mech, battle armor cannot be targeted with weapon attacks by the ‘Mech they share the hex with (B-Pods are the sole exception to this rule).
- Battle armor in the same hex as a ‘Mech can choose to fire weapons normally, or, if capable, attempt to make a swarm the target or make a leg attack.
- Mechanized battle armor can be mounted to any OmniMech, riding on torso locations and capable of deployment at the end of the ‘Mech’s movement. The transporting ‘Mech cannot fire torso weapons while a battle armor suit is mounted on that location. Once deployed, battle armor may not move or attack until the following turn.
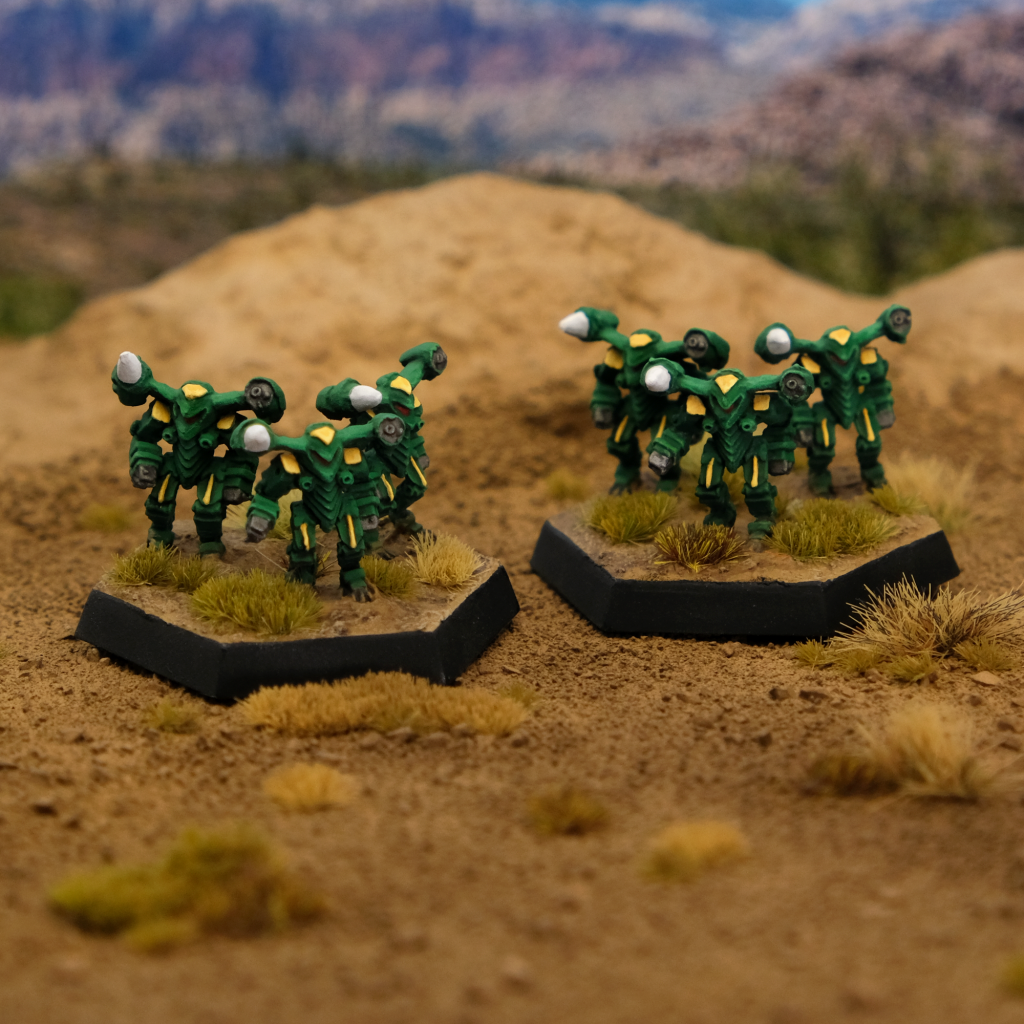
 Wolf's Dragoons Elementals. Credit: Jack Hunter
With this in mind, we can now consider the various models of Elementals at our disposal. The standard Elemental suit can be equipped with a number of different weapons, allowing it to be adapted to various mission profiles.
Wolf's Dragoons Elementals. Credit: Jack Hunter
With this in mind, we can now consider the various models of Elementals at our disposal. The standard Elemental suit can be equipped with a number of different weapons, allowing it to be adapted to various mission profiles.
MG
Standard medium machine gun. 1/2/3 range, 2 damage. This is the budget option, alongside the Flamer model.
Flamer
Effectively identical to a ‘Mech-scale flamer. 1/2/3 range, 2 damage or 2 heat unless you’re playing with Enhanced Flamers. These are identically priced to the MG variant and thus tactically superior in almost all use cases unless your local scene is really, really into reflective armor for some reason.
HMG
Bigger machine gun that does 3 damage instead of 2, but loses its long range bracket entirely. Hard pass, at least on the Elemental. Other battle armor designs (read: Salamander Battle Armor) make better use of these – we’ll cover those in the future.
 Salamander Battle Armor. Credit: Valk
Laser
Equipped with a standard small laser. 1/2/3 range, 3 damage. This is the archetypical Elemental variant for most of the timeline.
ER Laser
Carries an ER micro laser that pushes the range bracket to 1/2/4. These are otherwise identical to the Laser variant.
MicroPL
Also very similar to the Laser variant, these carry a micro pulse laser that provides a -2 to hit at all ranges while retaining a 1/2/3 range bracket for 3 damage. Superior to the Laser variant in every way except price.
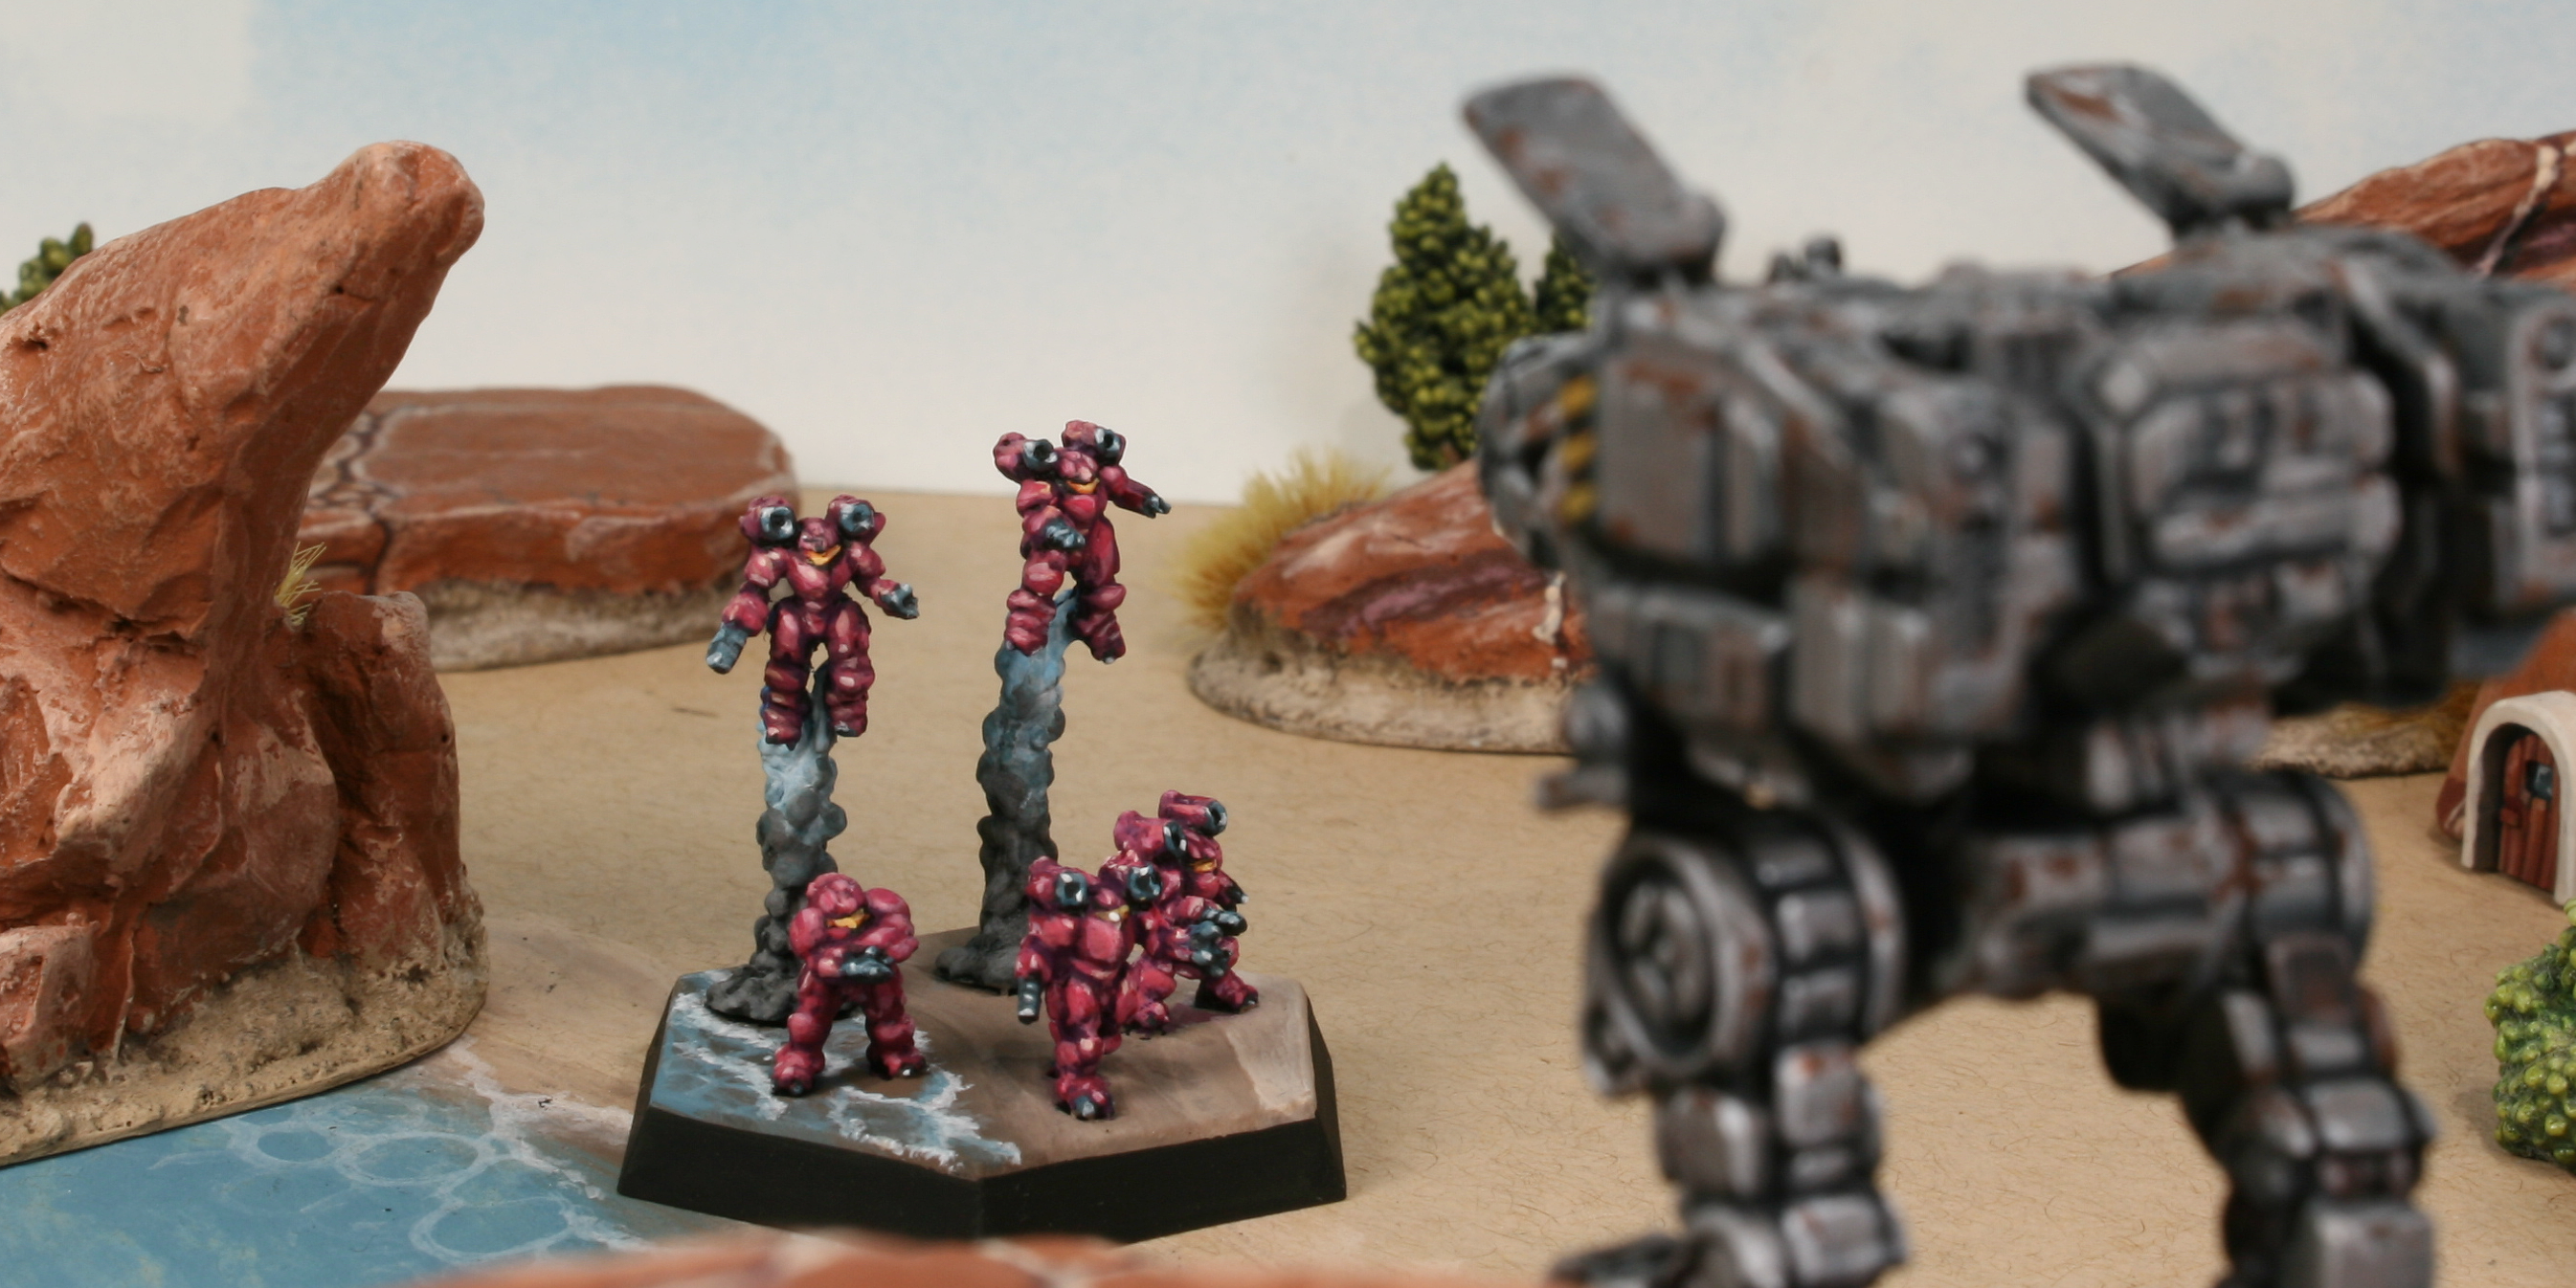
 Elementals vs Stalker. Credit: porble
AP Gauss
Easily the best of the standard Elementals, the AP Gauss variant carries – you guessed it – an AP gauss rifle. While this doesn’t change the damage output relative to the laser variants, it triples the range of its main gun to 3/6/9, unifying your range bands with the SRM 2 carried on each suit. Expensive, but oh so worth it.
In addition to the various weapon loadouts available to the Elemental, there are also a handful of specialized variants of the suits themselves. While some of these will rarely ever see use in standard play (namely the Space and Headhunter models, which ditch the detachable SRM pack for mission-specific equipment), two variants offer additional versatility via specialized armor.
The Fire variant of the Elemental, as the name suggests, replaces the standard armor of the suit with an equivalent amount of fire-resistant armor. Fire-resistant armor maintains the standard 10 armor/1 structure profile of the standard design, but plugs one of its main weaknesses by halving standard damage from heat-causing weapons such as flamers and plasma rifles, while giving it total immunity to Inferno SRMs. This comes at a slight cost, requiring the SRM 2 launcher to be replaced with a single-shot model, but drastically improves survivability against a common anti-battle armor strategy.
For a more general improvement on survivability, the Elemental III improves on the Elemental’s evasive abilities by utilizing basic Stealth armor. As with the Fire variant, this comes without any change to the armor profile, but provides a +1 defense mod against weapons fire at medium range and a +2 at long range. The SRM launcher is once again a single-shot model, but has also been upgraded to an Advanced SRM launcher, expanding its range bracket to 4/8/12. When combined with AP gauss rifles, Elemental IIIs become excellent at fighting on the wing, combining jump movement with stealth bonuses while their longer range brackets and lack of attack modifier allow them to strike from a safe distance.
Prep Time
Once you’ve selected your hunting implements of choice, it’s time to set the stage. Elementals are mechanized battle armor, meaning that they can ride in standard infantry transports, but for Clan players, it’s far more likely you’ll want to deploy them from OmniMechs. OmniMech selection is almost as important as picking the right suits for the job, but there’s a fairly consistent “meta” to picking good delivery systems.
Generally speaking, the best carriers for Elementals will skew towards lighter and faster designs with a minimal amount of torso-mounted weaponry. Some level of durability is also desirable, as destruction of the ‘Mech carrying your battle armor will often kill the entire squad as well, but high mobility and smart maneuvering on the approach can alleviate this risk. Classic battle armor taxis include the Fire Moth, Viper, and Gargoyle, all of which provide good to excellent mobility at a low cost. Of course, any OmniMech can deliver battle armor downfield, with many being potent gun platforms themselves. For my beloved Jade Falcons, this means the Fire Falcon, Ion Sparrow, and Black Lanner, among others. Even the mighty Jade Phoenix can deliver Elementals to the battlefield, working as a vicious tag team that few targets can withstand.
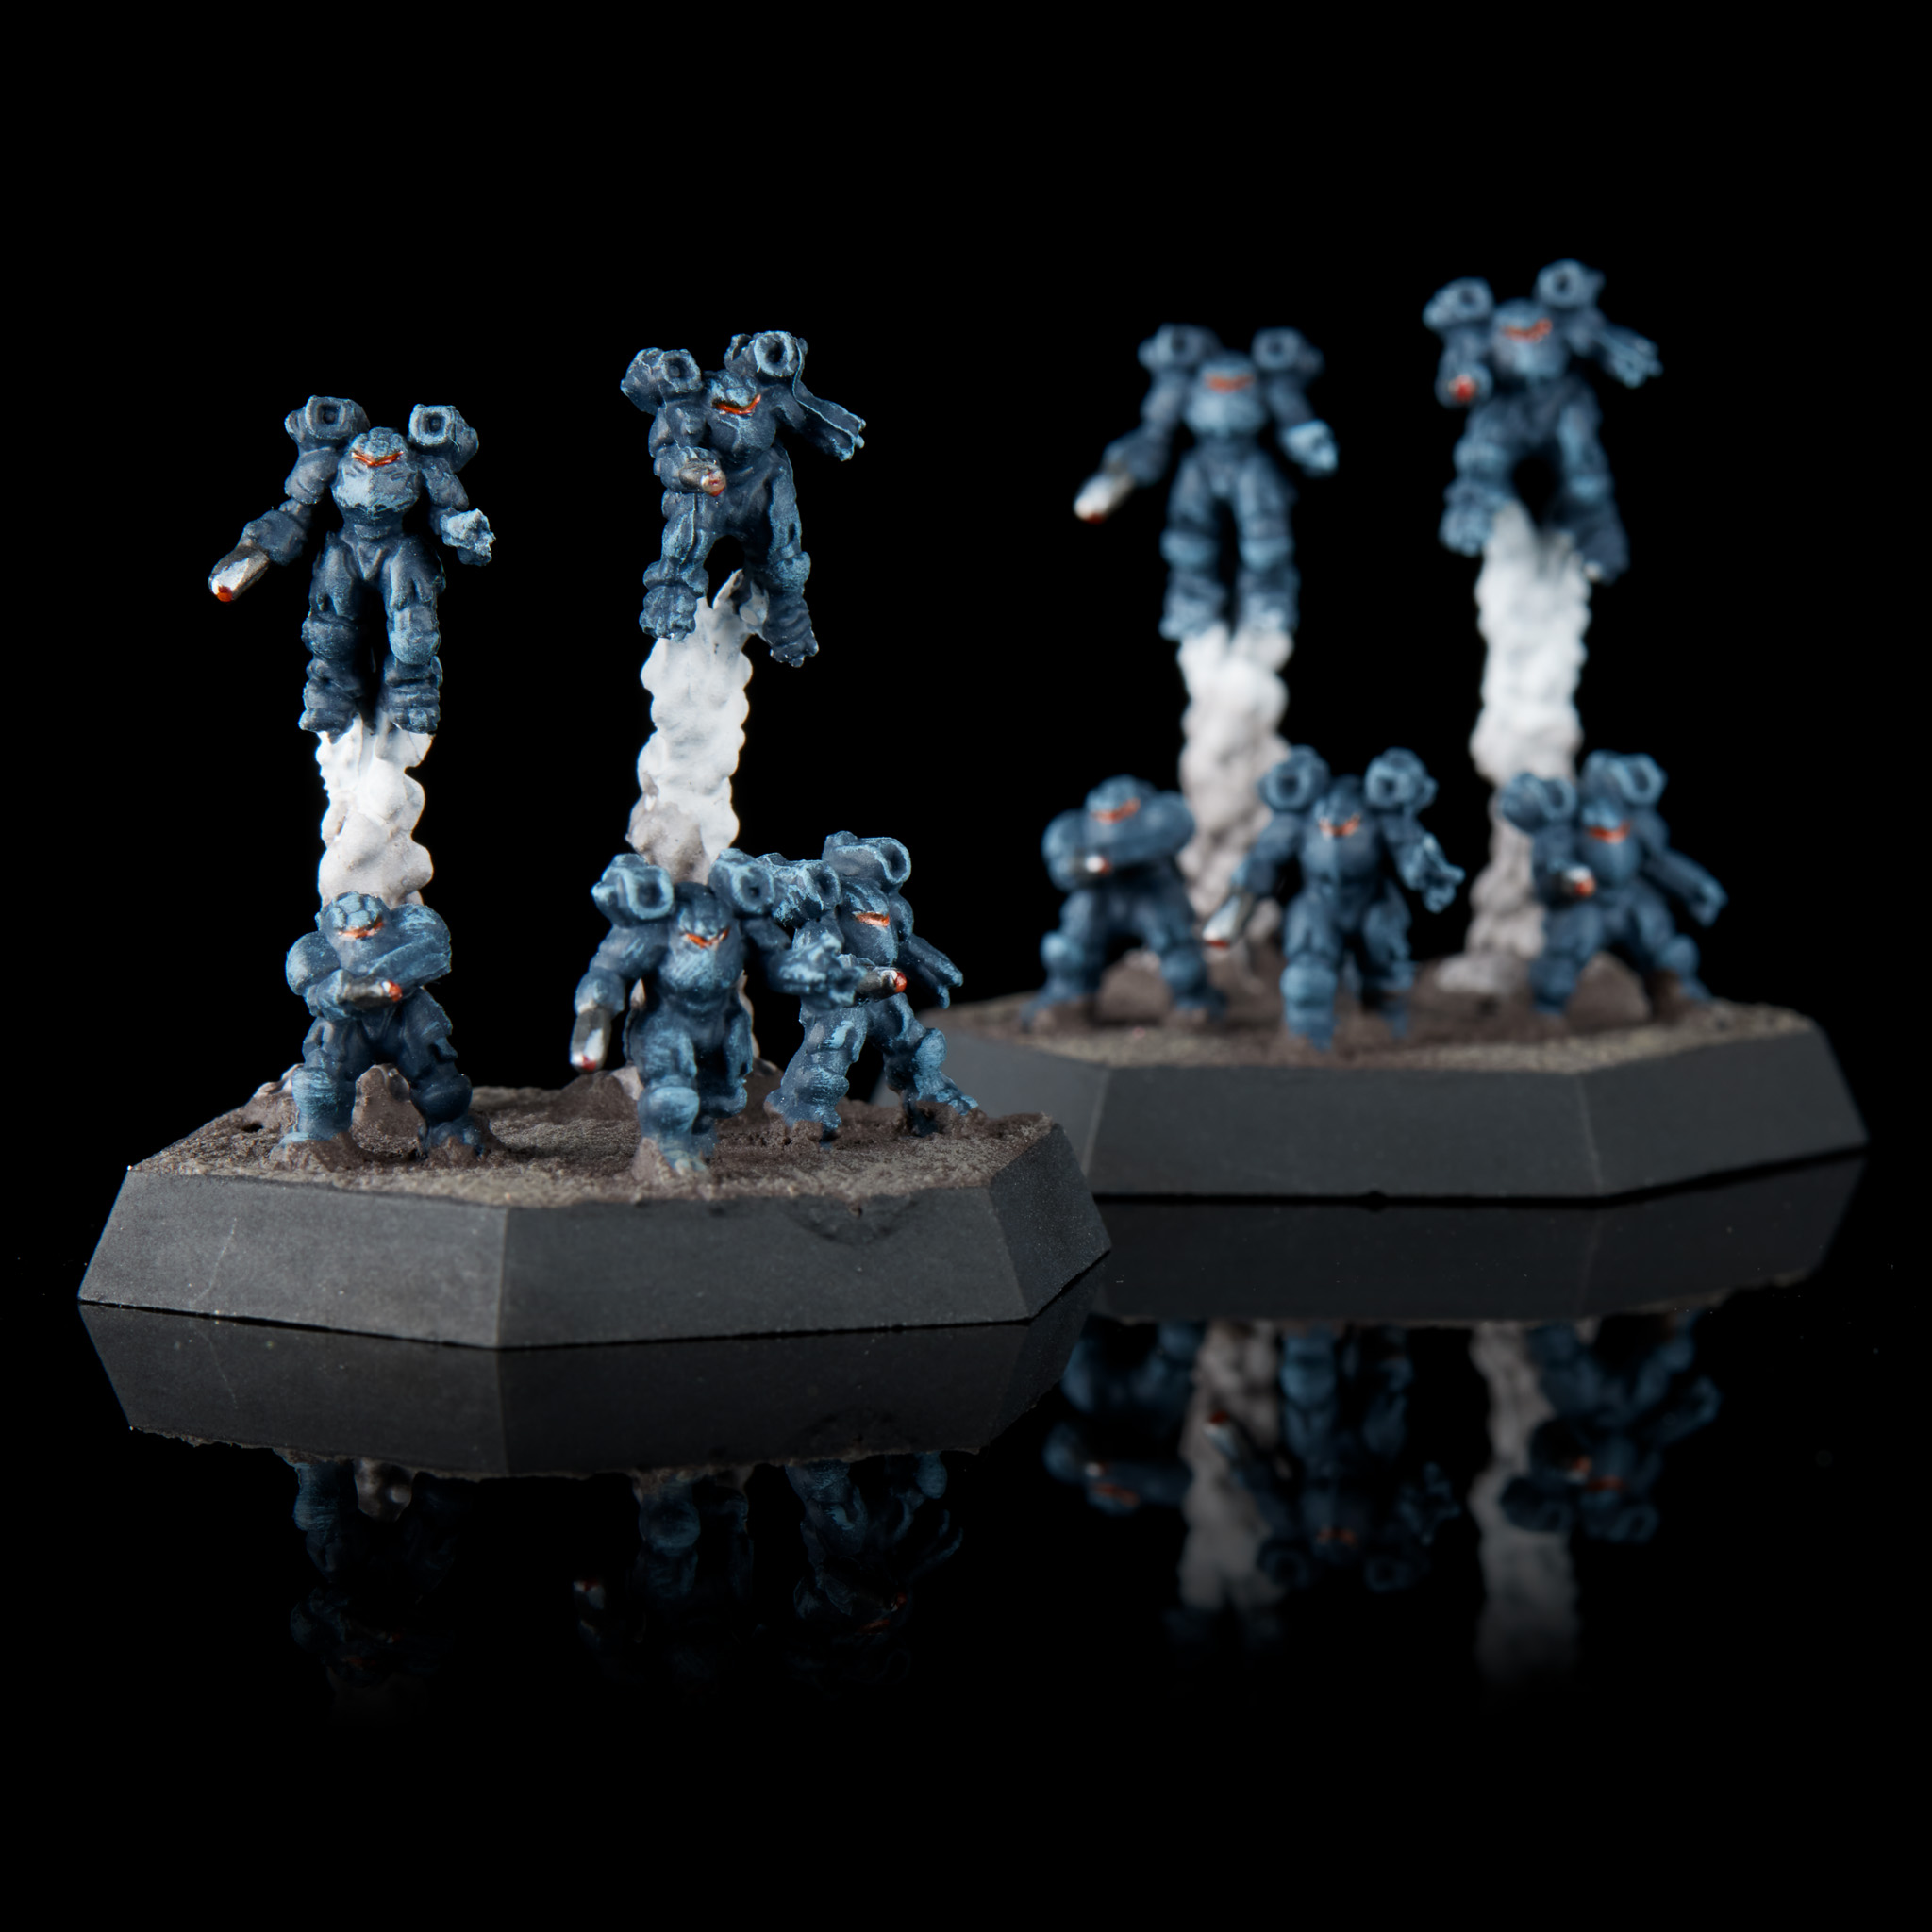
 Elemental Battle Armor, escorted by a Stormcrow A and Visigoth Prime. Credit: Valk
The other half of this equation is target selection. Most Elementals do their best work up close, especially when in the same hex as their targets, as it minimizes their target’s ability to strike back at them and gives additional options for bringing it down. However, almost all Elemental designs have a maximum jump of 3 hexes, meaning that even moderately fast ‘Mechs can outrun them with a bit of effort, and most jumping designs have little trouble playing keep-away.
Consequently, Elementals are excellent “big game hunters,” being most effective against heavy and assault-class designs that cannot afford to ignore them but also cannot easily escape the net. Even jump-capable assault ‘Mechs such as the Highlander and Gunslinger can be effectively pressured by Elemental kill teams. Aggressive pursuit can force them to jump repeatedly to avoid having a laser stuffed between the armor plates of their kneecaps, and prevent these designs from effectively doing what they want to do, i.e., stand still in a forest and casually turn your trueborn MechWarriors into paste with Gauss slugs. These are also the most cost-efficient targets to pursue with battle armor, as you can disrupt or neutralize a ‘Mech three or four times more expensive than the squad itself, while allowing your own ‘Mechs to instead punch down at softer targets and rapidly balance out the activation economy.
Aside from target mobility, it can also be helpful to consider their construction. Design choices that may benefit a heavy ‘Mech in a fight with its peers, such as hardened armor and flippable arms, can be used against them in a fight with battle armor. The Viking IIC is a great example – it’s a 2780 BV, 90-ton brick of hardened armor that was built without lower arm actuators and hands so it can shoot behind itself too. For a ‘Mech, this thing can be an utter nightmare to bring down, but against battle armor, its lack of hands and the PSR penalties of wearing hardened armor become liabilities, as it becomes more likely to fall over from leg attack-induced critical hits and will be hard pressed to dislodge swarming troopers without intentionally slamming itself into the ground.
Of course, not all OPFOR lists will have ‘Mechs (or vehicles) that are easily picked out as ideal targets for Elementals. In this event, their role shifts from hunter-killer to area denial. Pairing them with slower, heavier designs or dropping them into critical chokepoints on the map allows them to deny your opponent uncontested maneuver through points of interest like elevated heavy woods and can provide cover on vulnerable flanks in close quarters. It’s important to remember that, unlike ‘Mechs, battle armor squads are only one level tall, meaning that you can deploy them at the foot of elevated terrain to keep them out of sight of your opponent until it’s time to strike. This isn’t their ideal usage – it’s the job of other battle armor we’ll cover in the future – but it’s something you can give them to do if they need it. Idle battle claws are the Great Usurper’s playthings.
Elemental Battle Armor, escorted by a Stormcrow A and Visigoth Prime. Credit: Valk
The other half of this equation is target selection. Most Elementals do their best work up close, especially when in the same hex as their targets, as it minimizes their target’s ability to strike back at them and gives additional options for bringing it down. However, almost all Elemental designs have a maximum jump of 3 hexes, meaning that even moderately fast ‘Mechs can outrun them with a bit of effort, and most jumping designs have little trouble playing keep-away.
Consequently, Elementals are excellent “big game hunters,” being most effective against heavy and assault-class designs that cannot afford to ignore them but also cannot easily escape the net. Even jump-capable assault ‘Mechs such as the Highlander and Gunslinger can be effectively pressured by Elemental kill teams. Aggressive pursuit can force them to jump repeatedly to avoid having a laser stuffed between the armor plates of their kneecaps, and prevent these designs from effectively doing what they want to do, i.e., stand still in a forest and casually turn your trueborn MechWarriors into paste with Gauss slugs. These are also the most cost-efficient targets to pursue with battle armor, as you can disrupt or neutralize a ‘Mech three or four times more expensive than the squad itself, while allowing your own ‘Mechs to instead punch down at softer targets and rapidly balance out the activation economy.
Aside from target mobility, it can also be helpful to consider their construction. Design choices that may benefit a heavy ‘Mech in a fight with its peers, such as hardened armor and flippable arms, can be used against them in a fight with battle armor. The Viking IIC is a great example – it’s a 2780 BV, 90-ton brick of hardened armor that was built without lower arm actuators and hands so it can shoot behind itself too. For a ‘Mech, this thing can be an utter nightmare to bring down, but against battle armor, its lack of hands and the PSR penalties of wearing hardened armor become liabilities, as it becomes more likely to fall over from leg attack-induced critical hits and will be hard pressed to dislodge swarming troopers without intentionally slamming itself into the ground.
Of course, not all OPFOR lists will have ‘Mechs (or vehicles) that are easily picked out as ideal targets for Elementals. In this event, their role shifts from hunter-killer to area denial. Pairing them with slower, heavier designs or dropping them into critical chokepoints on the map allows them to deny your opponent uncontested maneuver through points of interest like elevated heavy woods and can provide cover on vulnerable flanks in close quarters. It’s important to remember that, unlike ‘Mechs, battle armor squads are only one level tall, meaning that you can deploy them at the foot of elevated terrain to keep them out of sight of your opponent until it’s time to strike. This isn’t their ideal usage – it’s the job of other battle armor we’ll cover in the future – but it’s something you can give them to do if they need it. Idle battle claws are the Great Usurper’s playthings.
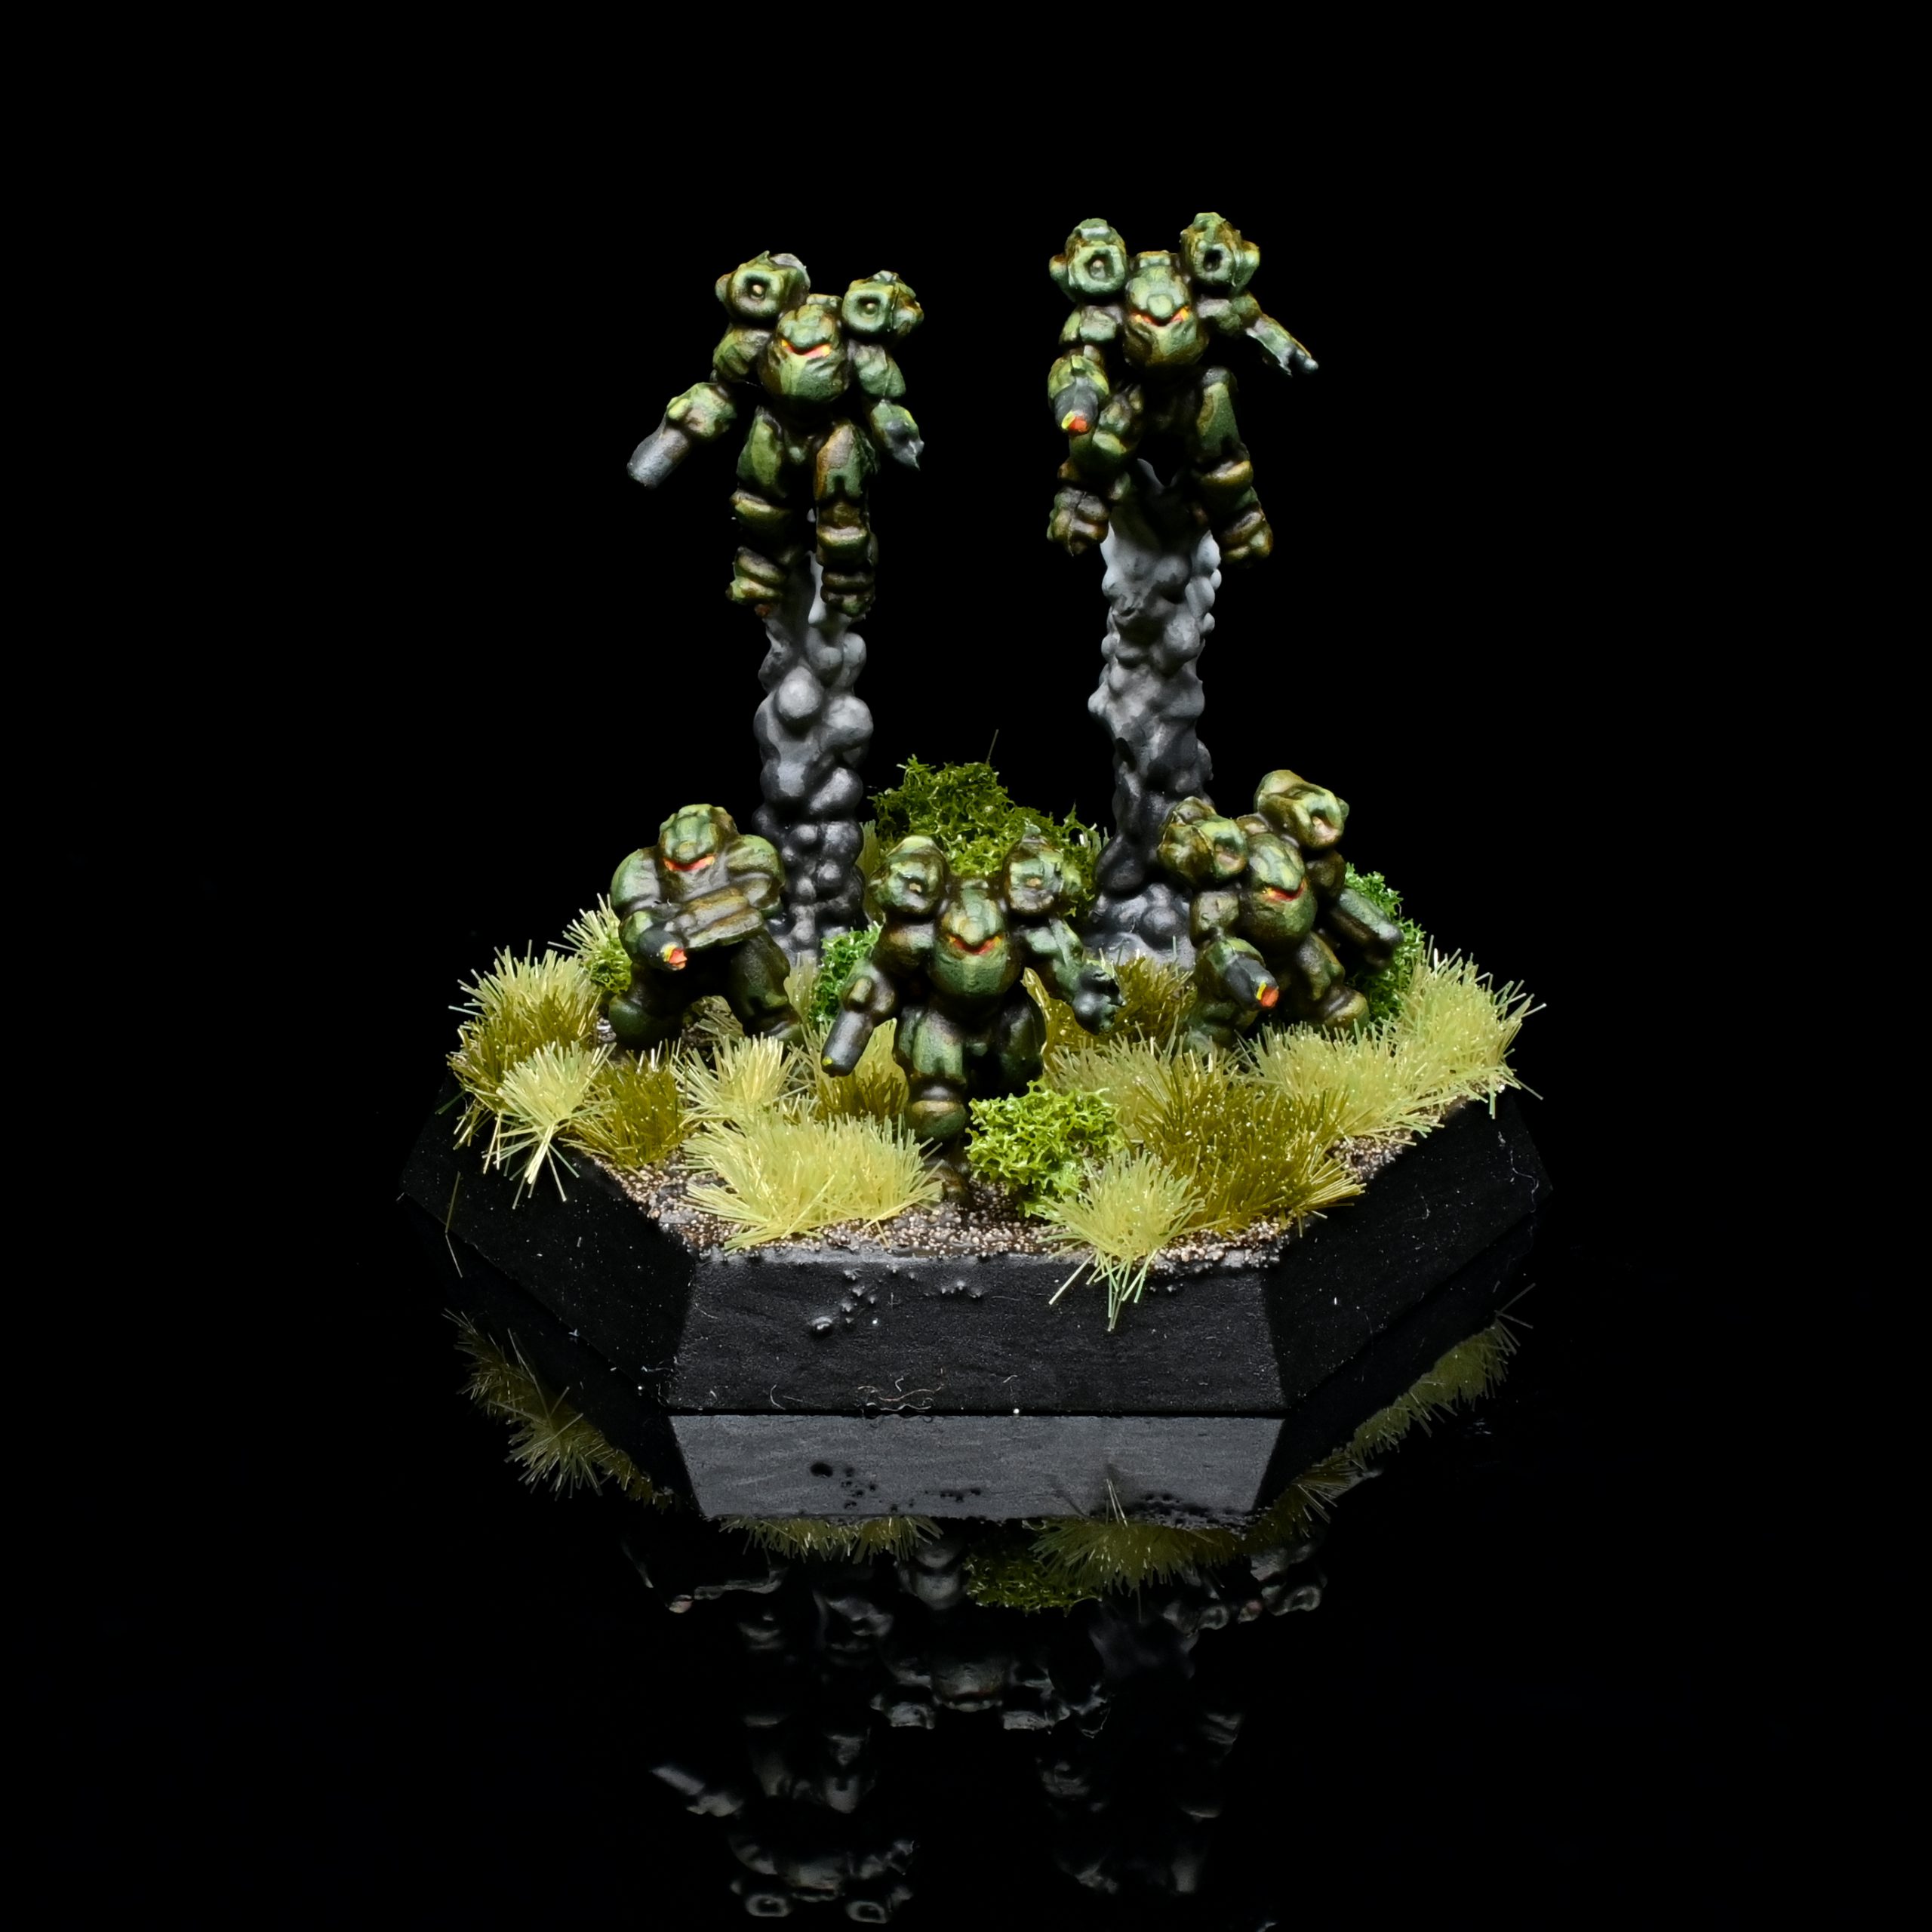
 Elementals. Credit: Rockfish
Woe, Toad Be Upon Ye
With our prep work done and our target identified, it’s time to drive the blade in. The standard attack pattern for Elemental delivery (at least as I use them) is broken down into three stages: the approach, the pin, and the kill.
The Approach
At the start of the game, you should have your Elementals mounted on your delivery boy of choice. Once your opponent’s force is deployed, you’ll want to assess the map to see not only what your avenues of approach will be, but where your opponent is most likely to set up your target. Hills and woods are of the utmost importance here – slower ‘Mechs tend to gravitate towards wooded terrain to make up for an inability to generate a movement modifier, and most of them are either packing long-range weapons that benefit from an elevated shooting position or shorter range weapons that will encourage them to block line of sight until a target approaches.
For your OmniMechs, you’ll want to do more of the latter. Use terrain to mask your approach to the target, keeping as many woods or hills between you and the target as possible before deployment. Faster Omnis, such as the Fire Moth and Phantom, can also intentionally drop prone adjacent to level 1 hills to deny line of sight from an elevated ‘Mech, then pop up next turn with a PSR and continue moving to the dropoff point without much interruption.
The dropoff point for your Elementals should also permit you to terrain mask against incoming fire, as they’re most vulnerable immediately after dismounting. Like prone ‘Mechs, battle armor is only considered to be 1 level tall, meaning that they can dismount adjacent to any hex of a higher elevation and be completely hidden from direct fire as long as said hex is between them and a potential assailant.
The Pin
From here, you’ll again play the terrain masking game, bounding from cover to cover as you close the distance to the target, firing if the opportunity presents itself. This is a critical moment in the attack, but now, your transport ‘Mech can also be used to support this approach. Depending on its capabilities, it can either create a threat the target has to maneuver around, or screen against hostile ‘Mechs that may be dispatched to kill your Elementals. Either way, you can use both elements of the strike package to slowly tighten the noose around your target, either removing it from the main fight or forcing the rest of the enemy force to pull back and support the isolated ‘Mech.
Once the Elementals have the distance and initiative to do so, dive directly into the hex that the target ‘Mech is standing in. As mentioned earlier, they have three options here: continue shooting, swarm the target, or go for the legs. In most cases, the leg attack, while only doing 4 damage, will be the best choice against larger targets. This attack utilizes the squad’s Anti-’Mech skill rating, modified by the number of surviving troopers, but a success means a chance to roll a through-armor critical hit against the leg. Successfully delivering critical hits to the leg will cause PSRs of increasing difficulty and further slow the target, making it easier to both shoot and pursue.
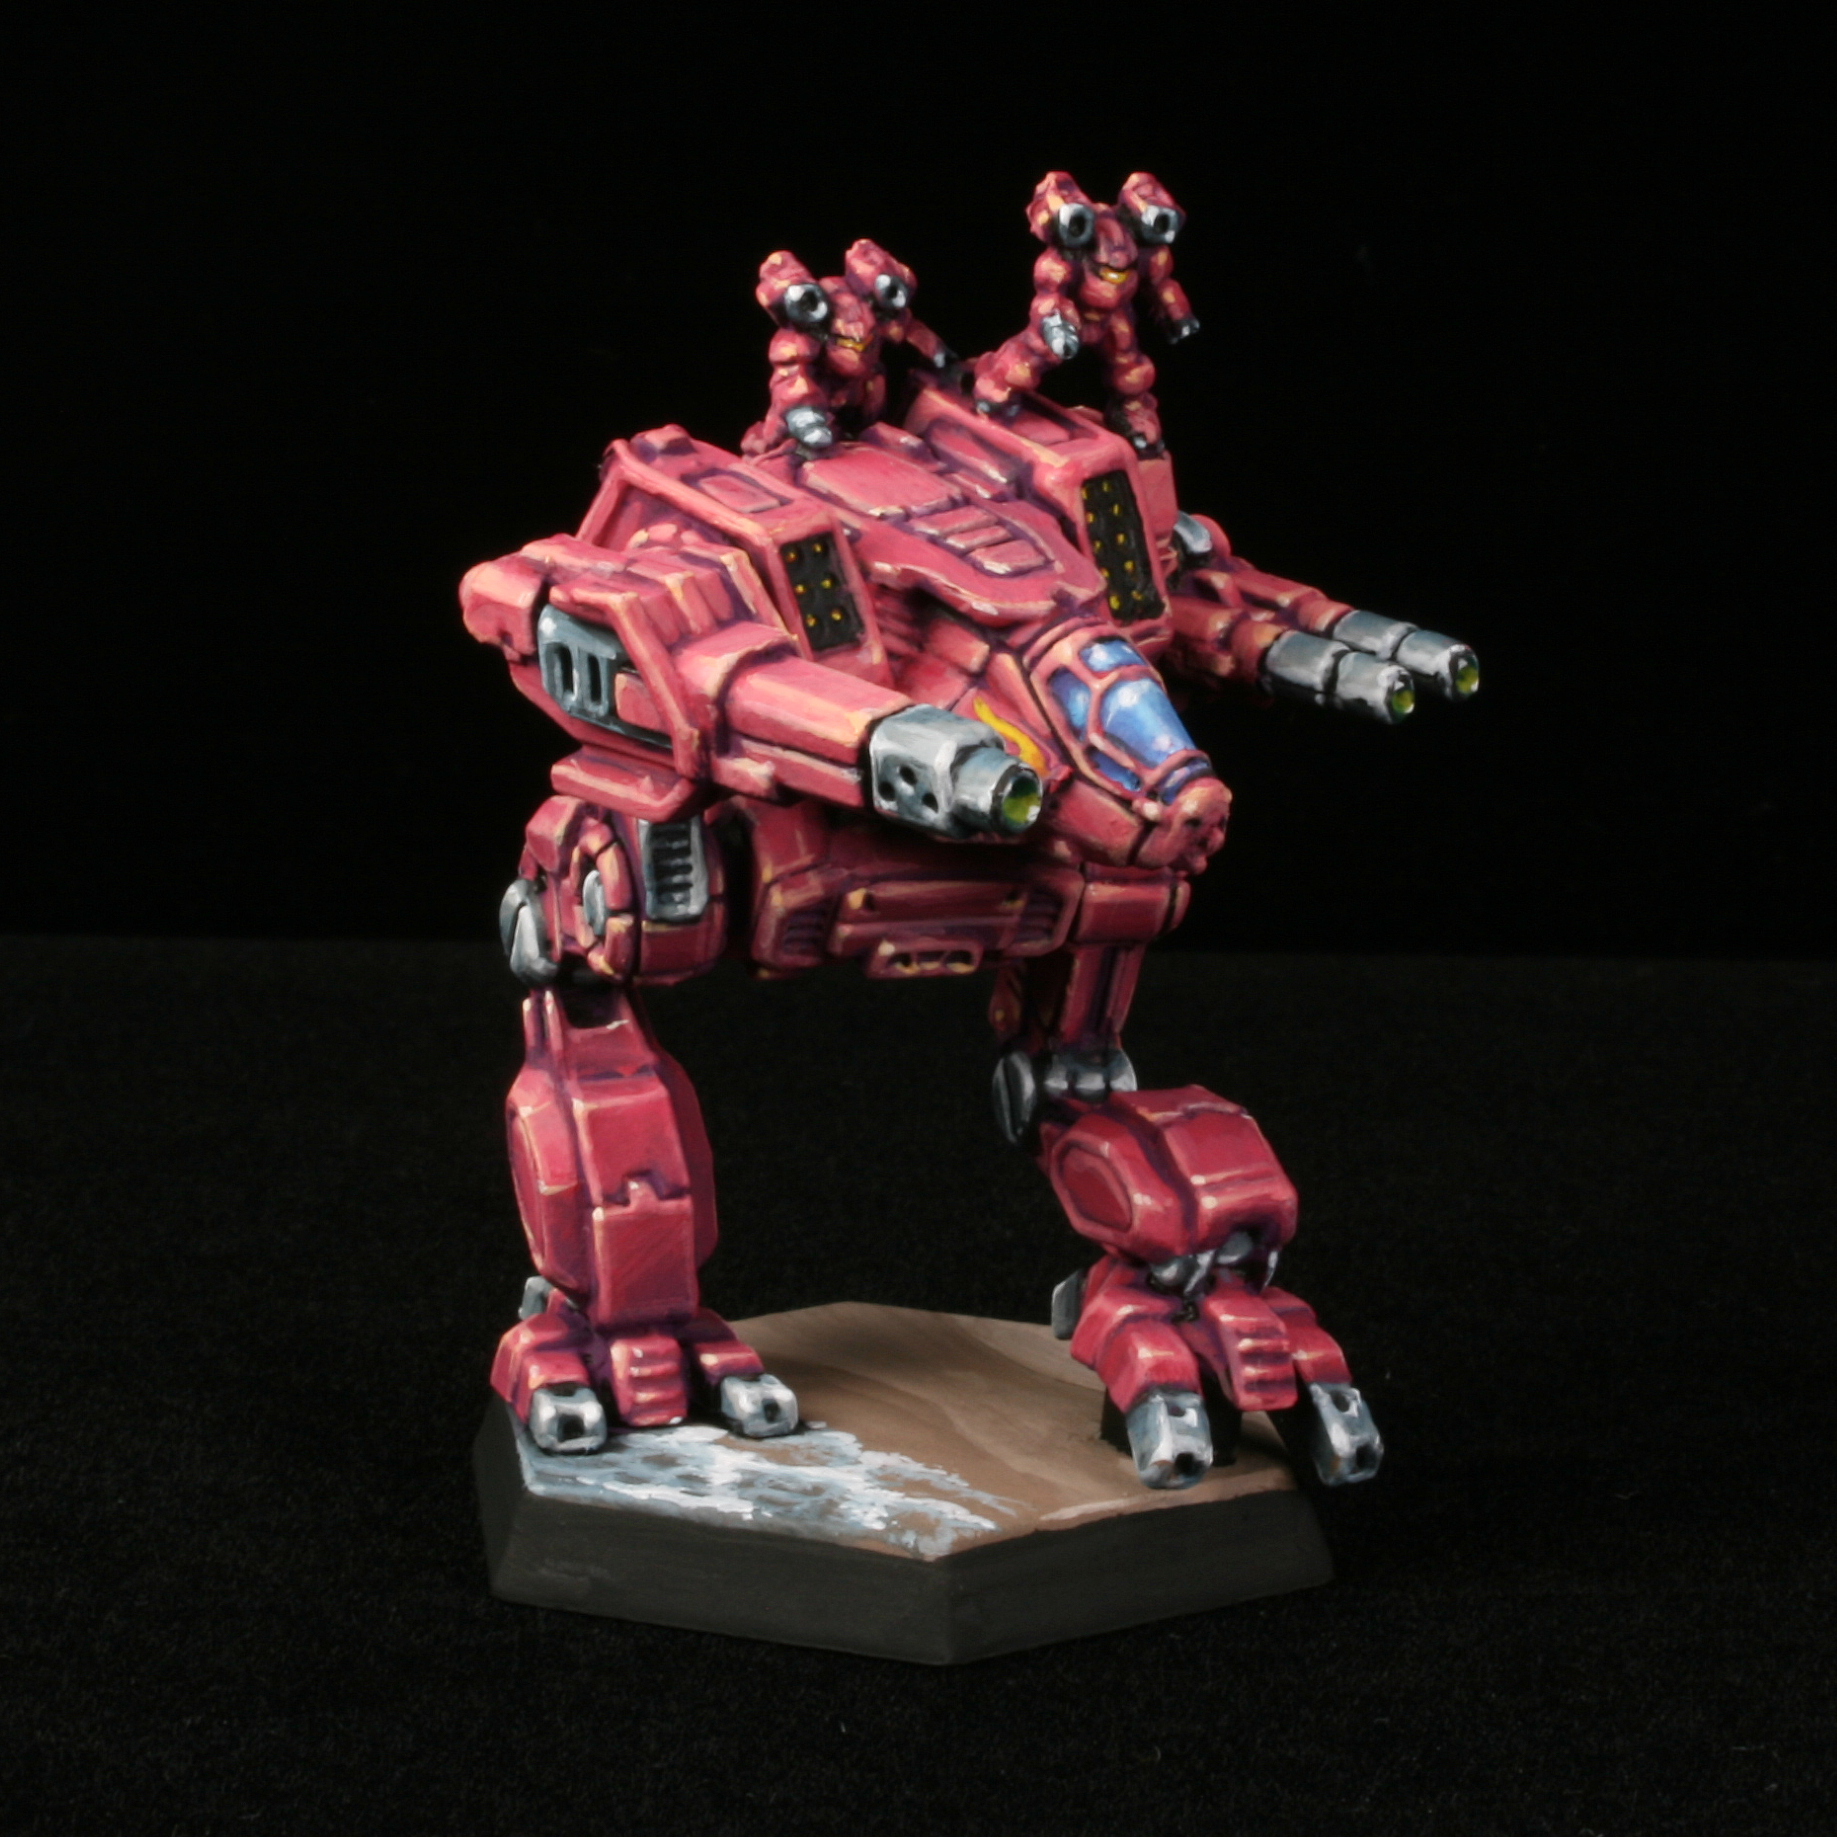
 Black Lanner. Credit: porble
The Kill
Hit the surat until he falls over from his leg injuries, and he’ll likely find it difficult to get up again, which is your sign that it’s time to swarm him (or task a friendly 'Mech to finish the job while your Elementals move on to a higher priority target). Swarming will also rely on the Anti-’Mech skill rating, but unlike a leg attack, will incur an additional modifier based on the number of surviving troopers. A Point of Elementals at full strength faces a +2 modifier for the swarm attempt, while one reduced to three troopers or less must overcome a staggering +5 modifier, making it critically important to preserve your troopers as best you can for success. However, targeting a prone ‘Mech provides a -2 modifier to the swarm attempt, cancelling out the standard modifier entirely. While attempting to swarm a target, you cannot take any other actions with the squad during the Weapon Attack Phase, but a successful swarm makes them ineligible for targeting by hostile ‘Mechs while attached (though they can still be hit by your weapons fire at the swarmed ‘Mech). Swarming battle armor can only be involuntarily removed by the swarmed ‘Mech succeeding at a PSR with a +4 modifier after jumping, falling over (intentionally or unintentionally), or by brushing the squad off with punch attacks, which can and does often humorously result in them punching themselves in the face.
This creates a dilemma for the target during the following turn: they can either stand, then throw themselves to the ground in an attempt to dislodge the squad during the Movement Phase, damaging the ‘Mech and risking injury to the MechWarrior upon success, or stand and attempt to brush them off during the Physical Attack Phase. A successful dislodging attempt from a fall will damage the battle armor and prevent the squad from moving or shooting for the rest of the turn, but an unsuccessful one will allow them to make a swarming attack during the Weapon Attack Phase.
Swarming attacks are easily the most lethal attacks an Elemental point can make, automatically dealing full damage for all arm-mounted weapons in the squad to a single location on the upper half of the ‘Mech. The Swarm Attack Hit Location Table provides a 28% chance of hitting the rear torso, and replaces the TAC result on the hit location table with a head hit location. This isn't a huge loss, as all swarm attacks also cause a potential through-armor critical for the location that was hit. In other words, a swarming Elemental point at full strength will continuously apply 10-to-15-point hits to the torso, arms, or head until they are dislodged or the enemy ‘Mech is dead.
Conclusion
This simple combat loop for Elementals is not the only way to utilize them, but it does provide a general tactical framework which they can use to engage and defeat enemies many times their size and BV cost. For a Clan player, this capability is invaluable, given that the BV investment needed to bring the best OmniMechs a C-bill can buy can otherwise leave you outnumbered and outgunned in many cases. The individual circumstances of a given game will likely require that you adjust how and when you use your Elementals to keep them combat effective, but the attack pattern presented here covers the major ways an Elemental Point can disrupt and destroy 'Mechs and vehicles, allowing you to use them as the situation demands.
The Elemental is not an afterthought. It is not a mascot, or a mini ‘Mech. It is a precision weapon, to be wielded by Kerensky’s greatest warriors, meant to sow terror and discord as they rip Spheroids from their cockpits and ensure they die screaming. Go break some poor freebirth's legs and their spirit.
Have any questions or feedback? Drop us a note in the comments below or email us at contact@goonhammer.com. Want articles like this linked in your inbox every Monday morning? Sign up for our newsletter. And don’t forget that you can support us on Patreon for backer rewards like early video content, Administratum access, an ad-free experience on our website and more.
Thank you for being a friend.

 Wolf's Dragoons Elementals. Credit: Jack Hunter
 Elementals vs Stalker. Credit: porble
 Elementals. Credit: Rockfish
 Black Lanner. Credit: porble

 Infinity N5 First Principles: Understanding the Outcomes of Face to Face Rolls
 Tactical Feedback: Timing the Go-Turn
 SRM's Roundabout to Adepticon 2026: Curd Is the Word